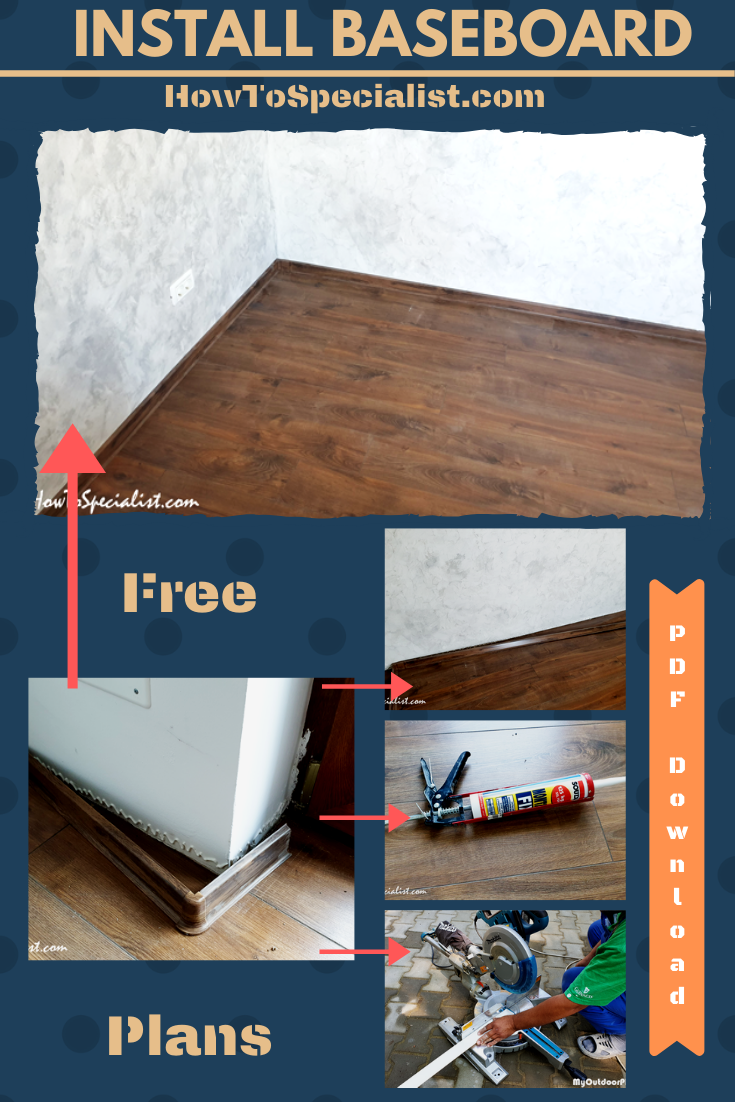
This article is about how to install baseboard trims with glue. In this article I show you a few quick tips and tricks so you can install PVC or MDF baseboard trims without nails. This method also works for crooked wall and I will show you how. There is nothing complicated about this method, and all the other techniques are the same when it comes to measuring and cutting the baseboard. You just replace the screws / nails with heady duty glue applied with a caulk gun. I recommend you to take a look over my other baseboard trim installation tutorial, so you see other methods, as well.
In most of the cases the wall baseboard moldings are attached directly to walls and not to the floor, as they are very flexible and designed to conceal the curved walls. If you want to install baseboard you have two options: either use a good glue and stick them to the walls of the room, or use nails/screws to fasten them to the walls. We recommend you to choose the first option on drywall and the second one for masonry walls. See all my Premium Plans HERE.
Made from this plan
Materials
- Baseboard
- Adhesive
- Accessories
Tools
- Measuring tape, carpentry pencil, l-square
- Miter saw / miter box
- Caulk gun
Time
- 1 day
How to Install Baseboard without nails
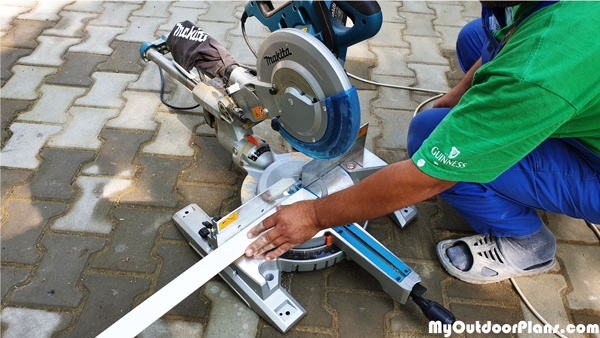
The first step of the project is to measure and buy the materials for the project. In my case, I used PVC baseboard. After measuring and marking the cut lines, you need to cut the baseboard using a saw. I recommend you to use a miter saw with a fine blade, because it makes the cut quickly and accurately. You can also use a handsaw, as well.
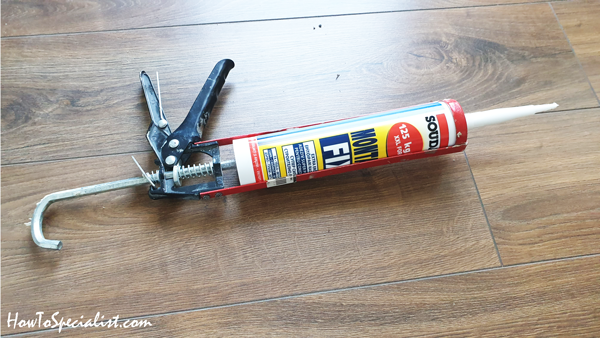
For this project, we are going to use adhesive and a caulk gun. Make sure you use a glue that is heavy duty and ideally dries out quickly, so you don’t have to apply pressure onto the baseboard trims for a long time. Usually, you will find this glue in DIY stores at the flooring area.
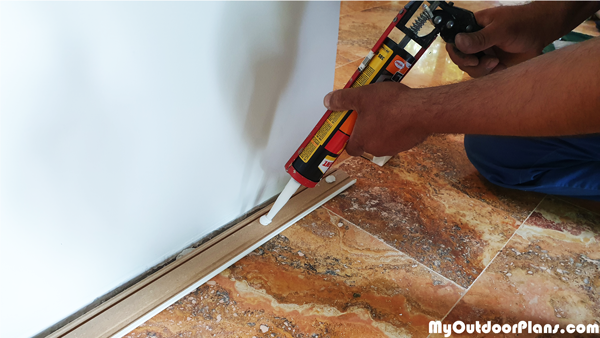
You can apply the adhesive to the back of the baseboard. You can lay the adhesive as drops every 8″ or as beads. We went for the drops and it worked really well.
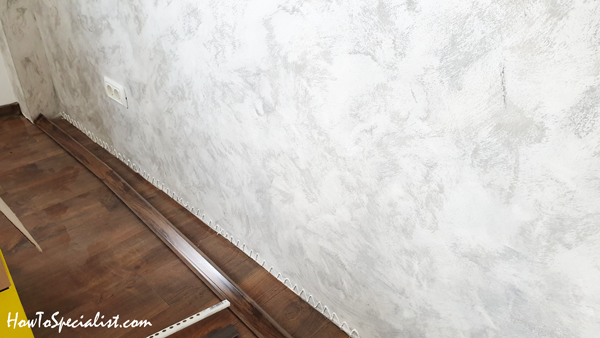
However, for PVC baseboard I like to apply the adhesive directly onto the wall, because the baseboard molding is flexible and you can get it all over the floor when installing it. That is why, I suggest you use continuous sinusoidal beads of glue to the base of the wall, making sure it will be covered by the baseboard.
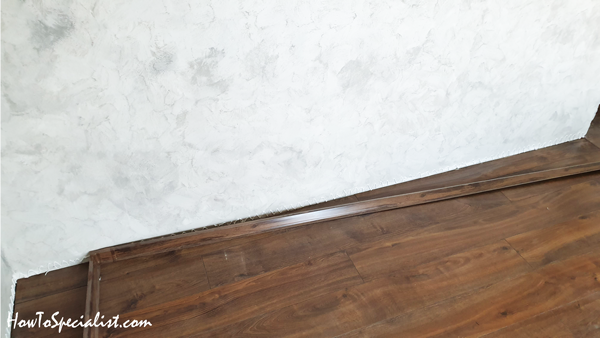
As you can see in the image, I like to have everything cut and ready to go, before applying the adhesive to the walls. In this way, you save time and get a neat result. Therefore, cut the baseboard pieces and join them together with the connectors. Otherwise, it will take time to take measurements, make cuts and especially fitting them together to the connectors.
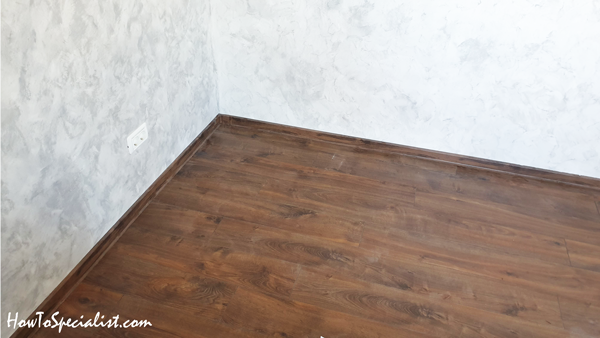
Starting to look beautiful already. Just apply pressure to the baseboard trims against the wall till there are no gaps left. I really love this method, because the glue bonds the two surfaces really quickly and it works best on crooked walls as well. The secret is to apply a continuous bead of adhesive so that the baseboard can bend to the wall and close any gaps. After you set the baseboard trims to the walls leave them alone to dry out for several hours. Don’t touch or move till they set up completely, otherwise you will break the bond.
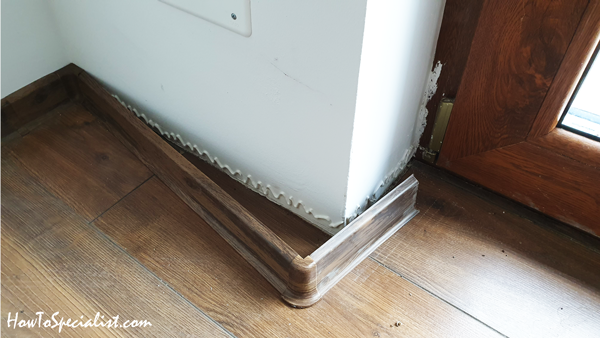
Going to the next section of the room. As you can see, I have cut the trims around the exterior corner and have everything ready. I applied the adhesive to the wall and then pressed the baseboard gently every inch at a time.
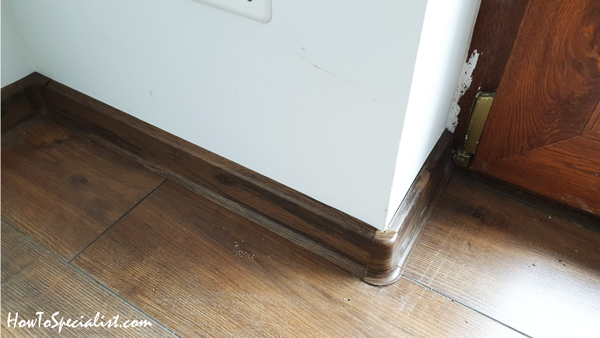
This is a quick project that will definitely change the look of your room. As you can easily see in my tutorial, you don’t need nails to install baseboard trims and you can do it as well with heavy duty adhesive. See all my home improvement projects HERE.
Thank you for reading our article on how to install baseboard with glue and we recommend you to check out the rest of our projects. Please share our articles with your friends by using the social media widgets.
