This article is about how to install MDF baseboard trim. In this article I show you a step by step tutorial on how to install MDF baseboard along the walls, using adhesive. This is basically the easiest way to install baseboard, because you don’t need to make complex miter or cope cuts. Instead, we will be using accessories for the corners and for the joints. The montage adhesive sets quickly and in a few hours you will have a room ready to use.
In most of the cases the wall baseboard moldings are attached directly to walls and not to the floor, as they are very flexible and designed to conceal the curved walls. If you want to install baseboard you have two options: either use a good glue and stick them to the walls of the room, or use nails/screws to fasten them to the walls. We recommend you to choose the first option on drywall and the second one for masonry walls. See all my Premium Plans HERE.
Made from this plan
Materials
- MDF baseboard
- Adhesive
- Accessories
Tools
- Measuring tape, carpentry pencil, l-square
- Miter saw / miter box
- Caulk gun
Time
- 1 day
How to Install MDF Baseboard
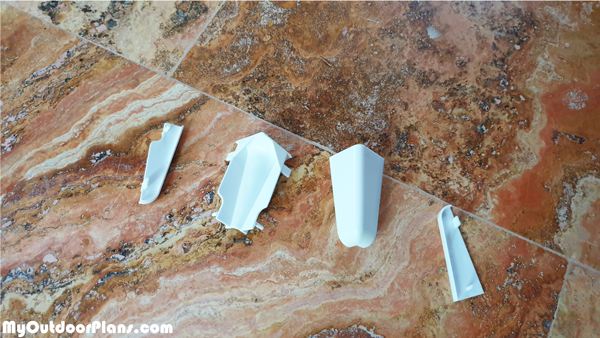
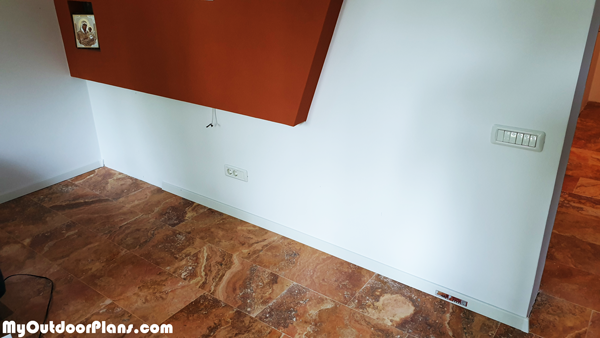
Using MDF baseboards is a cheap, quick and stylish method to add value to your laminate / tile flooring and close all the gaps along the walls. For this project I also bought accessories for the outside, inside, joins and ends.
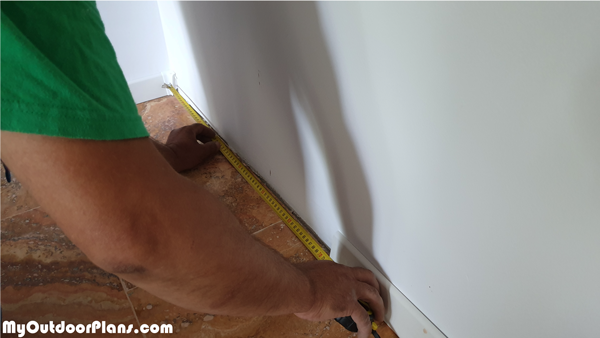
Installing MDF baseboard to a room is super simple, but I will share a few tips so you can boost up the process. Therefore, you need to start with one wall. Install the accessories to both ends of the wall and then take the measurements so you can cut the baseboard accurately.
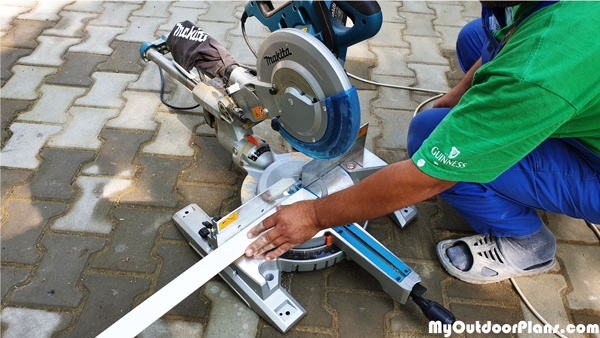
After measuring and marking the cut lines, you need to cut the baseboard using a saw. I recommend you to use a miter saw, because it makes the cut quickly and accurately.
Check if the piece fits into place, making sure you install all the accessories to the MDF baseboard.
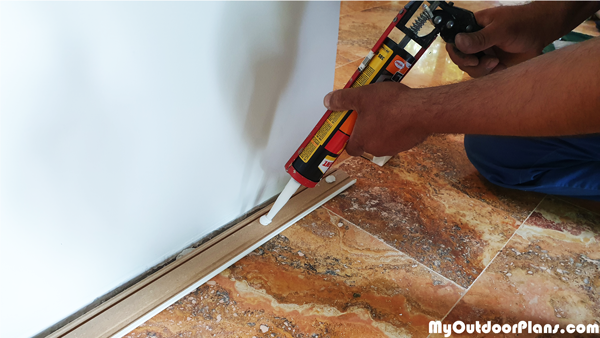
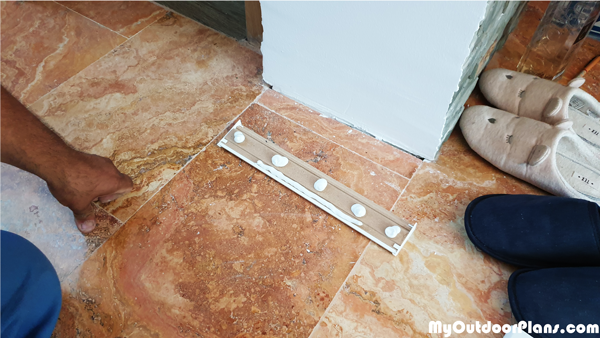
Fit the adhesive to the back of the baseboard. You can lay the adhesive as drops every 8″ or as beads. We went for the drops and it worked really well.
As you can see, we added the glue to the back of the baseboards that go along the first wall.
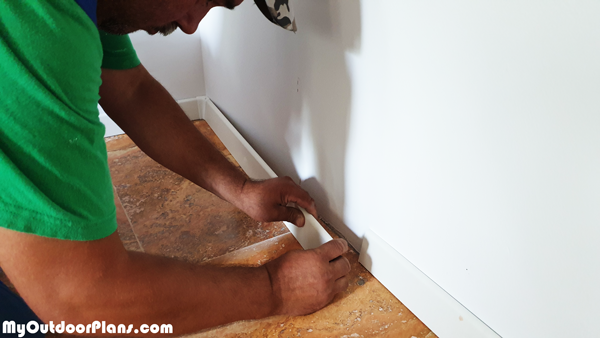
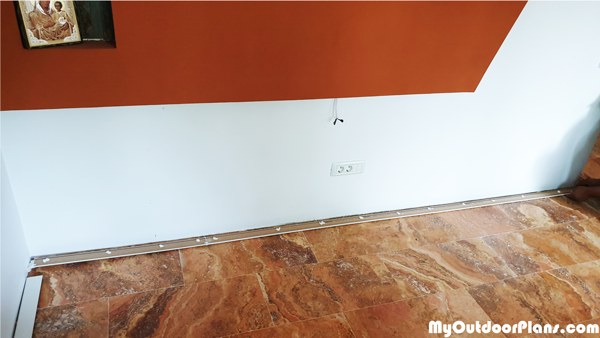
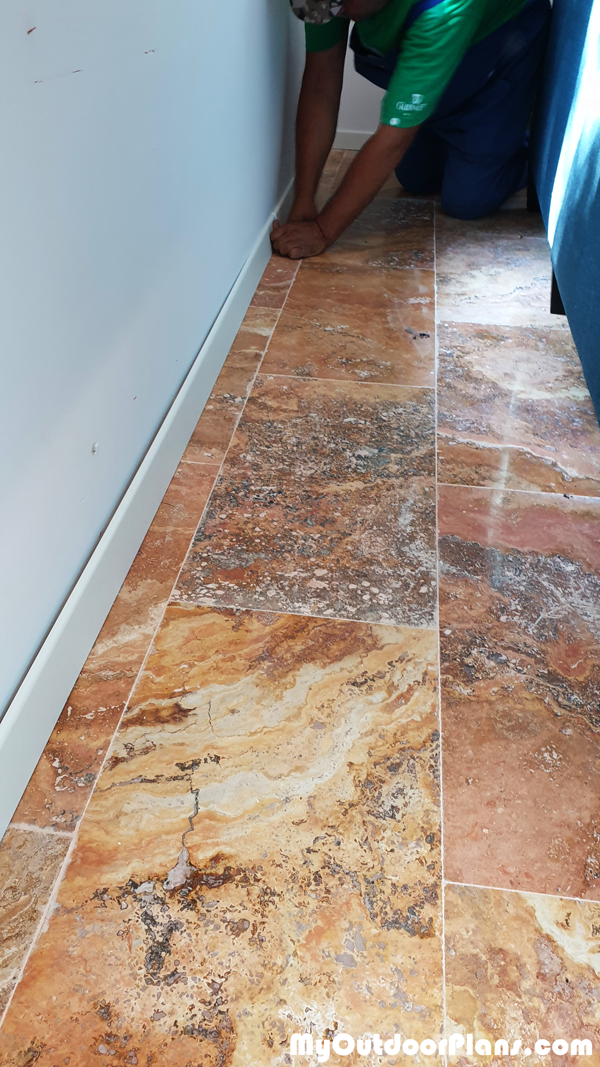
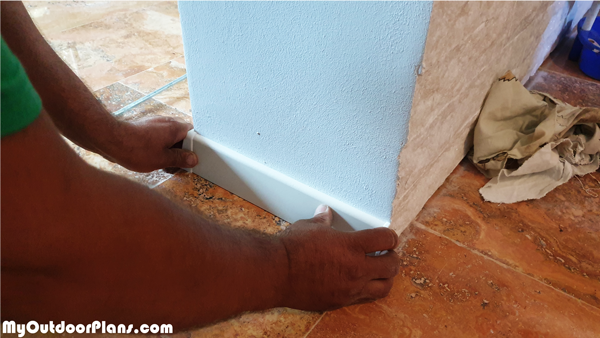
Press the baseboard against the wall, making sure the edges are aligned. Leave no gaps between the baseboard and the wall or between the baseboard and the floor.
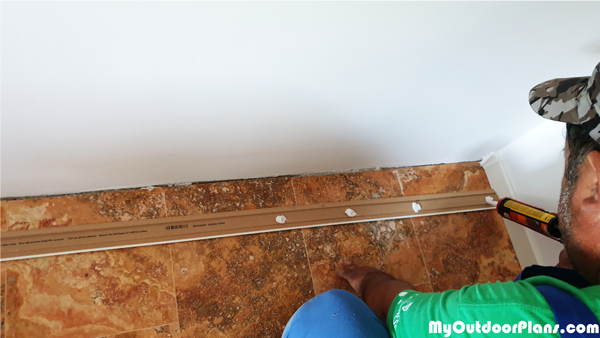
Continue installing the baseboards along the adjacent wall. Use the same techniques described above to install the MDF baseboard.
The roof is starting to take shape nicely and the baseboard is really adding value. Such a big difference indeed!
We continued to install the baseboard to the next wall. Steady wins the race when it comes home improvement projects.
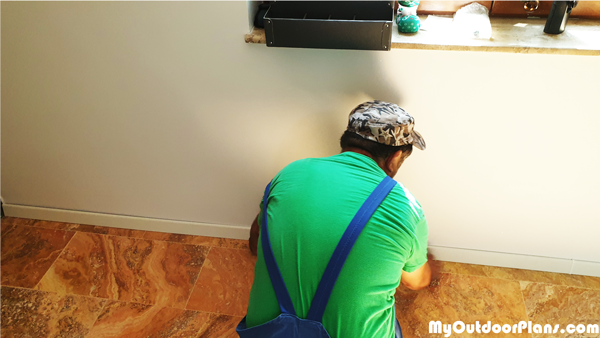
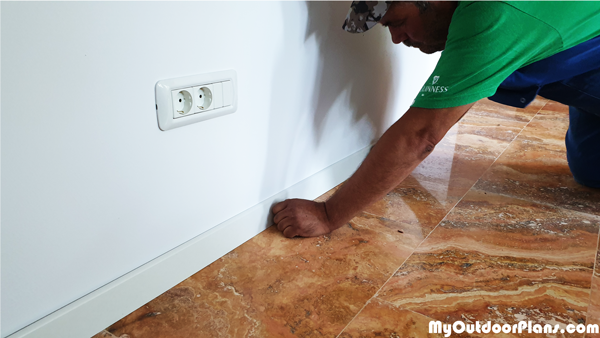
Press the baseboard against the wall and apply the force for at least 30 seconds before releasing it.
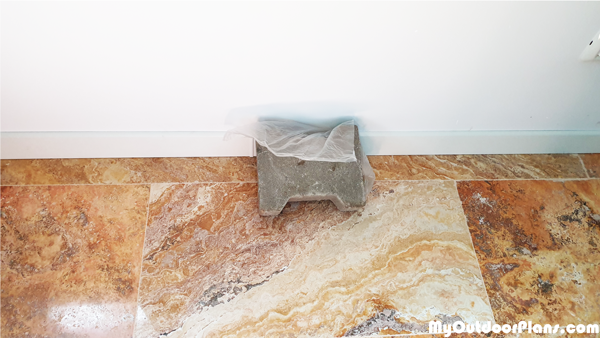
If the walls are curved and there are gaps between them and the baseboard, you might need to press it for longer. The easiest way is to use a weight against the wall.
Last but not least, take care of the finishing touches. Install the rest of the baseboard.
This is a quick project that will definitely change the look of your room. See all my home improvement projects HERE.
Thank you for reading our article on how to install MDF baseboard and we recommend you to check out the rest of our projects. Please share our articles with your friends by using the social media widgets.
1 comment
can you tell me where to find those plastic corner pieces? I can’t seem to find them in the “usual” places.
Thanks.