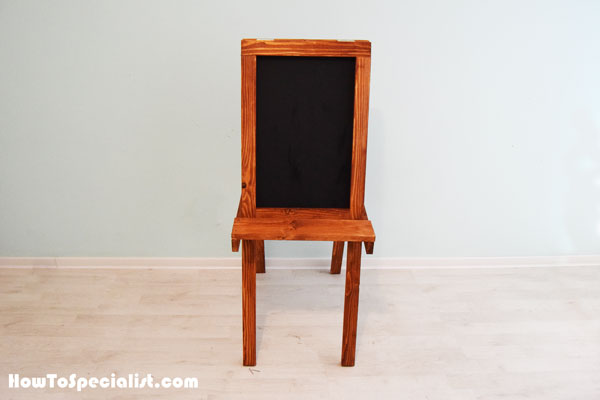
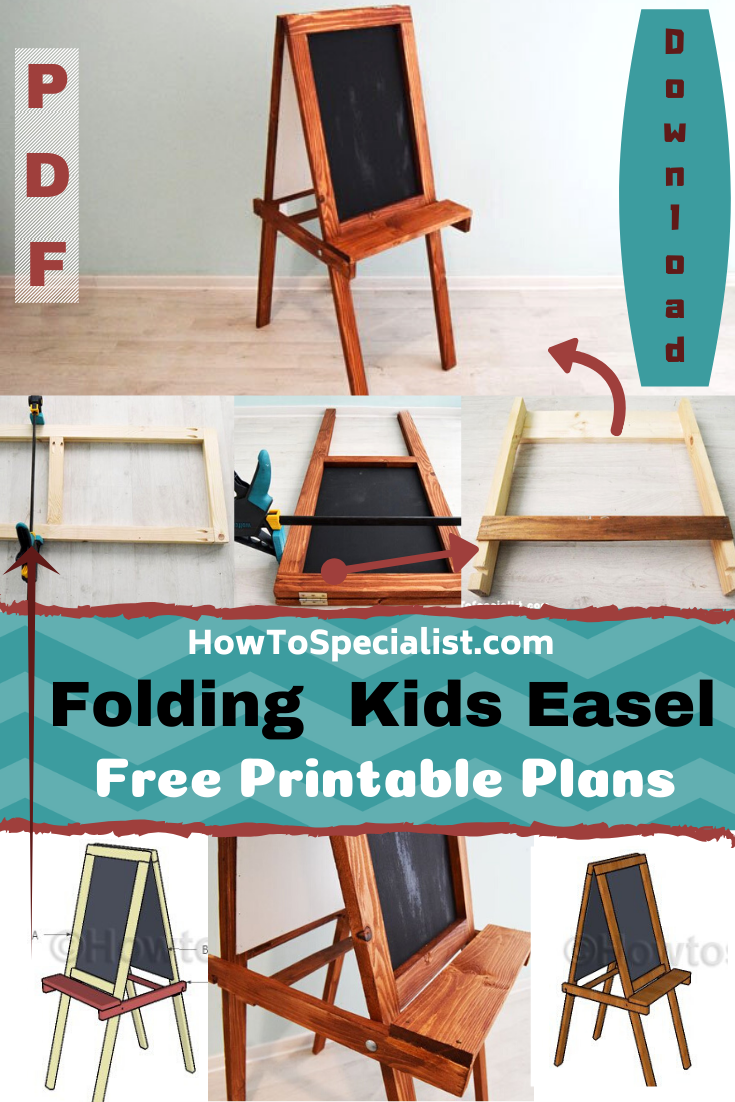
This step by step woodworking project is about how to build a folding kids chalkboard easel. This project was a personal challenge, as it is an entirely original design and concept. I was looking for a multi-purpose easel that can fold, so I created these plans and build it so I show you it is super easy to make. The easel features two chalkboards on two sides and has a shelt to the front. See my other chalkboard project for more DIY inspiration.
We recommend you to invest in the best materials you could afford. Therefore, you should buy weather-resistant lumber, such as pine or cedar. Always take accurate measurements before adjusting the size of the components at the proper size. Drill pilot holes trough the components before inserting the wood screws, to prevent the wood from splitting. There are even concrete log holders out there, but I personally like to show you how to build a wood fireplace log holder. See all my Premium Plans in the Shop.
Made from this plan

Building a folding kids easel
Materials
- A – 2 pieces of 1×2 lumber – 40″ long, 1 piece – 11″ long, 1 piece – 14″ long 2xFRAME
- B – 2 piece of 1/4″ plywood – 13″x21″ long PANELS
- C – 2 pieces of 1×2 lumber – 17 3/4″ long, 1 piece of 1×4 lumber – 15 1/2″ long, 1 piece of 1×2 lumber (1/4″ thick) – 15 1/2″ long SHELF
- 3 piece of 1×2 lumber – 8′
- 1 piece of 1×4 lumber – 6′
- 100 pieces of 1 1/4″ brad nails
- 20 pieces 1 1/4″ screws
- 2 pieces of 2″ bolts
- stain, glue
- hinges
- chalkboard paint
Tools
- Safety gloves, glasses
- Miter saw, jigsaw
- Chalk line, tape measure, spirit level, carpentry pencil
- Drill machinery and drill bits
Time
- One Weekend
Chalkboard easel plans
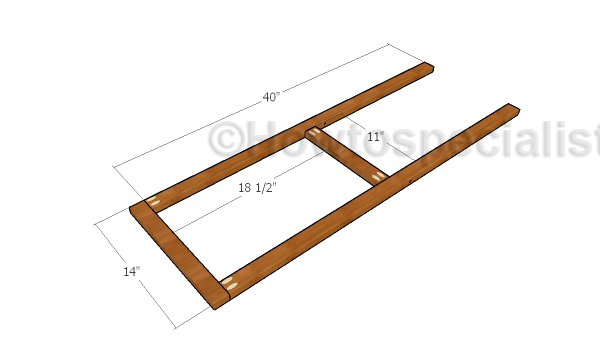
Building the frames
The first step of the project is to build the frames for the easel. Cut the 1×2 components at the right dimensions and drill pocket holes at shown in the diagram. Add glue to the joints.
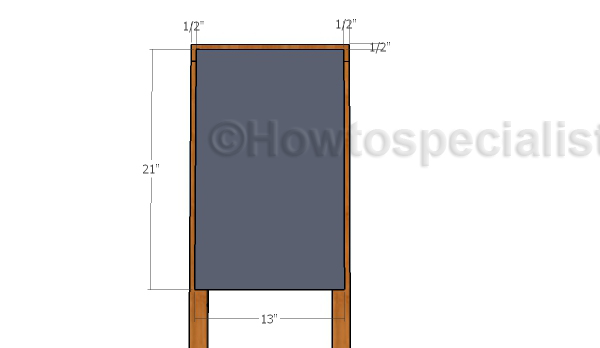
Fitting the chalkboard panel
Attach the 1/4″ panels to the frames, making sure they cover the pocket holes. Use 3/4″ brad nails to secure the panels to the frames. Add glue to the joints and center the panels into place before inserting the nails.
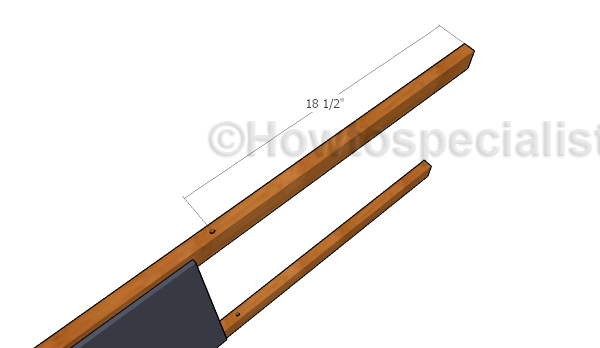
Drilling the pilot holes
Drill pilot holes through the legs so you can secure the supports and so that the easel can fold down easily. Take accurate measurements before drilling the pilot holes and center them with attention.
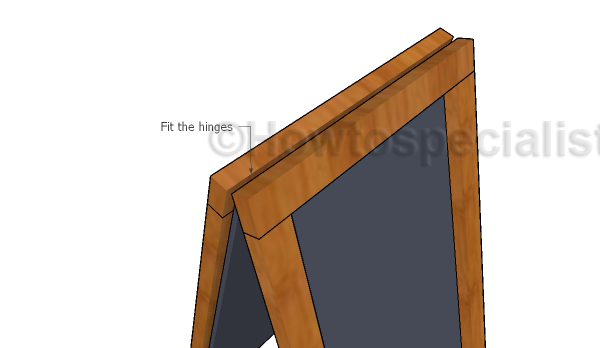
Fitting the hinges
After assembling the two frames, you should join them together with hinges. Align the edges with attention before attaching the hinges.
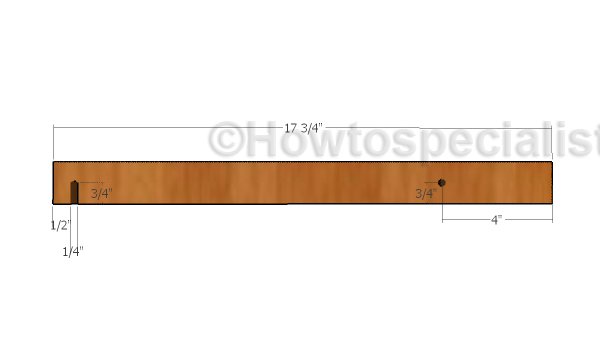
Building the supports
Build the supports from 1×2 lumber. As you can notice in the diagram, you need to make a notch and a hole for the bolts. Take accurate measurements and smooth the edges with fine-grit sandpaper.
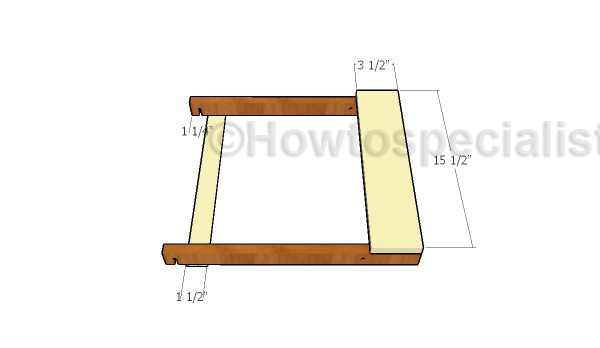
Building the shelf
Attach the 1×4 slat to the front of the supports and the 1×2 strip of wood to the back of the supports, as shown in the diagram. Use glue and 3/4″ brad nails to secure the slats into place tightly.
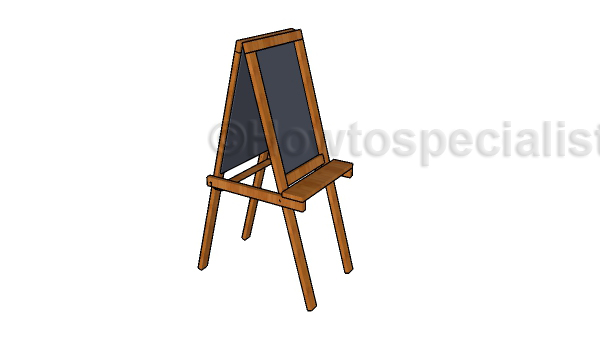
Kids chalkboard easel
Fit the supports to the easel and fit the 2″ bolts through the holes, so that the frame can fold easily. The notches are made to the supports so they can lock everything into place when you use the easel. You can see in the tutorial below how you can make that happen.
How to build a folding kids chalkboard easel
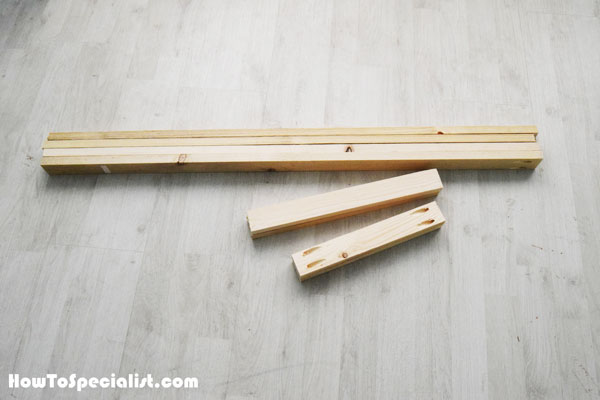
First of all, I cut all the components for the two frames of the easel from 1×2 lumber. I also drilled all the pocket holes following the above plans. I smoothed the edges with sandpaper making sure I removed all the chips.
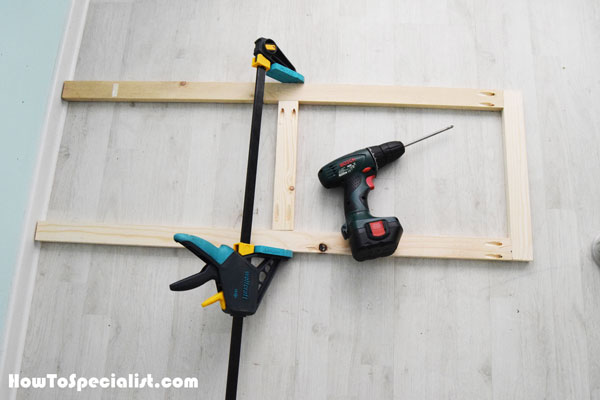
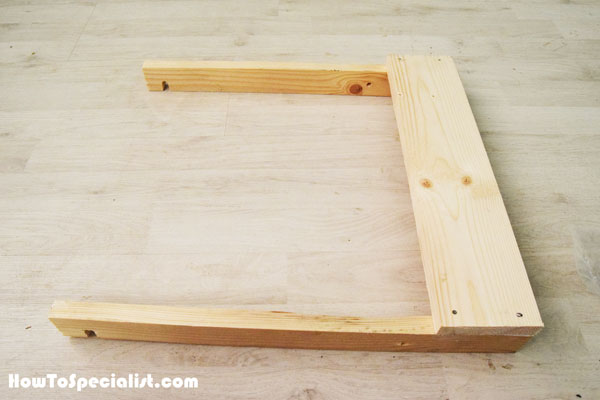
The next step was to assemble the first frame for the easel. I set the legs against the wall so that they were perfectly aligned. I used clamps to hold everything into place, after aligning the edges and making sure the corners are right-angled. I added glue to the joints and used 1 1/4″ screws to lock all the components together.
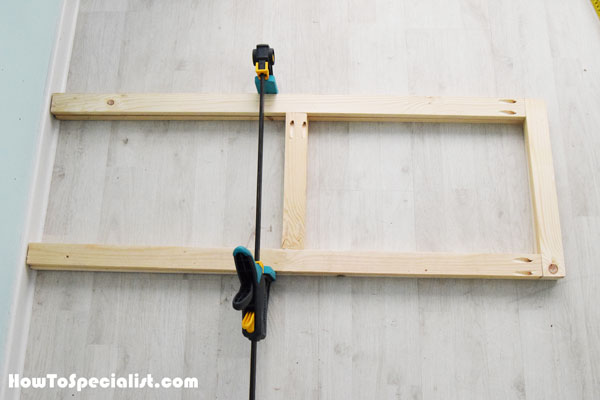
Assembling the second frame for the easel was a lot easier, since I could use the first frame as a template. If you make sure the edges are flush and check the corners for squareness, you will get the job done in a professional manner.
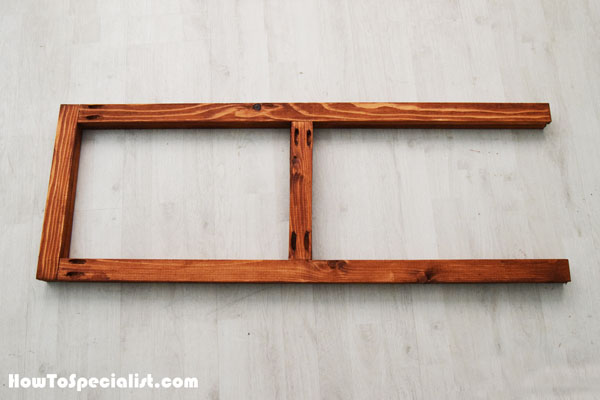
After assembling the two frames for the easel I stained them. It is essential to apply the paint or stain now, before attaching the chalkboard panels, as afterwards it would be a lot difficult to apply the finish coats.
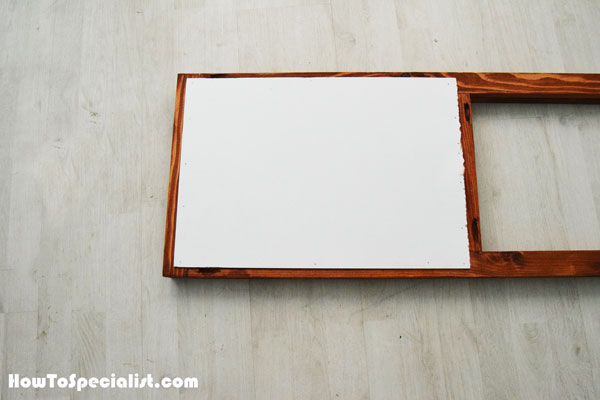
I had a few scrap panels of 1/4″ MDF so this was the best opportunity to make use of them. I cut them to size with a saw with fine teeth and then applied two coats of chalkboard paint. Next, I centered the panels to the frames, making sure the space around them were even.
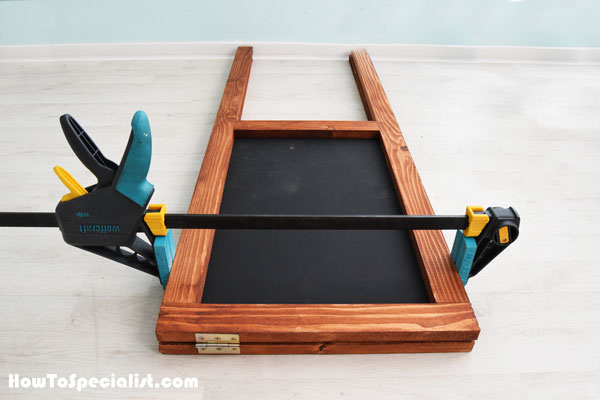
Clamp the frames together, as shown in the diagram. Attach hinges to the top of the frames, as shown in diagram. Use two hinges, one on each side of the frames, so they can fold easily.

The chalkboard easel started to take shape quite nicely. Now, all I am left to do is build the supports and the front shelf, so that the easel can fold down easily. This is a prototype, being my own original design so I have high hopes for the end result.
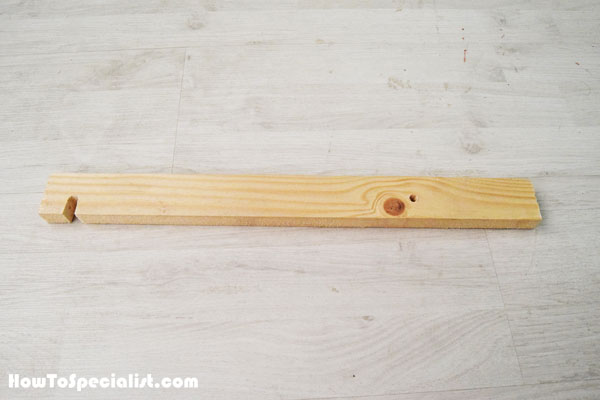
Time to build the side braces for the kids chalkboard easel. I made the notch for the stop and the pilot hole for the bolt to the front. I repeated the process for the other side support, using the same pattern.
Afterwards, it was a matter of assembling the supports together by attaching the 1×4 slat to the front. I used glue and 1 1/4″ nails
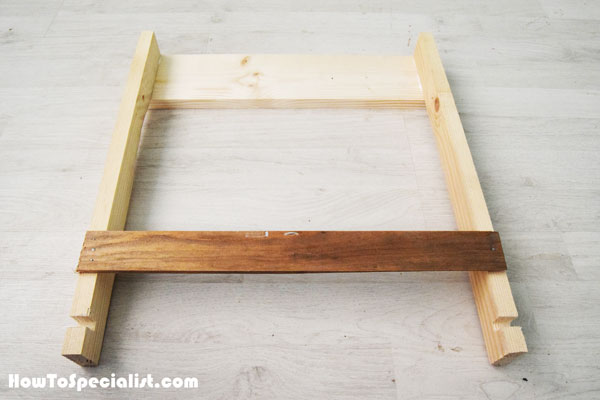
I also attached this strip of 1×2 lumber to the side supports, so I keep them evenly spaced from one end to the other. I used waterproof glue and 3/4″ brad nails to secure the strip to the supports.
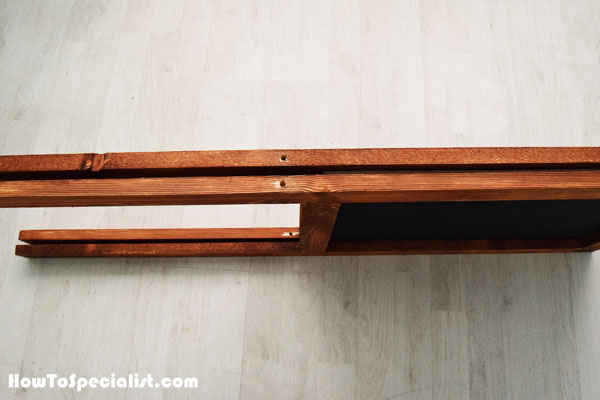
I drilled piled holes through the frame of the easel. I took accurate measurements before drilling the pilot holes. I drilled all the way through the supports for the front legs and about 1/2″ for the back legs. I will fit dowels to the back legs and bolts to the front legs.
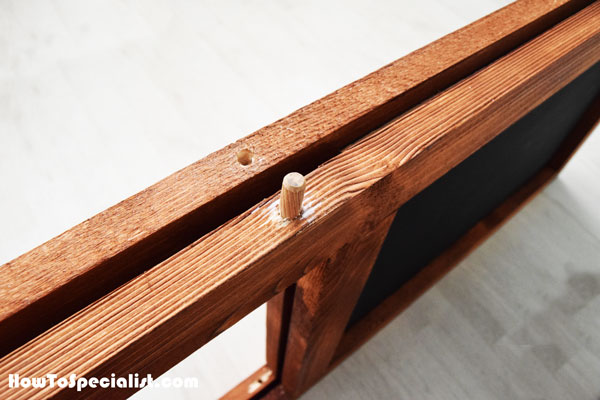
I added glue to the holes drilled to the back legs and inserted dowels, so I can use them as stops for the side supports.
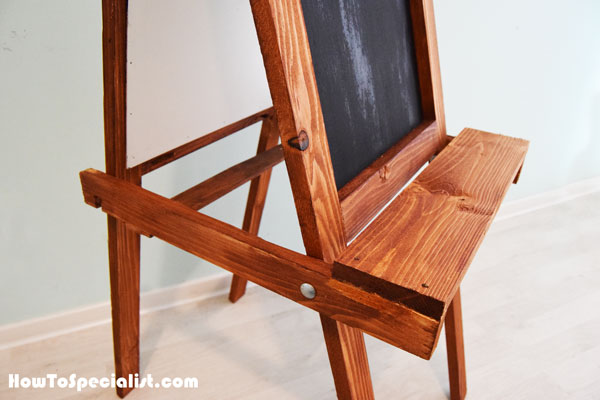
I fitted the supports along with the front shelf to the easel. I inserted 2″ bolts through the side supports and through the front legs. I used a washer and a nut to tighten the bolt at the other end. Make sure you don’t tighten the nut too much, otherwise the side supports won’t swing easily.
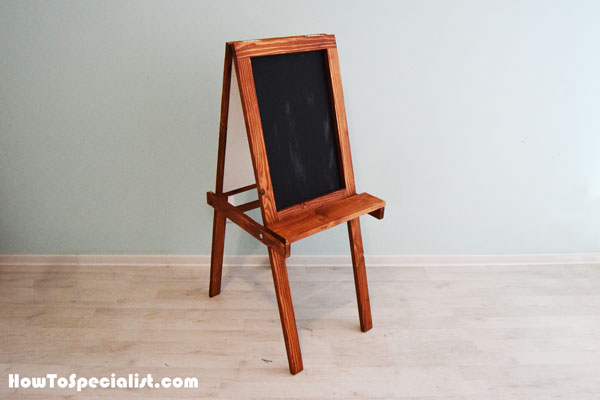
As you can see, this front shelf is really useful to store chalks or other items. In addition, it really ads value to the overall project, making it look more elegant and distinctive.
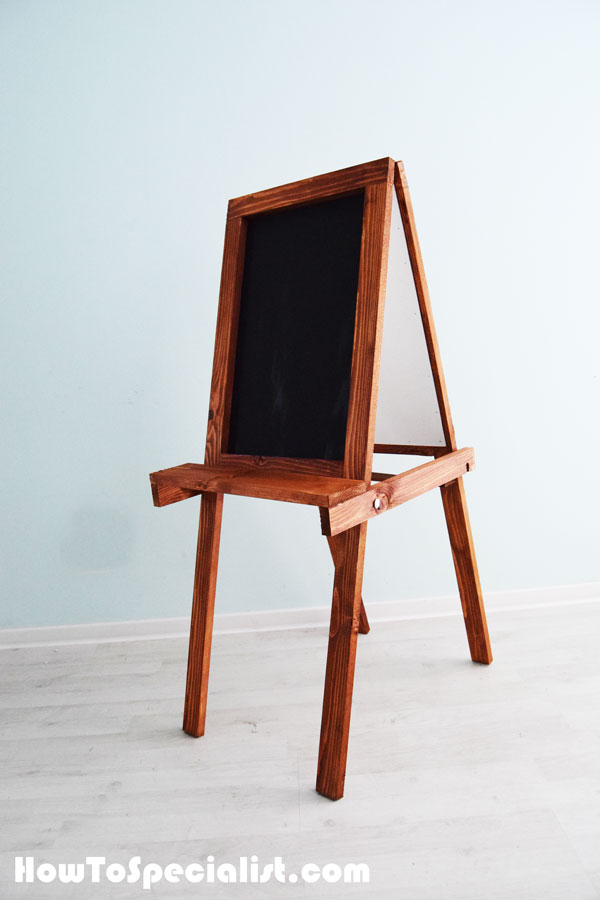
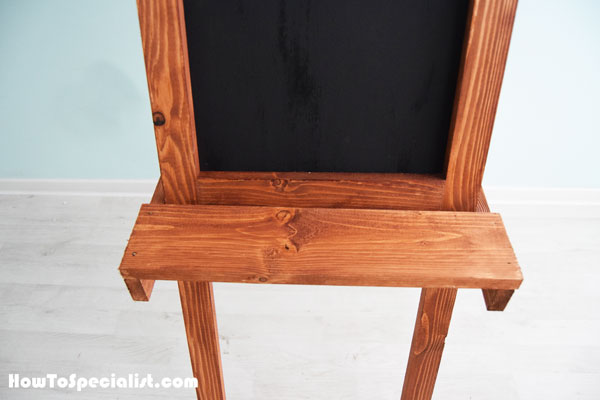
When the kids easel is folded open it is super stable. You can adjust the size of the legs so it suits the height of your kids. Remember that you can also use this as a restaurant easel or as a chalkboard sign.
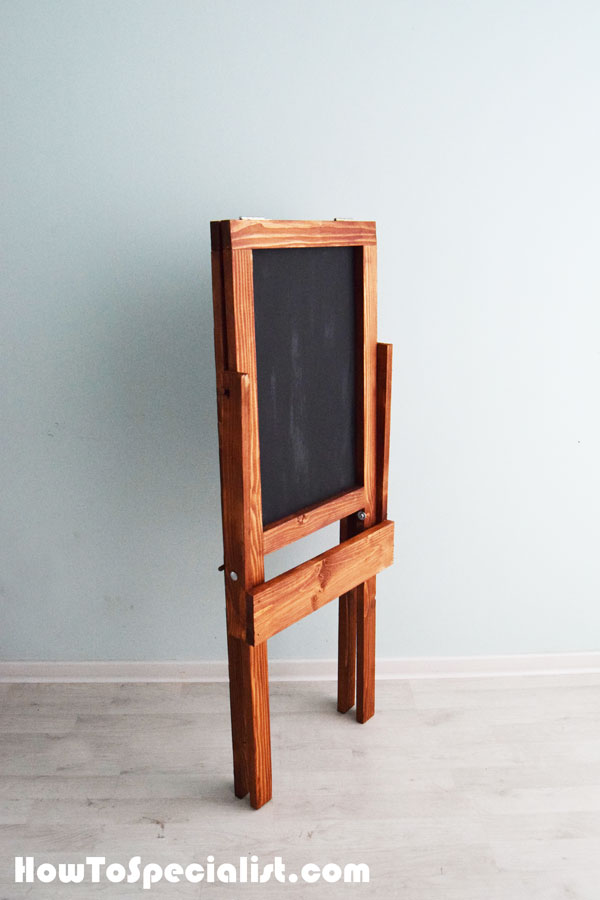
When you fold down the easel, it occupies a lot less space. If you follow the plans the braces will swing easily and you should face no problems with the process. You can still use the chalkboard easel if you lean it against a wall.
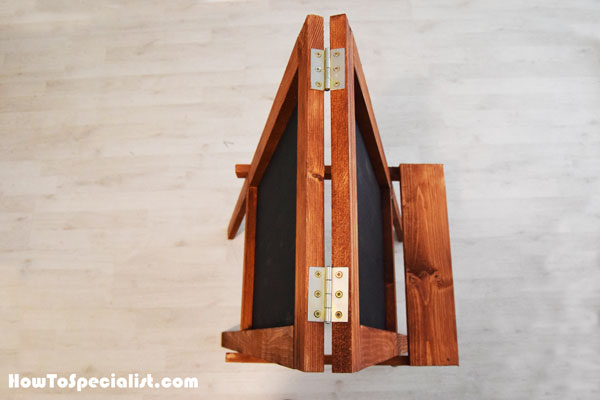
Another shot with the folding easel seen from above.
If you find my easel too small you can easily make it wider. I was constrained by the scrap pieces of mdf when building the easel, but in the end I find it perfect for my needs.
All in all, this project only cost me 10 dollars to make, considering I already had the chalkboard paint from another project. It was a great and fun afternoon project which challenged me to come with an original design. I have seen many kids chalkboard easel plans on the internet, but none came with the folding option. So, I had to fix this and share the project with you. If you don’t like the rustic look of the project, you can use higher quality materials and be much more attentive with the finishing touches.
Thank you for reading our project about how to build a folding kids chalkboard easel and we recommend you to check out the rest of the projects. Don’t forget to LIKE and SHARE our projects with your friends, by using the social media widgets. SUBSCRIBE to be the first that gets our latest projects.