If you’ve been scrolling through Pinterest or flipping through the pages of your favorite design magazines and caught yourself thinking, Wow, that room looks fancy, odds are wainscoting was quietly doing the heavy lifting. This classic wall treatment has a way of adding instant charm, elegance, and depth to any space—whether it’s a narrow hallway, a tiny powder room, or a spacious living area. And here’s the kicker: while it may look like something only high-end remodels or historic homes can pull off, it’s actually a DIY project you can take on yourself—without a contractor, without fancy tools, and without blowing your budget. In fact, you can create beautiful, custom-looking wainscoting for under $100. And I’m going to show you exactly how to do it.
Wainscoting is one of those magical design elements that can elevate a space without overwhelming it. It breaks up bland walls, adds visual structure, and gives even the most builder-basic rooms a timeless, finished feel. The beauty of it is that it works just as well in modern homes as it does in more traditional spaces. It plays well with bold color, complements neutral tones, and instantly makes a room feel like it had a little help from an interior designer—even if all you used were a few pre-primed boards and a weekend of your time.
This is one of those rare home upgrades that gives you a whole lot of visual bang for very little buck. Best of all, it’s totally beginner-friendly. You don’t need to be a carpenter or have a garage full of tools to get the job done. With a little planning, a few basic materials, and a willingness to try something new, you can go from flat, boring drywall to crisp, clean architectural detail in a single afternoon. No intimidating joinery or intricate trim work required—just a tape measure, a saw (a basic miter saw or even a handsaw works fine), a level, and some construction adhesive or brad nails to make it all stick.
The process is surprisingly approachable. It starts with a vision for your wall—what height you want the panels, how many boxes you’ll create, and what kind of spacing looks right for the size of the room. Then it’s just a matter of measuring, cutting, attaching the trim, and giving everything a smooth coat of paint. Even if you’ve never picked up a nail gun or run a bead of caulk before, this is the kind of project that builds confidence and delivers real, visible results. One wall in, and you’ll find yourself eyeing the next one, already planning where to go next.
So if you’re ready to give your home that designer look without spending a designer budget, roll up your sleeves. Let’s turn those plain walls into something worth showing off. Because yes—you can do this, and once you see how easy and affordable it is, you’ll wonder why you didn’t start sooner.
Why Wainscoting? Classic Style on a Budget
Wainscoting isn’t just about looks—though let’s be honest, it does make any room look stunning. At its core, wainscoting started as a practical solution. Back in the day, it was used to protect walls from everyday wear and tear—scuffs from chairs, dents from boots, splashes from mopping. It served a real purpose while quietly adding texture and style. Fast forward to today, and while we may not be hauling in firewood or brushing up against walls in corsets, that protective element still holds up—especially in high-traffic areas like entryways, hallways, dining rooms, and mudrooms.
But more than anything now, wainscoting is about presence. It brings architectural detail to spaces that might otherwise feel flat or unfinished. It frames a wall the way good trim frames a window. It adds visual rhythm, structure, and sophistication without demanding attention. And unlike bold paint trends or fast-fading wallpaper patterns, wainscoting is a timeless upgrade. It doesn’t scream for attention—it just quietly says, this space was built with care.
Now, there are a ton of styles to choose from—everything from traditional raised panels to sleek beadboard, classic shaker boxes, or intricate shadowbox moldings. But if you’re working with a budget and just getting started, board and batten is where it’s at. It’s clean. It’s classic. It works in nearly every type of home—from farmhouse to modern to colonial. And best of all? You don’t need fancy paneling or specialty materials. You’re simply building out the design with evenly spaced trim pieces directly on your drywall. No panels, no special backing, no surprises.
This method keeps your costs low, your materials list short, and your results high-impact. It’s an ideal starter project for DIYers looking to dip their toes into trim work without diving headfirst into complex carpentry. Just some wood trim, a level, some adhesive or nails, and a weekend’s worth of focus—and suddenly your wall has texture, character, and that custom feel we all crave. It’s one of those rare projects that’s equal parts practical and pretty. And once you’ve done it once, it becomes downright addictive.
Materials You’ll Need (And How to Stay Under $100)
To keep this project budget-friendly—and firmly under that $100 mark—you’ll want to skip the premade wainscot panels and build your design using basic trim boards. It’s the DIY way to get that high-end look without paying premium prices. Instead of fancy panel kits or custom millwork, head to your local home improvement store and look for pre-primed MDF or pine lattice strips, or even 1×3 or 1×4 boards. These are typically inexpensive, lightweight, and easy to work with, even if it’s your first time handling trim.
If your walls are smooth and free from heavy texture, you don’t even need to add backing panels—just attach the trim directly to the drywall. This not only saves money, but it also keeps the installation process faster and cleaner. If your walls do have texture and you want a super crisp, flat look, you can glue thin hardboard or smooth MDF sheets to the lower half of the wall before installing your trim. But in most cases, skipping the panel and working right over the existing wall is perfectly fine—and keeps you well within your $100 goal.
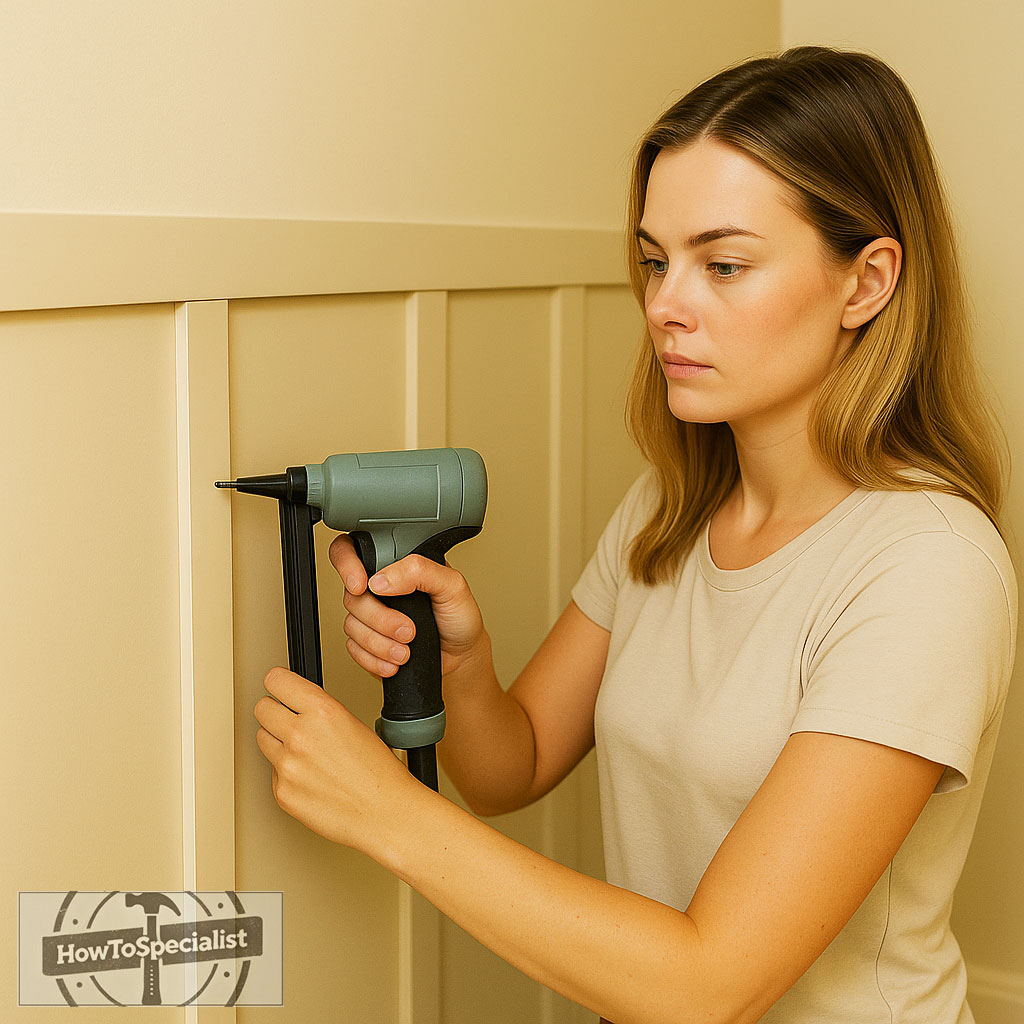
For a standard 8-foot-wide wall, you’ll need somewhere between 8 to 10 trim boards, depending on your chosen layout and spacing. Buy them in full 8-foot lengths and cut them down to size with a miter saw or even a basic hand saw. The longer boards stretch your dollar further and help minimize waste. You’ll also want a tube or two of construction adhesive like Liquid Nails for fast, secure bonding. If you have a brad nailer, this project will fly by—but even a hammer and finish nails will do the trick with a little patience.
Once your trim is in place, you’ll need spackle or wood filler to patch nail holes and smooth over joints, plus a bit of caulk to seal where the trim meets the wall. Give everything a light sanding once dry so your paint goes on smooth and seamless. As for finish, any interior paint will work, but a satin or semi-gloss sheen is ideal—it’s durable, easy to clean, and gives that finished, designer-grade polish that makes your project really pop.
If you already have essentials like a tape measure, level, saw, and paintbrushes on hand, the cost of materials for one wall can easily stay below $100. And honestly, even if you’re starting from scratch, the investment is still low—and the transformation is big. With smart material choices and a little DIY hustle, you’ll turn a plain wall into a custom feature you’ll love walking past every day.
Planning the Layout: The Key to a Clean Look
Start by grabbing your tape measure and figuring out how high you want your wainscoting to climb up the wall. A classic height for most rooms is between 32 and 36 inches from the floor, which usually lands somewhere below or just around the height of a doorknob. But the beauty of DIY is flexibility—if you’re working in a room with tall ceilings, you might want to go a little higher for balance, or lower for a more traditional feel. Once you’ve picked your height, grab a pencil and a level (or even better, a laser line if you have one), and draw a straight horizontal line across the wall. That line will be your guide for the top trim piece, and it sets the tone for the entire layout.
Now comes the part that makes everything click: planning your batten layout. These are your vertical trim pieces, and how you space them will determine the entire rhythm and feel of your wainscoting. Start by measuring the total width of your wall, then decide how many panels you want across. A good rule of thumb is to aim for between 14 to 20 inches of space between each batten, but feel free to adjust based on the size of the wall and what looks balanced to your eye. Keep in mind you want all your panels to be evenly spaced, so take the full width of the wall, subtract the total width of the battens, and divide what’s left by the number of spaces between them. That gives you consistent spacing that looks intentional, not improvised.
Be sure to factor in outlets, switches, and any existing features like windowsills or baseboard heaters. You might need to shift one batten slightly left or right to avoid cutting around an outlet—trust me, that kind of foresight saves a lot of frustration later. And don’t skip the sketch. Even a rough drawing on a scrap piece of paper helps you see the layout, spot potential issues, and do a little math to make sure your cuts will land just right.
Taking the time to plan your layout before making your first cut is what separates a rushed weekend project from a clean, professional-looking feature wall. It only takes a few extra minutes, but it makes every step that follows smoother, faster, and way more satisfying.
Installation: Step-by-Step
Start with the baseboard—it sets the visual and physical foundation for your wainscoting. If your wall already has one in place and it matches the look you’re going for, feel free to leave it. But if it’s too narrow, too detailed, or just doesn’t match the vibe of your new wall treatment, this is a great time to swap it out. Installing a simple, squared-off board that matches your vertical trim can really help the whole wall feel cohesive and intentional.
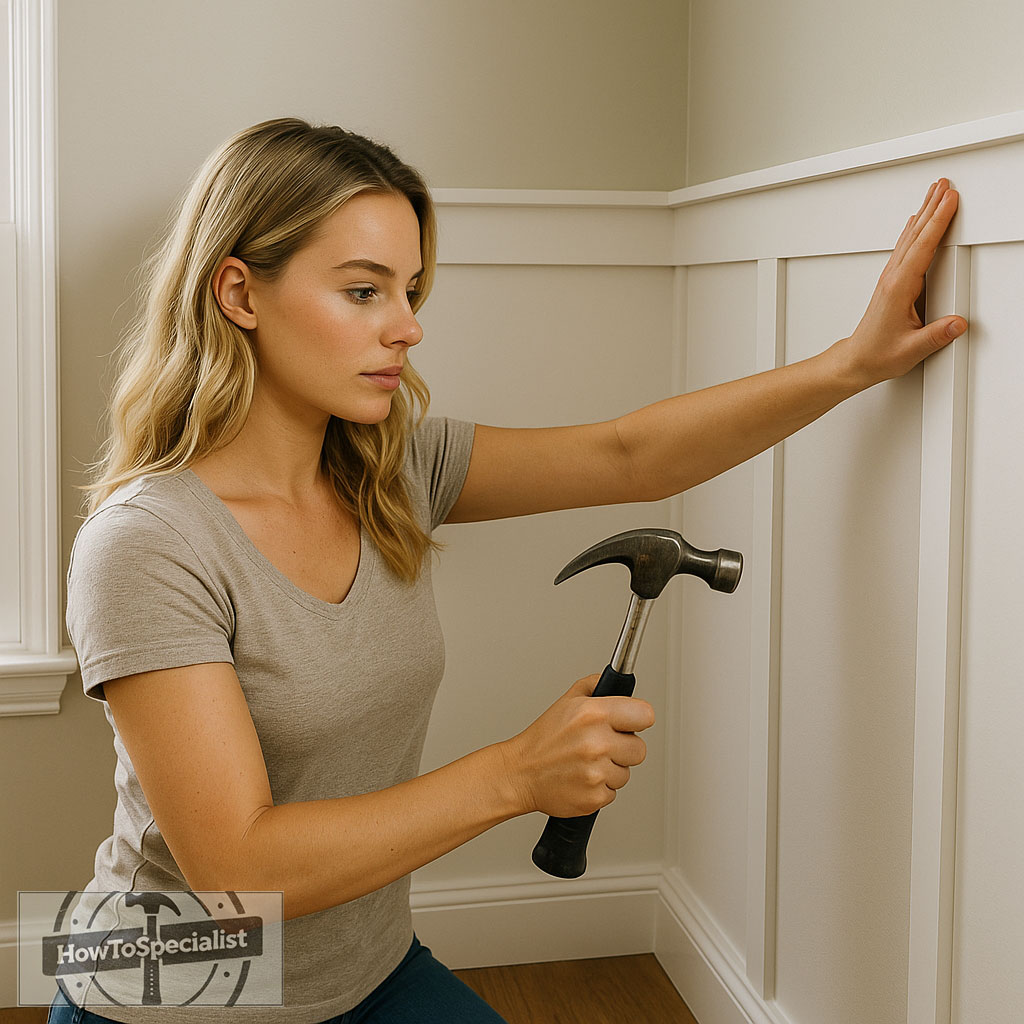
Once the baseboard is in place, move to the top. This will be the horizontal board that runs across the entire width of the wall at the height you marked earlier. Apply a generous bead of construction adhesive to the back of the board, then press it into place and tack it with finish nails to hold it while the adhesive sets. Use your level to make sure it’s straight—this piece defines the top line of your wainscoting, so it needs to be dialed in.
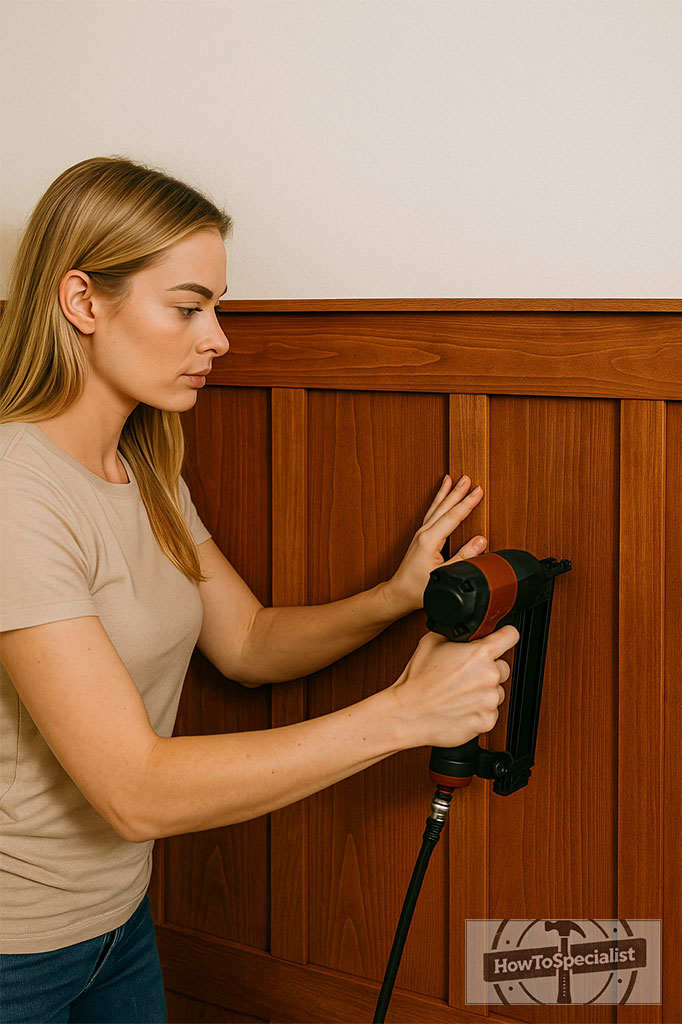
With the top and bottom trim installed, it’s time to start measuring and cutting your vertical battens. These are the pieces that give the wall its rhythm and pattern, so double-check your math and dry-fit each one before attaching it. You’ll want to step back and make sure the spacing looks balanced across the wall before committing. Once you’re happy with the layout, secure the battens using the same method—construction adhesive on the back, finish nails to hold them in place. Make sure to use your level on each batten. Even if your wall isn’t perfectly flat or straight (and let’s face it, most aren’t), keeping your trim boards plumb will trick the eye and make everything look clean and symmetrical.
Once all your boards are in place, it’s time to clean up the details that take your project from “nice DIY” to “wait, did you hire someone for this?” Start by filling in all the nail holes and seams where boards meet using spackle or wood filler. Let it dry, then lightly sand everything smooth. After that, grab your caulk gun and run a thin bead of painter’s caulk along every edge where the trim meets the wall. Smooth it with a damp finger or a caulk tool to create a flawless transition from trim to drywall.
Now comes the fun part—paint. Start with a coat of primer, especially if you’re working with bare wood or MDF. Once that’s dry, follow up with two coats of paint in the color of your choice. A satin or semi-gloss finish is perfect for wainscoting—it’s durable, easy to clean, and gives a soft sheen that highlights all your hard work without overpowering the room. By the time that last coat dries, your plain old wall will be completely transformed, and the room will feel like it got a custom makeover. All that, and you did it yourself.
Tips for a Flawless Finish
If your wall has heavy texture—like knockdown, orange peel, or anything bumpy enough to catch shadows—you might want to take things one step further for that clean, high-end look. The easiest solution is to glue thin hardboard or smooth MDF panels to the lower portion of the wall before attaching your trim. These panels create a flat, uniform surface that mimics traditional paneling and really makes the finished wainscoting feel built-in. It does add a small cost to the project, but the difference in finish quality can be well worth it, especially if you’re going for a polished or more historic vibe.
Once your battens and trim are all installed, resist the urge to pre-paint anything individually. Instead, treat the whole wall as one cohesive surface. Painting everything—trim, battens, and the wall in between—after it’s installed is the secret to getting that rich, seamless, built-in feel. It helps blend the joints, hides imperfections, and gives the whole treatment a solid, unified look. Whether you choose a bold accent color or stick with a classic white or off-white, painting the wall and trim together makes the design feel like it was always meant to be there.
And if you want to take it one step further, consider adding a small ledge or cap molding across the top of your wainscoting. It’s a simple upgrade that makes a big visual impact. A shallow 1×2 or a piece of decorative trim can act as a picture rail or mini shelf—perfect for leaning framed art, adding a seasonal touch, or just finishing off the top edge with a little extra detail. It’s subtle, but it elevates the entire look and makes your DIY project feel custom and complete.
These little tweaks—the flat backing, the unified paint finish, the top ledge—are what transform basic wainscoting into something truly special. And the best part? You’re still well within budget, but your wall looks like it came straight out of a designer catalog.
Final Thoughts: Big Impact, Small Budget
Wainscoting is one of those upgrades that instantly changes the feel of a room. It adds charm, structure, and a sense of craftsmanship that makes your space feel intentional and pulled together. And the fact that you can pull it off for under $100 makes it one of the best bang-for-your-buck projects in any home.
Whether you’re updating a hallway, dressing up a powder room, or just trying to make a builder-grade space feel custom, this DIY wainscoting project delivers big style without the big cost. Once you finish one wall, you might just find yourself measuring the next one. So go ahead—grab your tape measure, pick your paint, and start transforming your space one board at a time. You’ve got this. And your walls are about to look amazing.