This step by step diy woodworking project is about how to build a double dog house. If you want to learn more about building this project in your backyard, we recommend you to pay attention to the instructions described in the article. Read the information shown in the diagrams with great care and adjust the design of the dog house to suit your needs and to fit your budget.
It is essential to select the lumber with great care before starting the actual construction of the double dog house. Use weather-resistant lumber (pressure-treated lumber) and plywood, but make sure the slats are perfectly straight and in a very good visual condition. Take accurate measurements before adjusting the size of the components to the right size and locking them together.
There many other backyard constructions that you could build for your favorite pets, so make sure you take a close look over the rest of the woodworking projects. In addition, you need to get a look over the part two of the project, if you want to learn more about how to build the roof of the dog house. Plan everything from the very beginning, in order to save time and money. See all my Premium Plans in the Shop.
Made from this plan
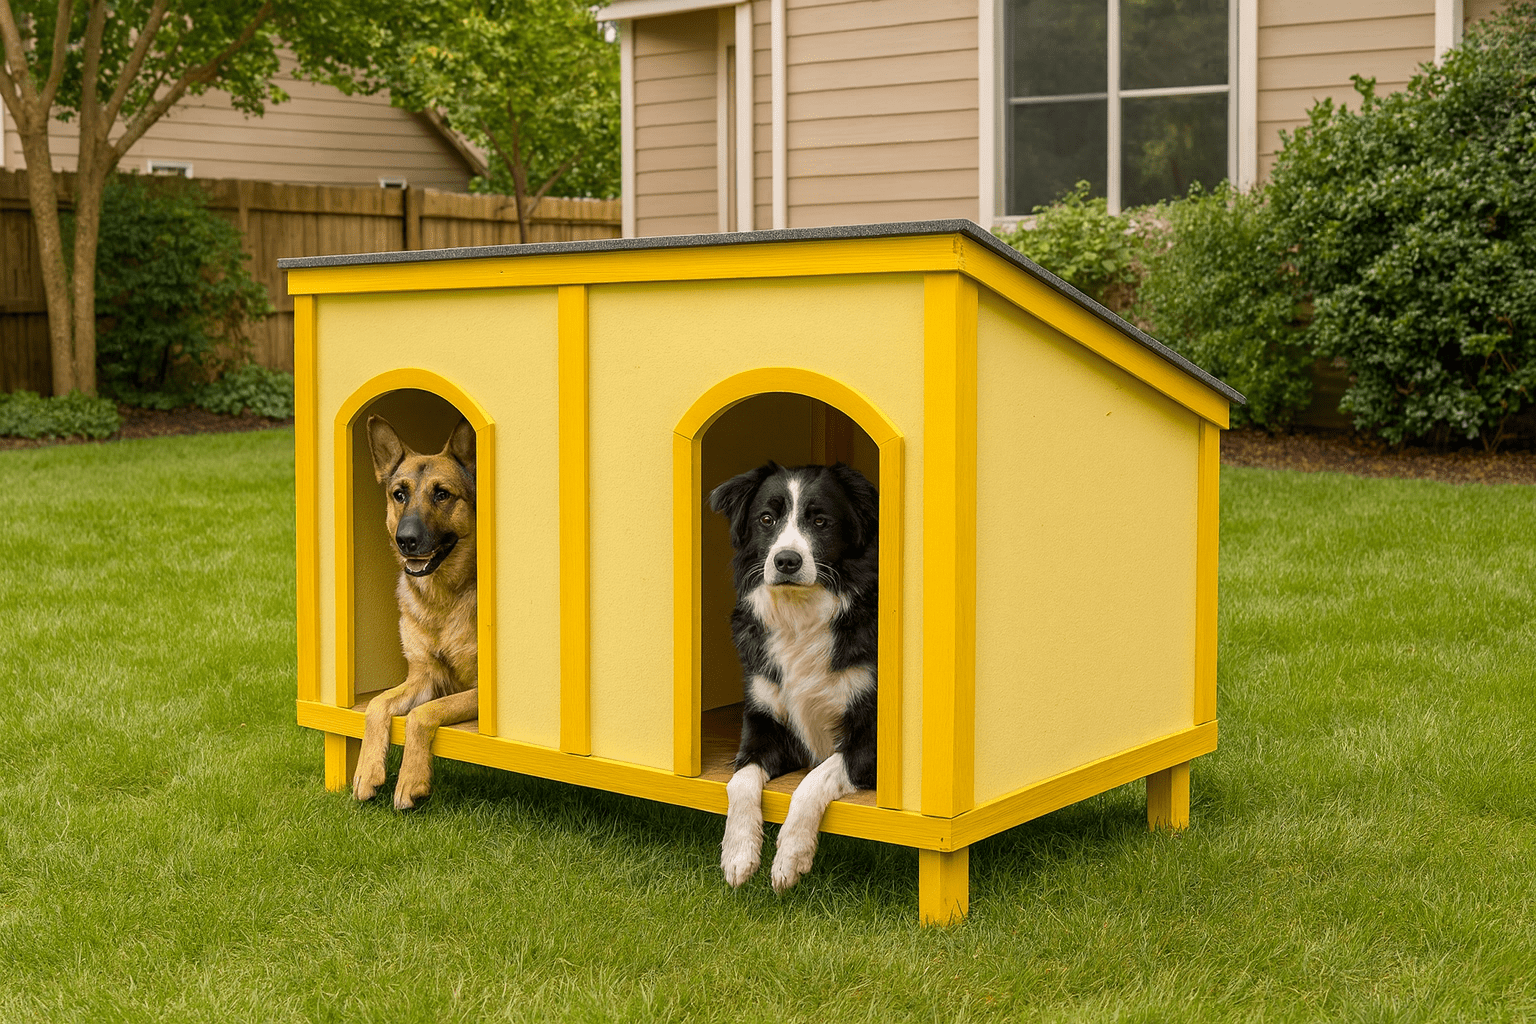
Building a double dog house

Building a double dog house
Materials
- A – 4 pieces of 2×4 lumber – 11 1/2″ long LEGS
- B – “2 pieces of 2×4 lumber 73 1/2″ long, 7 pieces – 36 1/2″ long JOISTS
- C – 1 piece of 3/4″ plywood – 39 1/2″x73 1/2″ long FLOORING
- D – 6 pieces of 2×4 lumber – 33″ long, 6 pieces – 21 1/4″ long, 8 pieces – 36 1/2″ long WALLS
- E – 3 pieces of 1/2″ plywood – 39 1/2″x40″, 1 piece – 27″x74 1/2, 1 piece – 40″x74 1/2″ long WALLS
Tools
- Safety gloves, glasses
- Miter saw, jigsaw
- Chalk line, tape measure, spirit level, carpentry pencil
- Drill machinery and drill bits
Tips
- Apply several coats of wood stain to the wooden components
- Fill the holes with wood filler and smooth the surface
Time
- One Day
Related
- PART 1: How to build a double dog house
- PART 2: How to build a dog house roof
How to build a double dog house

Building the floor frame
The first step of the woodworking project is to build the frame of the floor. In order to get the job done in a professional manner, we recommend you to assemble the frame using 2×4 slats and 2 1/2″ galvanized screws. Cut the components at the right size and lock them together after making sure the corners are right-angled.
Drill pilot holes through the rim joists and insert the galvanized screws into the joists. Cut the legs at the right size and attach them to the frame with screws. Add waterproof glue to the joints in order to create a rigid structure.

Attaching the floor
Cut a piece of 3/4″ plywood at the right size and attach it to the frame of the floor. Make sure the edges are aligned at both ends before inserting the screws and locking it into place. Smooth the cut edges before securing the plywood piece into place, if you want to get the job done in a professional manner.

Building the front wall frames
Building the front wall frames is a straight-forward process, but it requires a proper planning and quality materials. Use pressure-treated lumber to build the components but make sure the measurements are really accurate. Lay the wall frames into place and secure them to the flooring with screws and waterproof glue.

Building the back walls
Continue the project in the same manner described above. Cut the components properly and assemble the wall frame on a level surface before fitting them into place. Plumb the wall frames with a spirit level before locking them into place.

Building the front face
Fitting the front wall is a simple step, but you need to take accurate measurements and to invest in weather-resistant 3/4″ plywood. Make the door openings with a jigsaw after drilling the starting holes. Smooth the cut edges with fine-grit sandpaper in order to prevent your pets from getting injured.

Attaching the back wall
Cut a piece of 3/4″ plywood at the right dimensions and secure it to wall frames with galvanized screws. Align the plywood piece at both ends before inserting the screws.

Building the side walls
Continue the woodworking project by building the side walls and fitting them into place with nails. Mark the cut lines with a pencil before adjusting their size with a circular saw. Attach the pieces of plywood to both sides of the dog house with finishing nails.

Building the partition
Build the partition panel from 1/2″ plywood. Mark the cut lines on the sheet and get the job done with a circular saw.

Fitting the partition
Fit the partition to the frame of the double dog house. Use 2 1/2″ screws to lock the panel into place tightly. Drill pilot holes before inserting the screws, to prevent the wood from splitting.

How to build a double dog house
Last but not least, we recommend you to take care of the finishing touches. Fill the holes with wood filler and let it to dry out for several hours. Afterwards, smooth the wooden surface with fine-grit sandpaper and vacuum the residues.

Thank you for reading our project about how to build a double dog house and we recommend you to check out the rest of the projects. Don’t forget to share our projects with your friends and LIKE us, by using the social media widgets. SUBSCRIBE if you want to be the first that gets our latest articles.
<< Previous | Next >>
14 comments
HUGE error in the materials list for this project. On item B you have “2 pieces of 2×4 lumber – 36 1/2″ long, 7 pieces – 73 1/2″ long” and there’s no way that would fit together to make a floor for this dog house. It needs to be corrected to read “2 pieces of 2×4 lumber 73 1/2″ long, 7 pieces – 36 1/2″ long.”
Thank you for the help. I’ve updated the cut list.
There are no instructions about how to install the separating wall?
Thanks for the feedback. I’ve updated the plans with more information on how to make the partition.
Hi Jack. I’m in the midst of pondering a much needed dog house with a few adjustments, and was wondering if you could give me a hand. I’d like mine to be 72″ wide, by 48″ deep (outside measurements), and for the front face , I was originally thinking of making it 40 inches tall, but then wondered about just going 48, and not cutting the plywood. For the back height, i’d only like it to be 5 – 8 ” shorter, so there is just a bit of a slant for drainage. Could you tell me what the angle cuts would be with these measurements. I’m only wanting one door, as this will be for 3 dogs that get along. Thanks bunches and look forward to your thoughts.
Hi there. For a difference of 5″ the angle is 5.9 degrees. For a difference of 8 degrees the angle is 9.5 degrees. I hope this helps!
Hi Jack, thank you very much. Is there also a way to calculate what the length of the top 2×4’s? The ones that secure the front and back panels, so you can attach your roof. I will be going with 48 in the front, and 40 in the back.
Once you assemble the front and back walls, you just have to measure the distance between them at the top. It is very easy so I’m sure you’ll nail it.
Thanks again!! I can’t wait to get started.
I would like to start building my dog house, using this floor plan. I do not quite understand the 72 degree cuts. I need to buy a miter saw, but they only go 0, 22.5, 45, and 90 degrees. Please help me understand how to make the 72 degree cut, keeping in mind I have limited woodworking skills. Thank you.
For the 72 degree cuts, you need to set the miter saw at 18 degrees. After you make the cut with the saw, the end of the components will have 72 degrees.
That’s kind of what I was thinking. My mind was saying “just start with the 90 degree angle and subtract the 72 degrees, and that should work.” Thank you for verifying that. Just started cutting the floor frame, and can’t wait to finish this. Hopefully my Pyrenees/shepherd and Basset hound will appreciate it, even if just as an escape from our hot Texas sun !
HI Jack,
Where does 8 pieces – 36 1/2″ long WALLS go? I’ve made these 6 pieces of 2×4 lumber – 33″ long, 6 pieces – 21 1/4 cuts and that seem plenty for the front and back wall..
The 36″ long pieces are for the bottom and top plates.