This step by step diy article is about how to finish the base of a pizza oven. If you have followed our instructions and have built a nice outdoor kitchen with a brick pizza oven, you should also get the job done by cement rendering the base and filling the gaps between the flagstone counter-top. If the surface of the base is even, you could get the job done quickly by applying stucco. Otherwise, cement render the walls and let it dry out for several hours, before applying the coats of paint.
If you didn’t know, I have a whole series on how to build an outdoor kitchen. I will carry you through the whole process of building a rustic outdoor kitchen with stove and pizza oven. This is Episode 5 of the Series and I will show you how to cement render the base and how to finish the countertop. All steps are easy to follow and doable by anyone with basic skills and a lot of ambition.
Made from this plan
Materials
- Sharp sand, cement – RENDER
- Pigment – PIGMENT FOR MORTAR
Tools
Tips
- Mix the mortar thoroughly, beofore rendering the walls
- Add pigment in the mortar, if you want to highlight the flagstone counter-top
Time
- One day
Related
- PART 1: Building the base of the pizza oven
- PART 2: Building an outdoor pizza oven
- PART 3: Insulating the brick pizza oven
- PART 4: Building an outdoor stove
- PART 5: Finishing the outdoor pizza oven
- PART 6: Building a shelter for the pizza oven
Finishing the base of the pizza oven
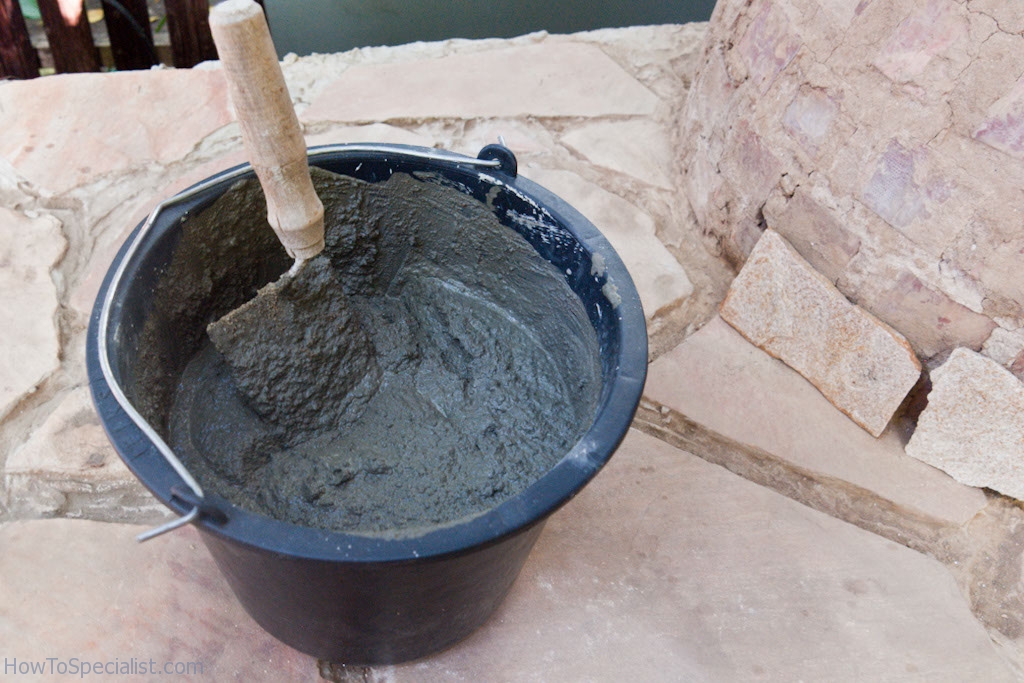
Mixing the cement render
The first step of the project is to mix a small quantity of cement render. Therefore, in order to get the job done in a professional manner, you should mix 3 parts cement to 5 parts sharp sand, until you get a compound with the consistency of cream. In addition, make sure the mortar doesn’t slip off the margin trowel, otherwise it won’t stick to the concrete blocks.
If you want to get the job done in one day, you should start the process in the morning and mix a larger quantity in a wheelbarrow.
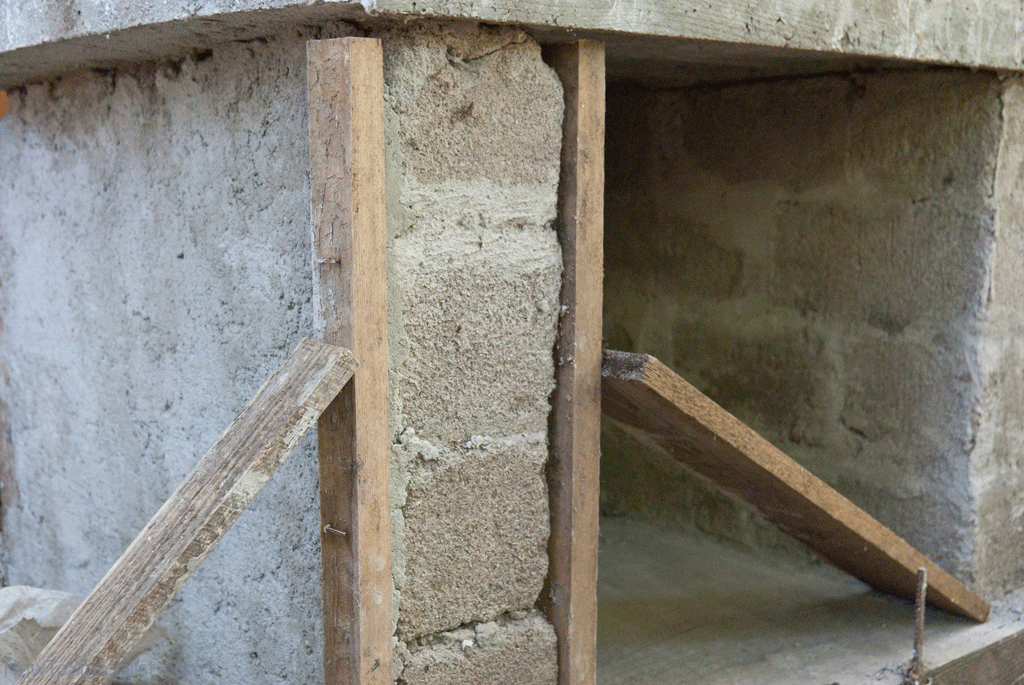
Preparing the surface for rendering
Sprinkle water on the wall before rendering it with mortar. In addition, before throwing the cement render to the base of the pizza oven, you should thoroughly prepare the surface. Therefore, install 1×2 slats at both ends of the surface. Secure the slats to the walls with braces or drive in several screws or concrete nails.
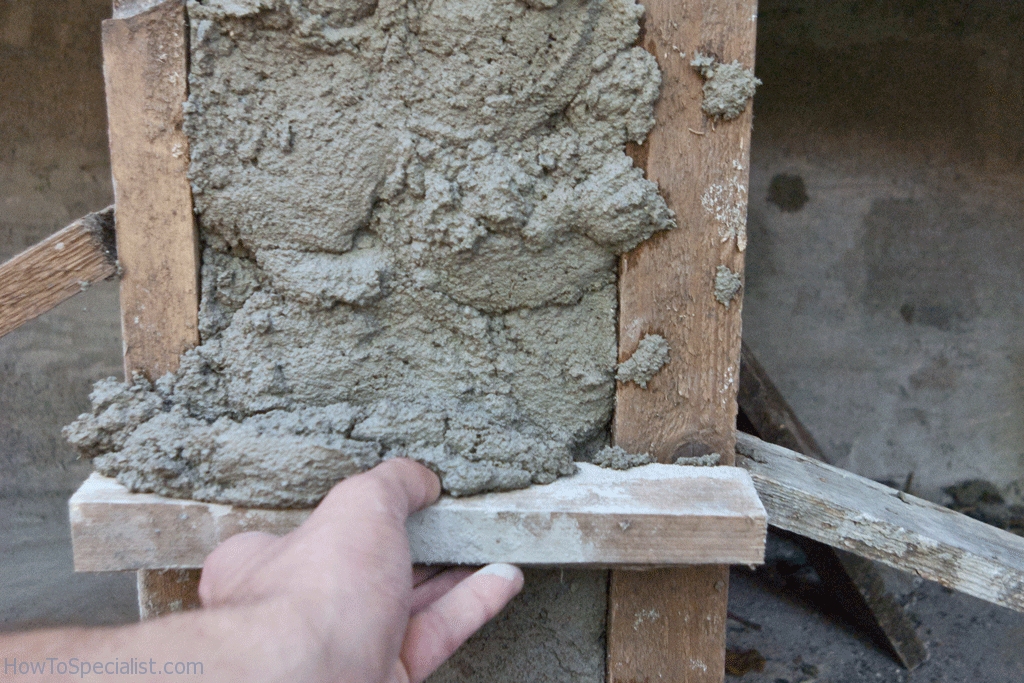
Rendering the base of the kitchen
The next step of the diy project is to throw the mortar to the base of the pizza oven. Use a margin trowel to spread the cement render on the walls. Remember that the layer should be as even as possible, otherwise you would have to repeat the process several times.
Let the mortar to dry out a little, for about 10 minutes, before leveling the surface with a straight edge. In order to get the job done, you should move the straight edge like sawing. You can reuse the excess material, my mixing it again.

Brick oven plans
Continue to finish the base of the outdoor kitchen, in the same manner as described above. It is essential to check if the surface is even, before getting to the next step of the project. If you don’t like the rough look of the cement render, you should let it dry out properly for a couple of days and render it with a finer mix.
Finishing the flagstone counter-top of the kitchen
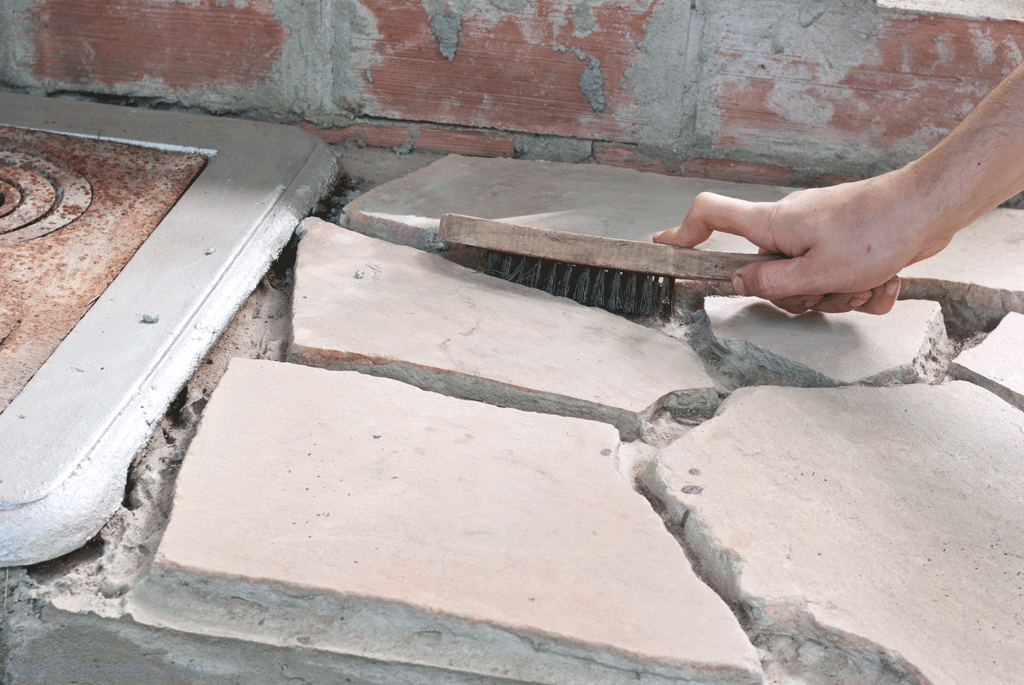
Cleaning the gaps between the stone
In order to finish the base of the pizza oven, you should also fill the gaps between the stone pieces of the counter-top. Nevertheless, before mixing the compound, you should clean the gaps with a wire brush. Next, vacuum the debris until the surface is perfectly clean.
Mix a small quantity of mortar in a bucket, adding 1 part cement to 1 part sharp sand. The compound should be pretty dry, otherwise you won’t be able to spread it properly.
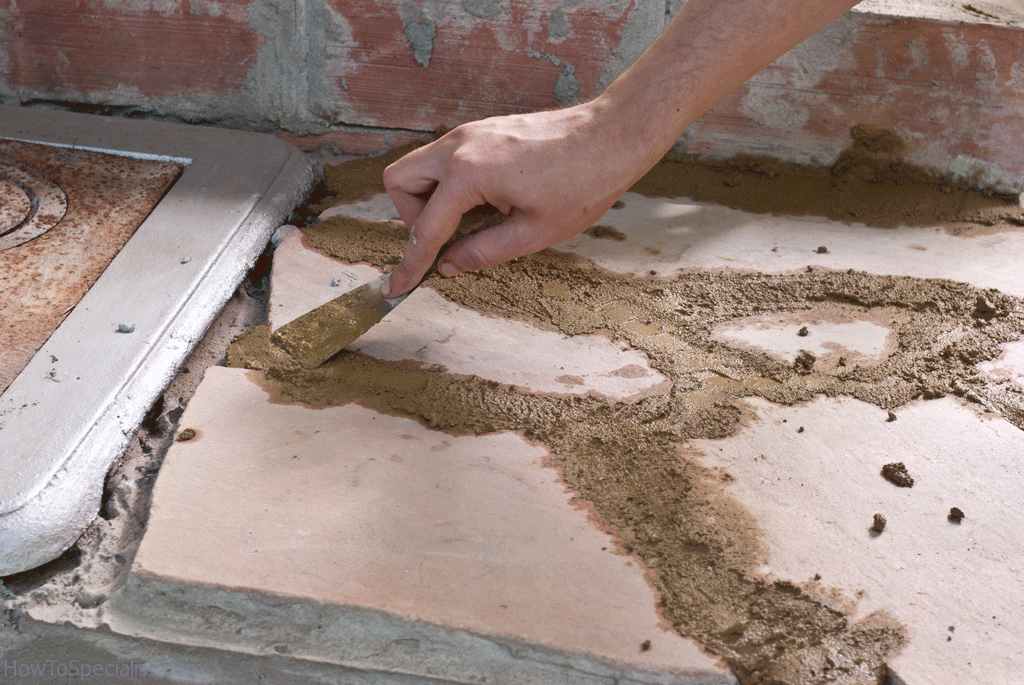
Filling the gaps with mortar
If you really want to highlight the pattern of the flagstone counter-top, we recommend you to add pigment to the mortar. Mix it thoroughly, otherwise it will not bond to the support surface. Use a narrow putty knife to spread the compound between the stone pieces. Work with great attention, as to fill the gaps properly.
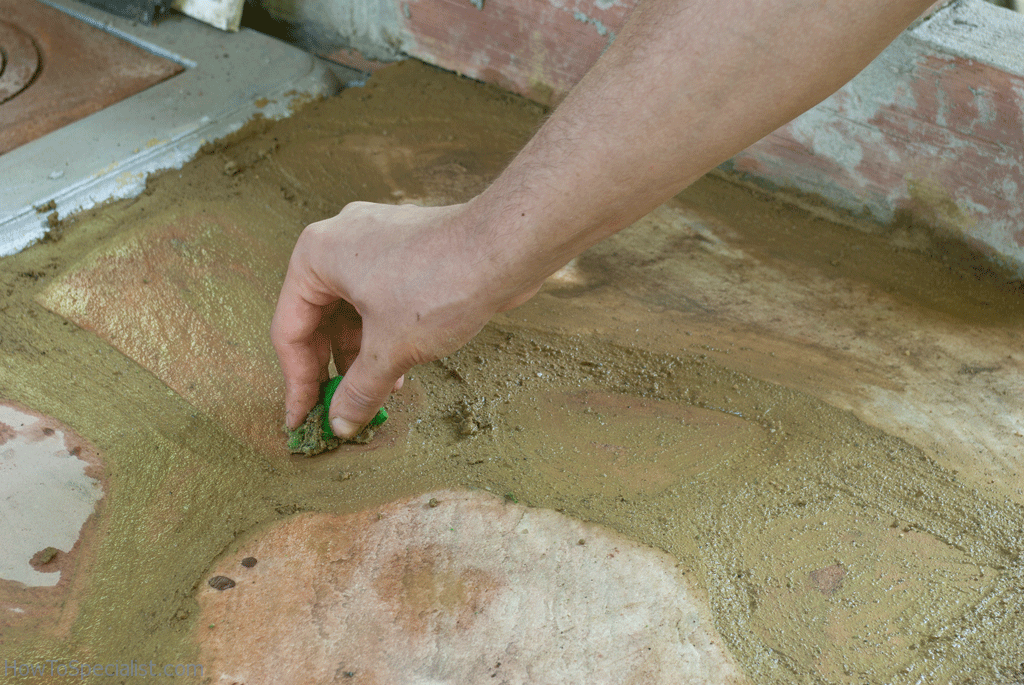
Cleaning the stone pieces
After the mortar has set up a little, it’s time to remove the excess mortar of the stone pieces. If you have to remove a significant amount of concrete, you should use a wire brush, otherwise you could get the job done with a damp brush. In addition, you need a small bowl with water, in order to wash the sponge regularly.
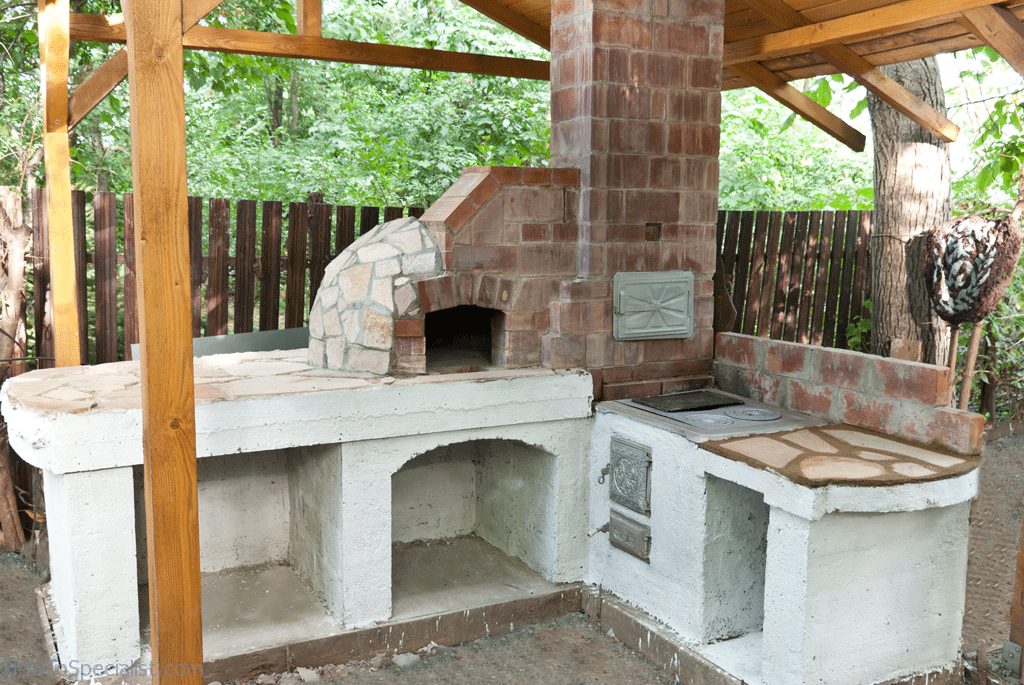
How to finish the base of a pizza oven
After the concrete dries out, you should continue the project with the finishing touches. Therefore, check if the base of the oven is even and make small repairs if necessary. Next, apply several coats of paint to the base of the oven, in order to enhance the look of your construction. Make sure you take a look over the rest of the Episodes of the Series.
Thank you for reading our article about how to finish the base of a pizza oven and we recommend you to check out the rest of the outdoor kitchen project. Don’t forget to share our project with your friends, if you’ve found this article useful, using the social media widgets.
