This step by step article is about how to grout wall tiles. Grouting tile walls is the last step of a ceramic tile project and it is essential for the durability of the walls, therefore you should use the right tools and techniques if you want to get the job done as a professional. We recommend you to prepare the surface before applying the grout between the wall tiles and to make sure the grout has the right consistency, otherwise the project will take much longer than you have planned. Work with patiance, buy a good grout and pay attention to our tips if you want to same some money and freshen up the look of your bathroom or kitchen.
Grouting wall tiles require several basic skills and techniques, but if you follow our guidelines you won’t face any issues during this project. It is essential to choose the right color of the grout, otherwise you won’t be satisfied with the look of your kitchen / bathroom walls. Therefore, we recommend you to take a piece of wall tile when buying the grout, as it will be much easier to decide the right color for your tastes and needs. Open the pack of colored grout and try to match its color with the wall tiles (in 99% of the cases the dry powder has the same color with the final grout).
Prepare the walls thoroughly before applying the grout, otherwise you might not get the desired color or the grout might crack on the long run. Use a pair of pliers to remove the tile spacers and clean the adhesive residues by using a trowel. After you have cleaned the whole surface, you have to vacuum the dust and particles between the tiles. Clean the excess grout at the right time, otherwise you will have to buy expensive products to remove it off the wall tiles. Nevertheless, if you follow our step by step tutorial, you will get the job done like a pro and you won’t face any of these issues.
Made from this plan
In order to grout wall tiles, you need the following:
Materials
- Grout
- Paper tape
Tools
Tips
- Use a damp sponge to remove the excess grout
- Make sure you fill the gaps properly
Time
- 4 Hours
Preparation before grouting wall tiles
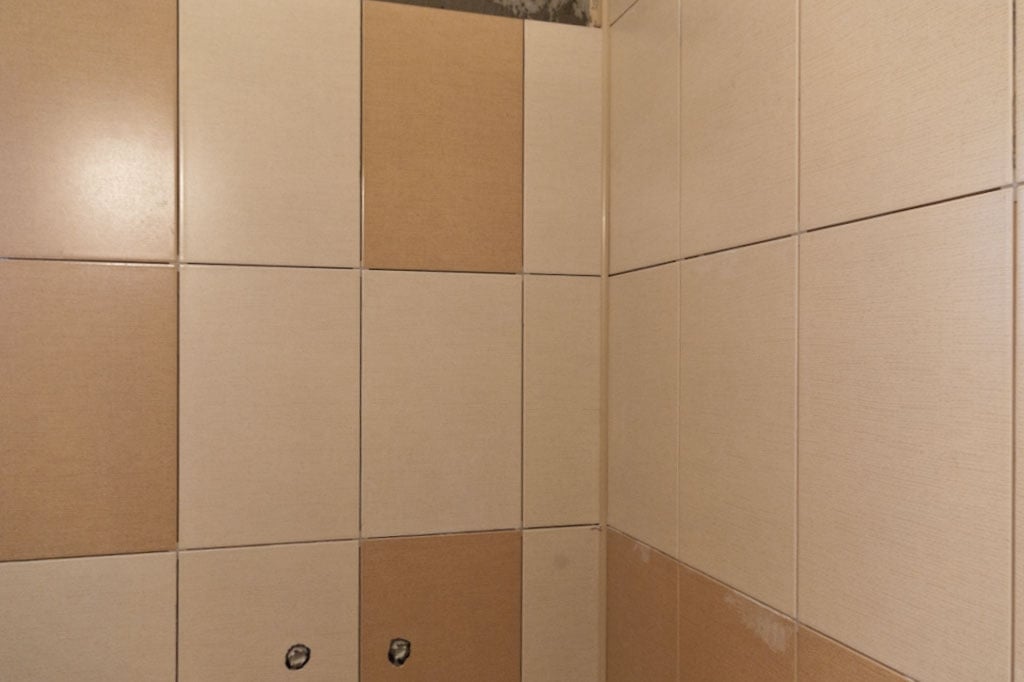
Grouting wall tiles
First of all, you have to check attentively the wall, as some tiles might be cracked or misaligned. If you notice severe issues, you have to solve them before applying the grout.
Before grouting the wall tiles, we have to remove the residues and clean the surface thoroughly otherwise the grout might not adhere or could change its color. Use a semi-dry sponge and remove the thinset off the wall tiles, several times to make sure you start the project with the right foot.
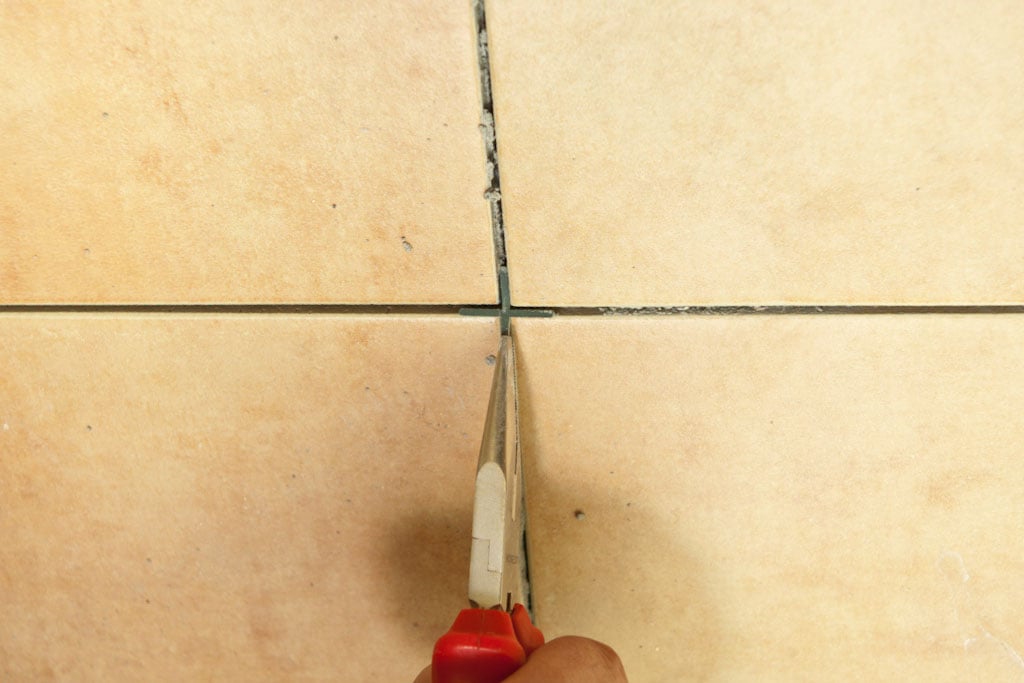
Removing wall tile spacers
Afterwards, we need to remove the plastic spacers between the wall tiles. In order to get the job done, you could use several methods. On one hand, you could use the edge of a trowel to remove the spacers, making sure you don’t damage the tiles.
On the other hand, another method, as effective as the first one, is to use a pair of pliers and to remove the tile spacers. Nevertheless, the pliers will be effective only if the space between the wall tile is large enough to have access.
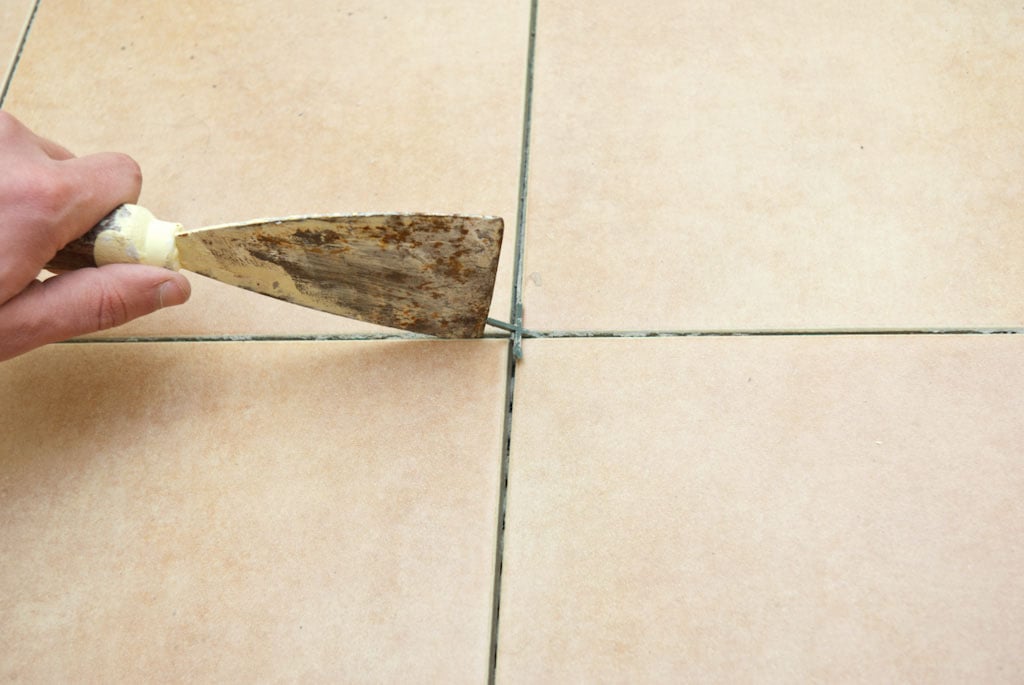
Cleaning the mortar between the tiles
Next, use a trowel to clean the adhesive between the tiles, as in the image. From our own experience, we recommend you to work with great care and good judgement, as the tile edges are very easy to scratch or chip.
Last but not least, use a good vacuum cleaner to remove the dust and the particles between the tiles. Even if it might seem hard to believe, the adhesive would totally change the color of the grout, if you don’t clean it properly.
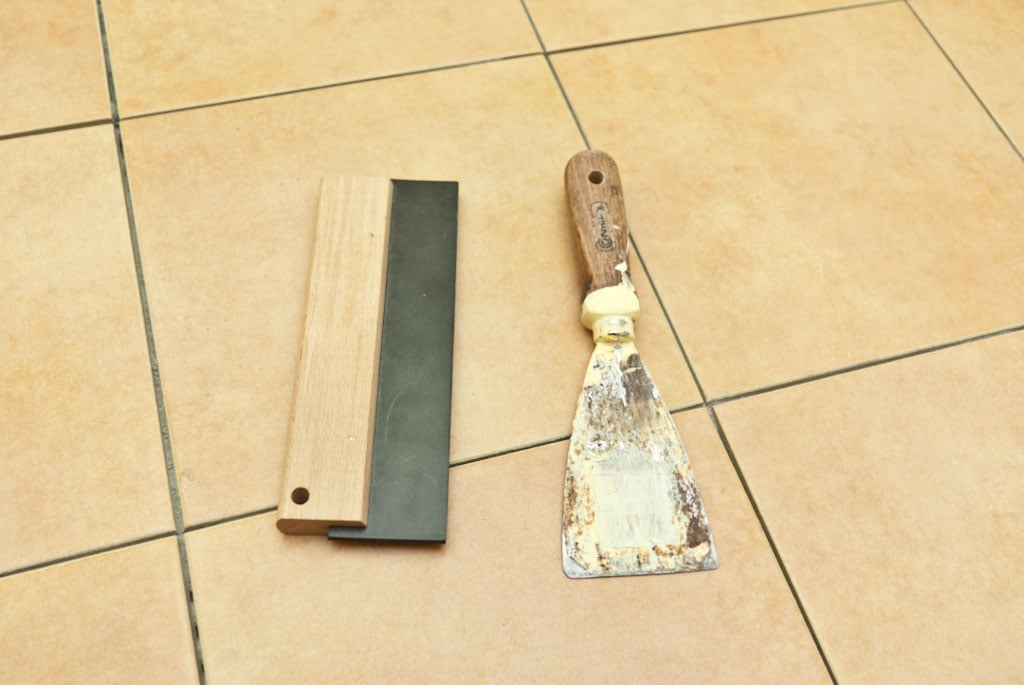
Tools for grouting wall tiles
In order to grout the wall tiles in a professional manner, you need the several tools (they are really cheap and available at any diy store). First of all, you need a small bucket / bowl and a trowel to mix the grout.
Secondly, you need a grout float to apply the grout between the wall tiles. The grouting floats come in different shapes and sizes, but you don’t have to worry about this aspect. Any of these grouting floats are good for a small project, therefore you should pay attention to the essential steps of the grouting process.
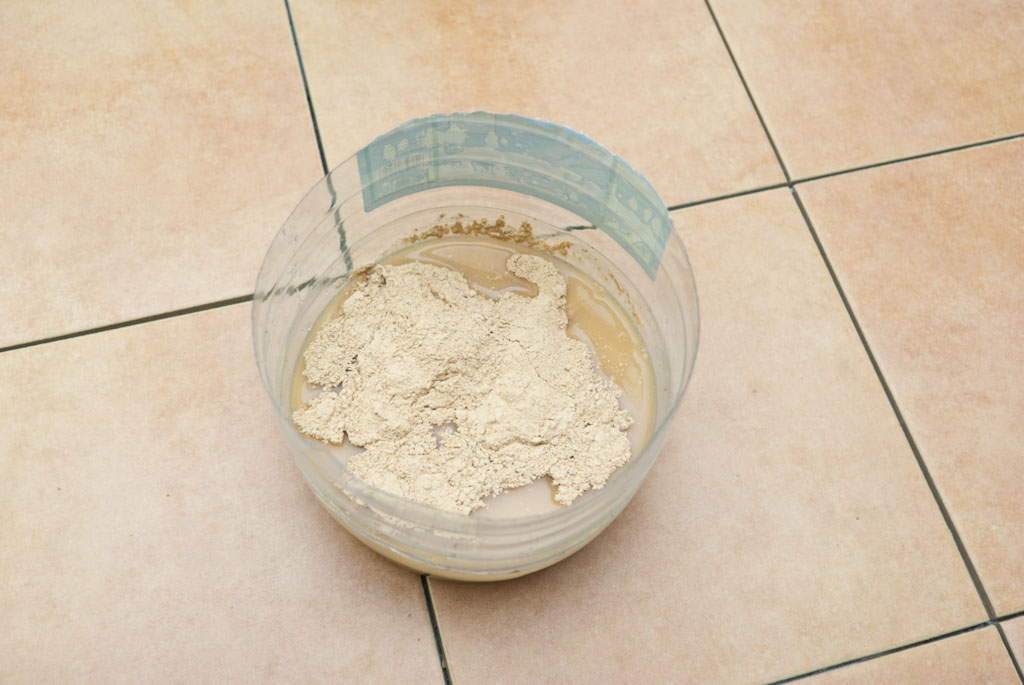
Preparing the grout
Preparing the grout is not difficult, but there are a few secrets you have to know to get the right consistency. Therefore, you should pour a small quantity of water in the bucket and add the grout powder gradually.
Let the grout for about 5-10 minutes before mixing it with the trowel (the water will activate the additives in the grout). Afterwards, mix the grout for about 5 minutes until there are no more dry particles. Getting the right consistency is not hard, but is essential for your tile project.
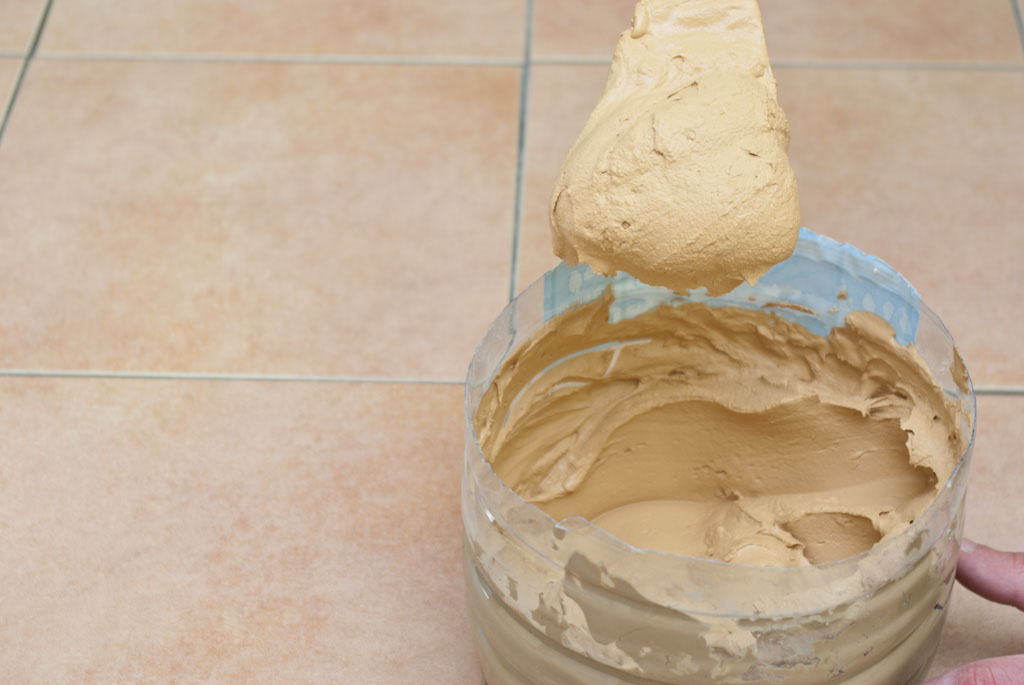
Mixing wall tile grout
If the grout doesn’t fall off the trowel and you can spread it easily, it means that it has the right consistency. Remember that applying a thin grout could lead to major issues (the grout will dry, but it will be like sand).
How to grout wall tiles
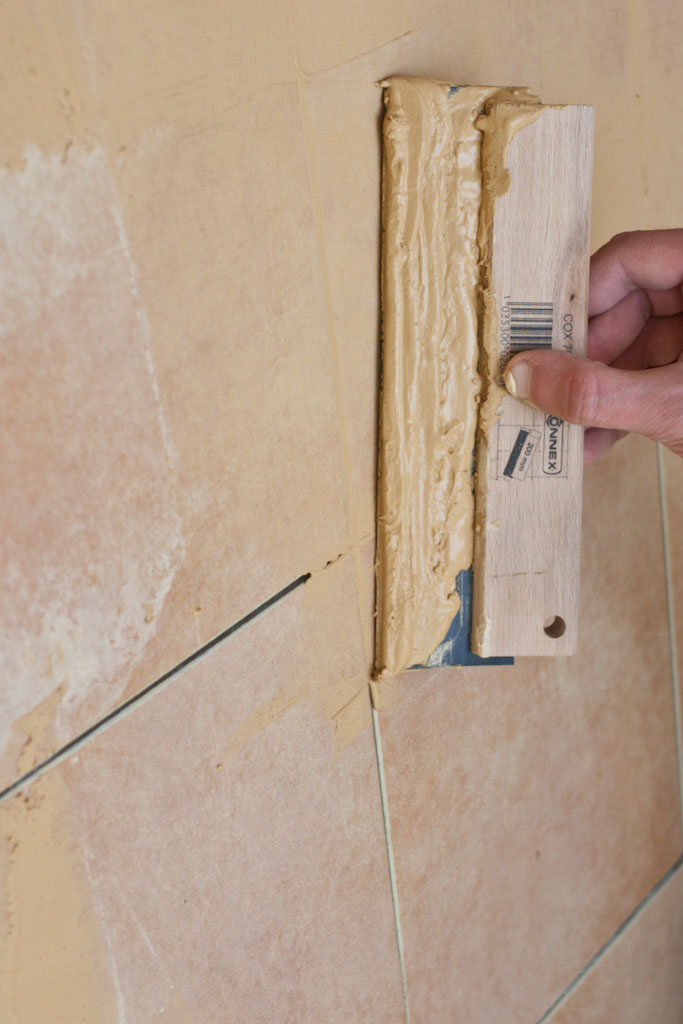
Grouting wall tiles with a float
Start grouting the wall tiles, with the surface close to the ceiling. Use the float to spread the grout in the spaces between the wall tiles. We recommend you to hold the float at about 30-45º and to move it several times over the tiles, to fill the gaps properly. Work with attention, to get the job done quickly and in a professional manner.
Next, remove the excess grout off the tiles with the float, holding it almost vertically (90º). From our experience, the biggest mistake beginners make is to spread a thick layer of grout over that wall tiles. Not only that you waste a lot of material, but the grout is also very hard to clean off the tiles. Therefore, apply the grout on a small surface and then remove the excess with the float. In addition, you should reuse it after you mix it again.
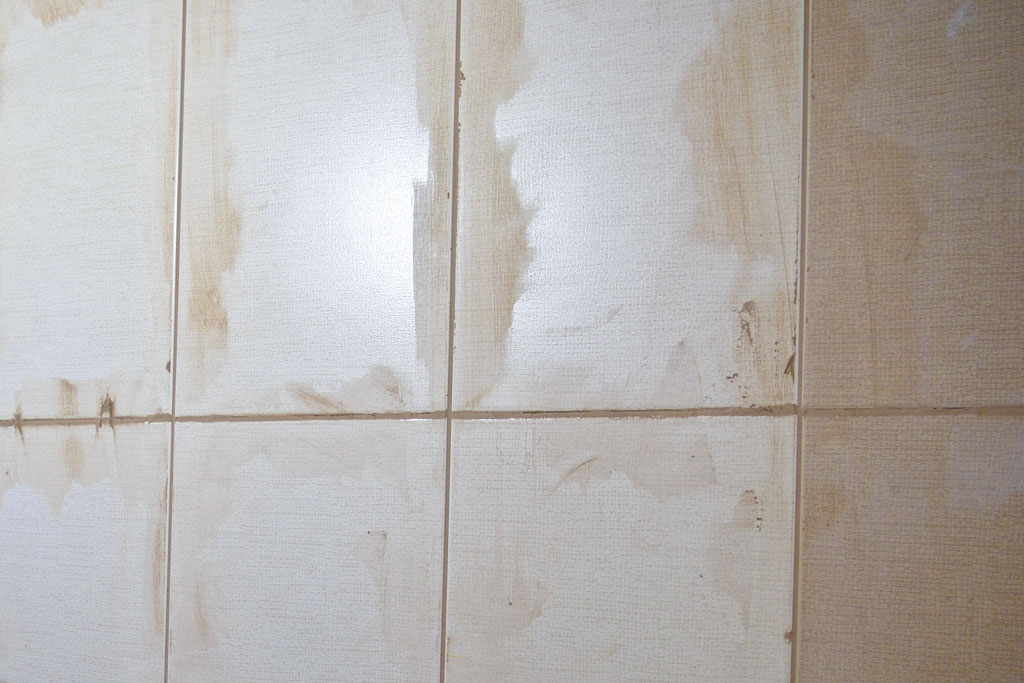
Cleaning excess grout off the wall tiles
After you have spread the grout on the wall tiles, you should wait for about 20 minutes, before cleaning it with a semi-dry sponge or cloth. In this time, we recommend you to clean your tools with water, otherwise you won’t be able to use them again. Check the whole surface again, to see if you have missed a spot.
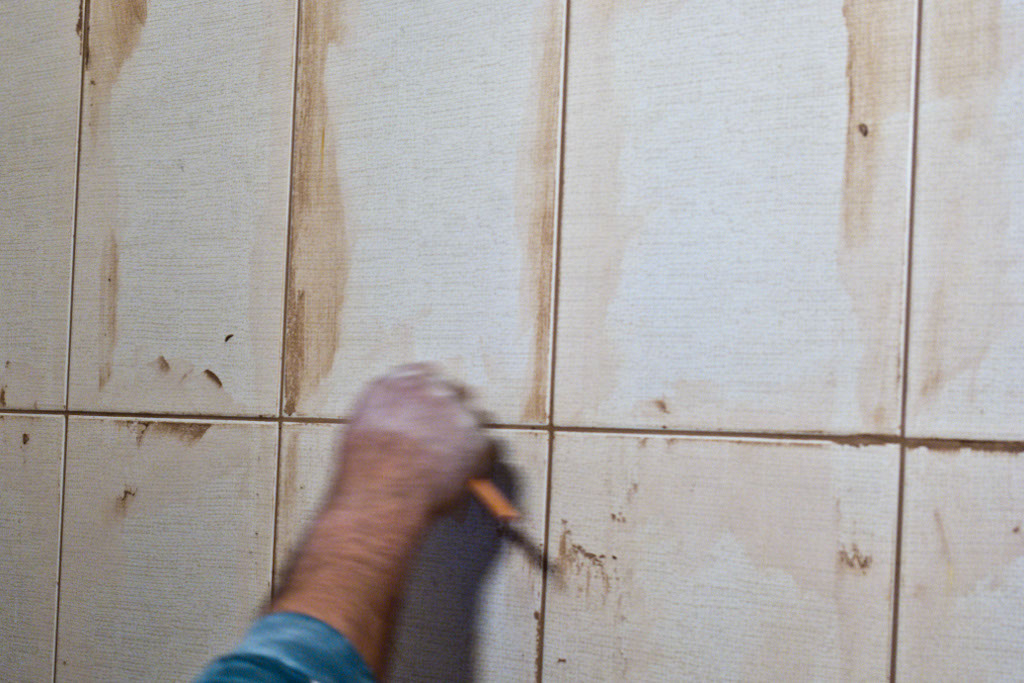
Removing excess grout between wall tiles
Nevertheless, after five minutes, you could use a piece of cable to clean the excess grout between the tiles. This step is not compulsory, but we usually like to remove the grout in this manner. Don’t forget to vacuum the residues, otherwise they will fill the gaps again.
Nevertheless, if you prefer leveling the grout with the wall tiles, you should skip directly to the following step.
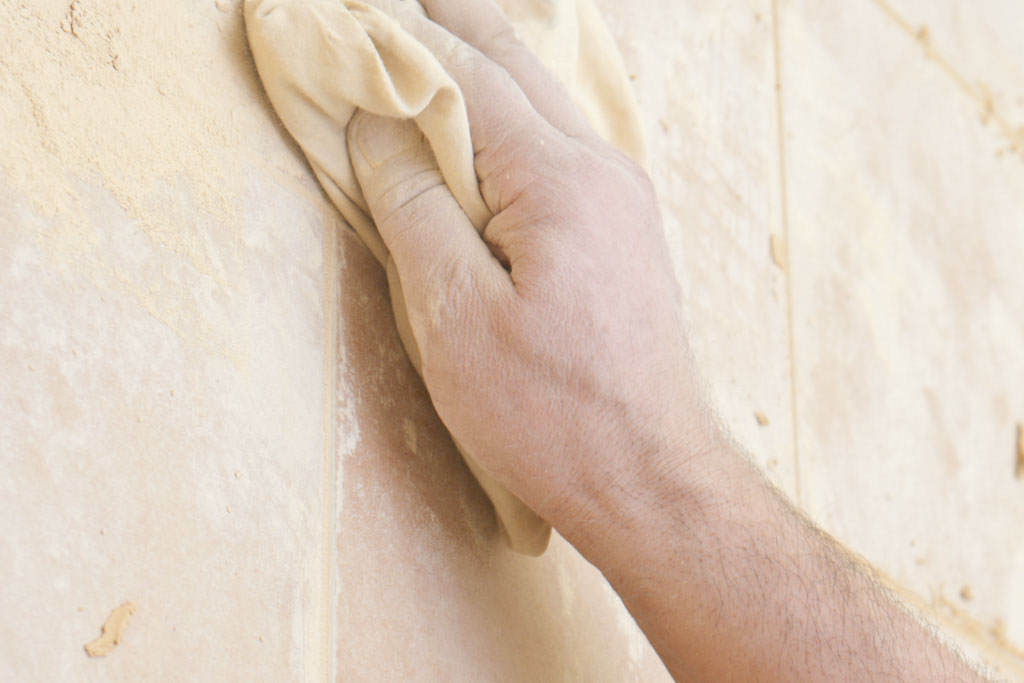
Removing grout off the tiles with a dry cloth
Use a dry and clean cloth to remove the large residues of grout. This shouldn’t take too long, otherwise the grout might dry out until you cover the whole surface. After you have finished removing most of the grout excess, we recommend you to use a damp sponge and clean the rest of it. Work with great care and make sure you don’t damage the grout between the tiles.
If the grout between the tiles comes off easily, then you should wait 5 more minutes before cleaning it. On the contrary, if you find it very difficult to remove the excess grout, you should have cleaned it sooner.
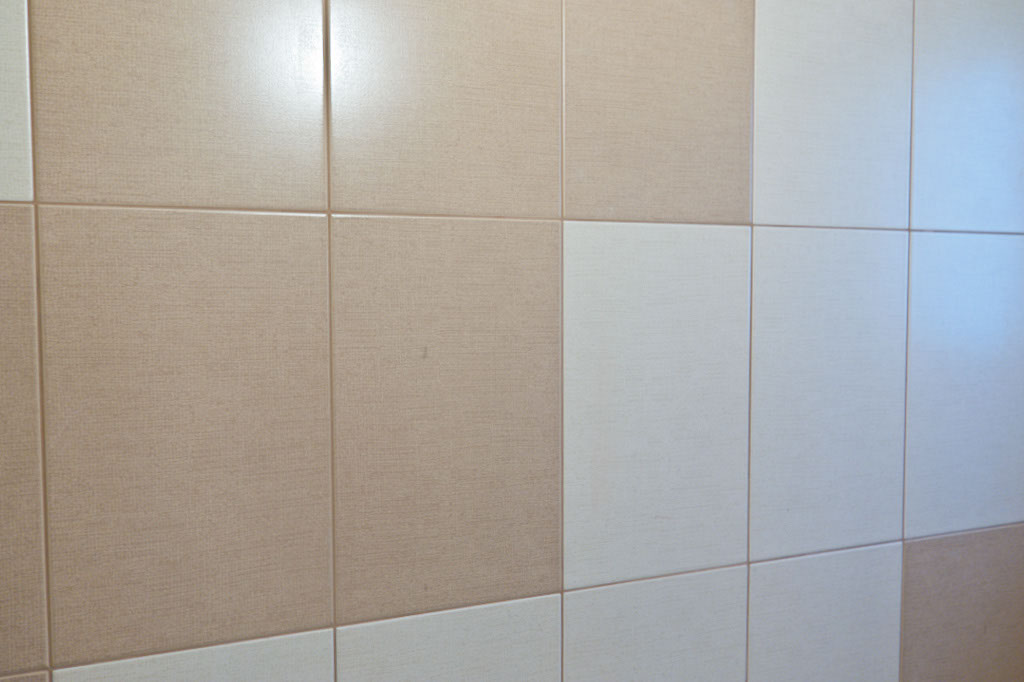
Grouting tile walls
After we have cleaned the whole surface, you can still notice a light haze on the tiles, but we can assure you this is perfectly normal. It is almost impossible to remove the excess grout, from the very first attempt. Nevertheless, if you clean the wall tiles regularly with appropriate products, the haze will disappear in several weeks.
If there are spots of hardened grout you cannot remove, you should try to use a large scrapper or a dump abrasive sponge.
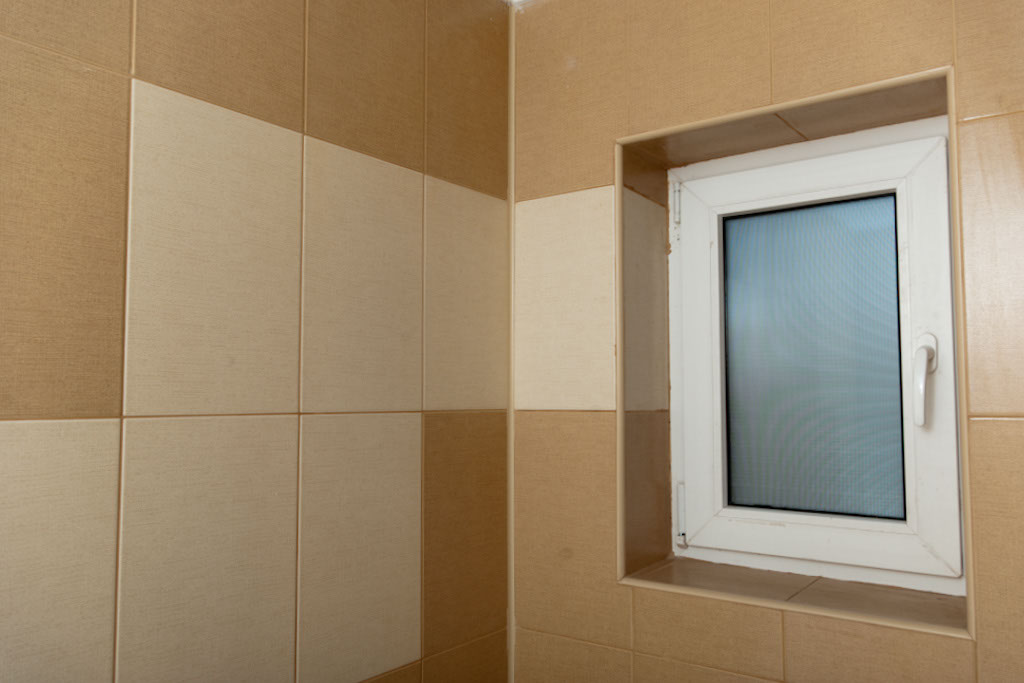
Walls after applying grout
Last but not least, we recommend you to hire a professional if you find this project too complicated. Grouting wall tiles in a professional manner is not as easy as it might seam at first glance. On the contrary, if you don’t follow the right steps and don’t read the instructions labeled on the grout bag, you will face serious obstacles throughout the process.
Thank you for reading our article about how to grout wall tiles and we recommend you to check out the rest of our projects. Don’t forget to SHARE our projects with your friends, by using the social media widgets. LIKE us to be the first that get our latest updates and to help us add more free tutorials.



The Preparing the Grout section says …’Let the grout for about 5-10 minutes before mixing it with the trowel ” ????
You need to let the grout to soak the water, if you are using pouder grout. Reading the instructions labeled on the product is always a great idea.
A good article, many thanks to the author. Just one comment as queried above by Missouri Bob. The section regarding mixing grout may confuse the reader. Perhaps ‘Let’ should read ‘Leave’. Also, a bit confusing stating ‘Let the grout soak the water before mixing’. My understanding is that you mix the powder grout with clean cold water to a thick creamy consistency, then leave for recommended time period, usually only a few minutes, as per instructions on the bag. Then complete a further mix without adding any more water. The grout should then be able to slowly fall off the mixing towel in a creamy clump consistency,…not loose but also, not too thick. Recognising the exact consistency comes with experience and lead to a usable consistency for grouting the tiles.