This article is about how to anchor post to concrete. This diy step by step project project is very useful, as when building a deck, a railing or a fence, you need to anchor posts to concrete. The techniques needed to attach the wooden posts to concrete are straightforward, as anyone can get the job done very quickly. First of all you have to buy the post, as to know its dimensions when buying the hardware post anchors.
The post anchors come in many forms and dimensions: from standoff post base, up to uplift post base. In addition there are regular post anchors, for home improvement projects, and heavy duty post anchors for greater stability. Irrespective of your needs, you also have to know that there are also adjustable anchors, for attaching posts to an unleveled concrete surface. They are more expensive, but at least you know you are able adjust the height of the posts, as to make sure they are perfectly aligned one with another. See all my Premium Plans in the Shop.
In order to anchor post to concrete, you need the following tools and materials:
Materials
- 4×4 lumber – POSTS
- post anchor – METAL ANCHORS
- 2-3” lag screws – LAG SCREWS
- plastic dowels – DOWELS
- wood primer – PRIMER
- post anchor base
- lag screws
- sleeve bolts
Tools
- Level, measuring tape, framing square, carpenter pencil
- Hammer, rubber hammer, Circular saw
- Drill machine and drill bits
- Electric screwdriver with torque control
Tips
- Read safety and disclaimer pages
- Select with great care the wooden posts, to match the railings design
- Use a good drill machine with torque control
- Before fastening the posts, make sure they are plumb
Setting posts in concrete vs. Using post anchors
When it comes to securing posts for fences, decks, or pergolas, two common methods are setting the post directly in concrete or using a post anchor. Each approach has its pros and cons, and it really depends on the project, the environment, and your long-term goals.
Setting a post in concrete involves digging a hole, placing the post inside, and filling the hole with concrete for a solid, permanent base. This method provides excellent stability and strength, especially for taller or heavier structures. It’s great for projects like fences or large outdoor posts that need to withstand wind or heavy loads. However, one downside is that the post is in constant contact with the concrete, which can lead to moisture buildup and eventual wood rot, even with treated lumber. To extend the post’s lifespan, you can add gravel at the bottom for drainage or coat the base of the post with a waterproofing sealant.
On the other hand, using a post anchor*involves attaching the post to a metal base that’s bolted directly to the concrete. This method keeps the post elevated off the ground, which helps prevent rot by keeping it away from moisture. Post anchors are a smart option for structures that don’t require as much heavy load-bearing, like small pergolas or garden structures. While they might not offer the same level of rigidity as posts set directly in concrete, they are still quite strong, especially when secured with the right hardware. They’re also easier to replace or adjust, which is a big advantage if you need to swap out posts down the line.
Ultimately, if you’re looking for maximum strength and long-term durability in a high-load structure, setting the post in concrete is the way to go. But for smaller, lighter builds – or if you’re concerned about moisture and wood rot—post anchors offer a flexible and more rot-resistant solution. Each method has its place, and understanding the specific needs of your project will help you choose the right one!
Installing post anchor
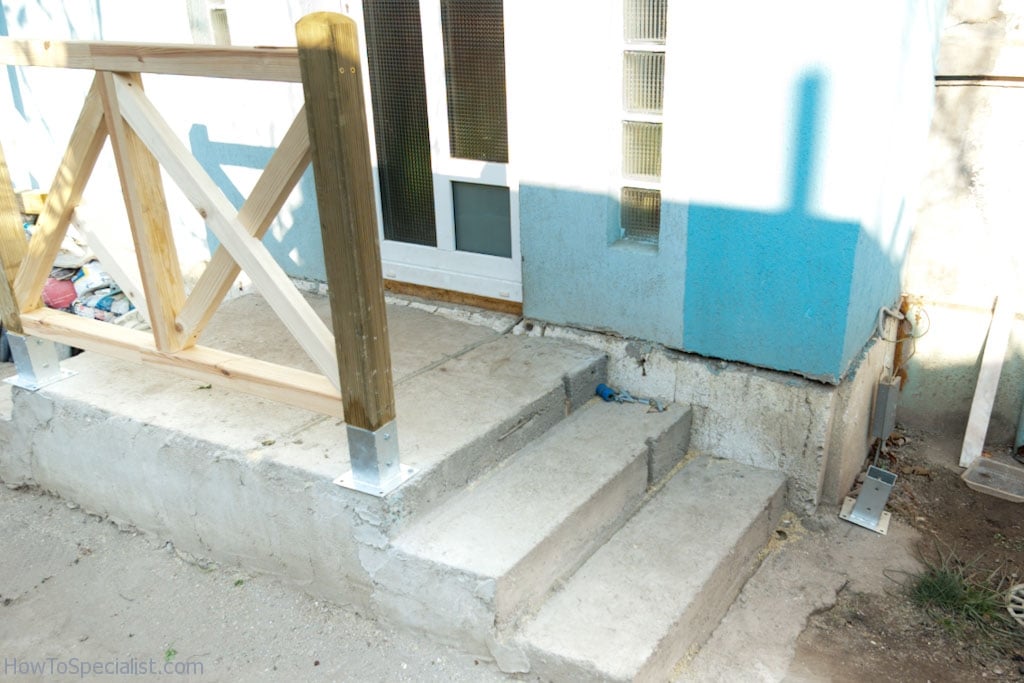
Anchoring post to concrete
In this project, we show you how to anchor post to concrete. In our case, we had to build stair railings and consequently we needed to attach post to concrete.
First of all, you have to take a look on the concrete surface, as to see if it is level. If the concrete flooring isn’t level, then you have to buy adjustable post anchors. Although they are more expensive than regular post anchors, they will allow you to adjust them to the other posts.
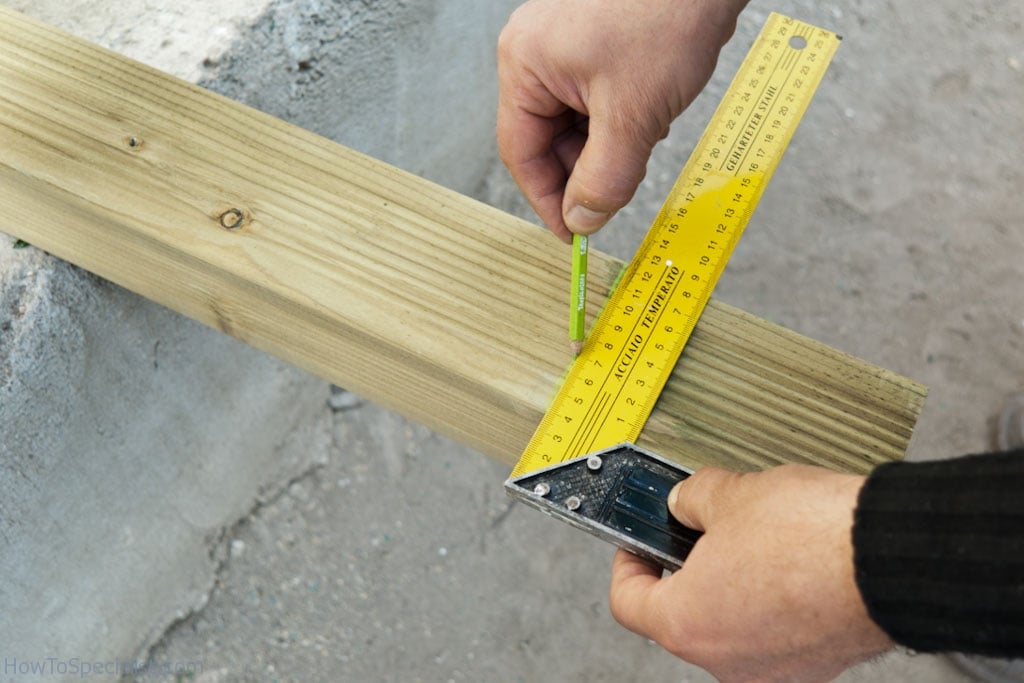
Building wooden post
Next, we have to build the wooden post, that we want to anchor to the concrete platform. Consequently, you could either buy 4×4 pressure treated lumber or buy fancier decorative posts. Irrespective of your choice you have to adjust them to the needed length (usually around 3’/1 m), before fitting them into place.
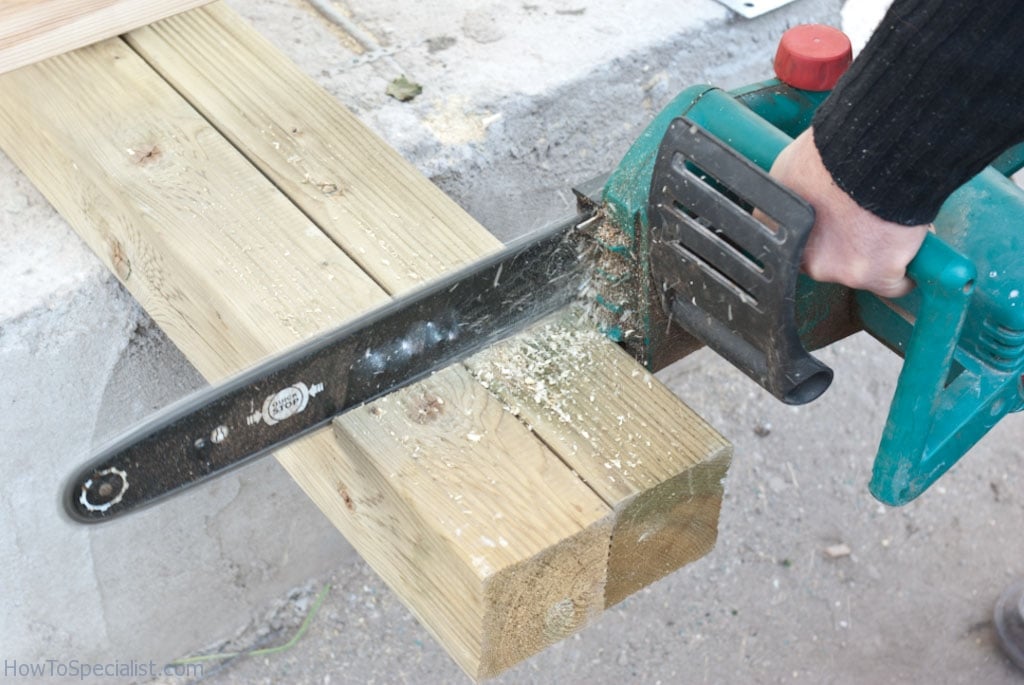
Cutting wooden post
In order to cut the wooden posts we have to use either a circular saw or a wooden chainsaw. We strongly recommend you to use a good circular saw, as it is better for an unexperienced diy-er. We have used the chainsaw, as we were pressured by time.
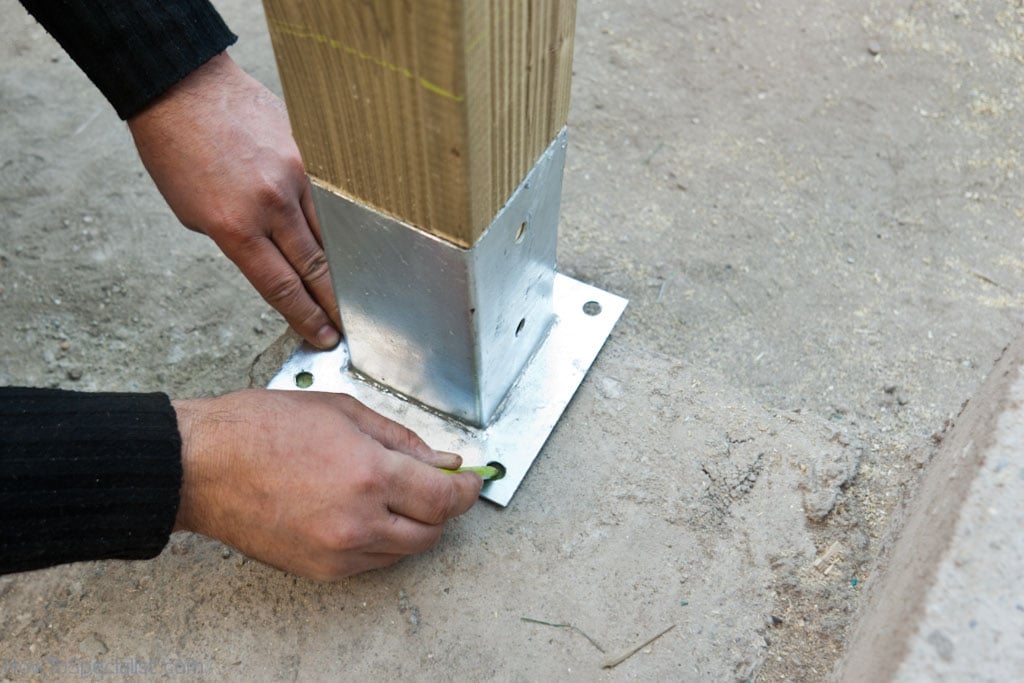
Marking where to install post anchors
After you have adjusted the post to the needed dimensions, you have to install the post anchors to concrete. Consequently, in most of the cases the metal anchors have to be fastened to concrete, with several plastic dowels and lag screws. Align the anchors one with another, before making the marks.
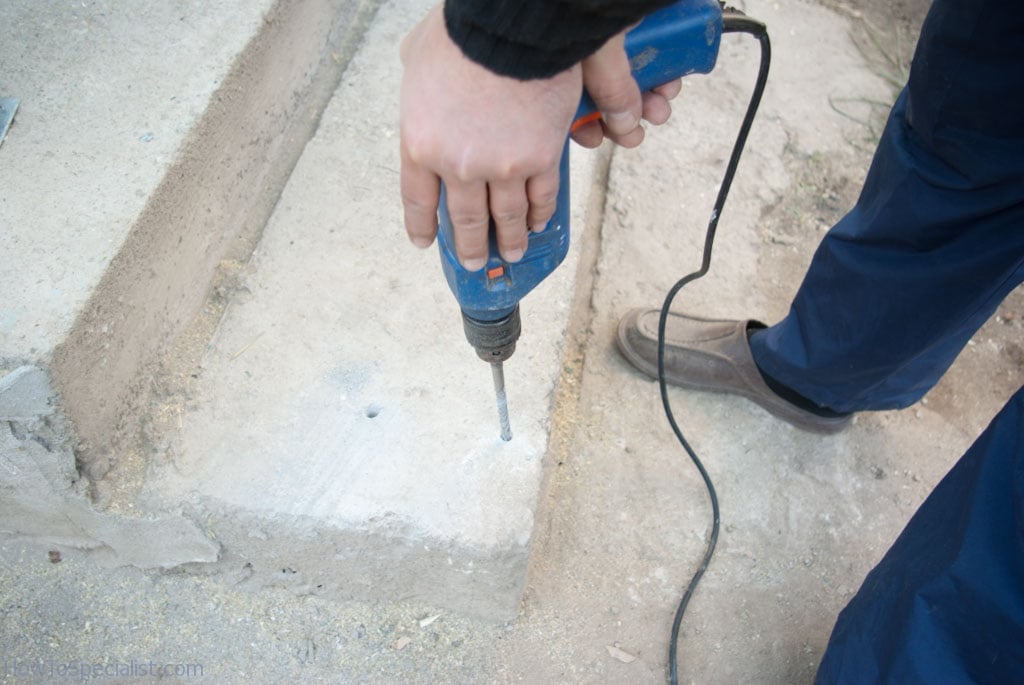
Drilling holes to anchor the post
In order to dill holes in concrete, we used a good drill machinery and masonry drill bits. Make sure the drill bits are in good condition, otherwise you might damage the drill machinery. You can use sleeve bolts as well.
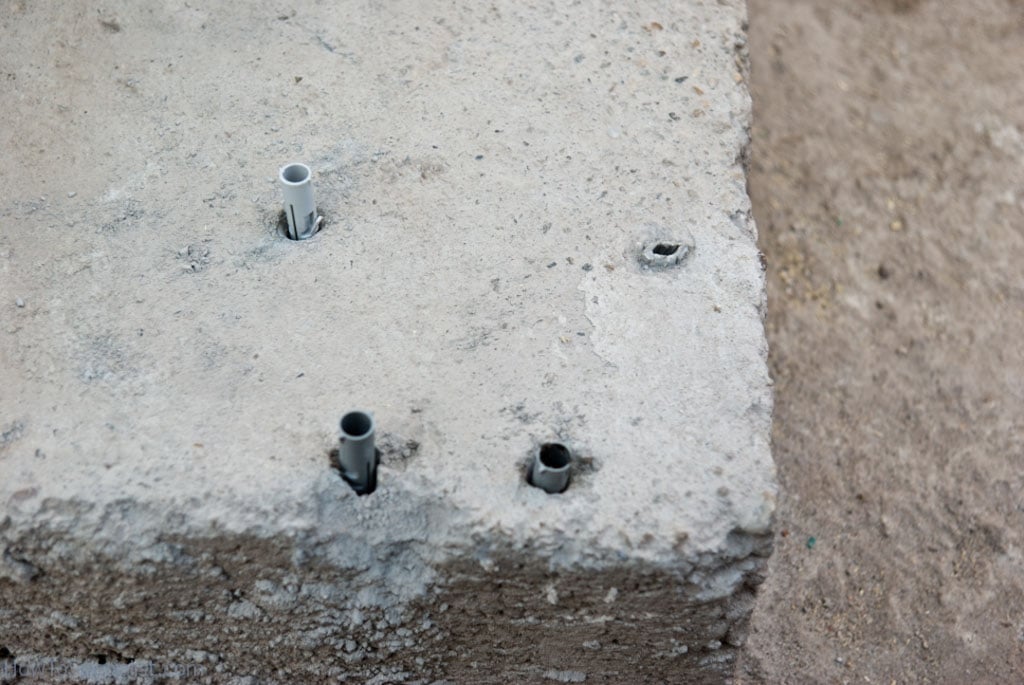
Installing dowels in concrete
After we have drilled the holes in concrete, we have installed plastic anchors, using a rubber mallet. Make sure the heads of the dowels are aligned with the concrete surface, otherwise you won’t be able to install the post anchor properly.
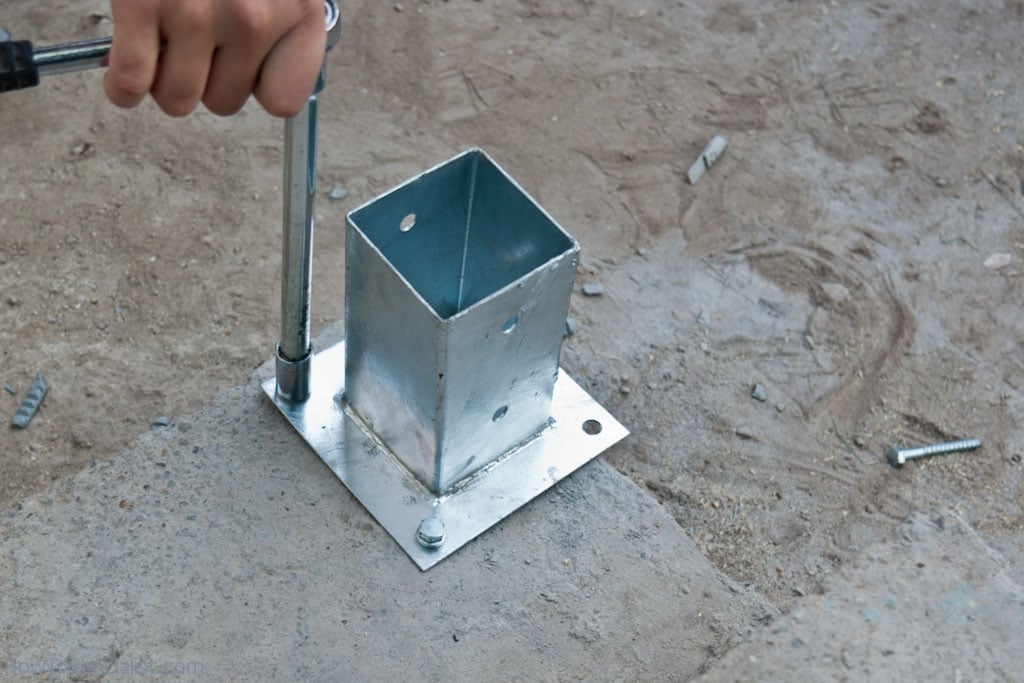
Installing post anchor
Next, after we have inserted the plastic dowels in holes, we have to drive in the screws , as to fasten the post anchor. In order to lock into position the metal hardware, we used a wrench key and 3” lag screws.
How to anchor post to concrete
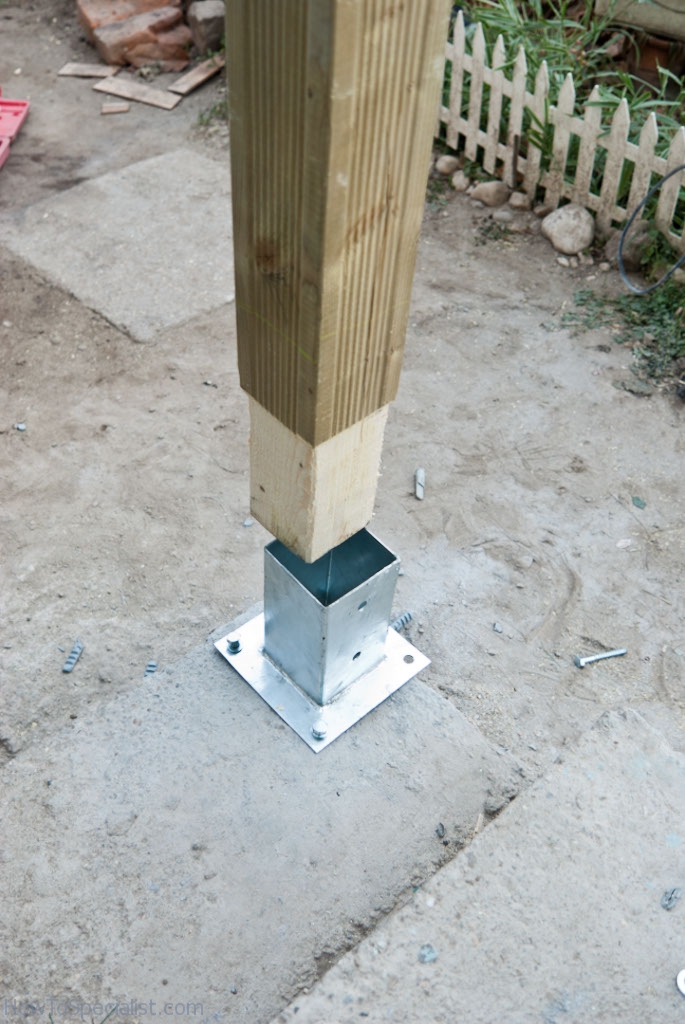
Anchoring post to concrete
After you ensure the post anchors are locked into position, you could proceed to installing the wooden posts. Consequently, in order to anchor a post to concrete, you need to paint its bottom section with wood primer, as to make sure it will resist against moisture. Sand the bottom section with a band sander, it it doesn’t fit in the anchors.
Attach the post in the anchor, tapping it slightly with a rubber mallet, until it sits properly into position, but don’t drive in the lag screws yet.
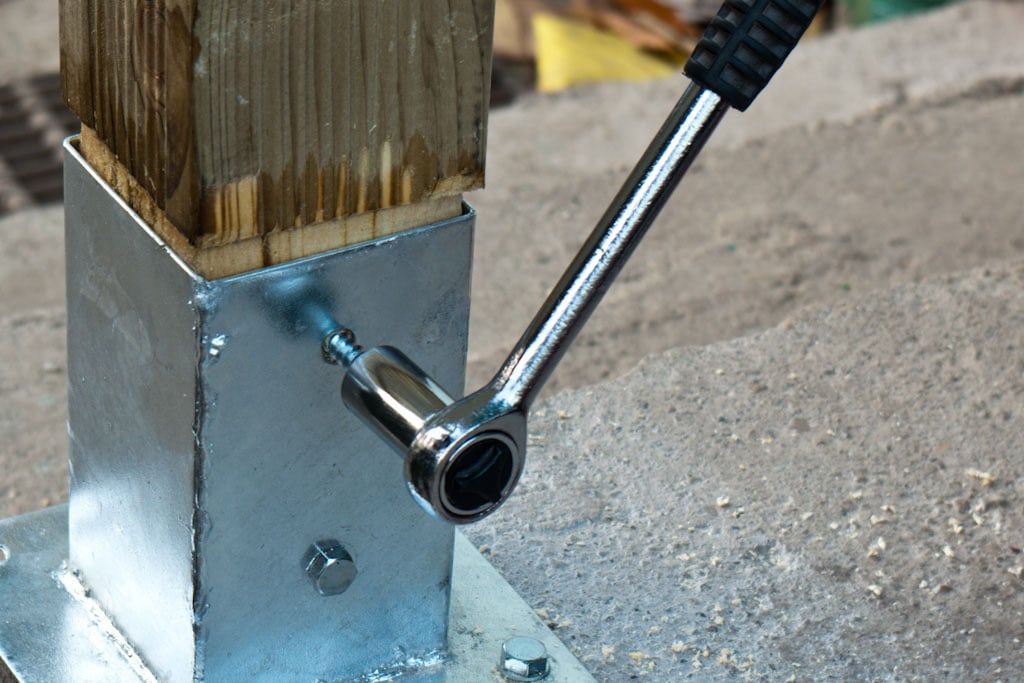
Using a wrench key to drive screws
Use 1 1/2” lag screws to secure the post into position. Consequently, the last step when anchoring a post to concrete, is to drill pilot holes with a drill machinery through the holes in the post anchor. Use a thin drill bit, otherwise the lag screws won’t secure properly the post.
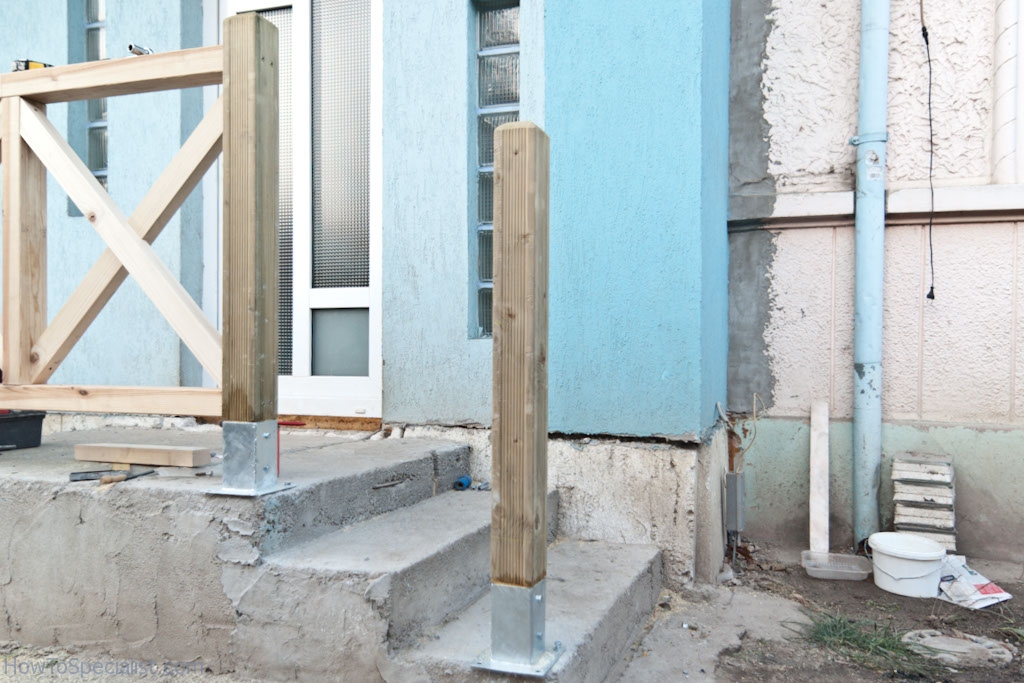
Attaching post to concrete
After driving in the lag screws, we have finished anchoring a post to concrete. The wooden post is plumb, as we have used a spirit level, and it is secured properly with 4 lag screws. There are many types of anchors you could use for your project, therefore use the ones that fit your needs an match the rest of your backyard.
Tips for anchoring a post to concrete
1. Use the Right Anchors: For solid, lasting results, choose heavy-duty post bases made for concrete anchoring. Simpson Strong-Tie is a popular option, as it’s built tough and easy to work with.
2. Drill Accurate Holes: Use a hammer drill with a masonry to drill into the concrete. Make sure your bit matches the size of your anchor bolts for a snug fit. Go slow and steady to avoid cracking the concrete.
3. Clean the holes: After drilling, blow out the dust and debris from the hole with compressed air or a brush—this helps the anchor sit flush and bond better.
4. Secure with Concrete Anchors: Once your post base is aligned, insert **concrete wedge anchors** or expansion bolts through the base and into the holes. Tighten them down to lock everything in place.
5. Use a Level: Before fully securing the post, make sure it’s level on all sides. It’s a lot easier to adjust now than later!
Thank you for reading our article on how to anchor a post to concrete and we recommend you to check out the rest of your projects. Don’t forget to share our projects with your friends, by using the social media widgets.
EXPLORE MORE IDEAS:


12 comments
Where can I get the metal 4×4 post anchors in this arrival?
I bought them from Europe several years ago. I’m sure you can find something similar in the large DIY stores.
What brand of 4×4 mounting brackets are depicted here? They appear much more stout than the Simpson E-Z Base brackets. Would love to get some of these!
Thanks!
As I have already mentioned in the previous comments, I bought the brackets from a DIY store a long time ago. There are generic anchors, no specific brand, so I can’t help you with this. The Simpson brackets should work as well, from what I see.
my God that’s ugly
Looks like the aftermath of hurricane Katrina. Is this a before or after picture ? Mr. Weaver , I concur.
Looks like leftover hurricane debris.
Are my eyes deceiving me or did you not even attach 2 bolts to the post anchor on the lower step??? I’m sure that will hold up just fine…..right.
The step was not aligned with the deck, so they is why half of the base plate is outside the concrete surface. However, everything got covered in concrete and then tiles. Everything holds perfectly after 8 years. I was just showing my project, it doesn’t mean you should install the base anchor like that. I just didn’t have another option have have the railings perfectly aligned.
It’s a great post. Thank you for your time!
Neat heavy duty construction. I like how heavy the two cross beams forming the ‘x’ are, they look like 4 by 4’s. I was wondering how much slope in the concrete necessitated using an adjustable post anchor, and I thought the adjustable anchor was going to account for angle of the post anchor, not the height? I have one post on my fence that will be about 3 inches below the other 3 fence posts and maybe 2 below the one post for the gate, I think I would like to get the adjustable post anchor for at least that one. Do post anchors help the fence to dry out quicker after rain?
i have 82mm x 82mm posts, and cant find a support for this what do i do?