This article is about how to build a bird house. Building bird houses is a fun project, especially if you show your kids how to work with several tools and how to use a regular wooden board to create something unique. On the other hand, you can build a simple and cheap bird house (around 2-5$, according to its complexity) and give it as a gift to someone special. All you need to get the job done in less than an hour is to use a 6” wide wooden board and several basic tools (a jigsaw and a drill machinery with a hole saw drill bit). Nevertheless, before buying the materials or using waste pieces, you need to draw a plan, starting with the dimensions of the wooden bird house up to its final design. From our experience, we recommend you to decide from the very beginning the design of your decorative bird house, otherwise you might not like its final shape.
Remember that you have to use a good wooden board, otherwise your bird house might not be as durable as you plan. In addition, make sure the wood is not treated with toxic substances, if you plan to install it in your backyard. On the other hand, if you want to obtain an unique design, you could reuse several old wooden boards, after you make sure they aren’t rotten. Last but not least, the boards should have the same thicknesses over the whole surface and be as straight as possible.
In order to get the job done in a professional manner, you should use several tools. First of all, you need a jigsaw or a circular saw to cut the main components of the bird house, but a handsaw would work as well, though it would take longer. Next, if you want to obtain a neat result, we recommend you to cut the round entrance using a hole saw drill bit and a drill machinery. Last but not least, you need a hammer to drive in the finishing nails, when locking the bird house together. See all my Premium Plans in the Shop.
Made from this plan
Building a wooden bird house
Materials
- A – 2 pieces of 1×6 lumber – 5″ x 9″ long FACES
- B – 2 pieces of 1×6 lumber – 4″ x 6 1/2″ long SIDES
- C – 1 piece of 1×6 lumber – 4 1/2″ x 8 long, 1 piece – 5 1/2″ x 8″ long ROOF
- D – 1 piece of 1×6 lumber – 3 1/2″ x 4″ long BOTTOM
Tools
- Safety gloves, safety glasses
- Jig saw (to cut the wooden boards)
- Hammer, spirit level, carpentry pencil, L-square
- Drill machinery with a small drill bit
- Hole saw drill bit
Tips
- Design the bird house, before starting the project
- Use quality wooden boards
- Drill pilot holes, before inserting the nails, to avoid splitting the wood
Time
- One hour
Related
How to build a bird house
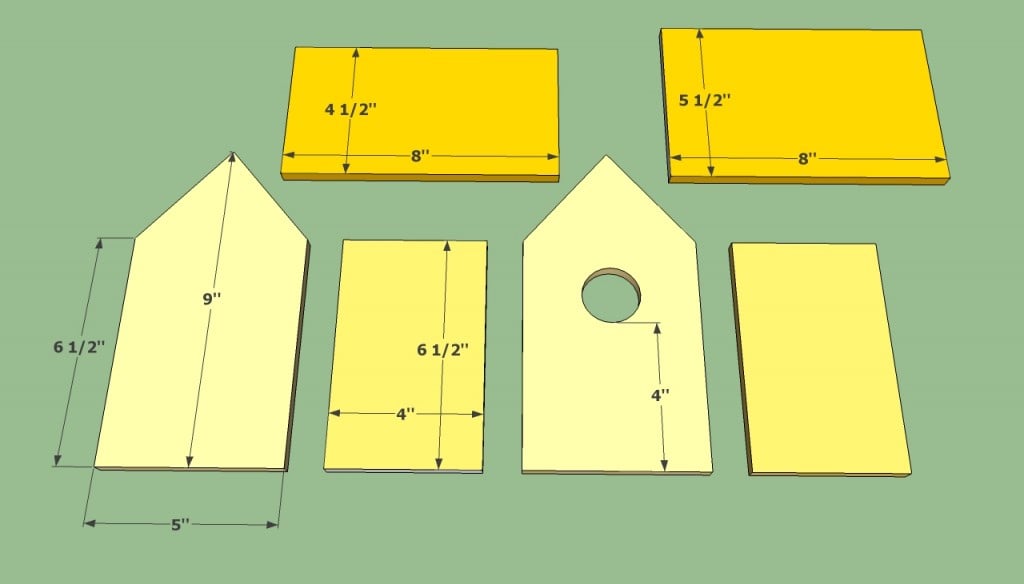
Bird house plans
Step 1: Decide the dimensions of your easy to build birdhouse. If you haven’t built a birdhouse before or if you like our project, you should use the bird house plans you can see in the image. Building birdhouses is a lot easier if you know its dimensions and design from the beginning of your project.
Don’t forget that these dimensions are a starting point and you can adjust these dimensions according to your needs and tastes.
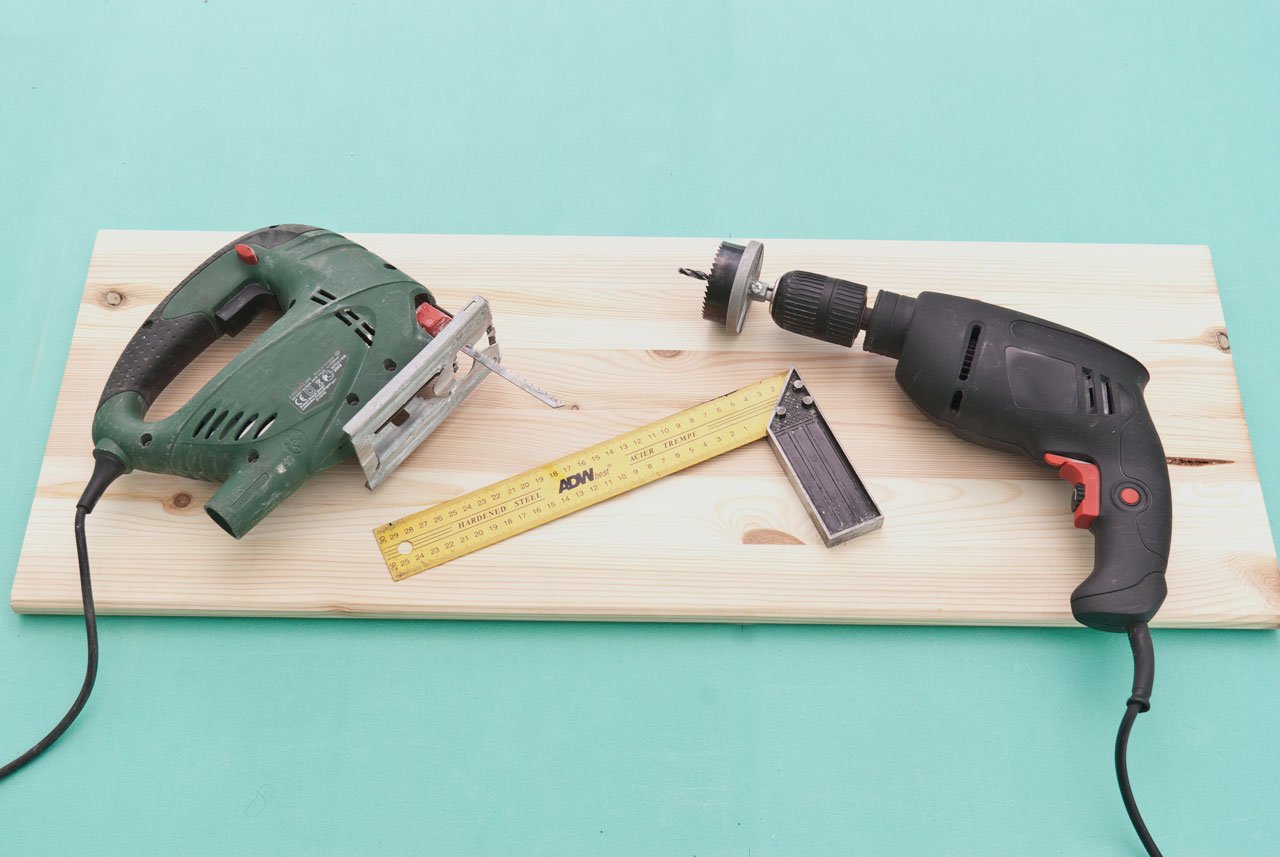
Tools to build a bird house
Step 2: Use the right tools to get the job done in a professional manner. Therefore, we recommend you to use an L-square to draw the components on the board, a jigsaw or a circular saw to cut the wooden pieces and a hole saw to cut the round entrance of the bird house.
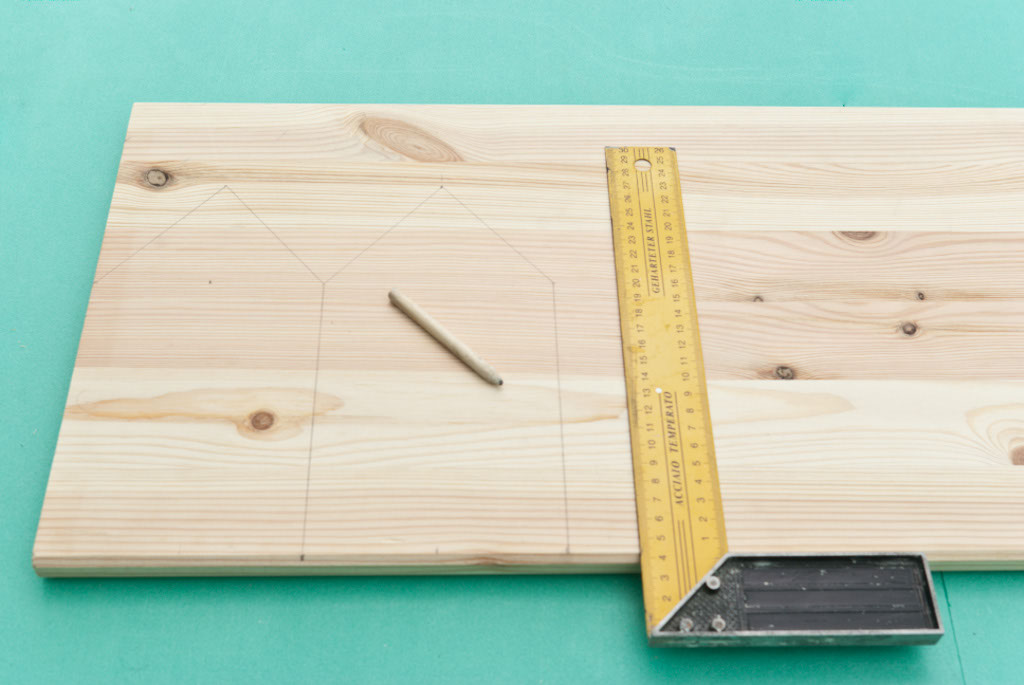
Drawing the front and read gable ends
Step 3: Mark the components on the wooden boards, using an L-square and a carpentry pencil. Work with great care and make sure you use the right dimensions, otherwise the pieces won’t align properly.
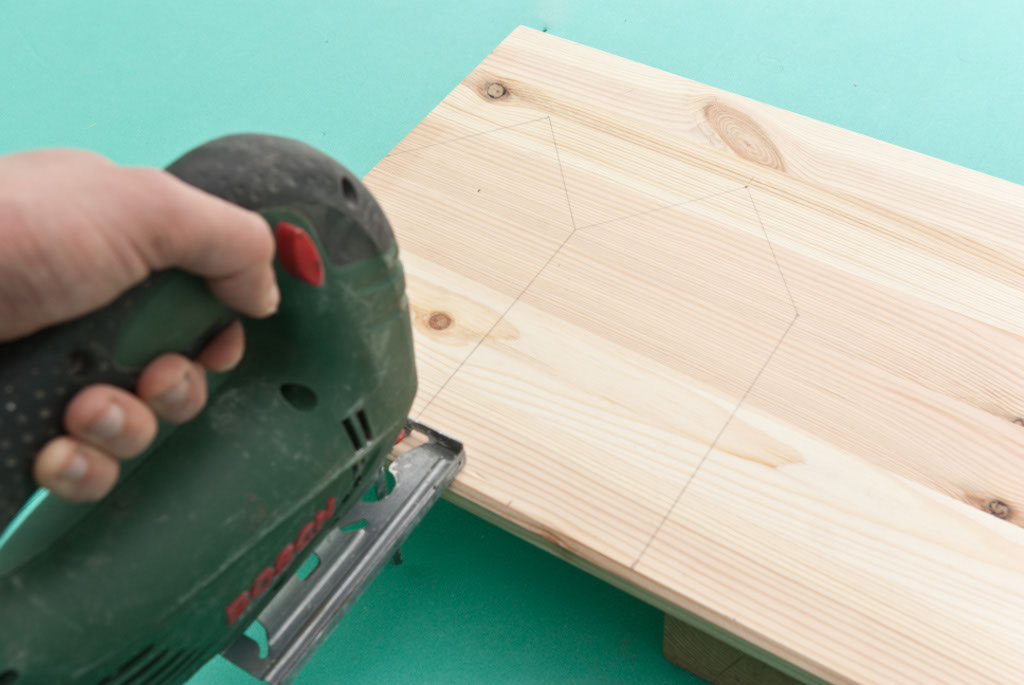
Cutting the wood boards with a jigsaw
Step 4: Use a jigsaw or a circular saw to cut the sides and the front and back ends of the birdhouse. We recommend you to lock the wooden board into place before cutting it, otherwise it might move and damage the components.
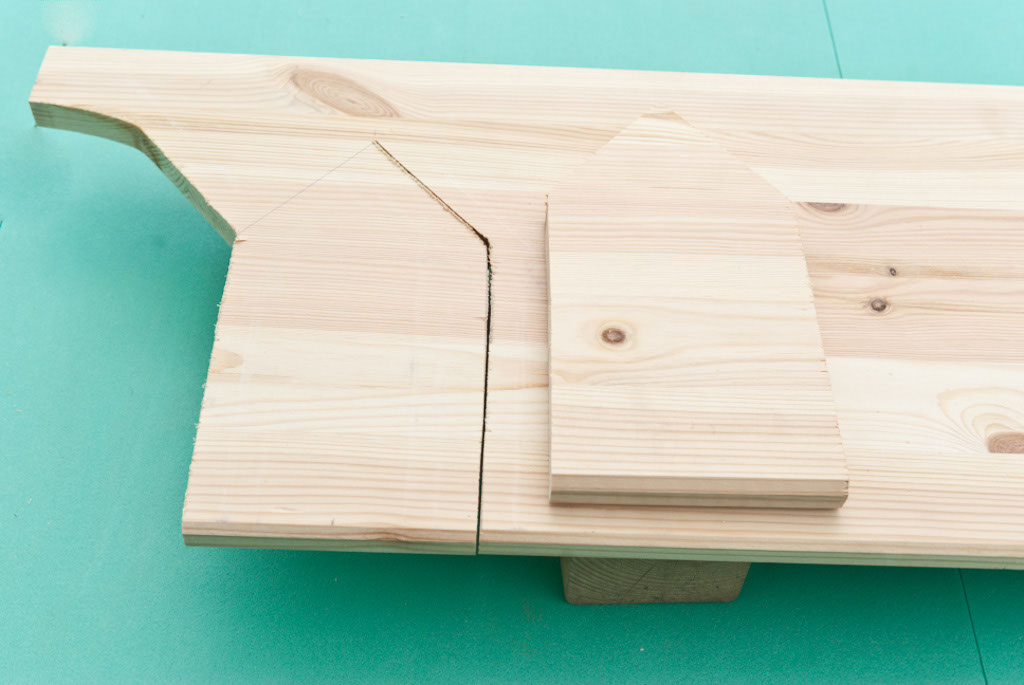
Cutting the front and rear gable ends
One more gable end left to cut. The front of the birdhouse has been cut along the guidance lines
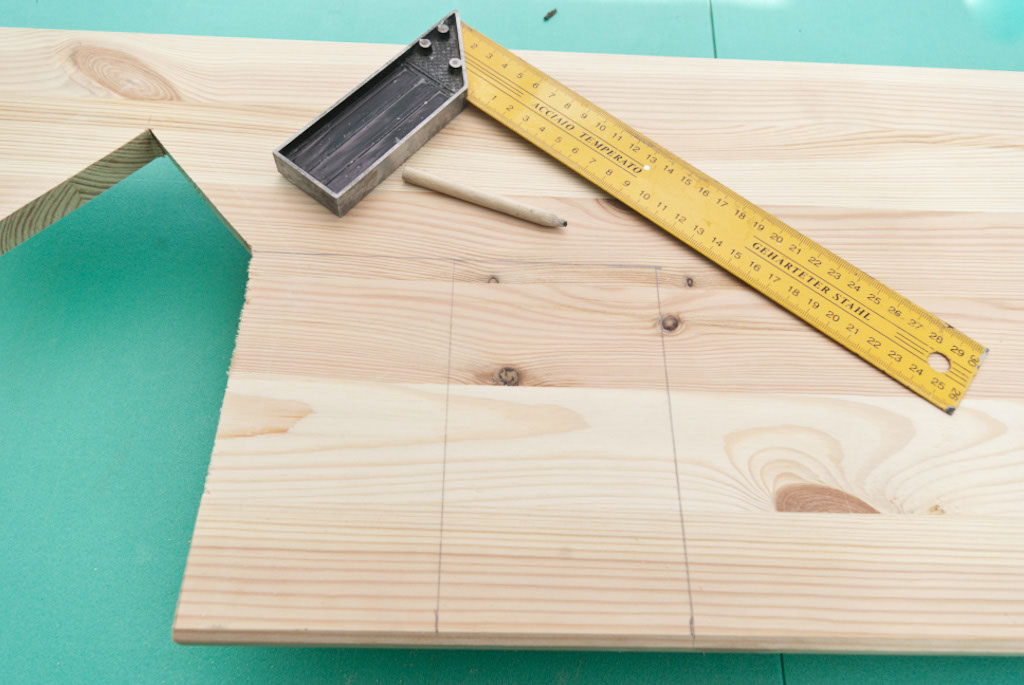
Drawing the sides of the bird houses
Step 5: Mark the sides of the birdhouse on the wooden board and cut them in the same manner described above. We recommend you to use an L-square to draw the guidance lines properly, otherwise the corners might not be right angled
Work with great care and wear eye protection while cutting the board with a circular saw or a jigsaw.
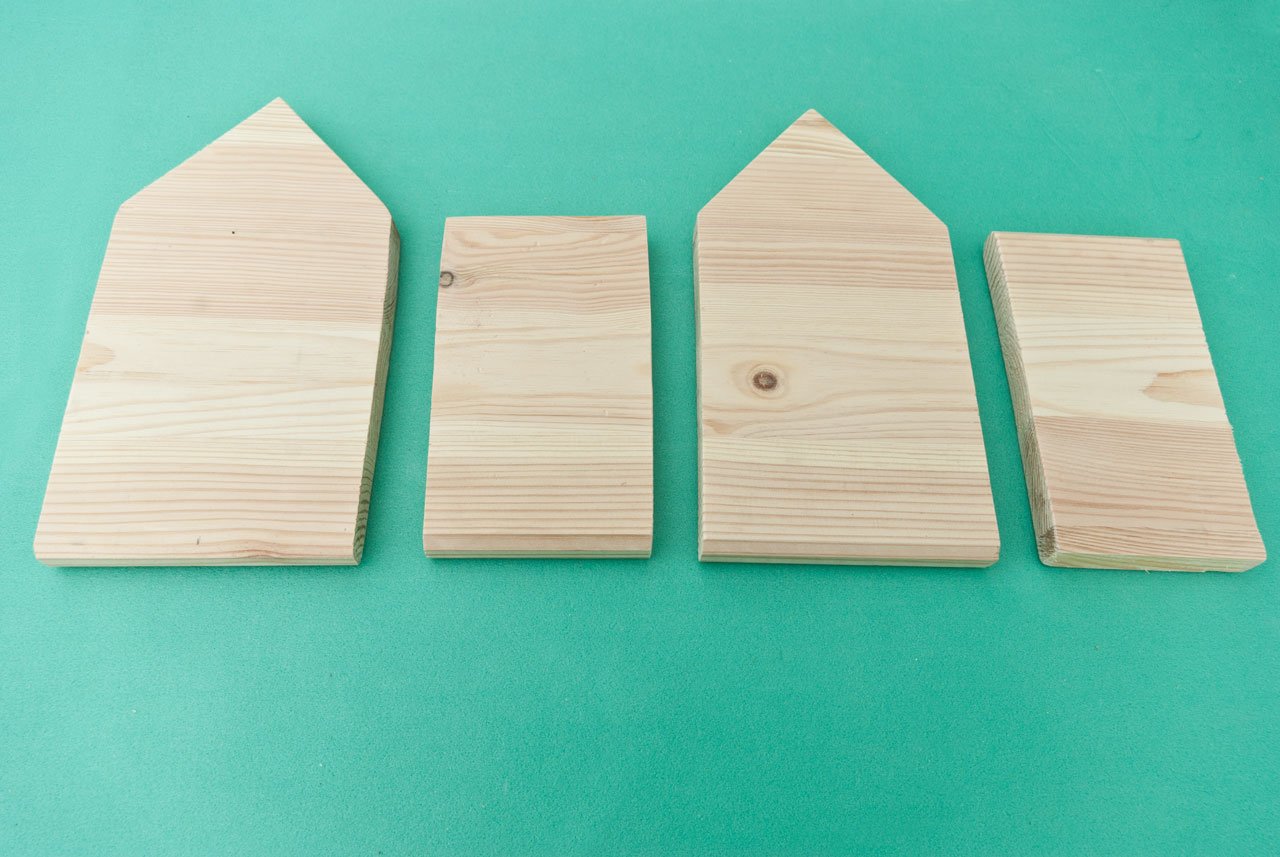
Front and rear gable ends and sides of birdhouse
The main components of the bird house have been cut: the front and rear gable ends and the sides. If you have followed our tips, they should be equal (the front with the back, the sides) and align properly.
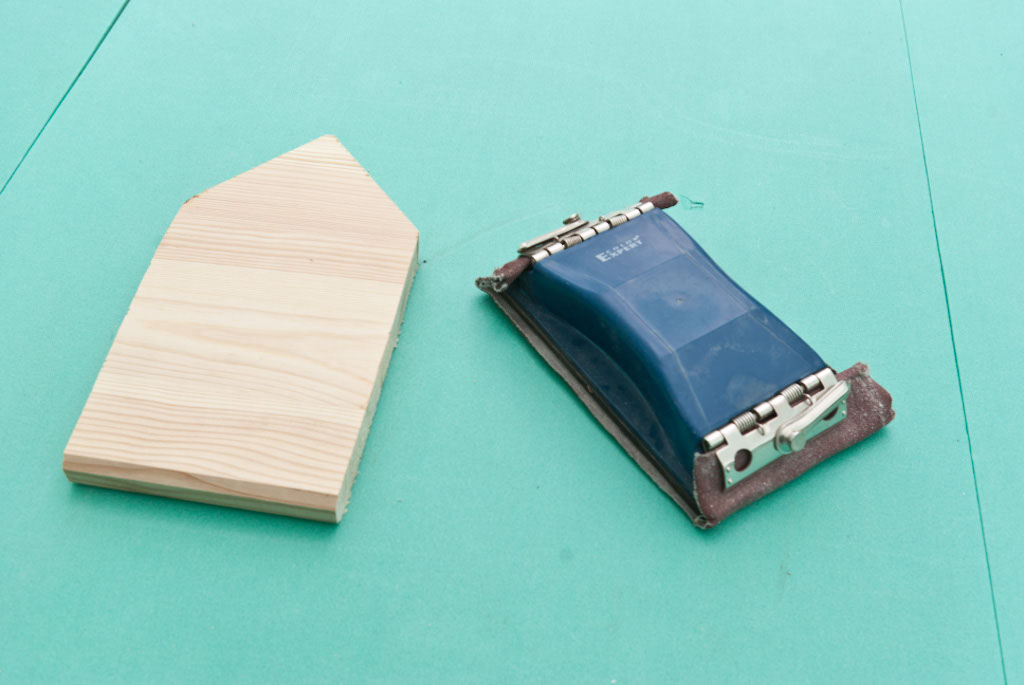
Smoothing the edges with a sand block
Step 6: Use a sand block to smooth the sharp edges of the wooden pieces. Work with great care and move the sand block several times over the edges until they are smooth enough for your tastes.
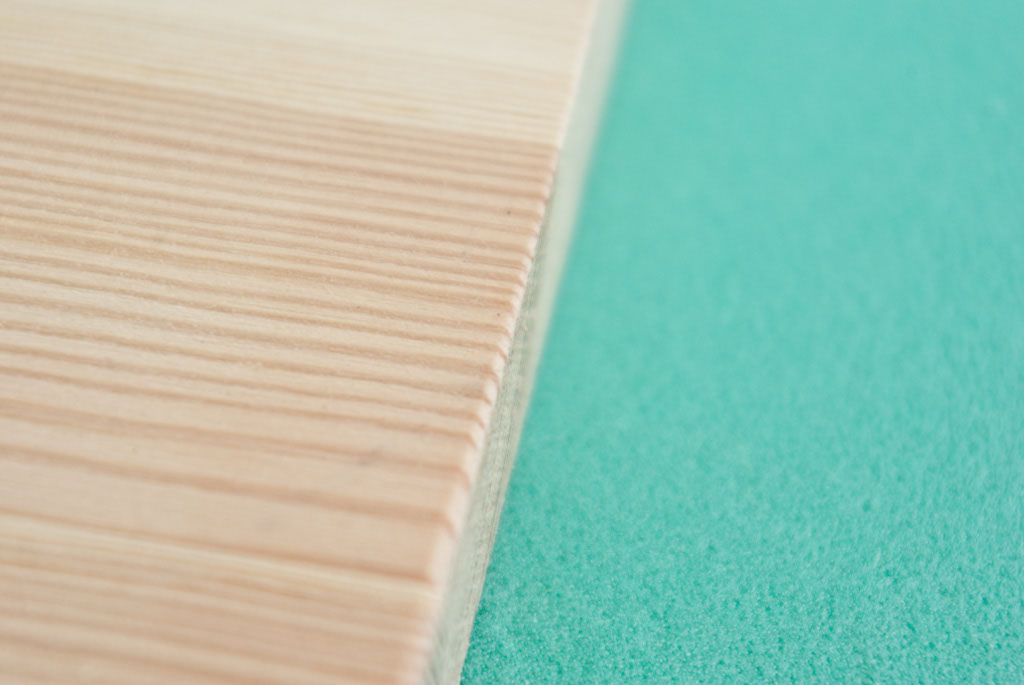
Close up with bird house edges
Close up with the edges. As you can see the difference is noticeable, but we still have to sand it several times, to get the desired result.
Building bird houses

Applying glue on the edges
Step 7: Apply wood glue along the edges of the sides components, as in the image. Even though it is not compulsory to use wood glue, we recommend you to use it, as it will increase the bond between the wood pieces. In addition, if the pieces haven’t been cut perfectly straight, the glue will fill the small gaps and the air won’t get in the bird house.
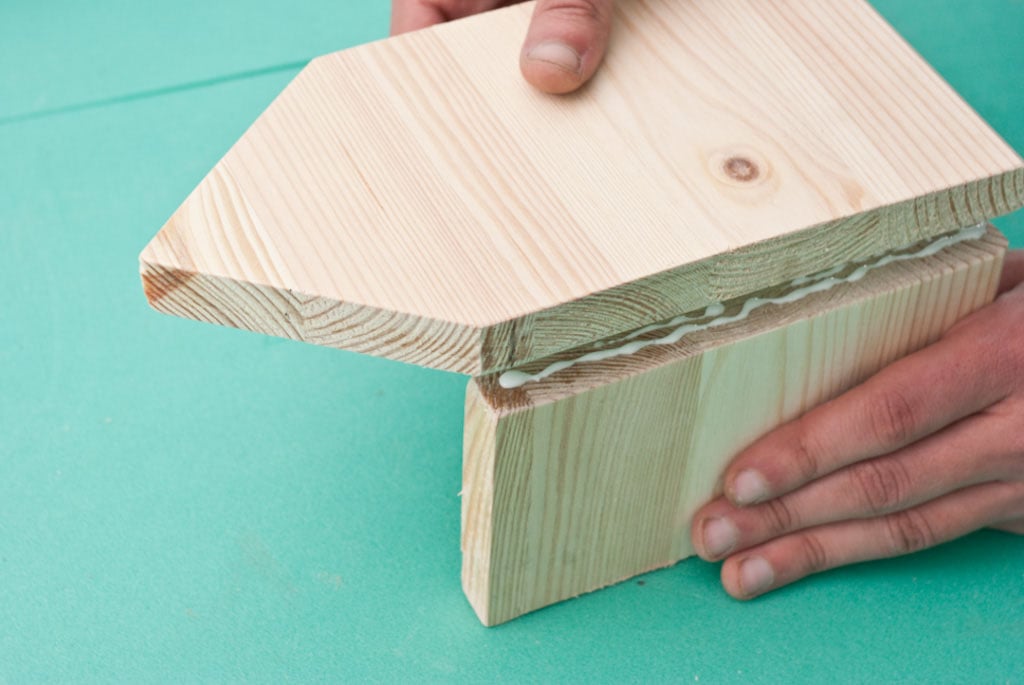
Gluing the wooden piece
Step 8: Join the front and side of the bird house together, as you can see in the image, making sure the components are align properly. Work with great care and press firmly the front end over the side of the bird house.
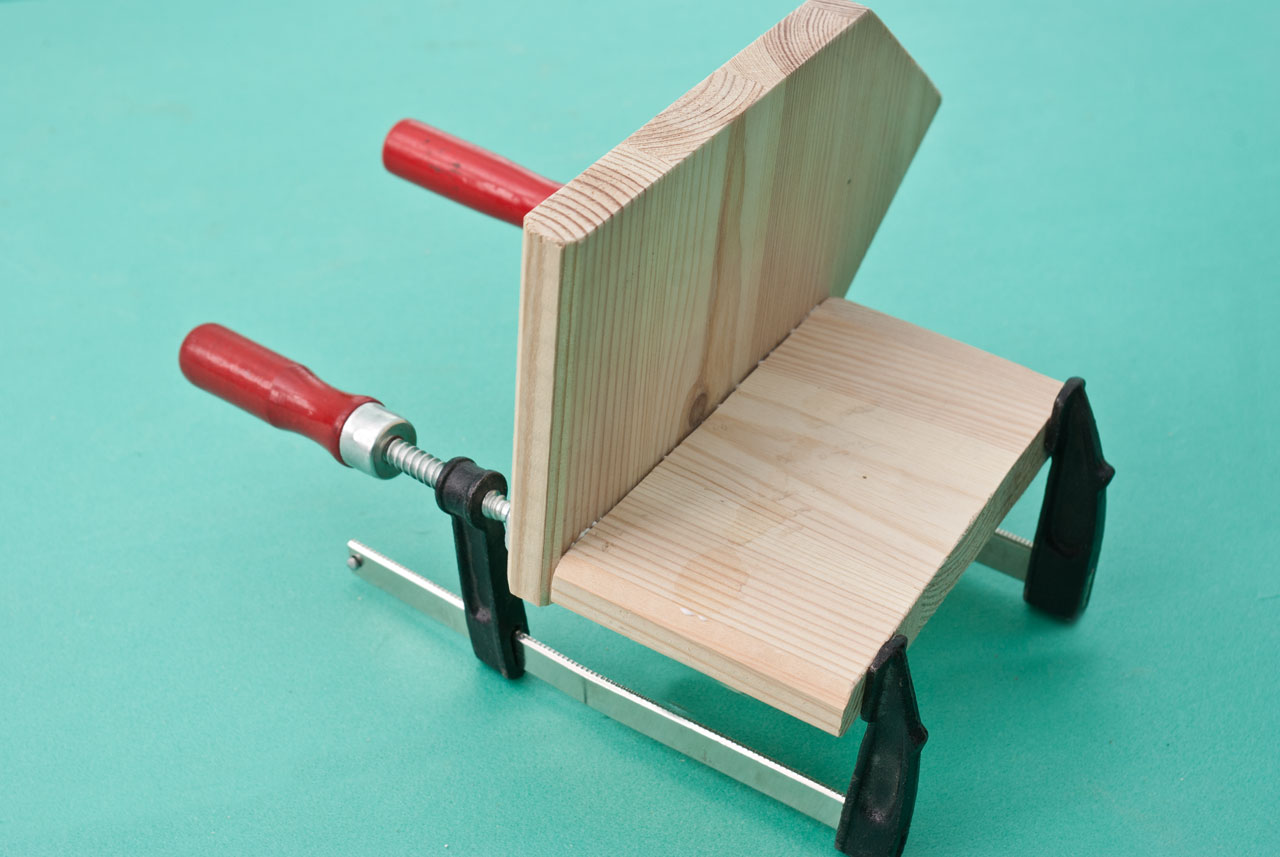
Locking the components with C-clamps
Step 9: We recommend you to use several C-clamps to lock the components tightly and leave the glue to dry out for about 5 minutes.
You should notice that the both components of the bird house are aligned properly and the corner is right angled. Even if these aspects might seem minor details, we recommend you to pay attention, if you want to build a durable bird house.
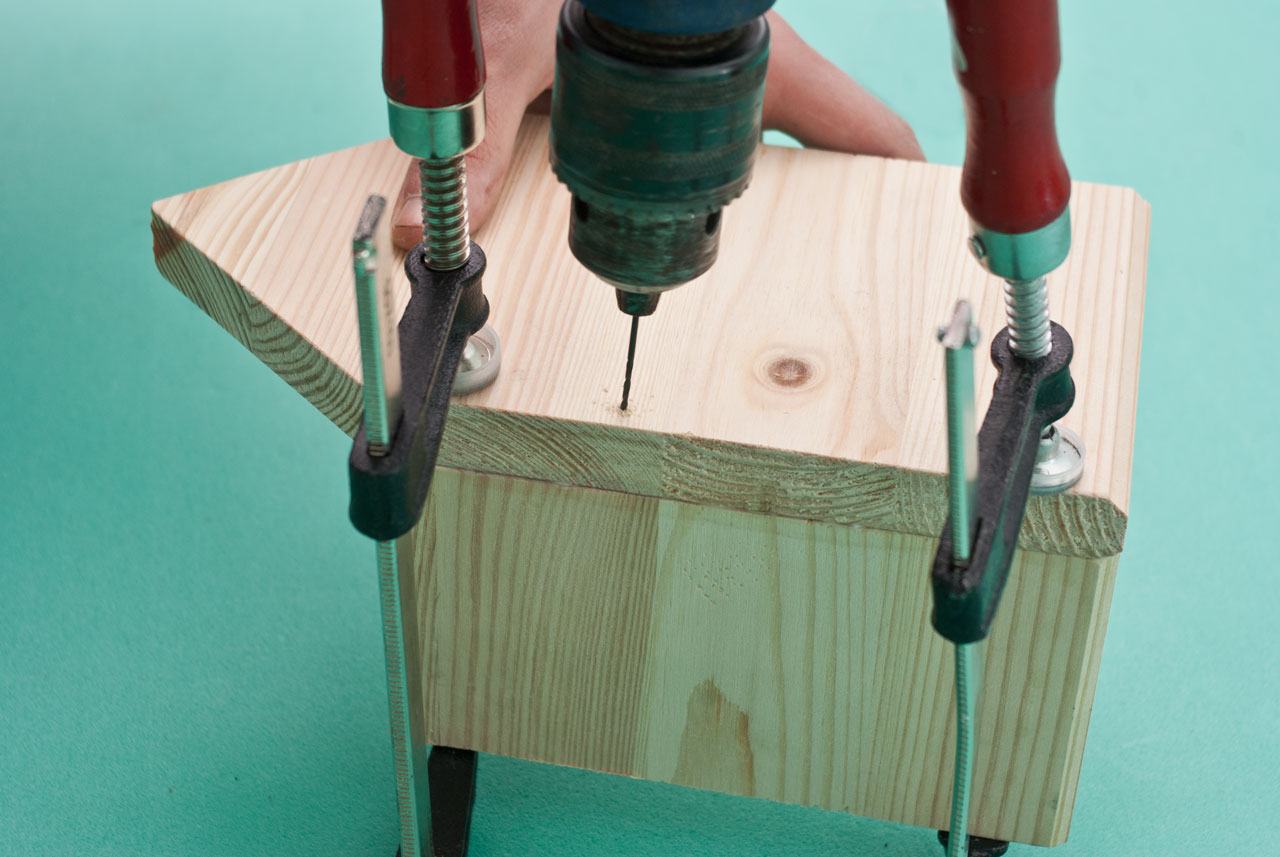
Drilling pilot holes before driving in the nails
Step 10: Drill pilot holes before inserting the finishing nails, otherwise the wood might split. In addition, we recommend you to leave at least 1/2” from the edges of the wooden board to prevent the wood from splitting.
Two nails for each side of the front gable end are enough to secure the birdhouse properly.
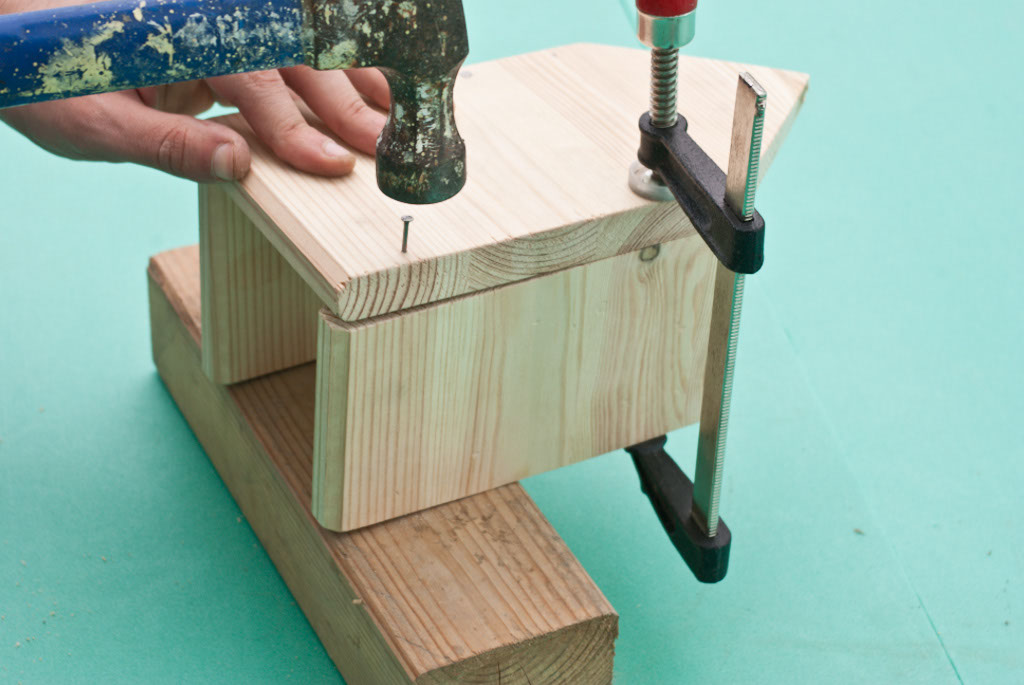
Locking together the front and sides of the birdhouse
Step 11: Insert the nails in the pilot holes, by using a hammer. From our experience, we don’t recommend you to use too much force when hitting the nails, as you might easily damage the wood.
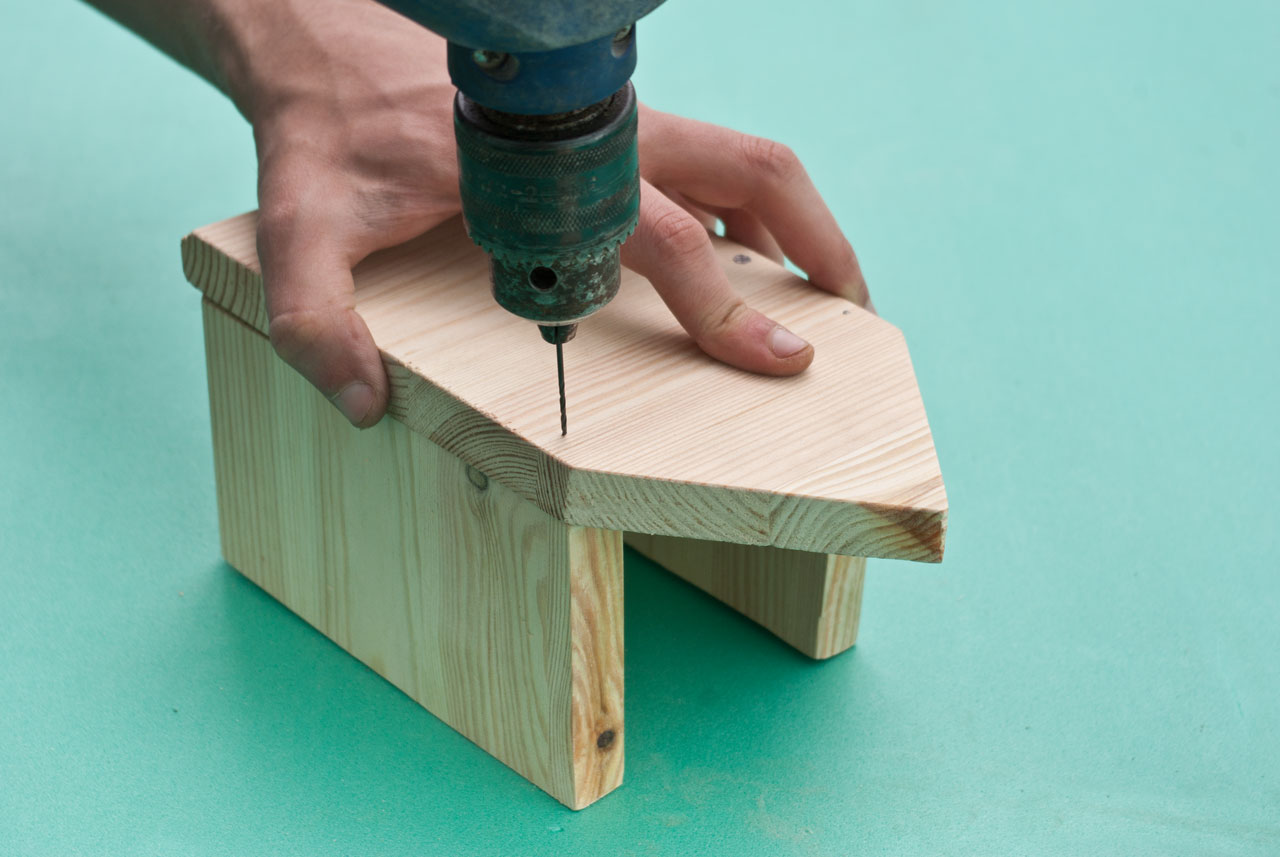
Fastening the second side of the bird house
Step 12: Attach the other side of the bird house, in the same manner described above. First, you have to drill two pilot holes along the edges of the front end.
Work with patience and make sure you align the components properly before drilling the holes. Check several times to make sure the corners are right angled.
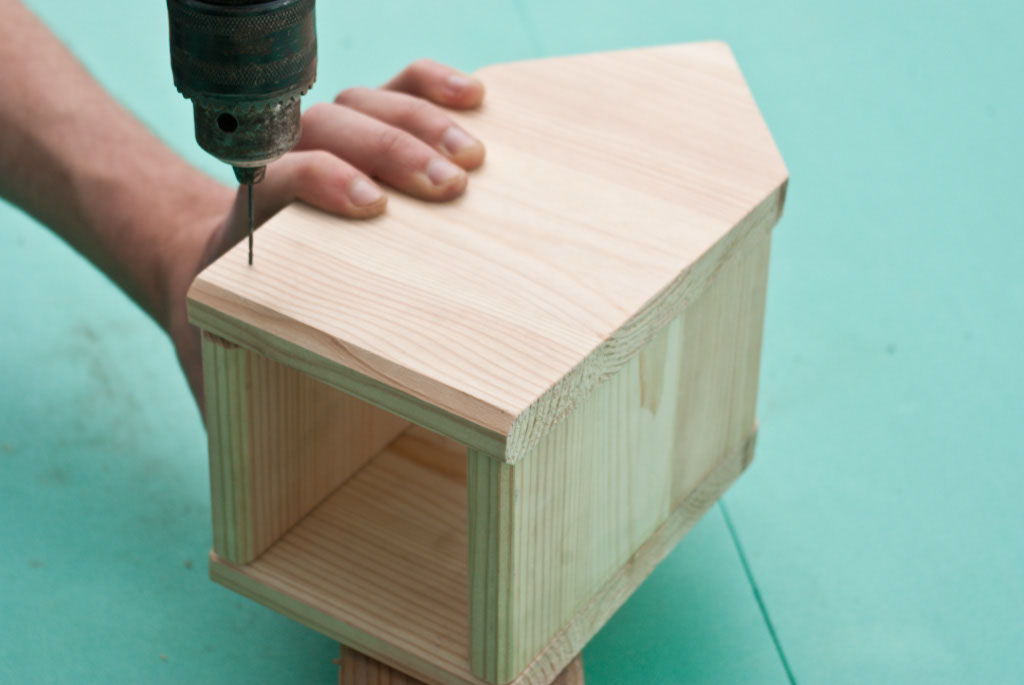
Drilling pilot holes in the wood pieces
Step 13: Fasten the rear gable end to the bird house. Building birdhouses is easy if you have cut the wooden pieces at the right dimensions and use the right plans and techniques.
Drill the pilot holes along the side edges of the rear gable end and insert the finishing nails, by using a hammer.
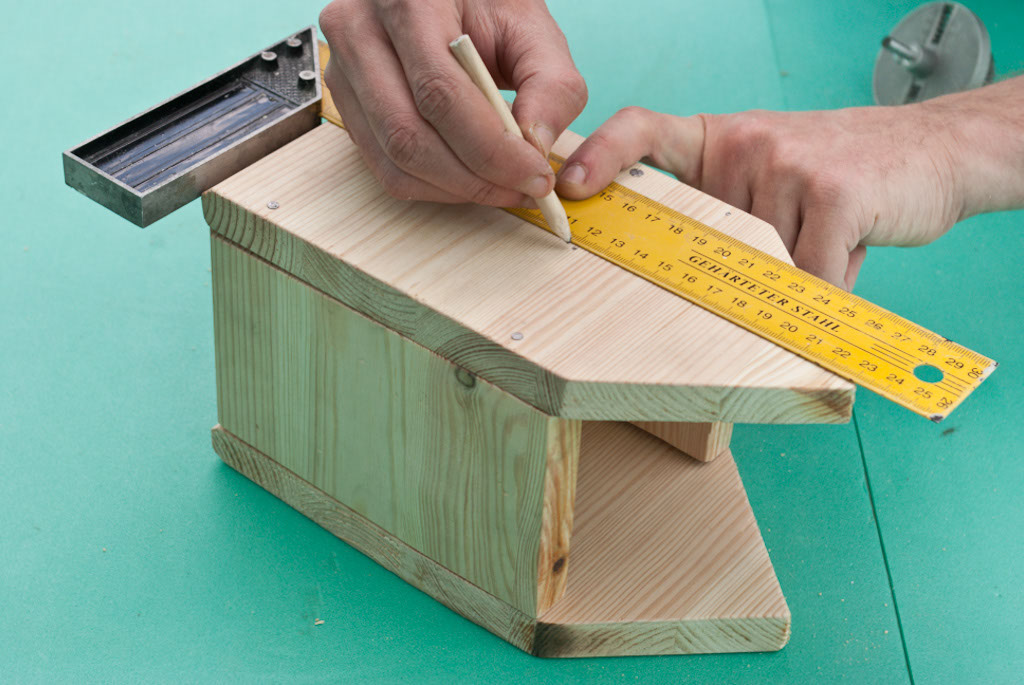
Measuring the location of the entrance
Step 14: Mark the center of the round entrance. In order to do it in a professional manner, you have to mark it on the center of the from end. Use an L-square to measure the center of the dird house and mark it with a carpentry pencil.
Usually the location of the birdhouses should be towards the top of the front end, but you should set it according to your needs and testes.
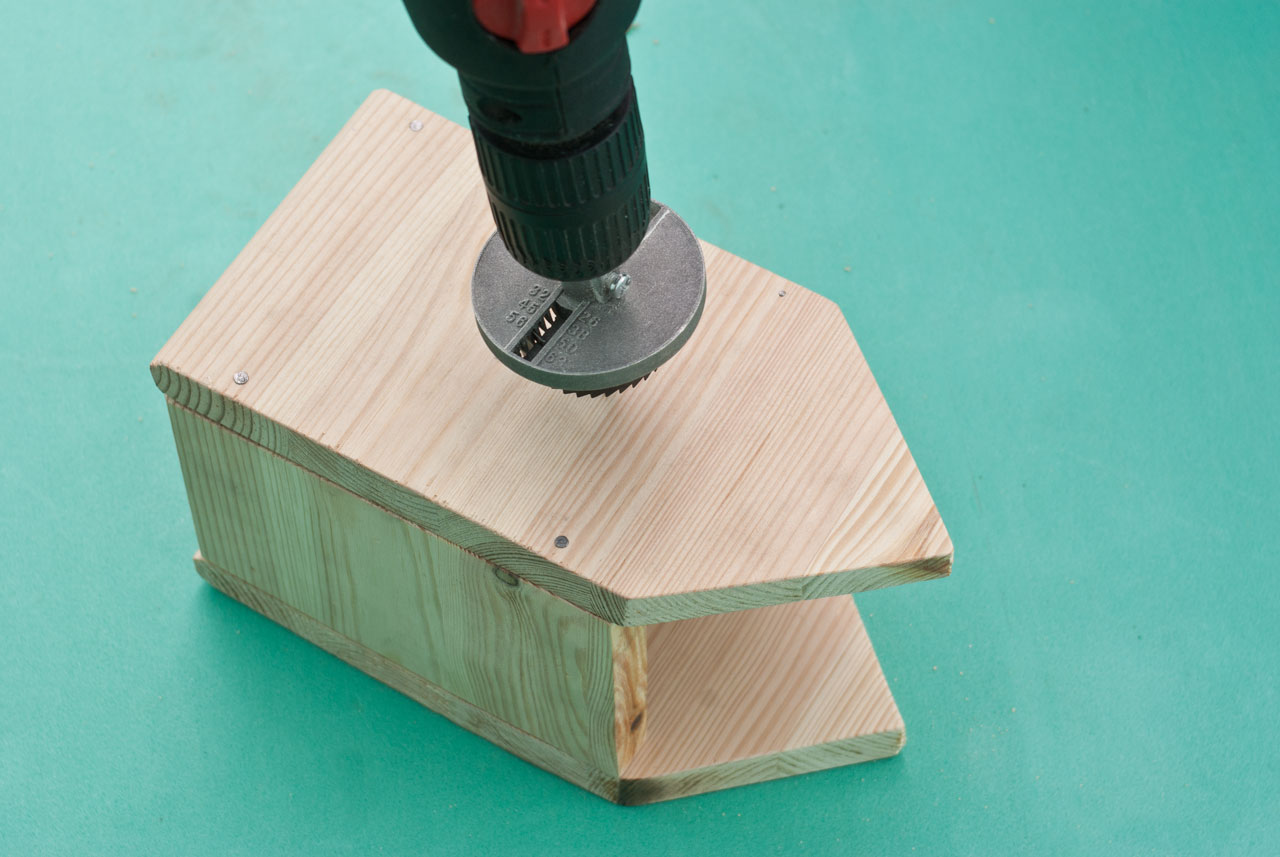
Cutting out the birdhouse entrance
Step 15: Drill the round entrance of the bird house. In order to cut the entrance, you could use several techniques and tools. From our experience, we consider that a hole saw drill bit will make the quickest and most accurate cuts. Nevertheless, you can mark the hole, drill a starting hole and use a jigsaw to cut it.
Irrespective of your choice, the hole should be around 1 1/4 – 1 1/2”, according to its tenants.
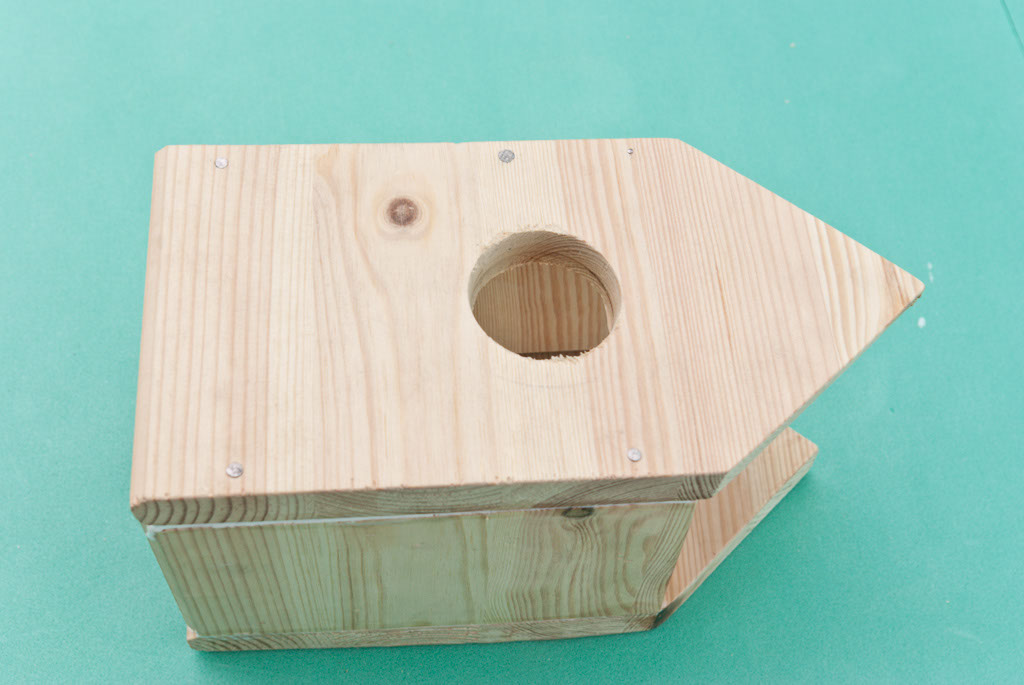
The round entrance of the bird house
After you have cut the round entrance, you should clean the birdhouse thoroughly with a vacuum cleaner. As you can see in the image, the wooden box start to look like an actual bird house.
Building the roof of the bird house
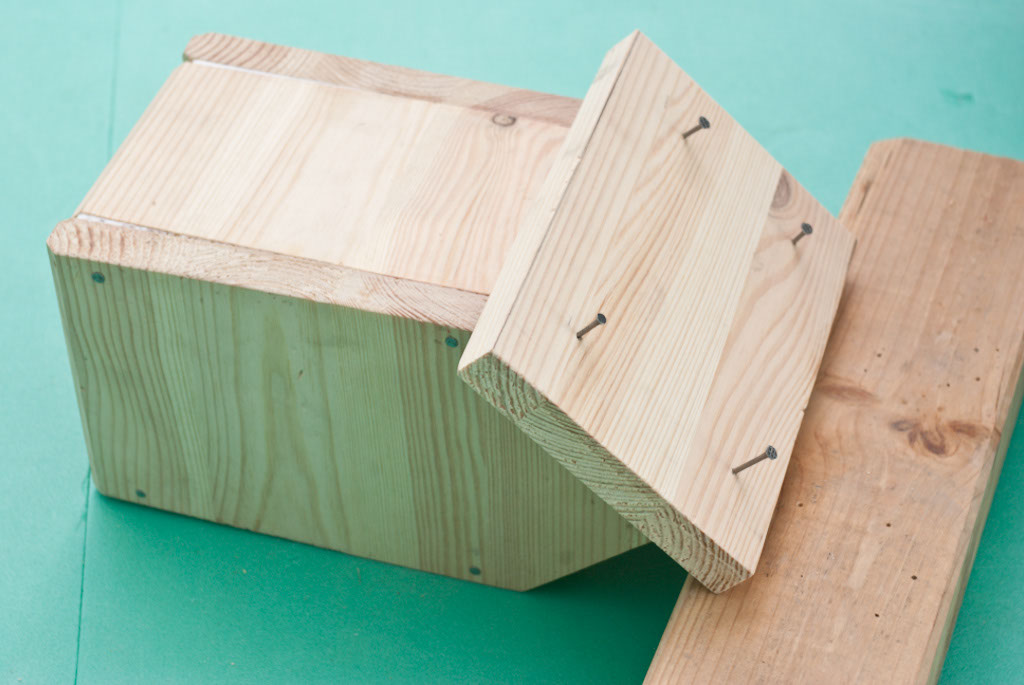
Fastening the roof of the bird house
Step 16: Cut the narrow piece of the roof and install it into position. In order to get a neat look, we usually cut the roof 1 1/2 bigger in all directions (except the top). In this way the roof will overhang and create a nice effect.
Drive in two nails on each side of the roof and don’t forget to apply glue. Before inserting the nails, make sure the narrow side of the roof is perfectly align in every direction.

Predrilling holes before inserting the nails
Step 17: Attach the other side of the roof. First of all, you should cut it a little longer than the first side (add the thickness of the wood you use), as it needs to cover the first piece.
After you set it into position, making sure it is aligned perfectly with the other components, you should predrill two holes on each side, by using a drill machinery with torque control and a small drill bit.
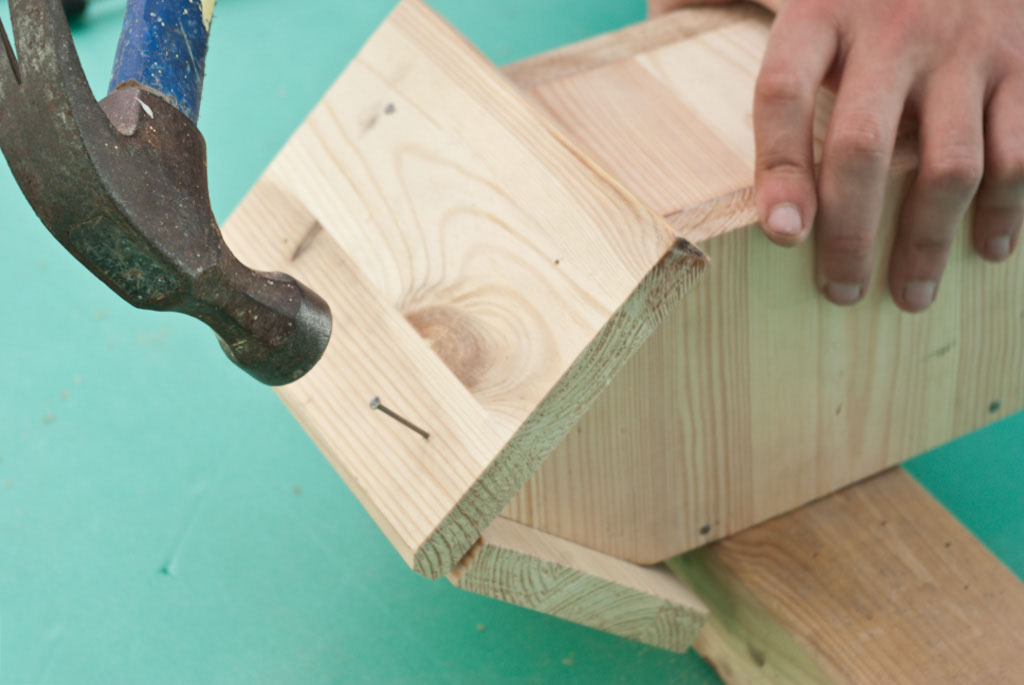
Driving in nails to lock the roof
Next, fasten the roof by driving nails in the pilot holes. This procedure is straight forward, just make sure you don’t move the roof from position while inserting the nails.
How to build the floor of the birdhouse
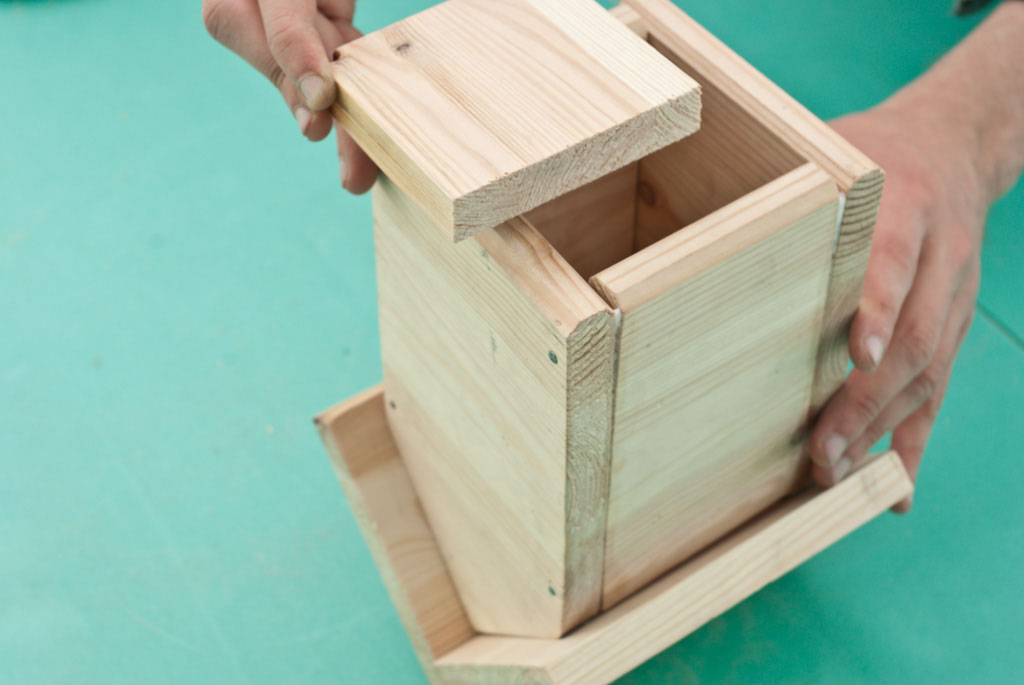
Installing the birdhouse floor
Step 18: Build the floor and attach it to the bird house. First, use a tape measure to determine the dimensions of the floor. Next, use a jigsaw and cut the floor 1/8 smaller, otherwise you might have to force it to fit into position.
In most of the cases, we lock the floor of the bird house by driving in several nails, as the birds will clean it by themselves. Nevertheless, you should know that you might secure the floor to the birdhouse by using hinges, if you want to have access to it anytime you want.
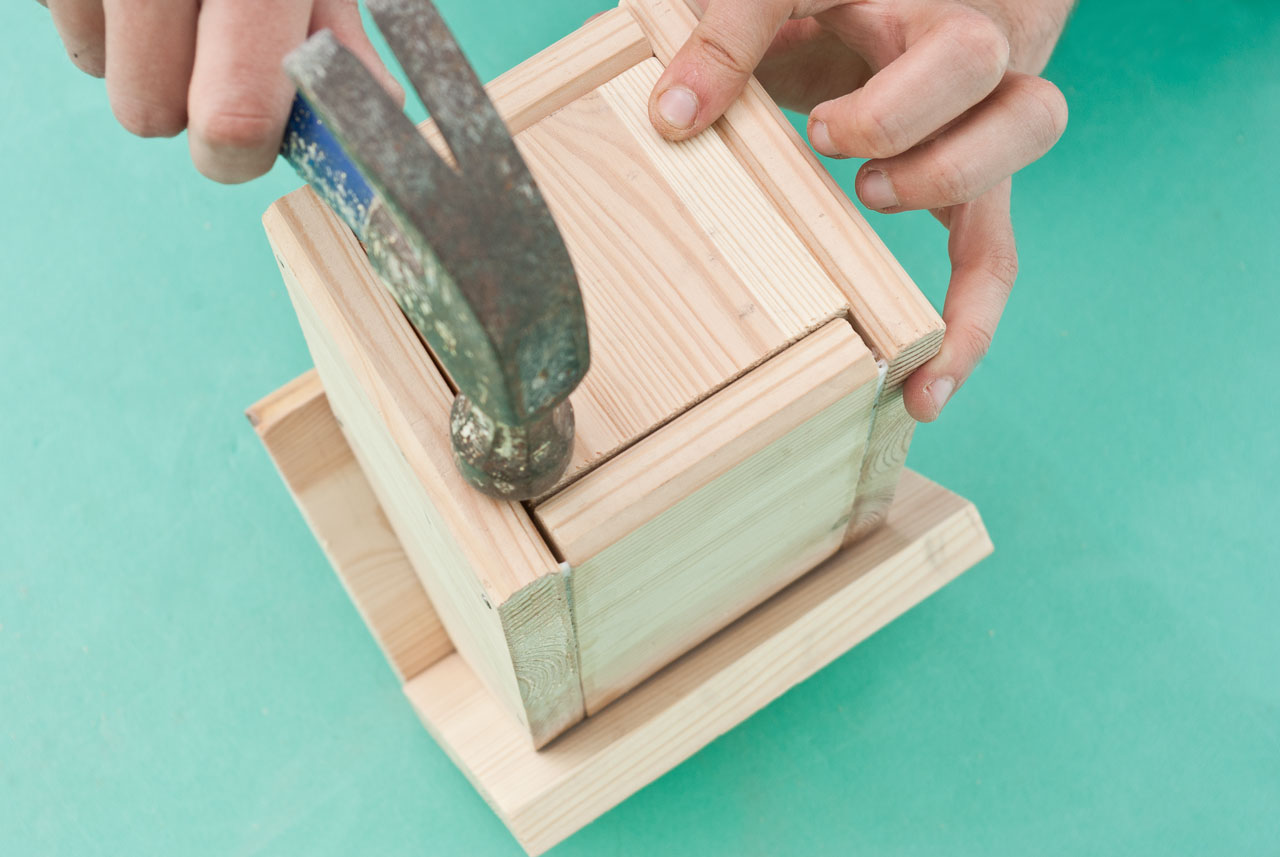
Installing the floor of the bird house
We have hit the floor gently several times, to make it fit into position. Make sure it is aligned perfectly with the sides before driving in the nails.
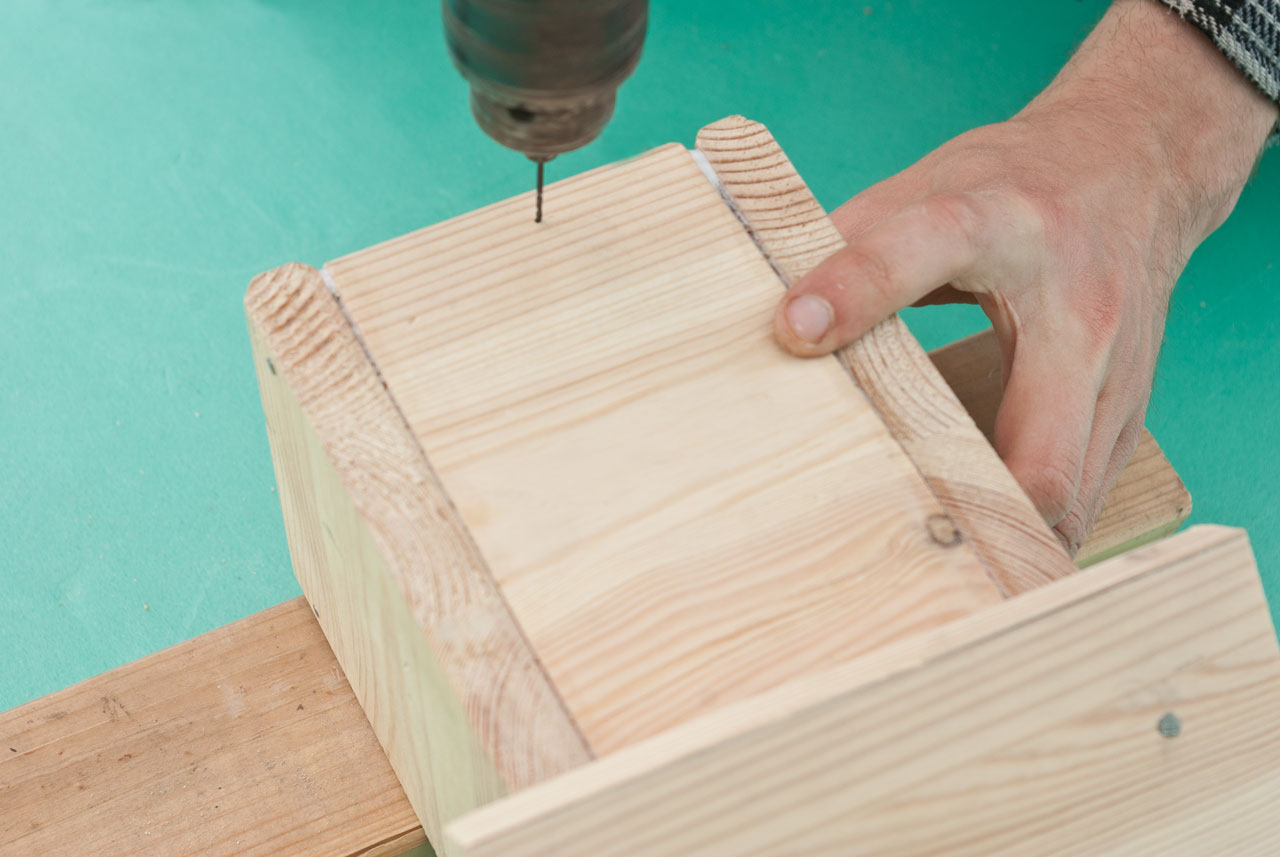
Fastening the floor with finishing nails
First, use a drill machinery and a small drill bit to make on pilot hole on each side of the birdhouse. Next, insert the nails by using a hammer. Work with great care to prevent splitting the wood.
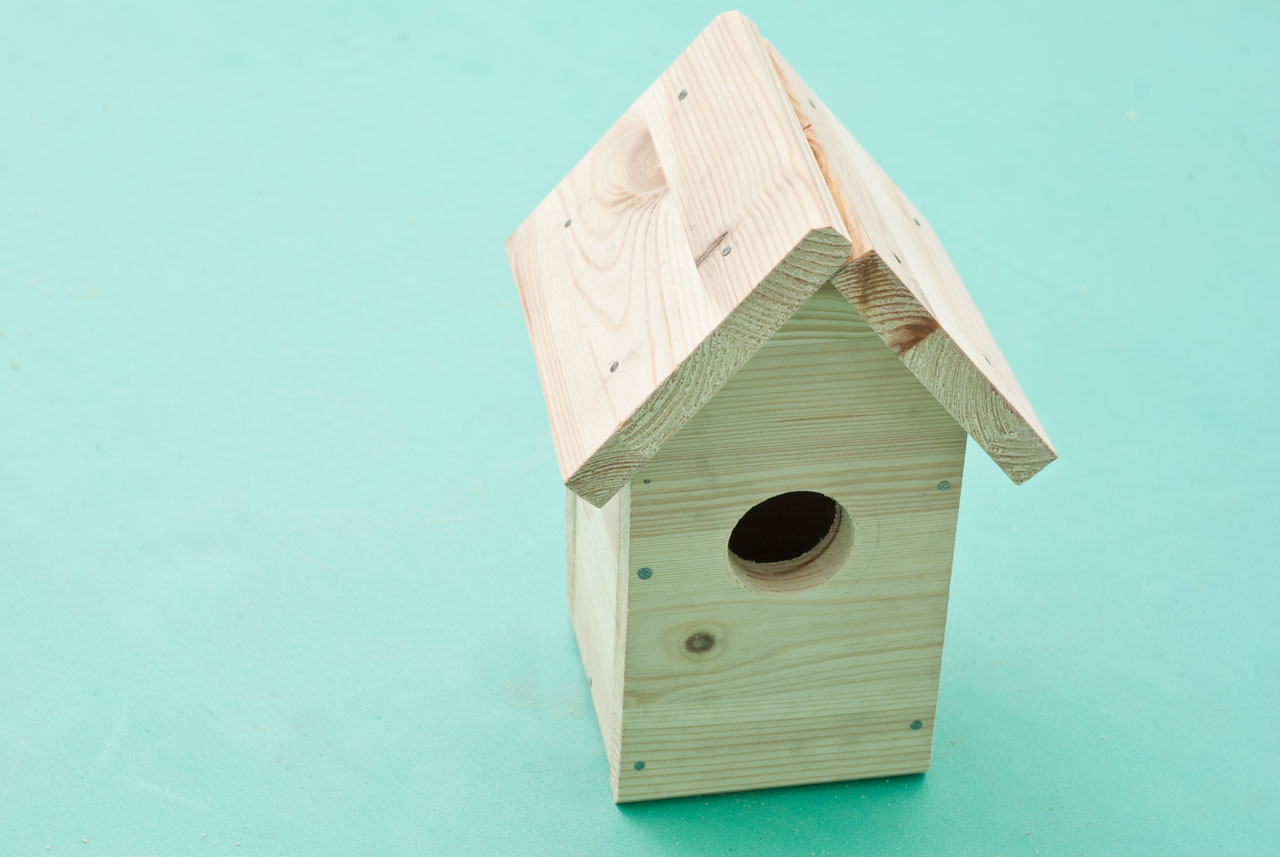
Building a bird house
Building the perch of the bird house

Drilling hole in the bird house
Step 18: Use a drill machinery and an average sized drill bit to make a hole about 2” under the entrance of the bird house. If the wood is thick enough, we recommend not to drill the hole completely. In this manner, you will be able to install the perch without being noticeable from the inside of the bird house.

Applying glue in the drilled hole
Pour a small quantity of wood glue in the hole and add a few chips in the mix. In this way, the glue and the chips will lock the perch into position.
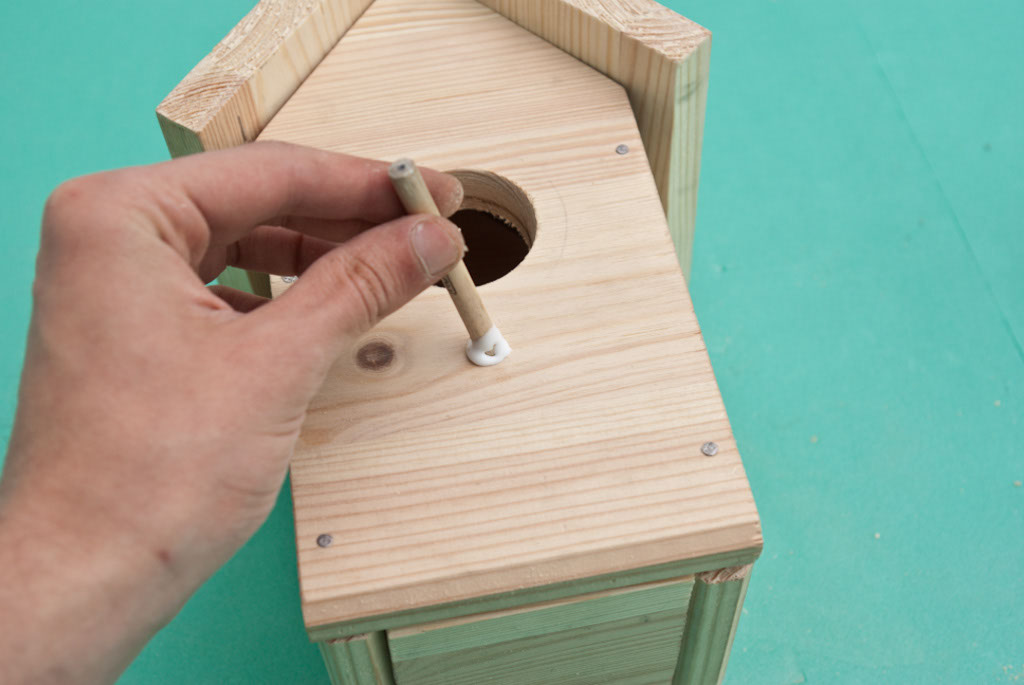
Installing the perch of the birdhouse
You can use a little twig or a pencil to build the perch. Both solutions are good, so it is up to your tastes if you use the first or the second option. Irrespective of your choice, insert the pencil / twig in the hole and align it with the bird house in all directions.

How to build a bird house
After installing the perch, the bird house is ready to welcome its tenants. Just make sure you hang it to a tree about 6′ / 2m above the ground, to keep the cats away.
Thank you for reading our article on how to build a bird house and we recommend you to check out the rest of our projects. Don’t forget to SHARE our articles with your friends, by using the social media widgets. LIKE us to be the first that gets our updates and to help us add more free plans.


10 comments
not on the a web site just Email
Use the floating green widget on the left side of the screen (only in desktop) to save the plans on PDF or to print them.
Thank you so much for the birdhouse plans. Can’t wait to build one. LB
You’re welcome! Looking forward to seeing how it comes out.
Thank you so much for the free plans. Now I just have to finish my workbench. I love working with wood, and all my new tools.J.S
You’re welcome. Glad you like the plans. Good luck and I’m looking forward to seeing how it comes out. I would love to see a few pics with your woodworking projects!
It’s nice to have the dimensions, tips, and photos depicting the steps! However, I don’t see a way to clean out the birdhouse (of old nests) in these plans. Recommendations?
The way to clean the birdhouse is by detaching the bottom. that is why you use screws or long screws, so you can remove the easily.
Birdhouses are a great way to help nature but the perch has to go. The hole is sized for the bird it is intended to attract. A perch is not required and can be used by a predator bird to land on, attract the young inside and when they come to the entrance peck them in the head to kill them. A perch is not a porch on a house to sit on in nice days. Its a way to help kill the very birds you are trying to protect.
Never put a perch on a birdhouse……bad idea.