This diy step by step diy project is about how to build a tool shed. This project is about building a tool shed with a gable roof that features two large front doors and an under-roof storage compartment. I managed to build this small 2×4 shed for under 100 $, using pine and common tools. This also makes for an unique conversation piece that will brighten up the look of any backyard. See the plans and a detailed cut list HERE.
You should always plan everything from the very beginning, in order to prevent costly mistakes and to save time. If this is your first project, you should read the instructions with attention. Invest in high quality lumber and plywood, as the components will be exposed to bad weather. Protect the components with appropriate paint or stain.
There are a few tips that you should take into account, if you want to get a professional result. Therefore, take accurate measurements and use professional tools when making the cuts or when drilling pilot holes. Align the components at both ends and add waterproof glue to the joints, if you want to create a rigid structure.
Made from this plan
It’s that easy to build a tool shed!
Tool shed plans
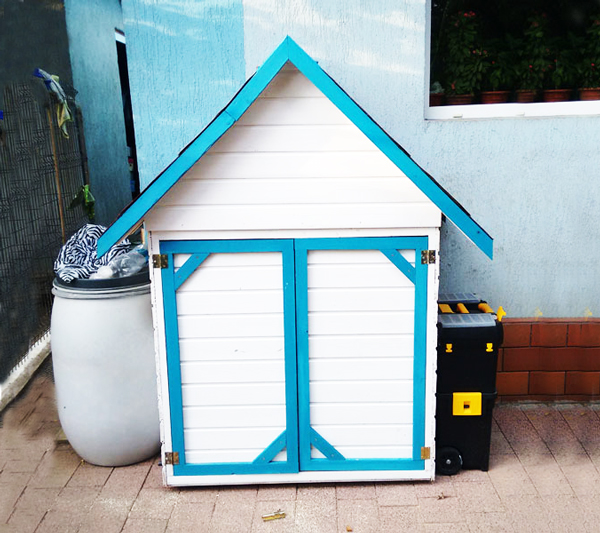
Make sure you check out the plans I have used for this project HERE. In addition, take a look over my tutorial to see how to make a similar too shed using common materials, in just one weekend.
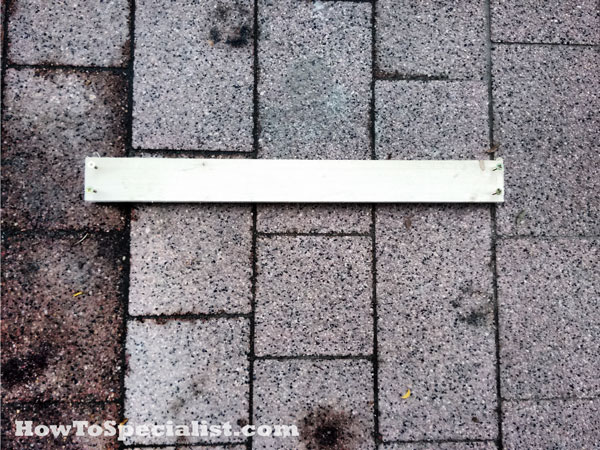
Pre-drilling-the-components
After cutting the components at the right dimensions, I recommend you to drill pilot holes. Pre-drilling is essential if you want to prevent the wood from splitting when inserting the 2 1/2″ galvanized screws. The plans that I used for this project are HERE. I submitted the plans to MyOutdoorPlans.com, one of the most comprehensive diy site.
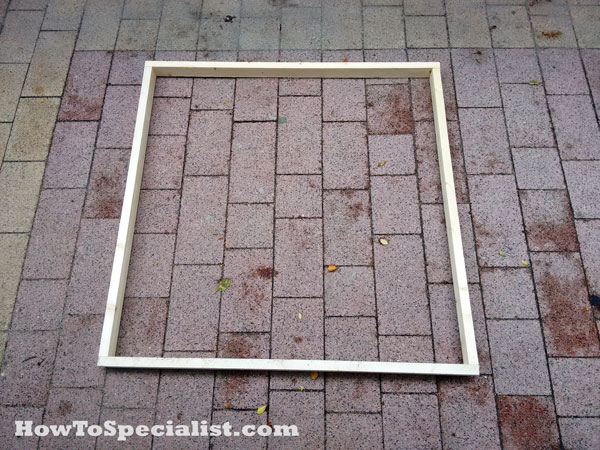
Building-the-front-frame
First of all, I framed the front wall for the tool shed. As you can notice, the lumber is not exactly 2×2, but close enough. It is reclaimed wood, but you can follow the plans and use 2x2s. It won’t make any difference, if you follow the techniques described here and pay attention to the cut list.
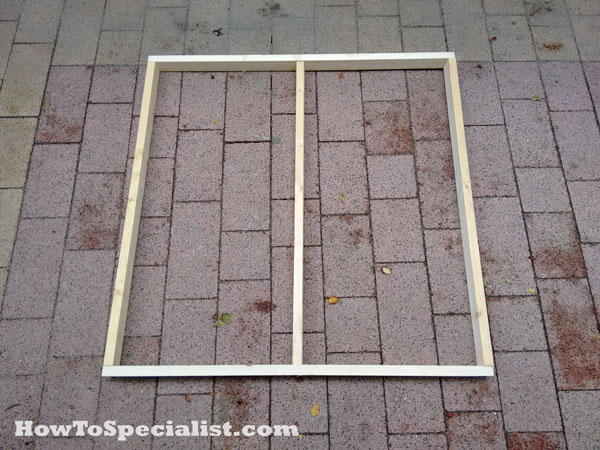
Building-the-back-frame
Next, I assembled the back wall for the shed. I fitted a middle stud to the frame to enhance the rigidity. Make sure the corners are square before inserting the screws, by using a carpentry square. Align the edges with attention.
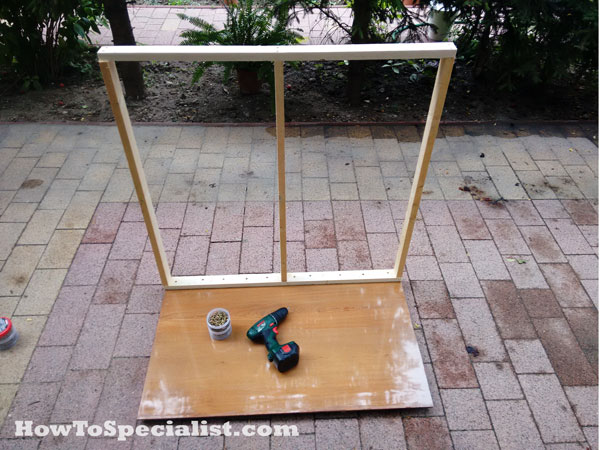
Fitting-the-back-wall
I used thick reclaimed plywood for the floor of the shed. I will build the floor frame later on, as I don’t want to make it too heavy for now. I will attach the floor frame after moving the shed to its final location. I laid the back wall to the floor and align the edges. I drilled pilot holes through the bottom plate and inserted 2 1/2″ galvanized screws.
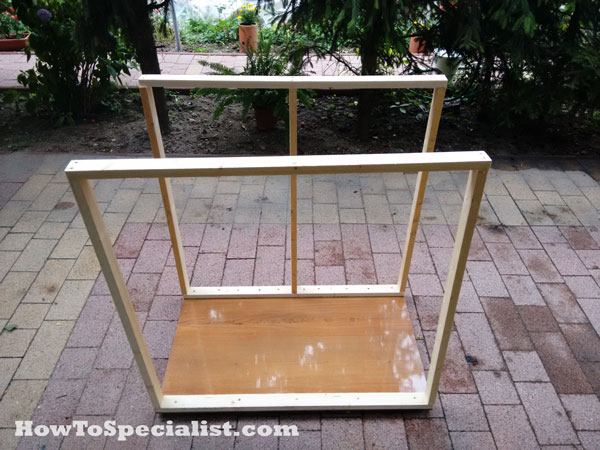
Fitting-the-front-wall
Attach the front wall to the floor. Drill pilot holes through the plate and insert 2 1/2″ screws. Make sure the walls are plumb and double check if the edges are flush before inserting the screws.
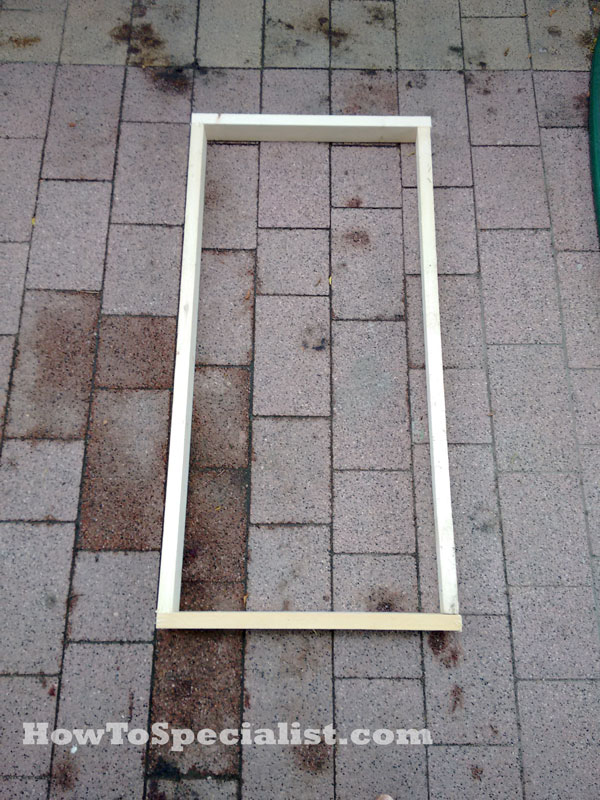
Building the side walls
Build the side walls as shown in the image. Make sure the corners are square.
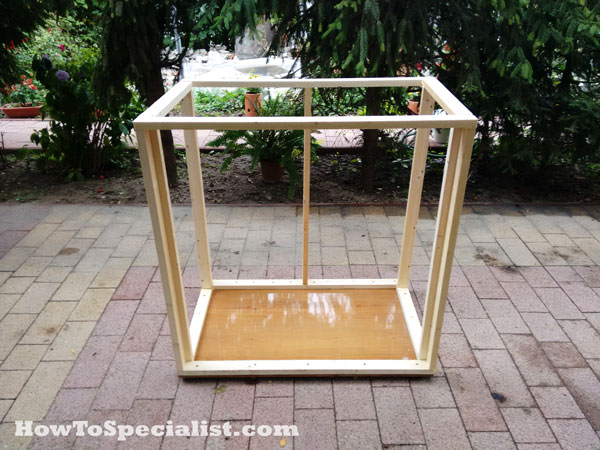
Building-the-frame-of-the-tool-shed
Fit the side wall frames to the shed, as shown in the diagram. Align the components with attention and secure them to the floor using 2 1/2″ screws. Make sure the corners are square and leave no gaps between the components.
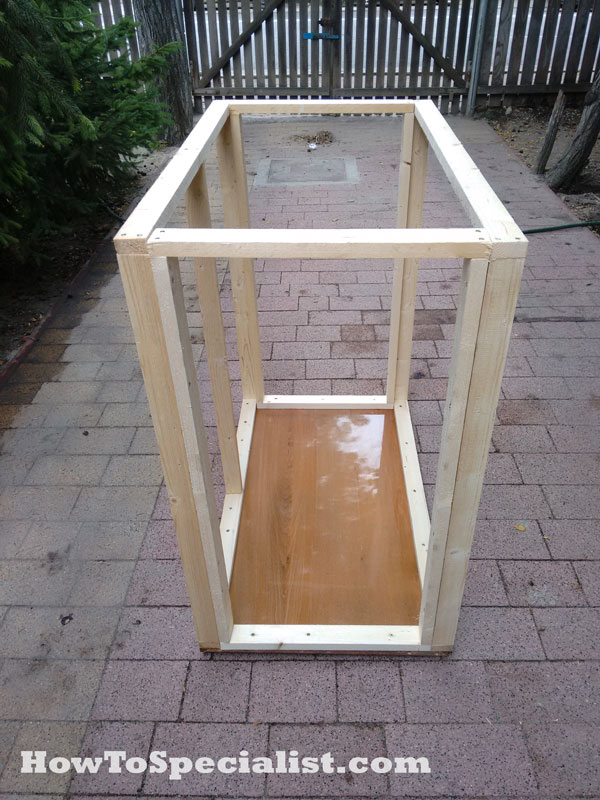
Fitting-the-side-walls
As you can see in the image, it is important to secure the side frames to the floor and to the front and back walls.
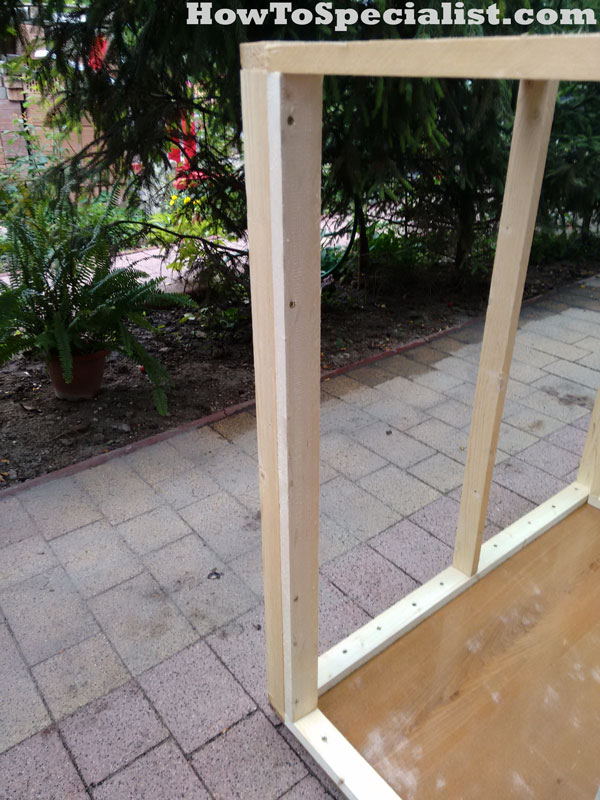
Assembling-the-tool-shed-frame
Drill pilot holes through the studs and secure them to the adjacent studs using 2 1/2″ screws. Make sure the edges are flush and leave no gaps between the components.
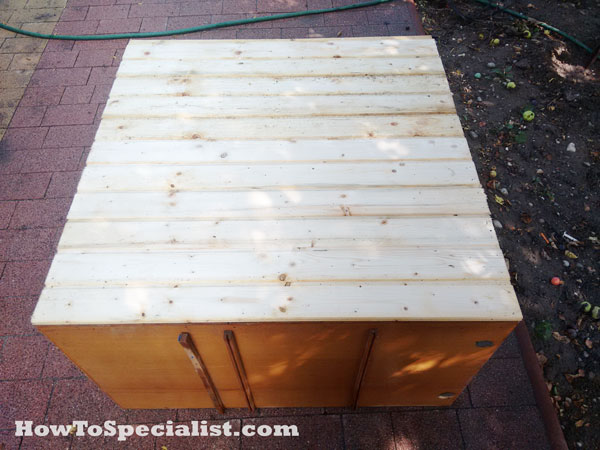
Attaching-the-siding-to-the-back
Next, you need to attach the siding to the back of the tool shed. You can use 5/8″ siding or tongue and groove slats, as in my case. Make sure you cut the slats at the right dimensions and you align them at both ends with attention. Use brad nails to secure the slats or the sheets to the studs.
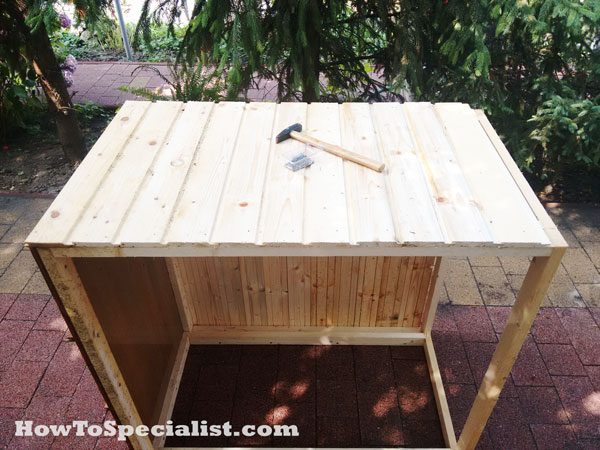
Attaching-the-exterior-walls
Fit the siding to the sides in the same manner described above.
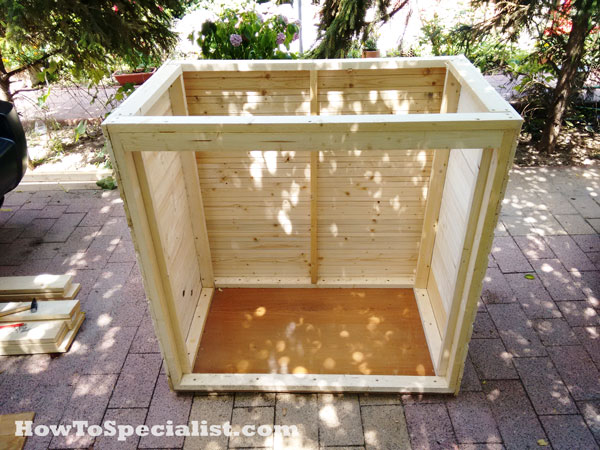
Building-a-tool-shed
After attaching the tongue and groove slats to the exterior of the frame, the tool shed is starting to take shape.
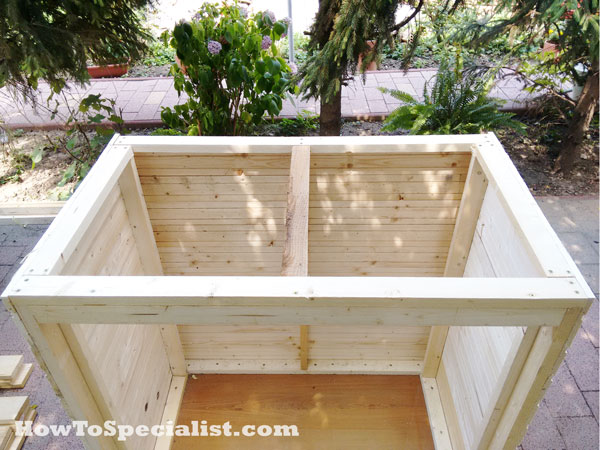
Fitting-the-ceiling-support
Next, I attached the supports to the frame of the ceiling. I drilled pocket holes at both ends of the supports.
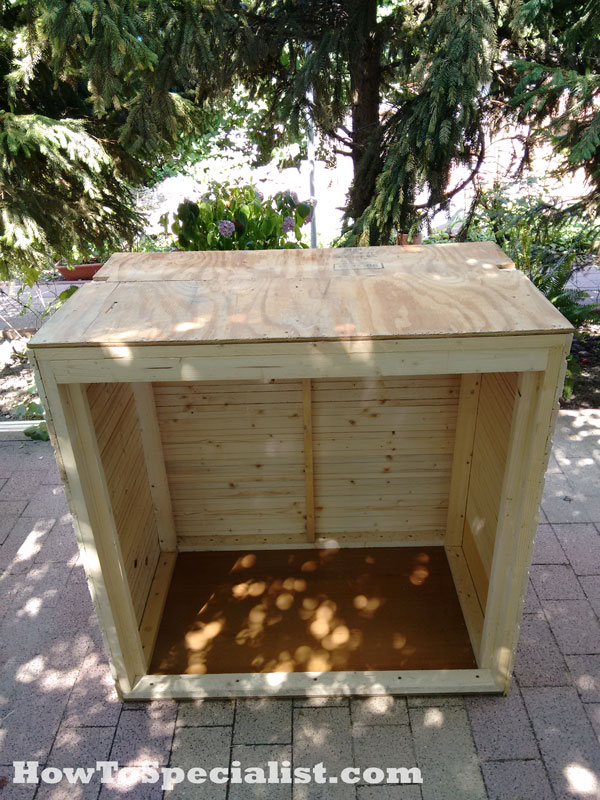
Fitting-the-ceiling
I attached a 3/4″ plywood sheet to the top of the structure, in order to create a storage compartment under the gable roof.
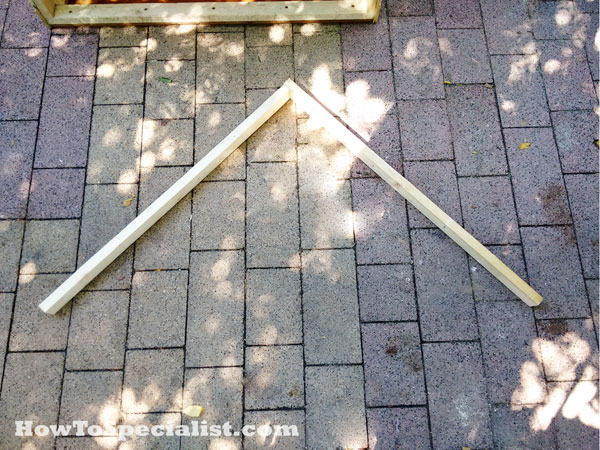
Building-the-rafters
I framed the rafters for the shed. Make sure the angle is 90 degrees, as this will create enough space for the under-roof storage area.
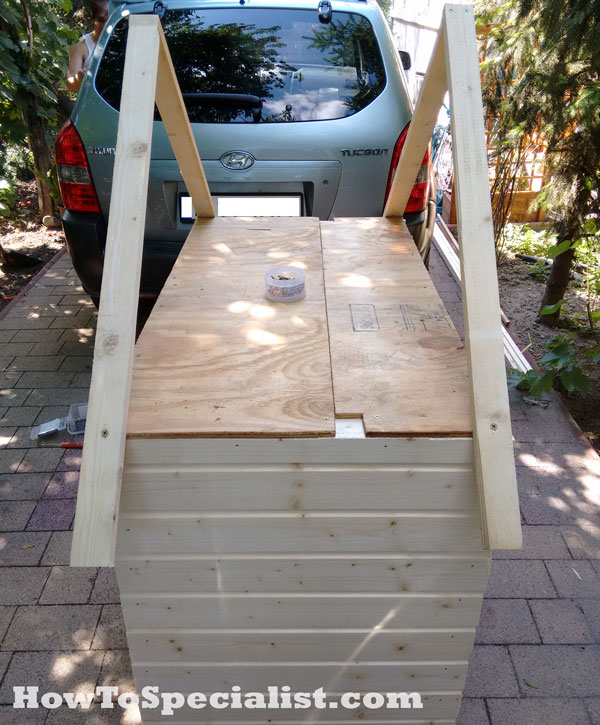
Fitting-the-roof-rafters
I attached the rafters to the top of the tool shed. I drilled pilot holes and inserted a few 3 1/2″ screws to lock them into place. Use a spirit level to make sure the V-shaped rafters are plumb.
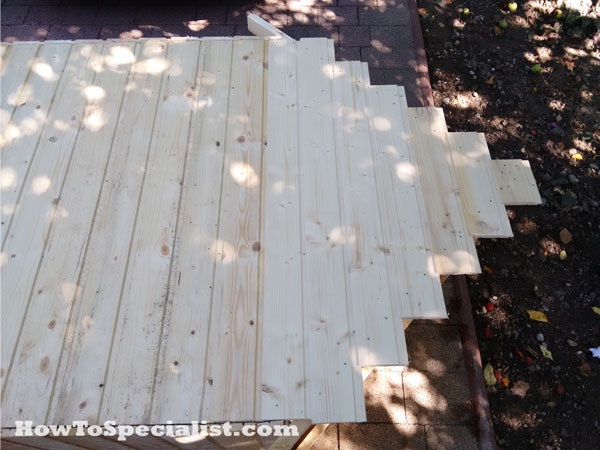
Attaching-the-gable-ends
Attach the rest of the tongue and groove boards to the gable end, as shown in the diagram. Use brad nails to lock them into place.
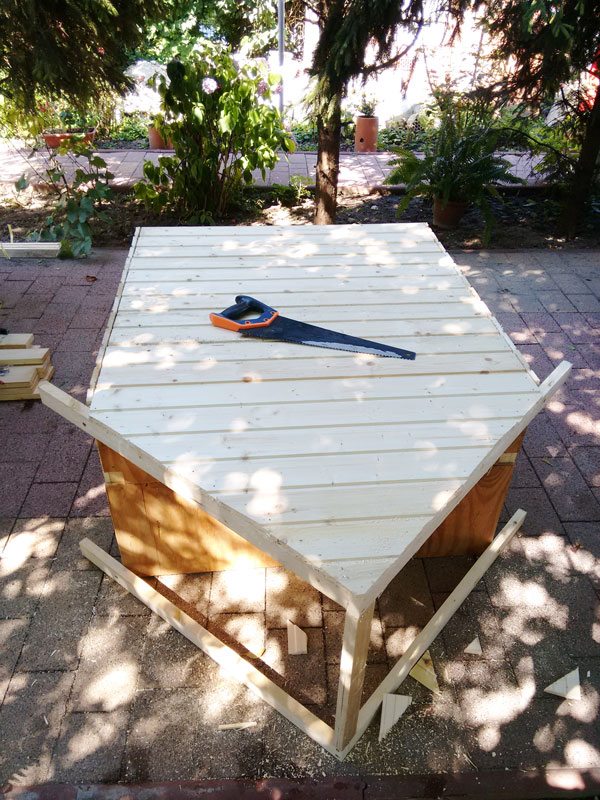
Making-the-gable-ends
I used a handsaw to make the cuts to the slats. Make sure you follow the slope of the roof and smooth the edges with sandpaper. If you use regular siding, it would be much easier to make the cuts before securing them into place.
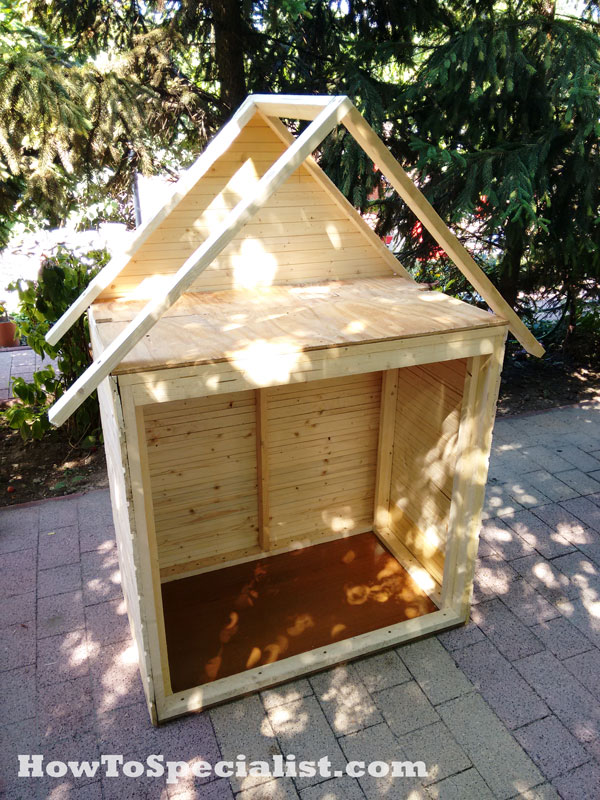
Building-a-small-tool-shed
I really like how the tool shed is starting to look. And at first glance, it seems roomy enough to store all my tools.
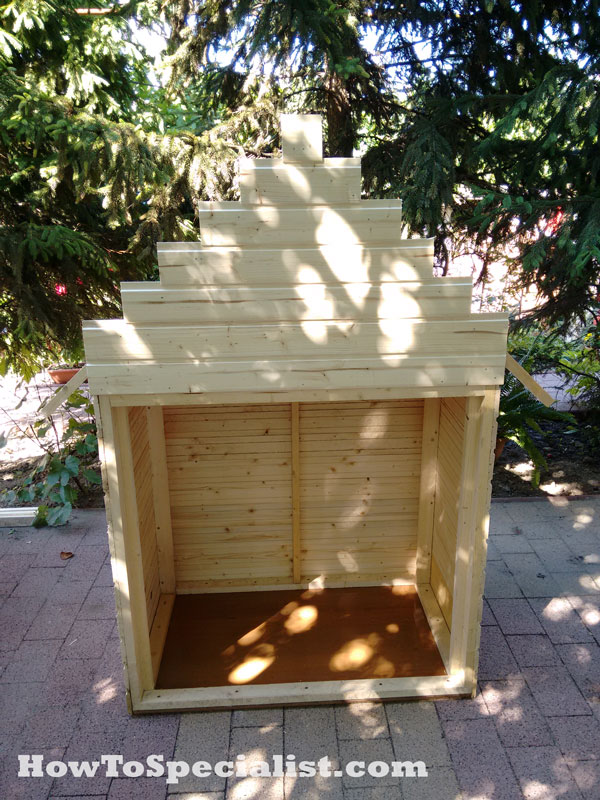
Fitting-the-boards-to-the-gable-ends
Fit the slats to the front gable end and cut the excess with a handsaw. Smooth the cut edges with sandpaper.
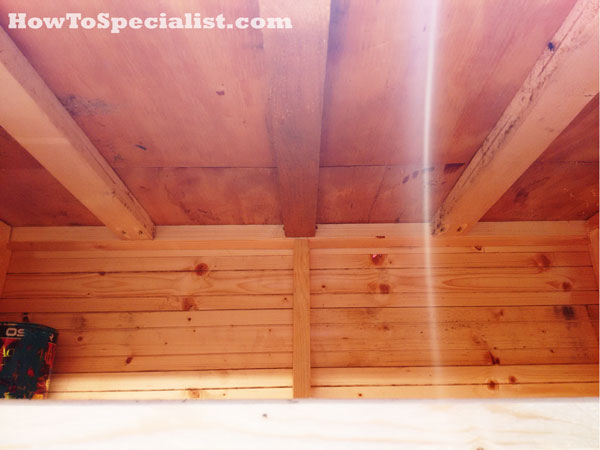
Fitting-the-ceiling-supports
I also added more supports to the ceiling. I drilled pocket holes at both ends of the supports and I used 2 1/2″ screws to secure them into place. I added the extra-supports to make the ceiling more rigid so I can store more items under the roof.
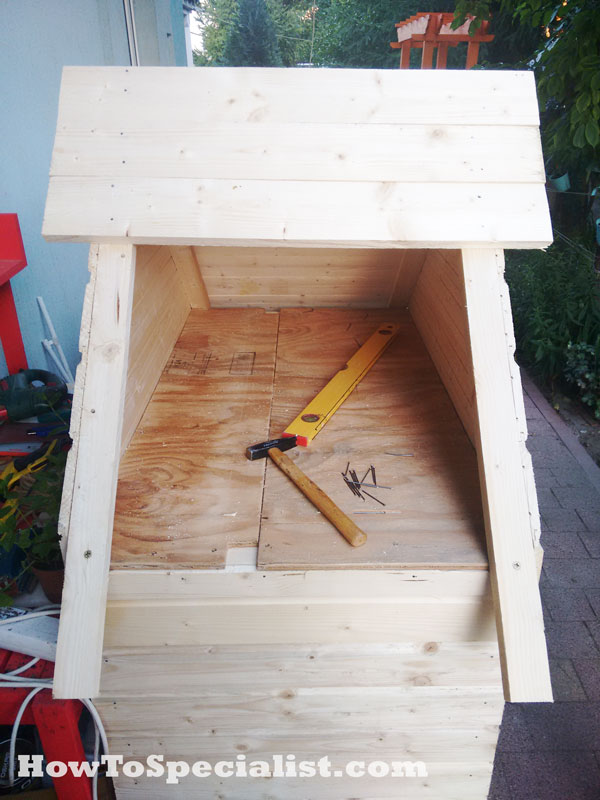
Fitting-the-slats-to-the-roof
Next, I attached the slats to the rafters. As you can see in the image, I fitted a few board to one side of the roof, so I can install the lid for the under-roof storage compartment. If you want to keeps thing easy, I recommend you to use 3/4″ plywood for the roof.
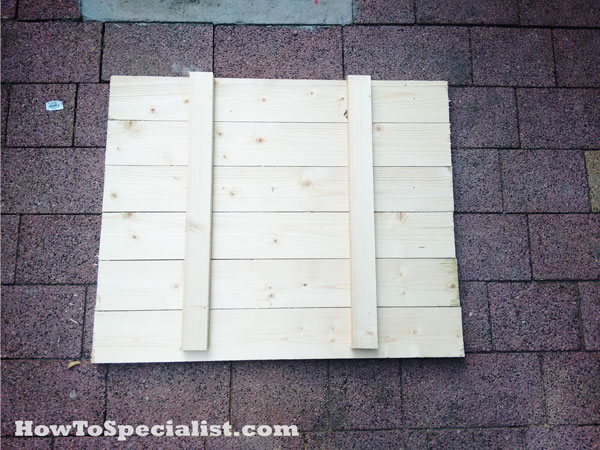
Fitting-the-roof-lid
I assembled the lid for the tool shed roof. Align the edges with attention and leave no gaps between them. Attach the cleats, drill pilot holes and insert screws into the slats.
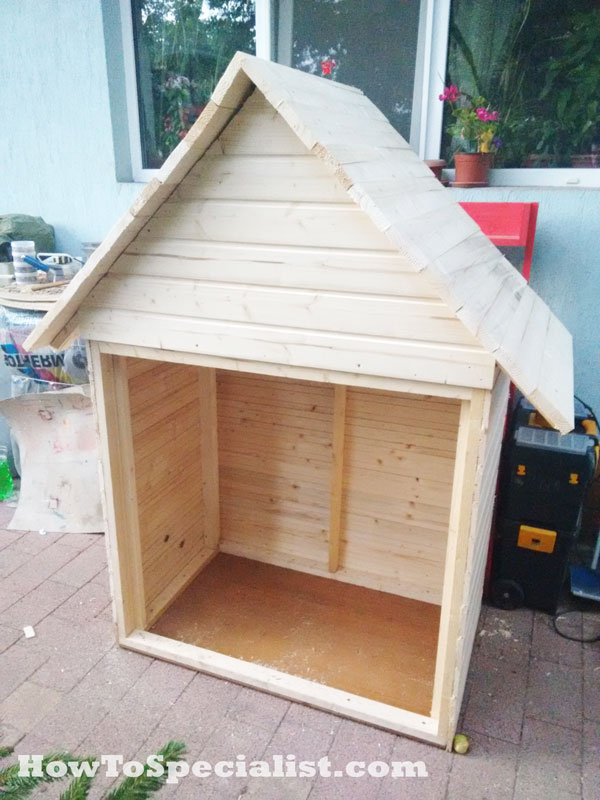
DIY-Tool-Shed-Plans
Fit the lid to the roof, making sure you align everything. As you can notice in the image, you need to leave overhangs for the front and back of the shed, as to protect the walls from rain and bad weather.
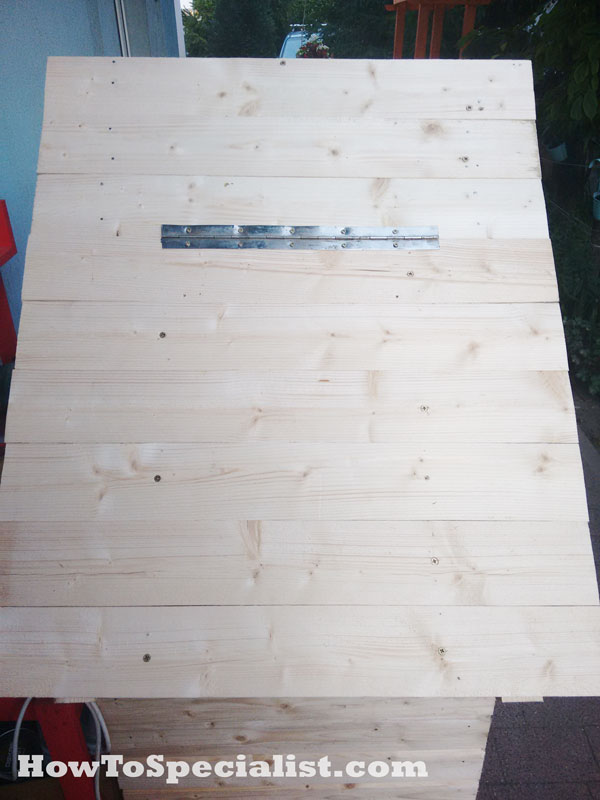
Fitting-the-roof-lid-into-place
I used a piano hinge to secure the lid to the roof. Make sure the lid opens properly. You can use two regular hinges, as well.
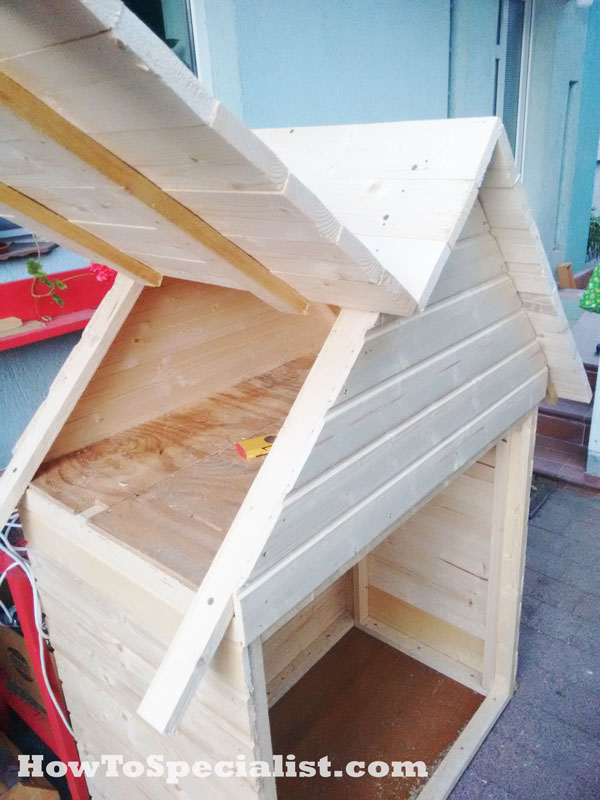
Building-the-roof-of-the-shed
The lid opens easily and the storage space under the roof is significant. I think this is a great idea, as long as you are not going to keep ice there.
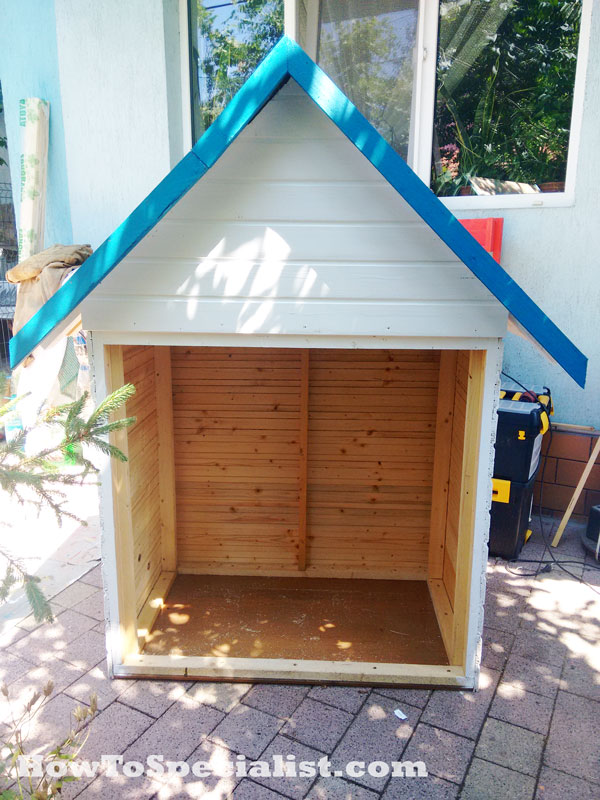
Painting-the-tool-shed
Next, I attached the 1×2 trims to the ends of the roofing sheets. As you can easily notice in the diagram, you need to make a cut to one of the trims, as to make lifting the lid possible. This is a good time to apply a few coats to the exterior of the shed. Make sure you apply the paint evenly and choose a product that protect the wood from decay.
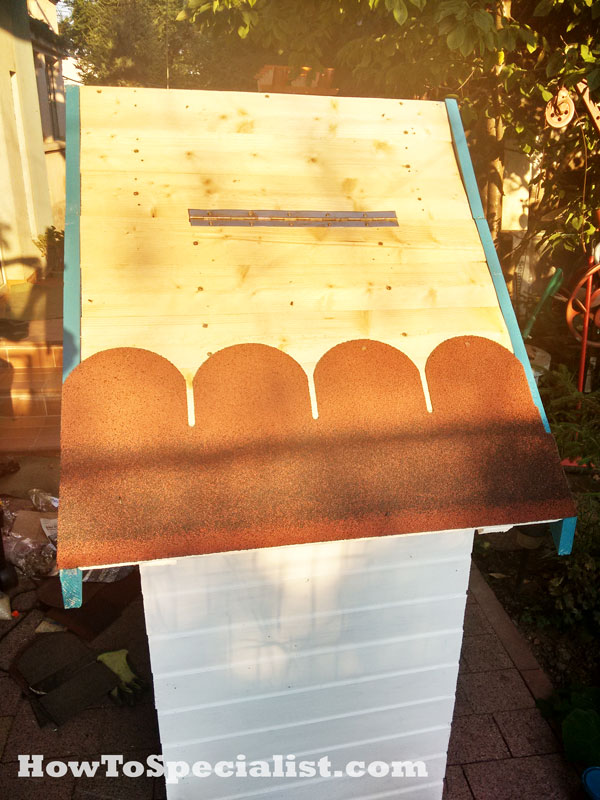
Fitting the roofing shingles
Next, I started laying the asphalt shingles to the roof. I nailed the shingles into place, making sure the next layer will cover the head of the nails.
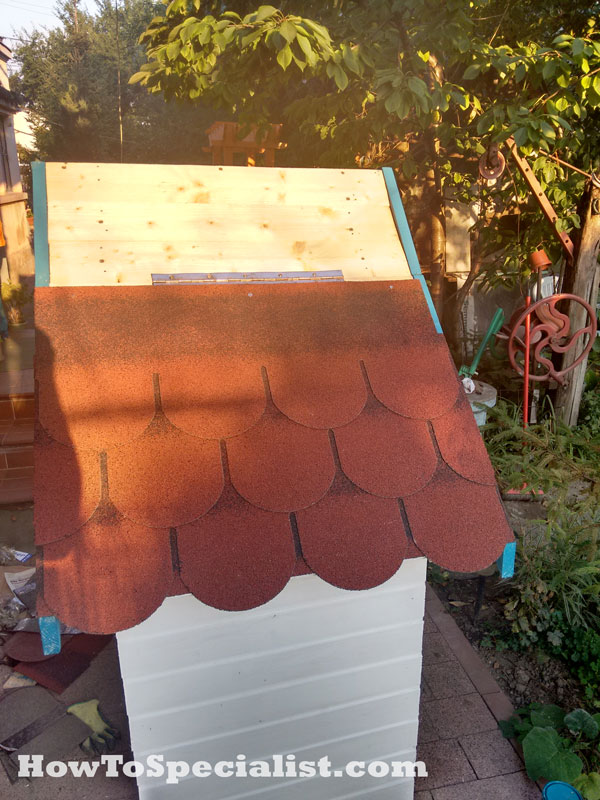
Roofing shingles
I laid the rest of the asphalt shingles up to the top of the roof. I aligned the sides to the trims and made cuts to the tabs, if needed, to make sure the pattern turns out properly.
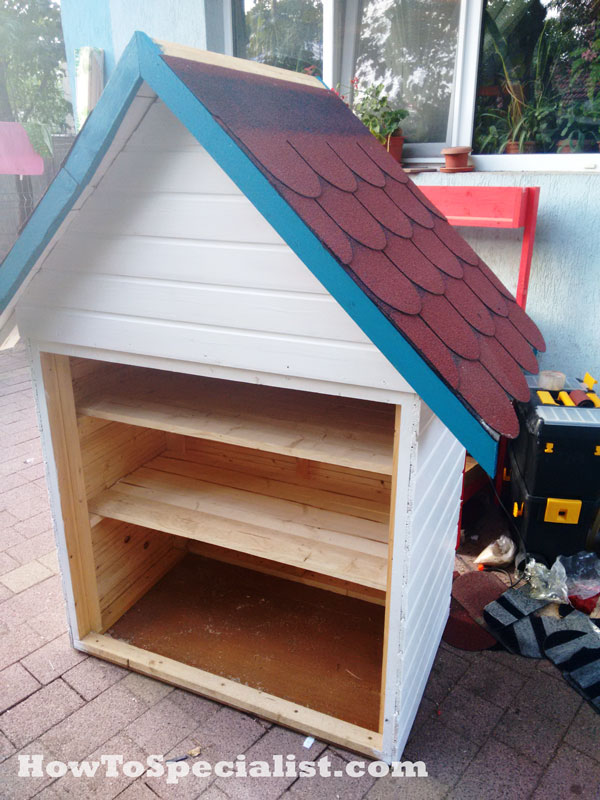
Fitting the shelves and the trims
I attached the asphalt shingles to the other side of the roof, as shown in the diagram. In addition, I attached several shelves to the interior of the shed.
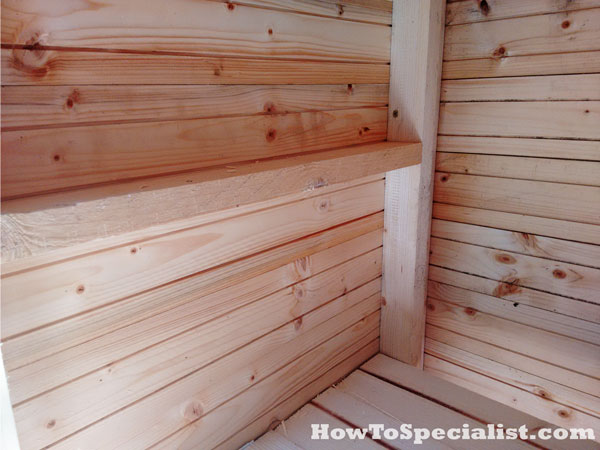
Fitting-the-shelves-supports
In order to do that, I first attached supports to the sides of the tool shed. I drilled pocket holes at both ends of the supports and secure them to the studs using 2 1/2″ screws. Adjust the height at which you place the supports to suit your needs.
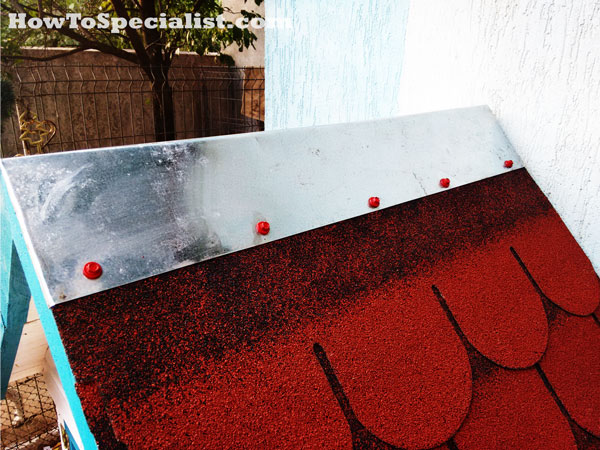
Fitting the ridge cap
One of the last steps was to install the ridge cap. I used a scrap piece from a metal sheet and a few roofing screws. Apply a few coats of paint to the ridge cap to enhance the look of the diy tool shed.
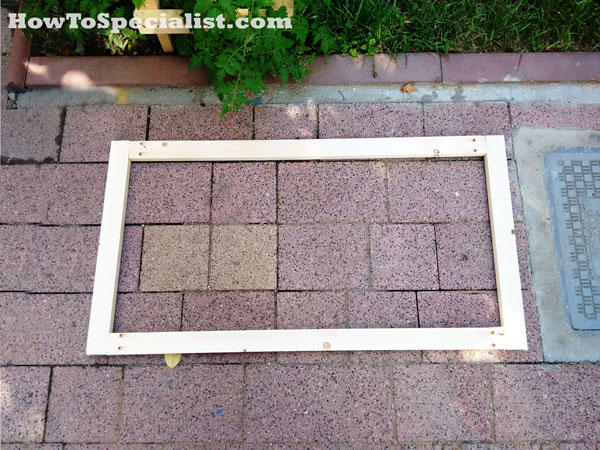
Building the door frames
I built the frame for the door from 1x2s. I drilled pocket holes at both ends of the long components and secured them to the perpendicular pieces using 1 1/4″ screws. Make sure the corners are square before inserting the screws. Align the edges with attention, before inserting the screws. Fit the panels to the back of the frames.
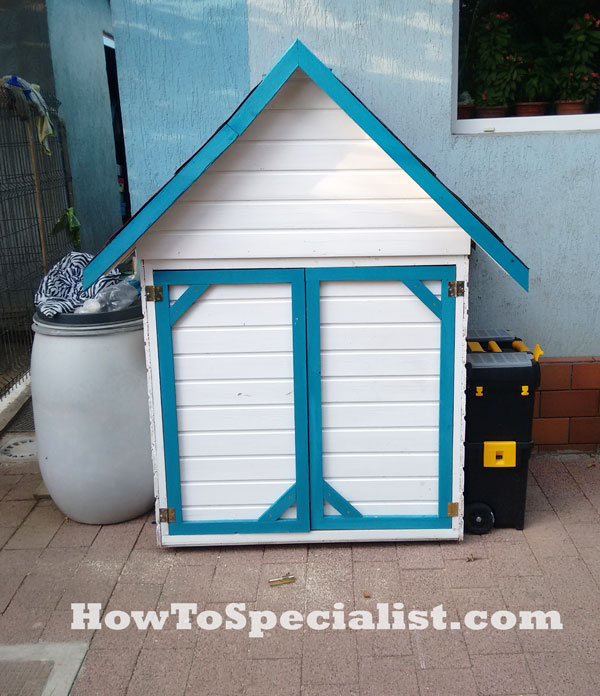
Building a wood tool shed
I fitted the doors to the opening and used hinges to lock them to the studs. This step might require some fine tuning, just to make sure the doors open and close easily. Afterwards, install a latch to lock the doors.
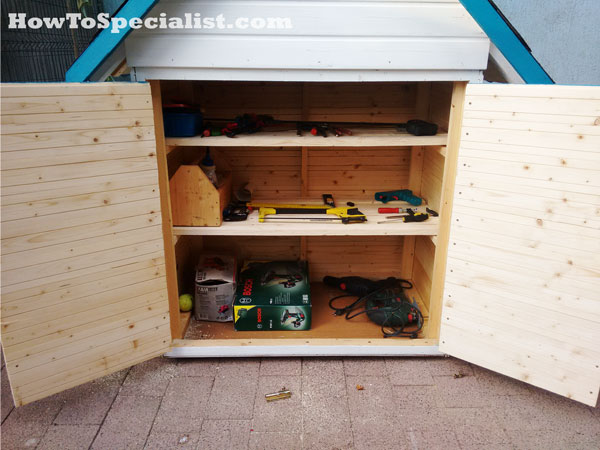
DIY Tool Shed
The tool shed is roomy enough to store all my tools. I also like the under roof storage area that is ideal for miscellaneous items.
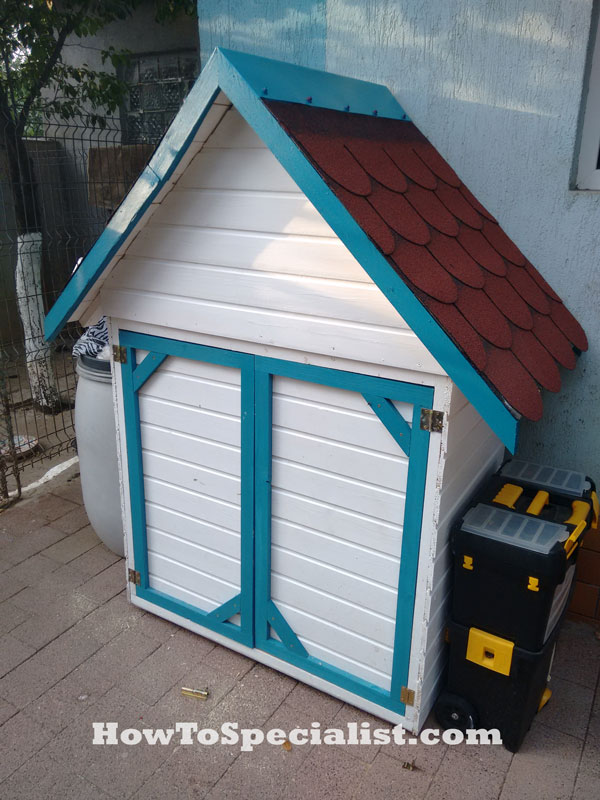
How-to-build-a-tool-shed
I hope you’ve enjoyed this this step by step tutorial and you might want to take a look over the rest of my projects. I would love to hear your feedback and to see your pins, likes and shares. If you build this tool shed don’t forget to send a few pics.
Thank you for reading our project about how to build a tool shed plans and we recommend you to check out the rest of the projects. Don’t forget to SHARE and LIKE our projects with your friends, by using the social media widgets, if you want to help us keep adding free woodworking plans.

2 comments
can this be made taller?
Of course it can. You just cut the studs longer.