This article is about how to build a firewood shed that can hold 2 cords. This 5×10 shed features a lean to roof and it has a large opening to the front, while the other 3 sides are enclosed. This is a super easy process you can do by yourself, but very rewarding in the same time. I used the Premium Plans from MyOutdoorPlans to build this shed, with some little tweaks to accommodate the materials I had at my disposal. You can find the plans HERE.
You can choose from many firewood shed plans since they are all built similarly. I chose this size because it was the most efficient for the materials I already had from previous projects. I haven’t invested much into this shed, because I had 80% of the lumber and the roofing sheets from other projects. The only things I had to buy is the screws and the metal connectors. See all my Premium Plans HERE.
Made from this plan
Tools
- Hammer, Drill
- Chisel, circular saw
- Miter saw
- Tape measure, spirit level
Time
- 1 week
How to Build a 2 Cord Storage Shed
Building-the-shed-floor-frame
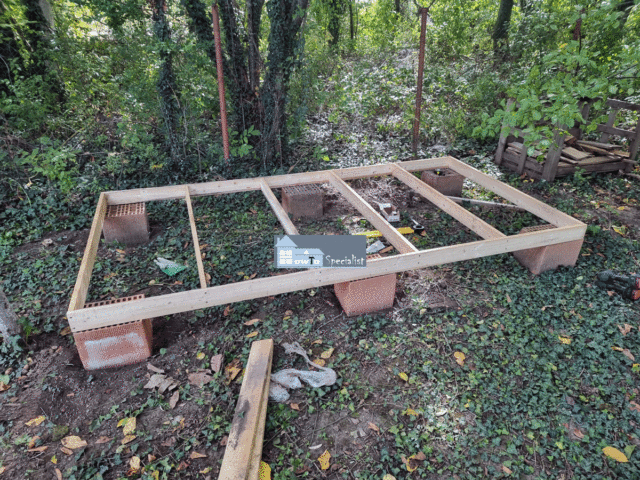
The first step of my project was to level the ground and set the blocks that will support the floor frame. I used a spirit level to make sure the blocks are level one with another. In addition, I measured the diagonals and made adjustments until they were perfectly equal.
I used butt joints for the floor frame and then laid it to the blocks, as shown in the image. I added two more blocks under the floor frame, to add even more support for the shed. Moreover, the blocks will lift the shed from the ground and protect the lumber from the elements.
Fitting-the-floor-boards
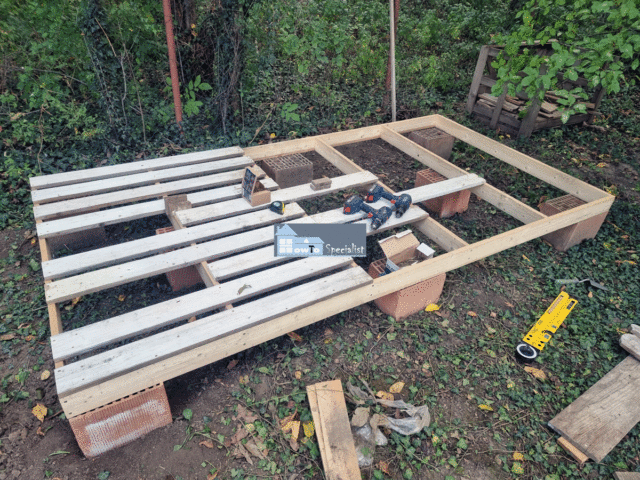
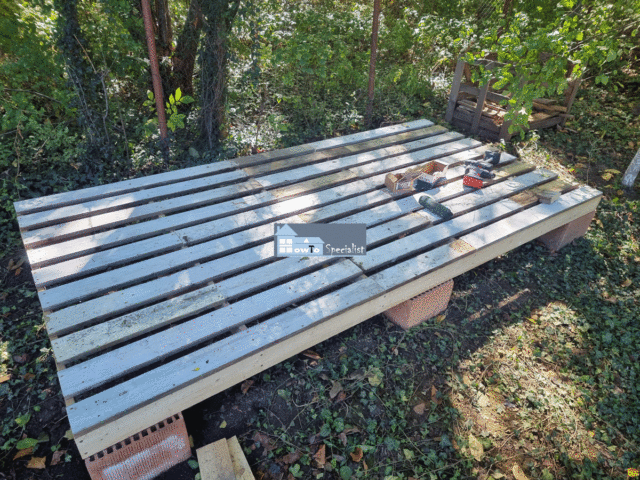
Next, I attached the slats to the floor frame. I used some old picket fence boards which proved to be in really good shape. Make sure you space them properly using two scrap pieces of wood as spacers. I drilled pilot holed through the boards and inserted 2 1/2″ screws into the floor frame.
Floor-slats
30 minutes later the floor of the shed was complete and I was ready for the next step.
Cuts-to-the-base-of-the-posts
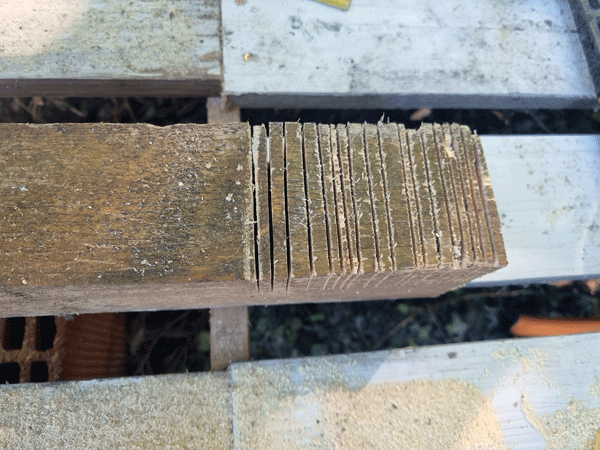
I used some old 4×4 lumber for the vertical posts that will support the roof structure. I made notches to the base of the posts, so I could install them properly to the floor frame. Use a circular saw to make parallel cuts inside the marked area. The secret is to set the circular saw depth at about 1 3/4″.
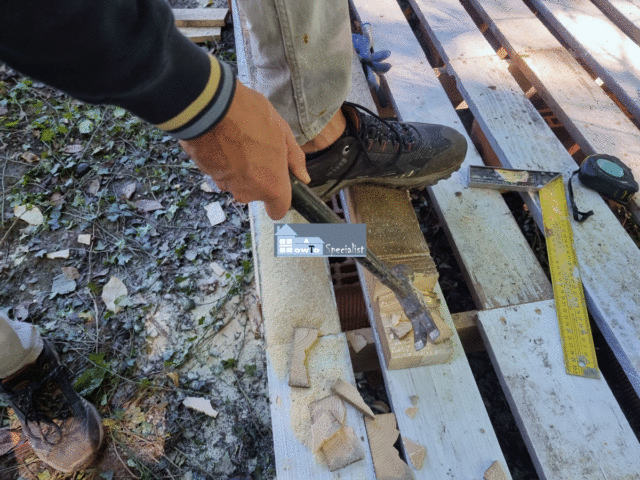
Cleaning-the-recess
Then, I used a hammer to remove the excess material. It worked pretty well and I barely had to use the chisel for cleaning and smoothing the surface.
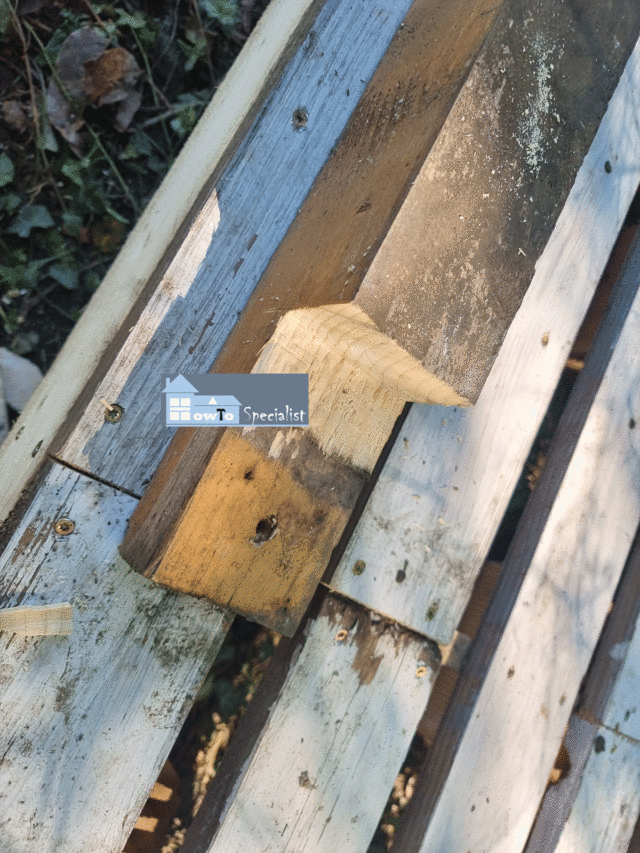
Half-lap-cut
Add some paint to the cut to protect the wood from the elements.
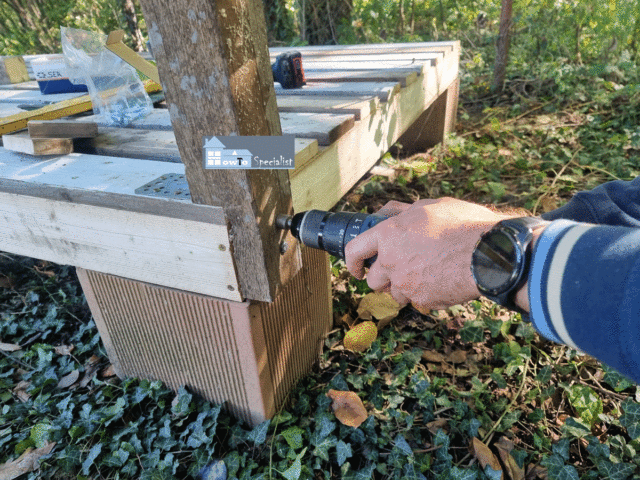
Fitting-the-side-posts
Attach the posts to the floor and plumb it with a spirit level on both sides. I used 3″ lag screws to secure the posts into place. In addition, I used a L tie on the other side of the joint, as you can see in the image.
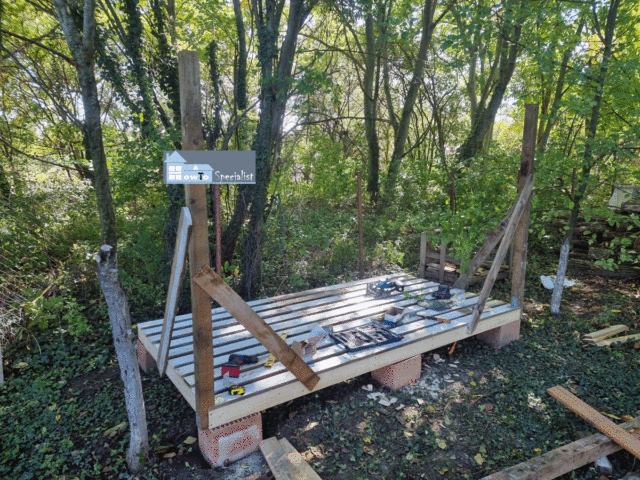
Front-posts-for-firewood-shed
Repeat the process for the other post. Notice the temporarily braces for each post. These braces will hold the posts vertically, while I install the top beam and the rafters. It is a lot easier to work with these braces and the end result will be amazing.
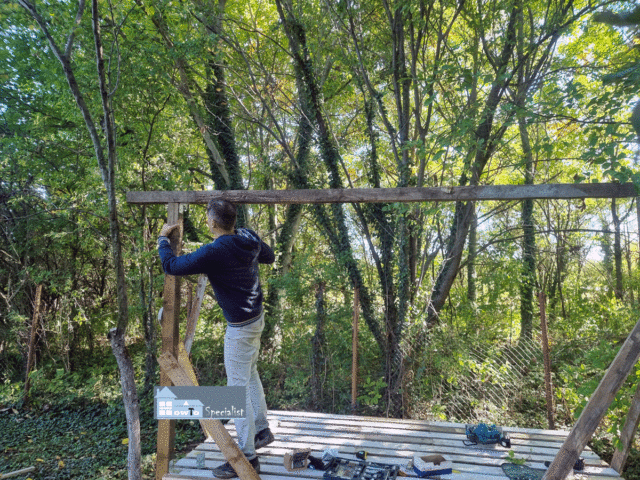
Fitting-the-top-support-beam
Next, I attached the top beam to the front posts. Notice the overhnags on each side of the woodshed. I used L ties and 2 1/2″ screws to lock the beams to the posts.
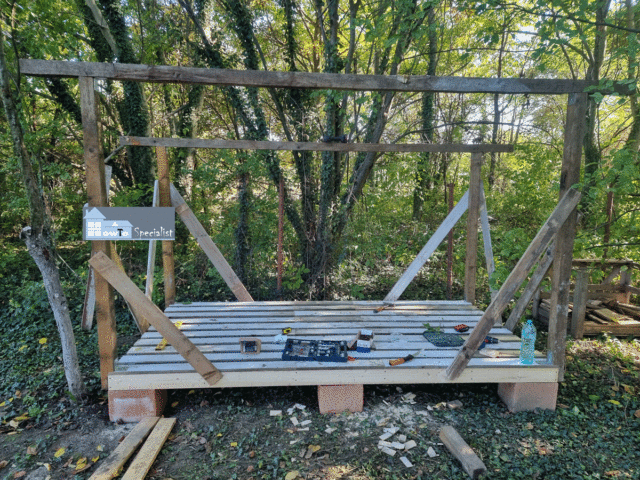
Top-support-beams
After attaching the back posts and the top beam, the shed starts to look better. everything assembled easily, as in a LEGO game.
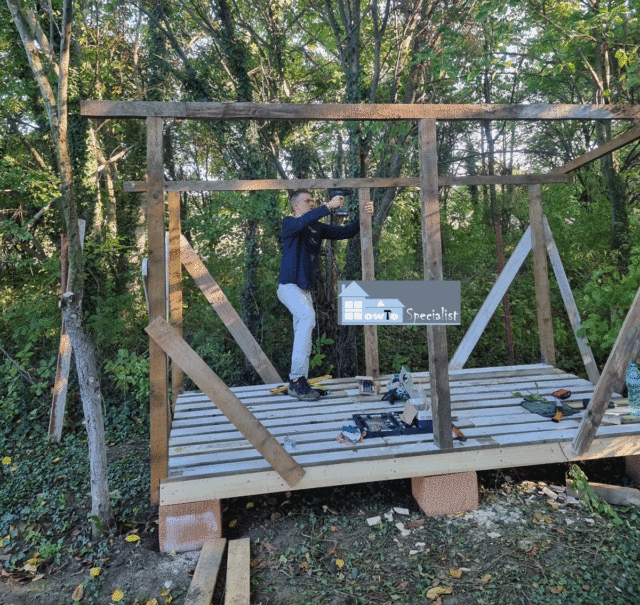
Fitting-the-middle-posts
I added extra 4×4 posts to the middle of the front and back openings. Use a sprit level to plumb the posts and L ties with screws to lock the posts to the floor and to the top beams.
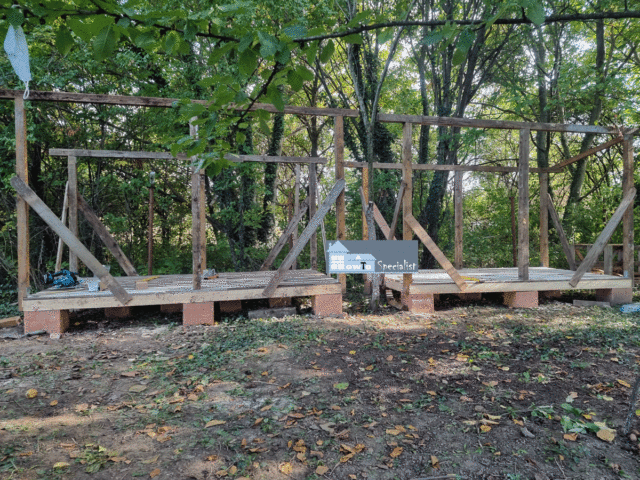
Building-two-firewood-sheds
At this point I had the brilliant idea to go the extra mile and build a second shed. I had enough scrap lumber so I made time to assemble another unit. Having the experience with the first shed, the second one took half as much time.
Setting-the-rafters
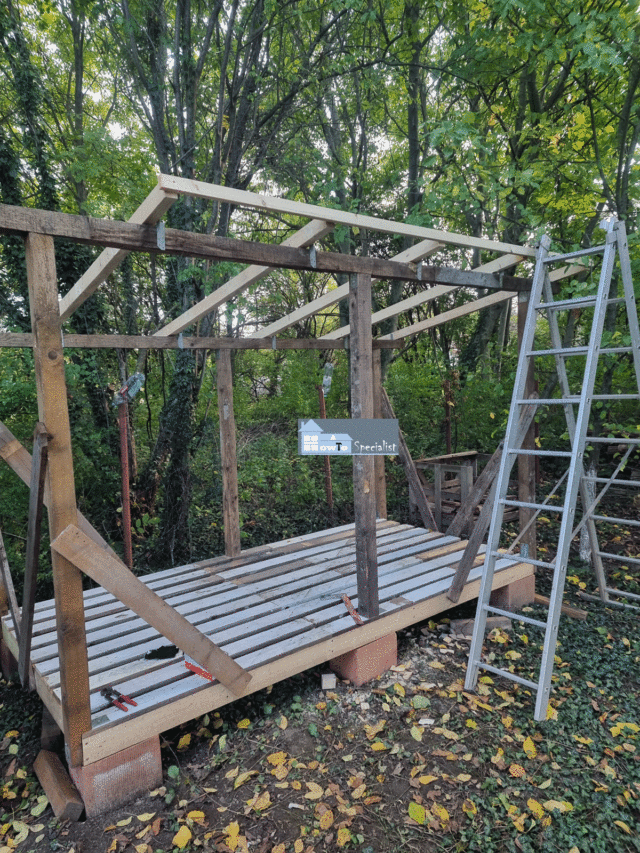
The rafters were the next ones to go on the shed project. I placed them equally spaced and used a board to align them perfectly to the front of the shed. I used rafter ties and 1 1/2″ screws to lock the rafters to the support beams.
Fitting-the-purlins
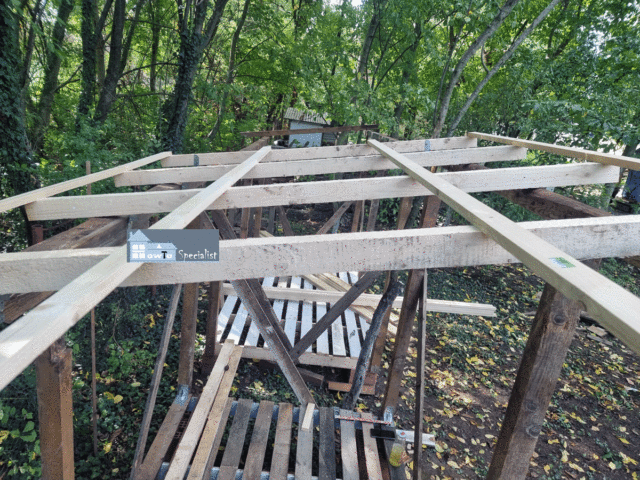
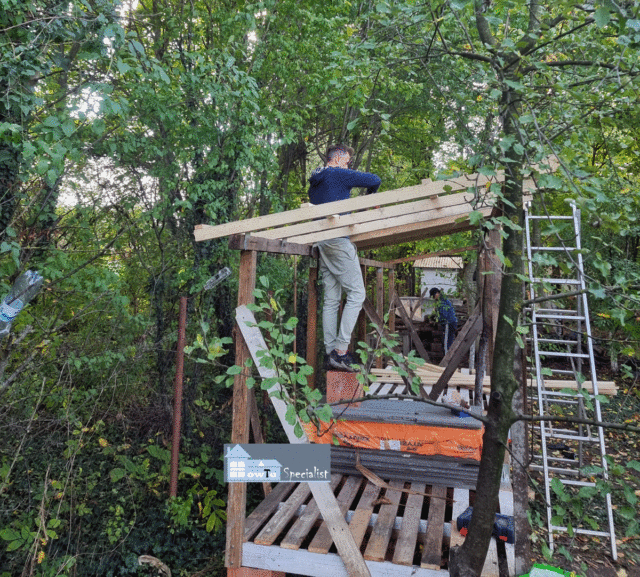
We need purlins on top of the rafters so we can support the metal roofing sheets. I made sure the purlins are equally spaced and lock them into place with 1 5/8″ screws.
Purlins
Rood-sheets—5×10-shed
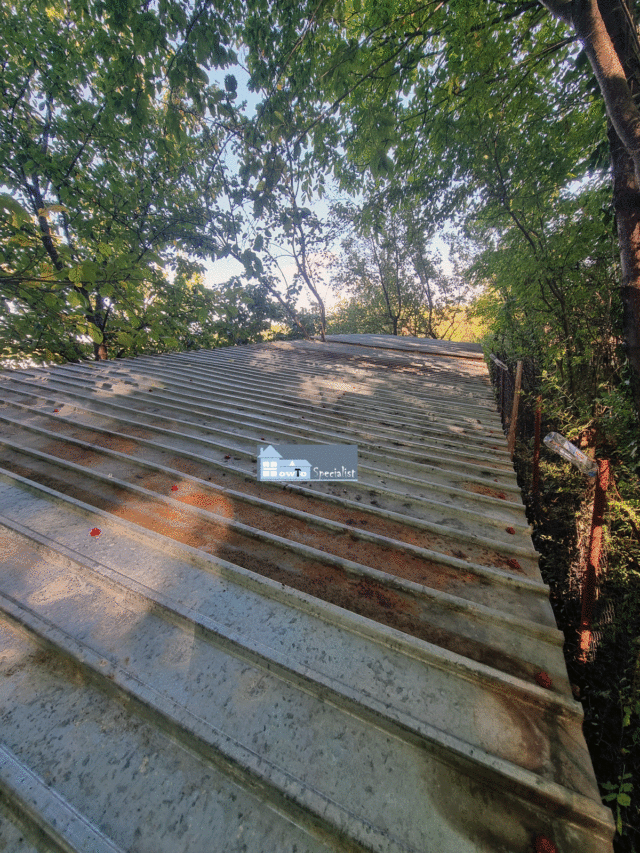
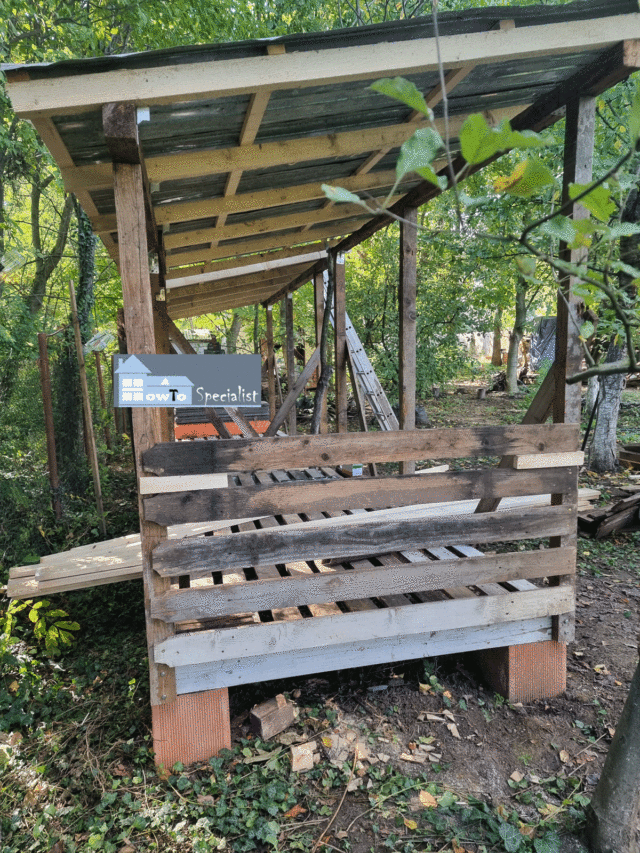
Next, I repurposed some old metal sheets for the roof. They were in a pretty good condition, despite some occasional rust here and there. I used 1″ roofing screws to lock the sheets to the purlins. It was a time consuming process, but a proper A ladder helped reaching all areas. Setting many screws is important, especially if you live in an area with strong winds, like I do.
Fitting-the-shed-slats
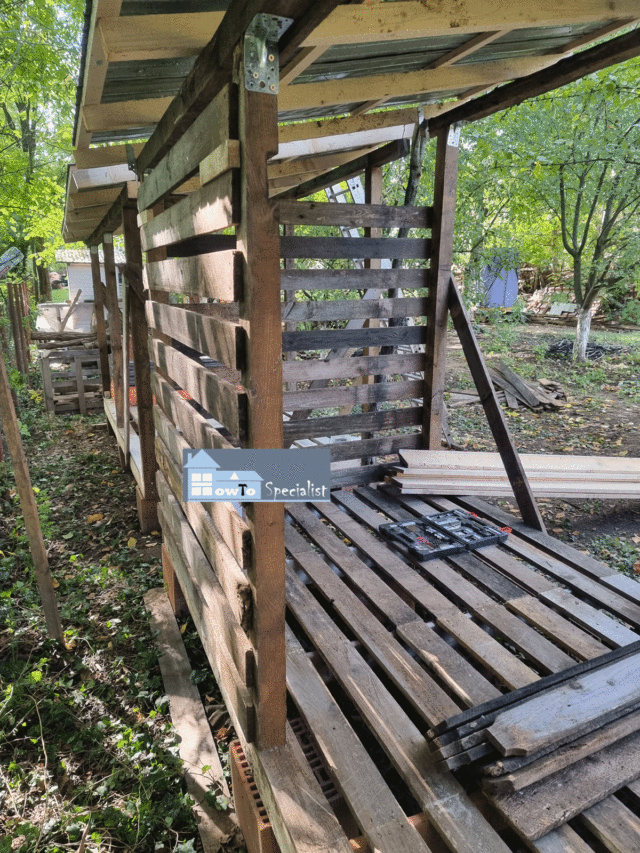
After the roofing was all set, I had to tackle the enclosure walls. As in the plans, I attached the boards to the sides and to the back of the shed. I used old pickets which proved to be nearly perfectly sized for my needs. I used two spacers to get even gaps between the boards. I used two 1 5/8″ screws at both ends of the boards, to lock them into place tightly.
Fitting-the-back-slats
I attached the boards to the back of the shed, as well.
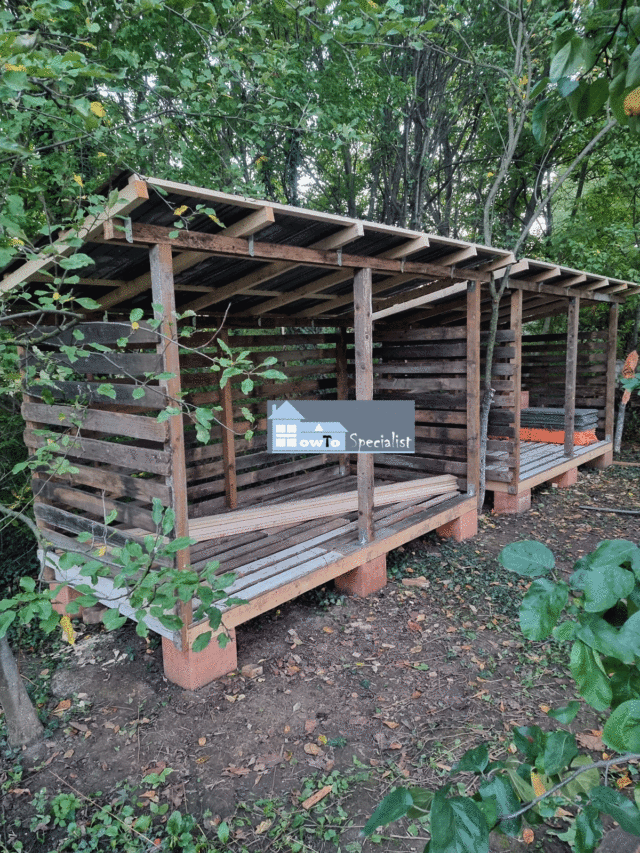
How-to-build-a-2-cord-firewood-shed
After attaching the boards to both sheds, I was quite impressed with their rustic look. I really like these sheds and I think they will help me organize the firewood for many years to come. In addition, I managed to use some of the lumber I had laying around from previous projects.
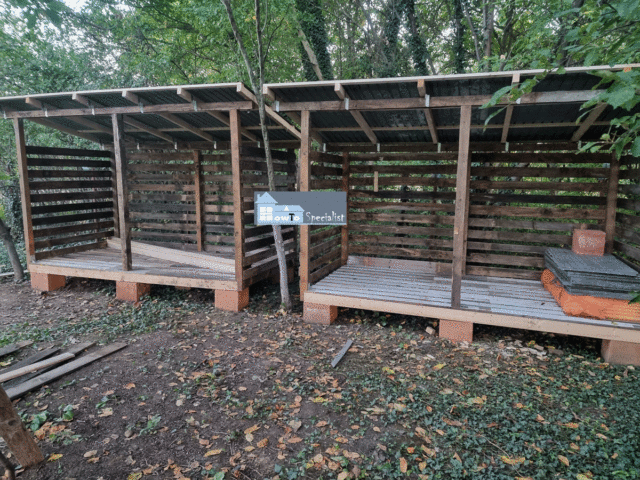
How-to-build-a-5×10-firewood-shed
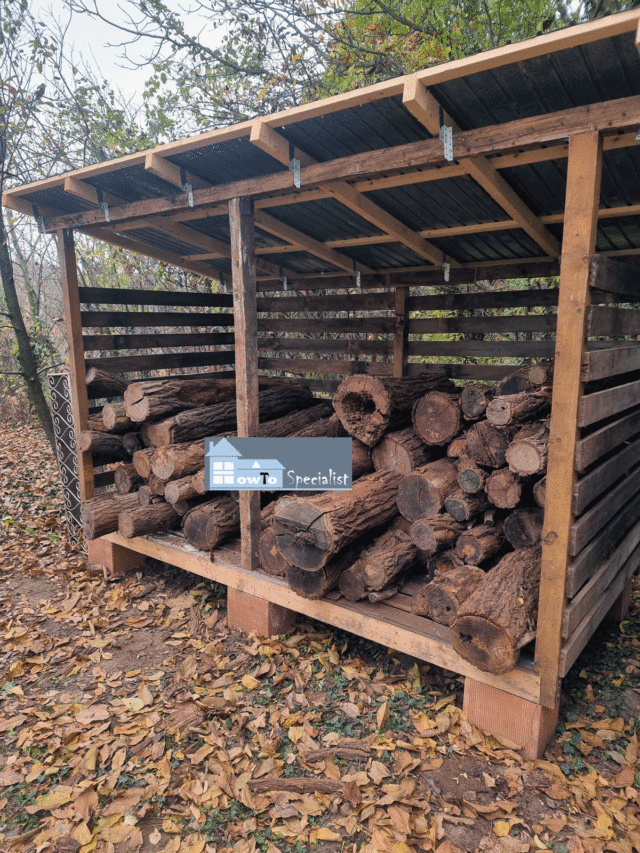
DIY-5×10-firewood-shed-plans
I really enjoyed this project because it was an inexpensive way to add some character to my yard. These sheds are perfect for my countryside property and besides being utilitarian, they add some unique charm to my backyard. What’s a better story to tell than how I built not on but two firewood sheds in one week?
If you like what you see, you should consider buying the plans I used for this project, because they will make your life a lot easier. Stay tuned, more awesome projects to come on the blog.
Thank you for taking a look over my article on how to build a a 5×10 firewood shed. Make sure you share this project with your friends if you like it and please take a look over the rest of my projects, because I have tons of plans and ideas to choose from. See all my projects HERE.
