This step by step diy article is about how to insulate a pizza oven. Insulating the brick oven will not only make it more efficient (it will store the head better), but also enhance the look of the construction. In this project we show you how to cover the brick dome with stone, as well as how to prepare the insulating layer. After building the pizza oven, you should leave the clay mortar to dry out properly, before installing the insulating layer.
I have a whole series on how to build the outdoor kitchen, so make sure you check out the Episodes HERE. This Series covers everything you need to know starting with the base of the outdoor kitchen, up to the brick oven and the outdoor stone. This project should help you plan your outdoor kitchen and understand the techniques, especially if you use bricks, concrete blocks, stone and concrete.
Made from this plan
Materials
- Sharp sand, cement – CONCRETE
- Vermiculite – INSULATION
- Chicken wire or wire netting – WIRE
- Wall stone – STONE
Tools
Tips
- Mix the insulation material thoroughly
- Let the concrete dry out properly, before filling the holes
Time
- One weekend
Related
- PART 1: Building the base of the pizza oven
- PART 2: Building an outdoor pizza oven
- PART 3: Insulating the brick pizza oven
- PART 4: Building an outdoor stove
- PART 5: Finishing the outdoor pizza oven
- PART 6: Building a shelter for the pizza oven
How to insulate a pizza oven
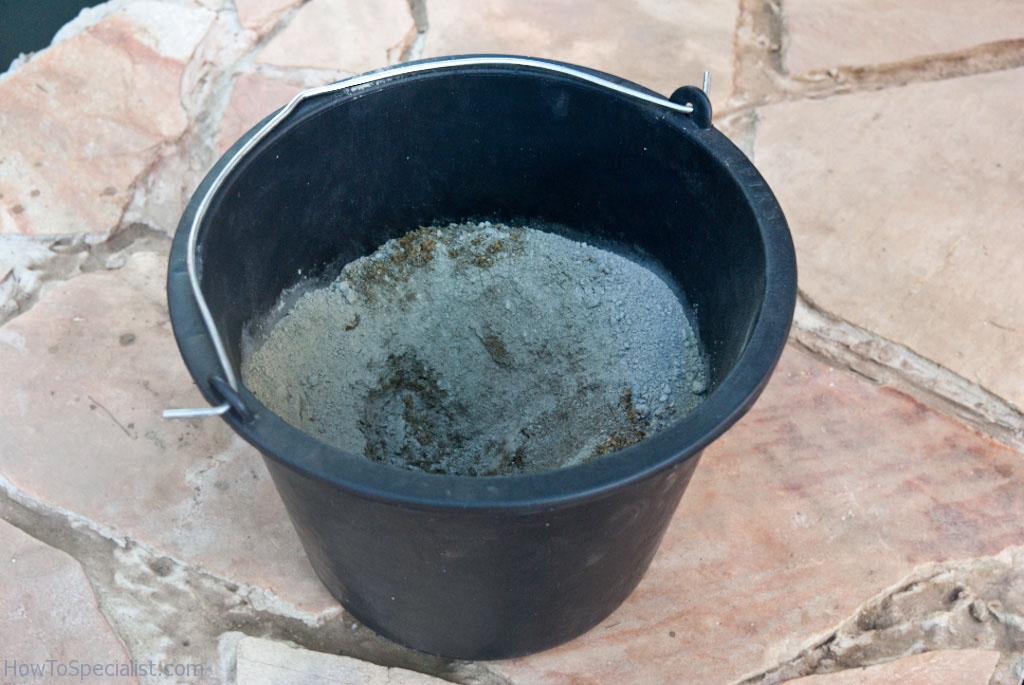
Mixing concrete
The first step of the project is to mix a small quantity of insulation in a bucket or in a wheelbarrow. Therefore, you could either prepare regular concrete (2 parts cement, 3 parts sharp sand) and install the stone pieces. Alternatively, you could mix 6 parts vermiculite to 1 part cement and cover the dome with a 2-3” thick layer.
If you want to add the vermiculite concrete insulation, you should wrap chicken wire around the oven, leaving 3″-4″ of space for mortar layer. In my case, I used mortar and stone. That doesn’t work as efficiently as vermiculite, but still adds a new later of insulation and protection.
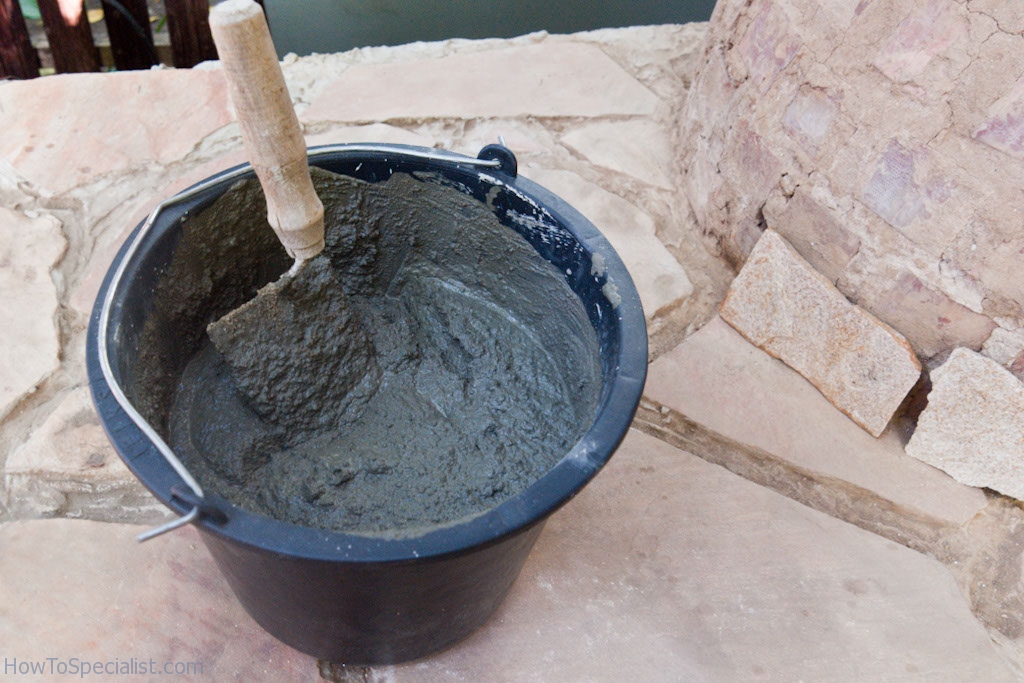
Preparing the insulation
We recommend you to mix the vermiculite and the cement, or the sand with the cement, without pouring the water. In this manner, you can mix the components properly and afterwards add the water gradually.
Use a margin trowel to mix the compound, making sure it’s not too thin. In order to check if the concrete has the right consistency, it should not fall off the trowel. Otherwise you should add a little more cement and mix it properly.
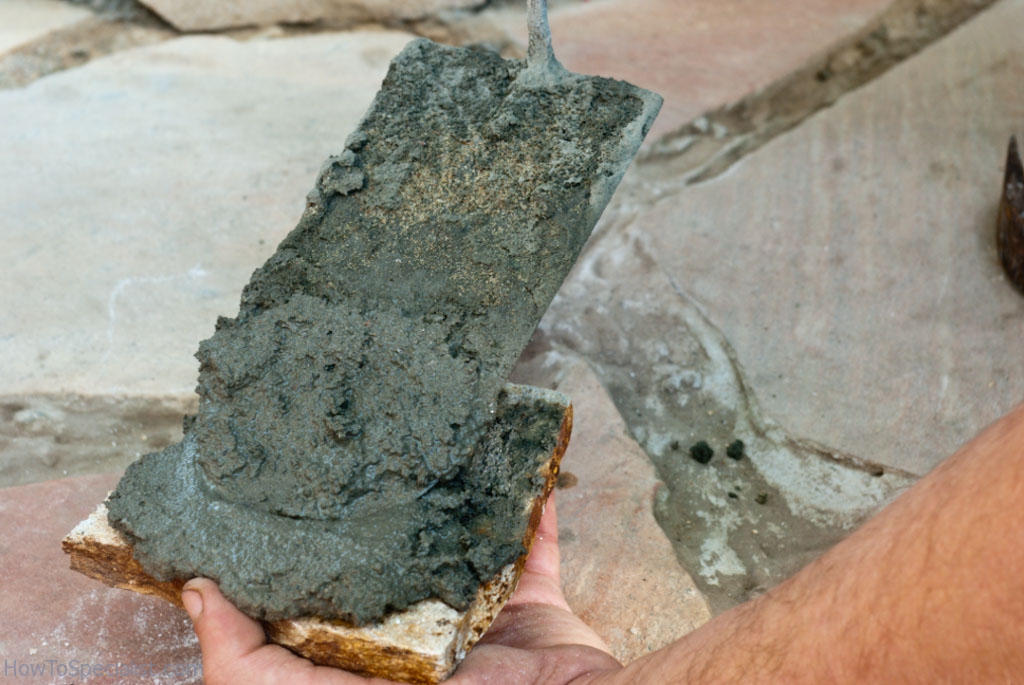
Adding concrete to the stone
If you go for the vermiculite insulation, you should pour it in the space between the dome and the chicken wire. The layer should have about 2-3” and has to be even on the whole surface. Afterwards, mix regular concrete (2 parts cement, 3 parts sand) and attach the stone pieces.

Covering the pizza oven with stone
Start fitting the stone pieces from the bottom to the top of the dome. Make sure the gaps between the stones are no larger than 1/2” inches, otherwise the pizza oven won’t have a neat look. Choose the stone pieces with good judgement and attention, if you want to obtain a nice-looking pattern.
Pay also attention to the thickness of the stones, as they can vary extensively. Therefore choose only the pieces that have a similar thickness, otherwise the surface of the oven won’t be uniform.
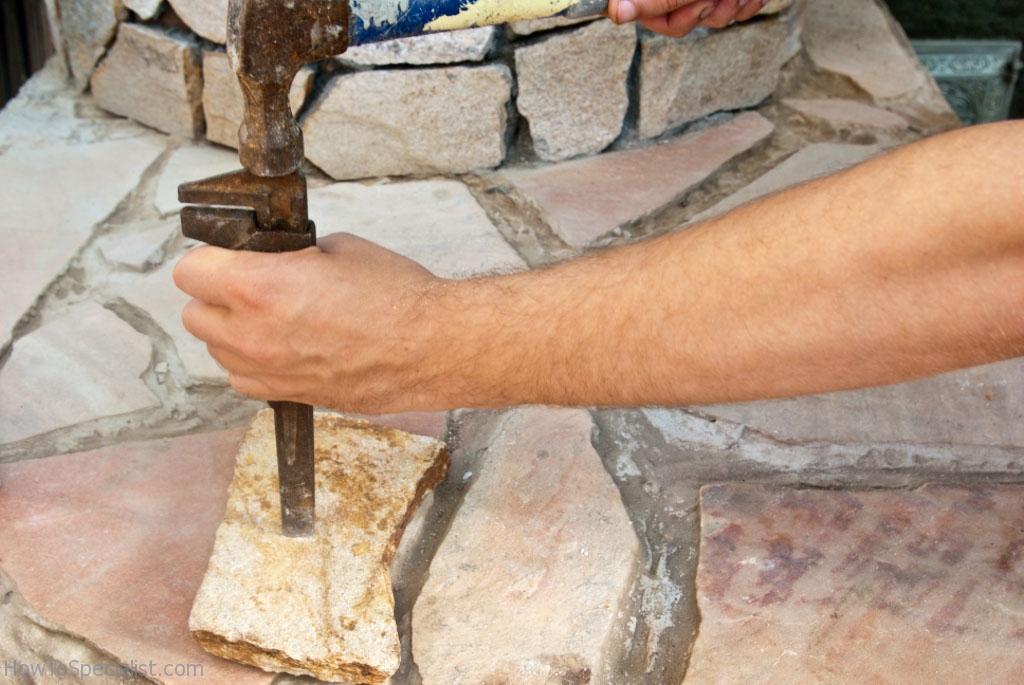
Splitting the stone
In most of the cases you need to adjust the size and the shape of the stone, as to match the existing pattern. The easiest techniques to get the job done accurately, is to use a chisel and a hammer. Just place the chisel on the marked line and hit it gently with a hammer.
Move the chisel several inches and repeat the process, until the stone splits in two pieces. You should exercise a little on a few spare pieces, just to get accustomed to the technique.
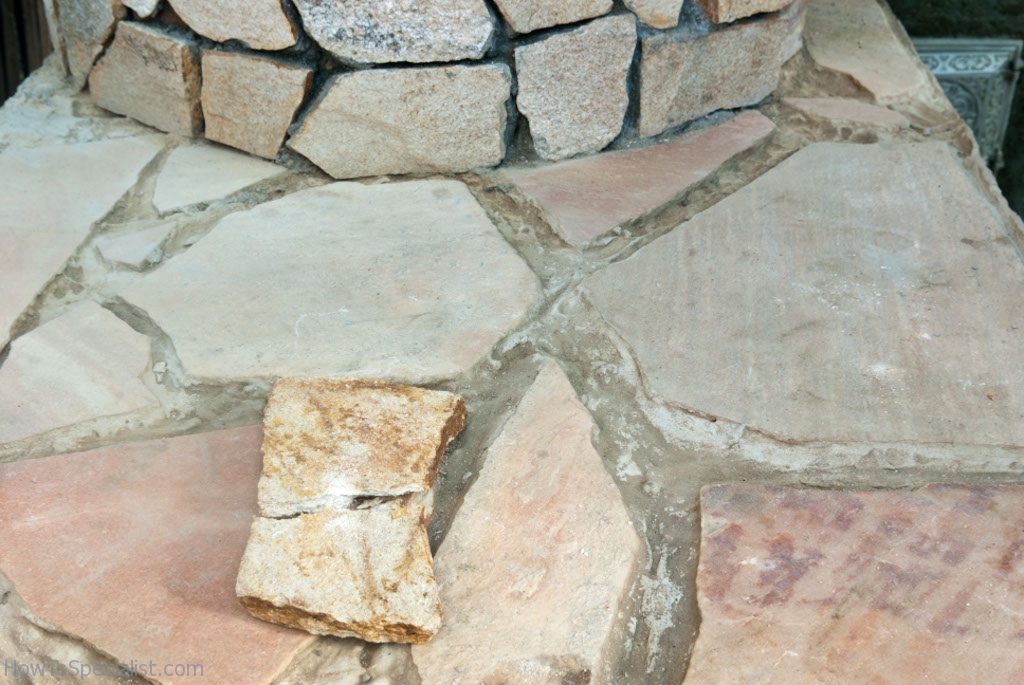
Stone
This is what you should obtain after splitting the stone. Make sure the halves are in a good condition, before securing them to the brick dome.

Attaching the stone
In order to secure the stone pieces to the brick pizza oven, you should apply mortar both to the back of the stone as well as to the bricks. Make sure the mortar has the right consistency and mix it every 5 minutes, as it tends to dry out quickly. Place the stone to the oven and set it properly, by hitting it several times with a rubber hammer.
Remember that the stone pieces shouldn’t be too large, otherwise they won’t wrap properly to the brick dome. We strongly recommend you to clean the surface with a putty knife and a brush.
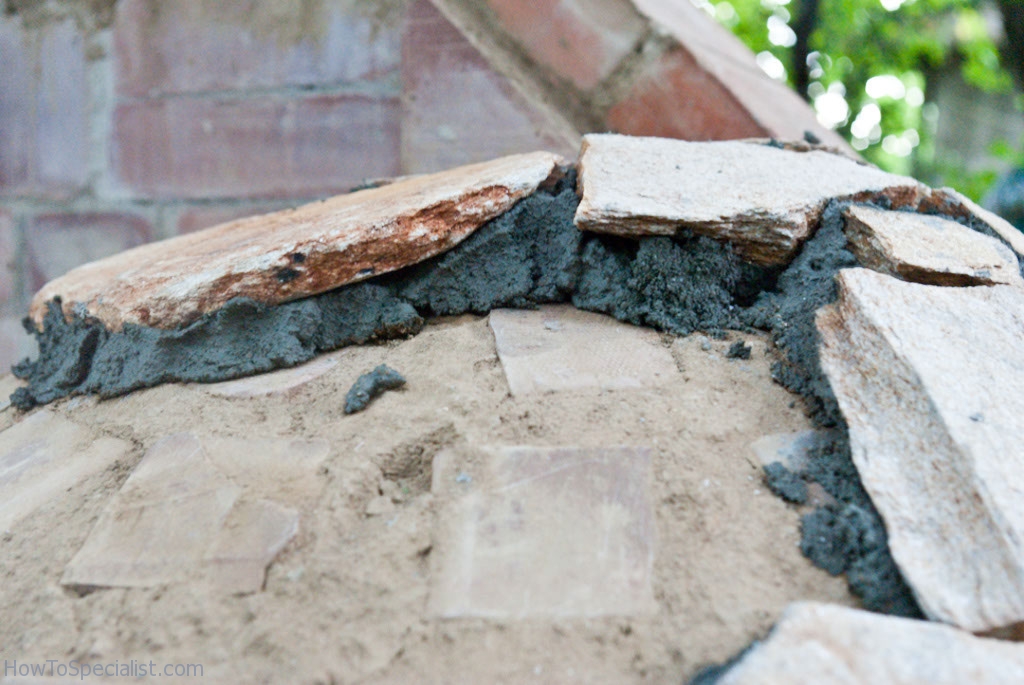
Close up with the insulating layer
As you can see in the image, you should fill the gaps between the stone pieces and the pizza oven. Make sure the edges of the stones are aligned one with another, otherwise set them properly with a rubber hammer.

Covering the dome with stone
Continue installing the stone, suing the same techniques described above. If you want to obtain a professional result, we recommend you to clean the dome’s surface with a putty knife and a brush. In addition, sprinkle water to the dome, before spreading the mortar.

Cleaning the gaps between the stones
After fitting stone to the whole surface of the brick oven, you should clean the gaps between them, with a small scrapper. Work with great attention, otherwise you might move the stone pieces from position. Use the edges of the knife to remove the concrete.

Cleaning the stone
On the other hand, we recommend you to clean the stone pieces with a damp sponge and water, otherwise it will be very hard to remove the residues off the stones. In this manner, you can save a significant amount of time.
If necessary, you should repeat the operation until the surface is perfectly clean. Continue this step until you clean all the gaps and the whole surface. It would be better to ask someone to assist you, as the concrete gets dried quickly.
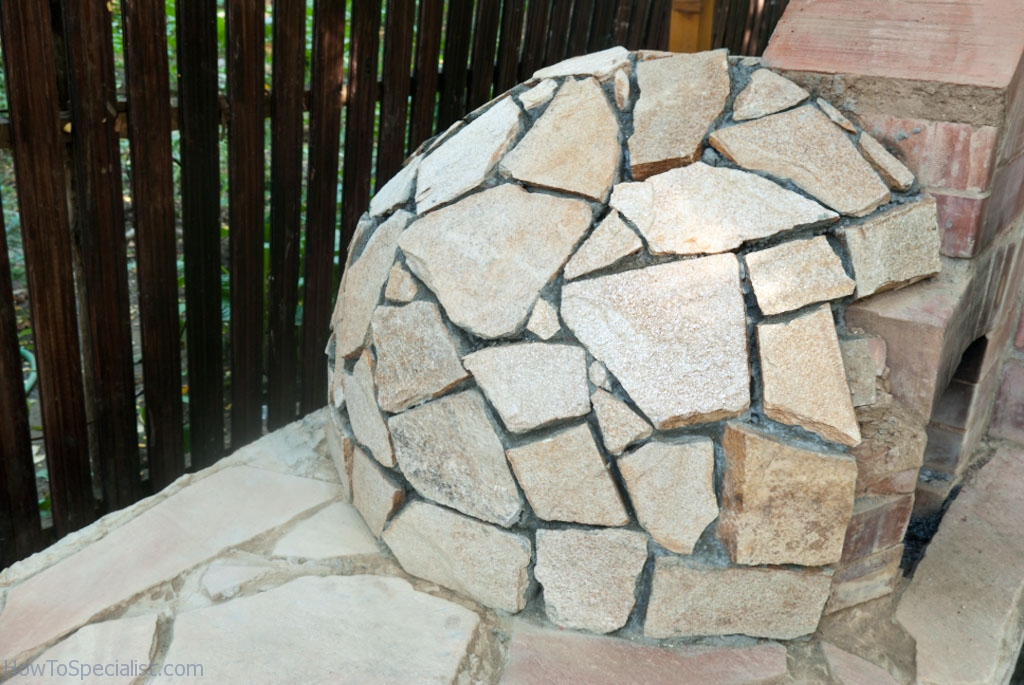
Insulating the pizza oven
Let the mortar to dry out overnight, before filling the gaps with mortar. Meanwhile, don’t forget to clean the tools with water, before the concrete dries out.

Filling the gaps between the stone
The next day, you should mix a small quantity of concrete in a construction bucket, using the following recipe: 1 part cement to 1 part sharp sand. Make sure you buy sharp sand with a small granulation, otherwise the gaps won’t have a neat look. If you want, you could even add pigment to the mix.
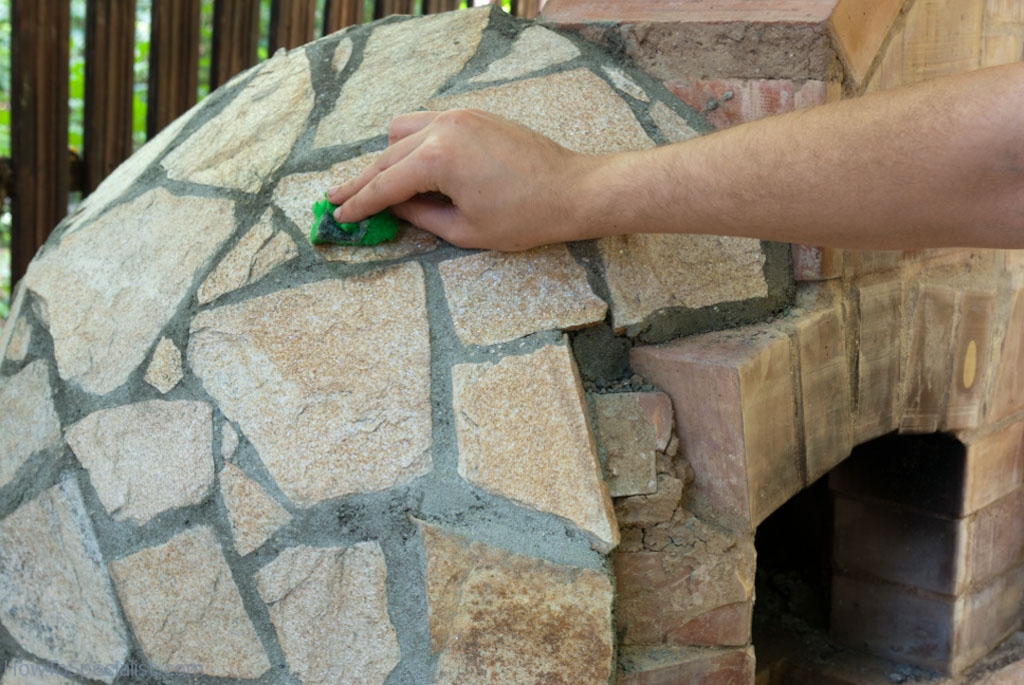
Cleaning the pizza oven
After filling the gaps between the stone pieces with mortar, you have to thoroughly clean the surface, using a damp sponge. If you postpone this task, it will be almost impossible to remove the concrete off the stones. Work with attention and good judgement, making sure you don’t miss a spot.
In addition, you can make the joints even by removing the excess mortar with a wire brush. Make sure you don’t the gaps concave, if you want to obtain a professional result.
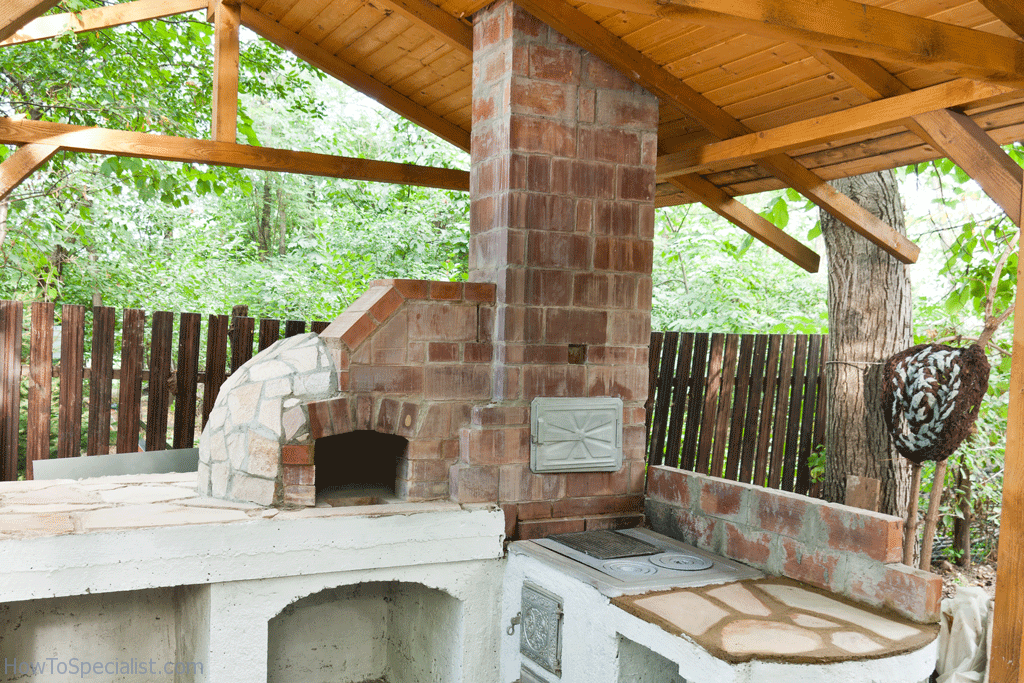
How to insulate a pizza oven
Last but not least, you have to take care of the finishing touches. Therefore, fill the holes with mortar and even out the gaps between the stone pieces with a small putty knife. Let the concrete dry out for several days, before making the fire inside the pizza oven. Check out the rest of the Brick Pizza Oven Series, to find out more on how to build the stove and the wooden shelter.
Thank you for reading our article about how to insulate a pizza oven and we recommend you to check out the rest of our projects. If you find this project useful, don’t forget to LIKE and SHARE it with your friends, using the social media widgets. SUBSCRIBE to be the first that gets our latest projects.
