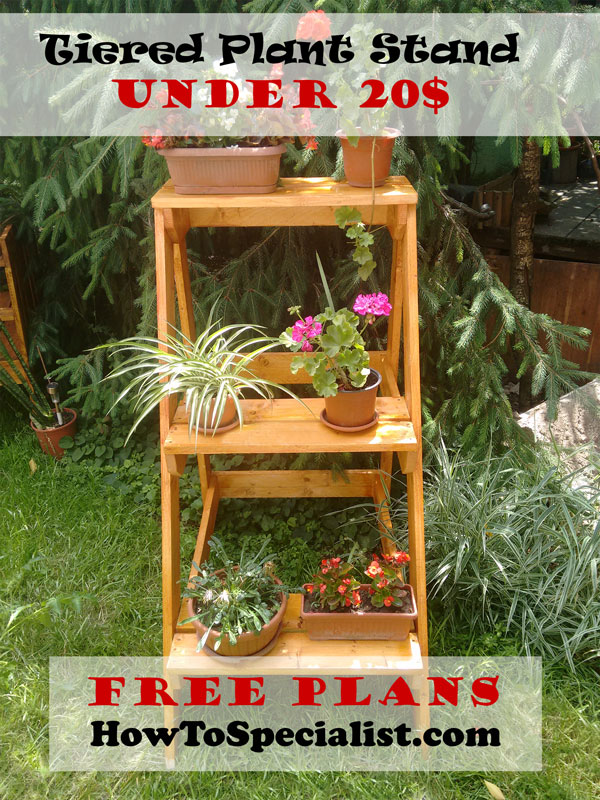
This diy step by step diy project is about how to build a tiered plant stand plans. If you want to learn more about building beautiful ladder shaped plant stand, pay attention to the detailed instructions shown in this tutorial. This project is ideal for any garden, especially if you have a lot of flower pots. I managed to build this outdoor plant stand under 20 $ with common materials and tools. If you like my project, why not take a shot and built it?
You should always plan everything from the very beginning, in order to prevent costly mistakes and to save time. If this is your first project, you need a friend to assist you while assembling the wood plant stand. Invest in high quality lumber and plywood, as the components will be exposed to bad weather. Protect the components with appropriate paint or stain. You can use the plant stand indoor, as well.
There are a few tips that you should take into account, if you want to get a professional result. Therefore, take accurate measurements and use professional tools when making the cuts or when drilling pilot holes. Align the components at both ends and add waterproof glue to the joints, if you want to create a rigid structure. See all my Premium Plans in the Shop.
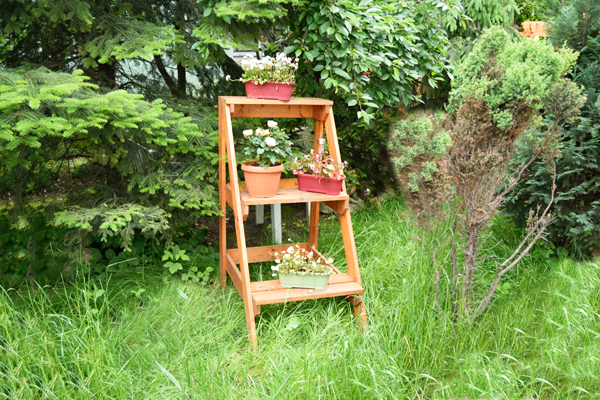
Made from this plan
It’s that easy to build a plant stand!
How to build a tiered plant stand

Building an outdoor plant stand
Materials
- A – 2 pieces of 2×4 lumber – 48″ long, 2 pieces – 57 1/2″ long LEGS
- B – 3 pieces of 2×4 lumber – 24″ long, 2 pieces – 32″ long, 2 pieces – 22″ long, 2 pieces – 10″ long SUPPORTS
- C – 4 pieces of 1×6 lumber – 24″ long, 2 pieces – 27″ long SHELVES
- 4 pieces of 2×4 lumber – 8 ft
- 1 piece of 2×4 lumber – 10 ft
- 2 pieces of 1×6 lumber – 8 ft
- 2 1/2″ screws, 1 1/4″ screws
- glue, stain
Tools
- Safety gloves, glasses
- Miter saw, jigsaw, pocket hole jig
- Chalk line, tape measure, spirit level, carpentry pencil
- Drill machinery and drill bits
Tips
- Use a good miter saw to make the angle cuts
- Drill pilot holes before inserting the screws
Time
- One Day
Related
Outdoor Wooden Plant Stand Plans
How to build an outdoor-plant stand
Follow the below instructions and detailed plans, if you want to build this pretty but inexpensive outdoor plant stand. Work with attention and adjust the dimensions of the plant stand to suit your needs.

Building the legs
The first step of the project is to build the legs for the outdoor plant stand. As you can easily notice in the diagram, we recommend you to cut both ends of the front legs at 60 degrees. Smooth the cut edges with 150-grit sandpaper.

Fitting the side supports
Next, you need to fit the supports for the shelves. As you can easily notice in diagram, we recommend you to leave 1 1/2″ from the back edge to the supports. Make sure the supports are horizontal and secure them to the legs using 2 1/2″ screws, after drilling pilot holes.

Fitting the back supports
Next, you need to lock the two sides of the plant stand together by attaching the back supports into place. Drill pilot holes at both ends of the supports and secure them to the structure using 2 1/2″ screws. Add glue to the joints and

Attaching the shelf slats
Fit the 1×6 slats to the frame of the plant stand, in order to make the shelves. Align the slats with attention, making sure you create even gaps. Drill pilot holes and insert 1 1/4″ galvanized screws to secure the slats into place.

How to build a tiered plant stand
After assembling the plant stand, the structure should look similar to the one in the diagram. The wooden tiered plant stand might not look as much, but it is very useful, sturdy and durable. See in the tutorial below how to build an outdoor plant stand.
How to build an outdoor plant stand
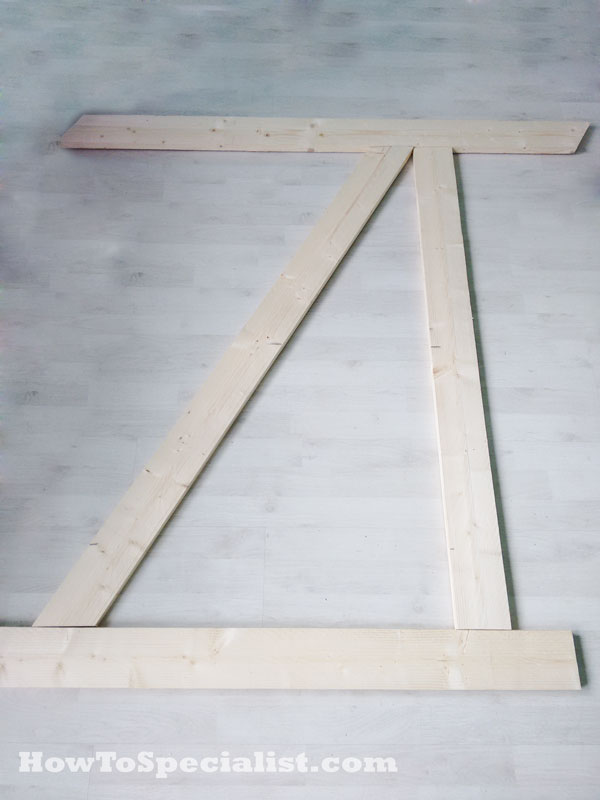
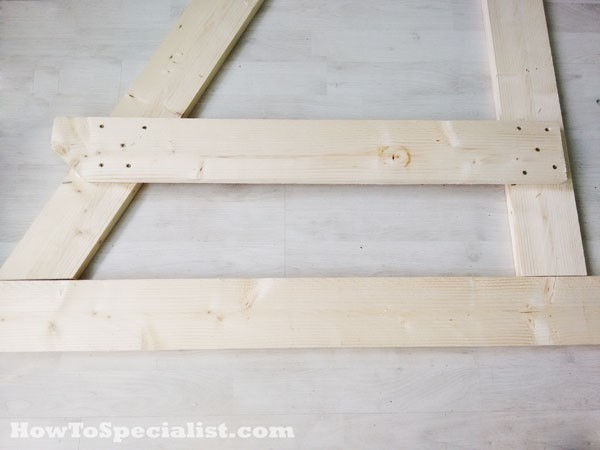
Building the legs
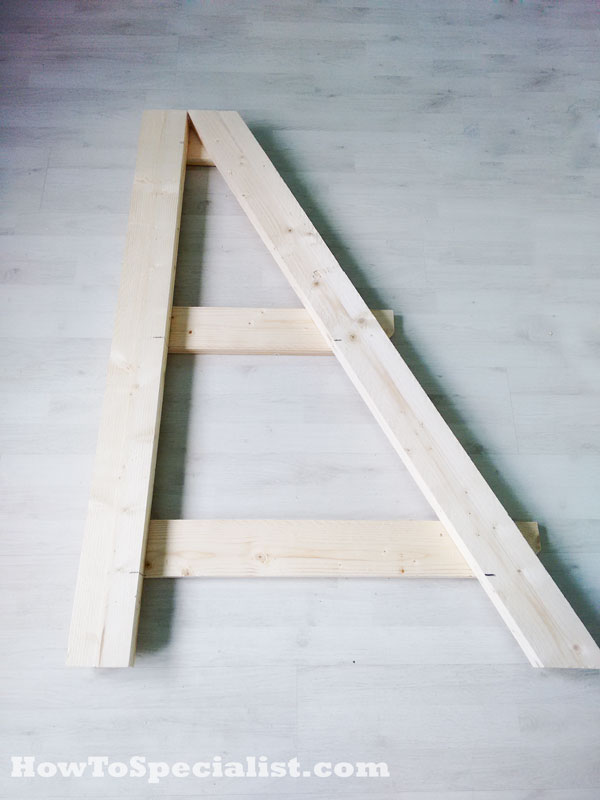
First of all, I built the legs for the tiered plant stand. After laying them on a level surface, I used two straight slats to align them accurately. This step is essential, otherwise the legs won’t be plumb.
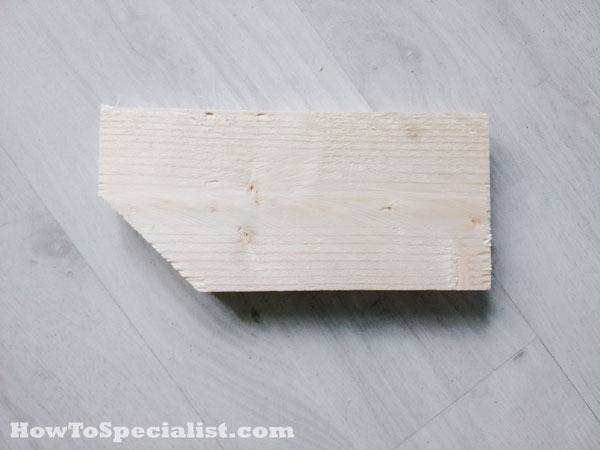
Building the supports
I cut the supports for the shelves out of 2×4 slats. I made some quick decorative cuts at one end of the supports to add character to my backyard project.
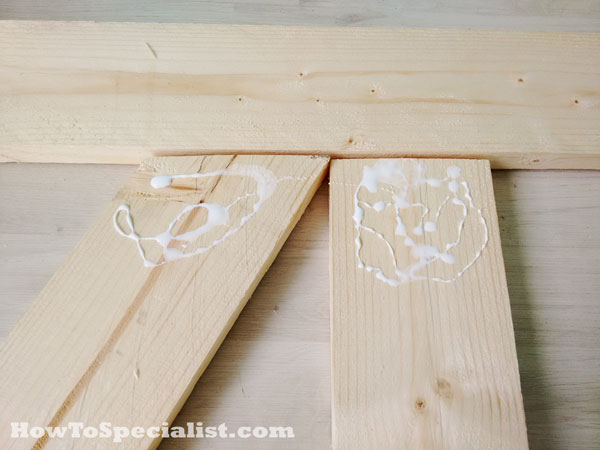
Adding glue to the joints
Before attaching the horizontal supports to the legs, it is essential to add glue to the joints. In this manner, the rigidity of the frame will be enhanced.
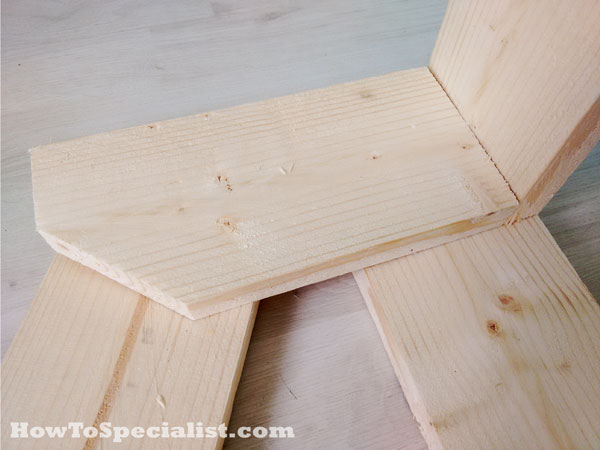
Attaching the supports
Use a scrap piece of lumber as a spacer. Place the wood block to the back of the support, as in the image. Align the edges with a lot of attention and attach the supports to the legs.
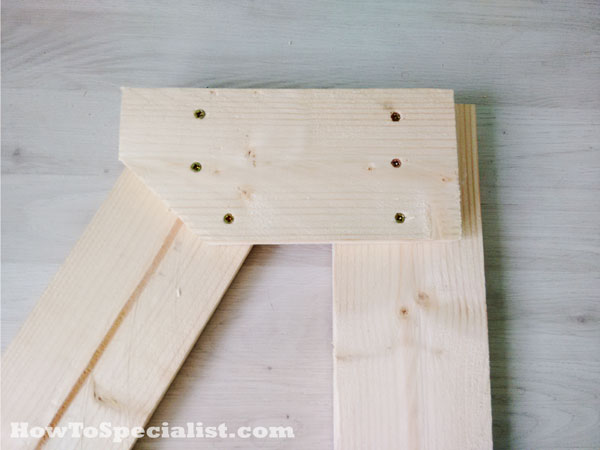
Inserting the screws
Drill pilot holes through the supports and insert 2 1/2″ galvanized screws to lock them together tightly.
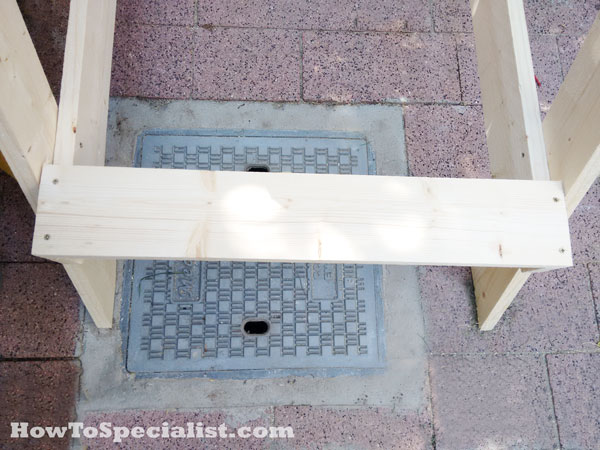
Fitting the bottom support
Next, I attached the bottom support to the legs. Make sure you take accurate measurements, otherwise the shelves won’t be perfectly horizontal.
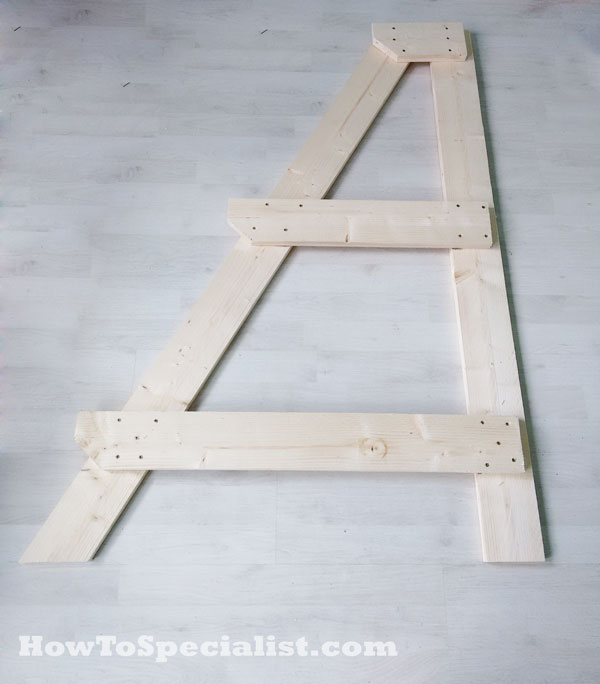
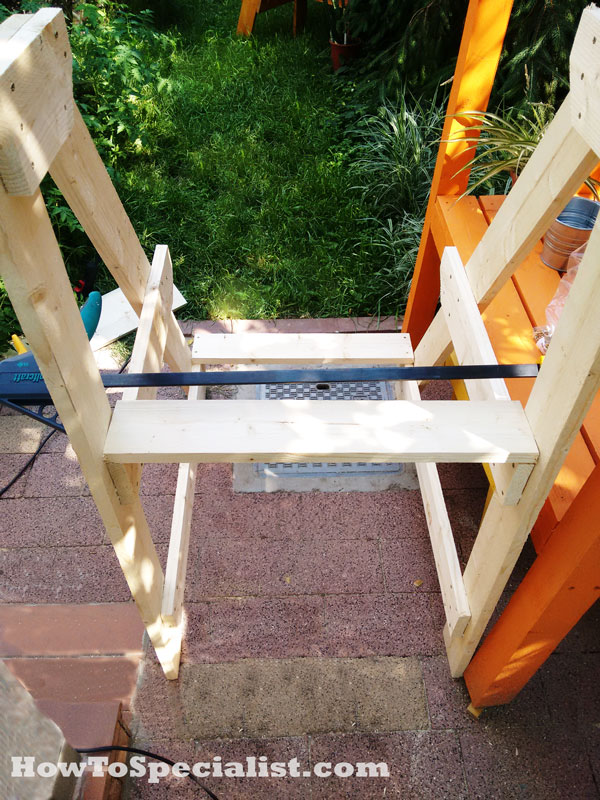
Assembling the sides
After fitting the middle support, the side of the planter stand should look similar to the one in the image. Make sure there are no gaps between the components and insert the head screws to be flush with the surface.
Building the opposite side
Turn the side upside down to use it as template when building the opposite side. Attach the legs to the template and align the edges with attention. Fit the horizontal supports, making sure they are over-posing the ones underneath.
Assembling the plant stand
Assembling the tiered plant stand is the tricky part of the project. You either need a friend to hold the pieces together while attaching the rest of the components, or you need to use several clamps. Either way, you need to make sure the sides are plumb before inserting the screws into place.
Fitting the shelves
Fit the slats to the frame of the plant stand. Use 1 1/4″ screws to secure the 1×6 slats to the supports. Use as many slats as you want to create the shelves, according to the pots you are going to place there. In addition, if you are going to place heavy pots, I recommend you to use 2x4s or 2x6s.
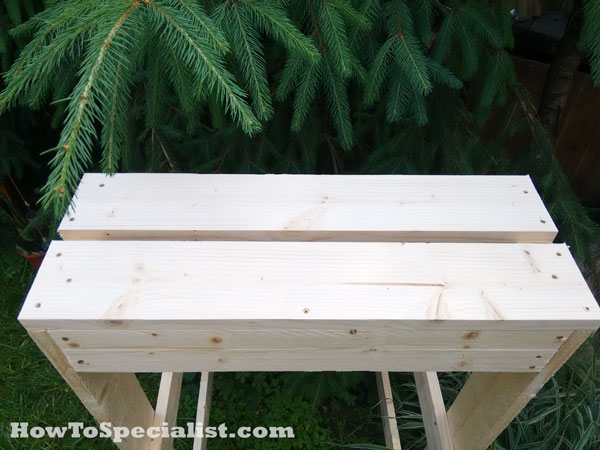
Fitting the top slats
Attach the supports to the back of the of the plant stand, as well as the slats to the top shelf.

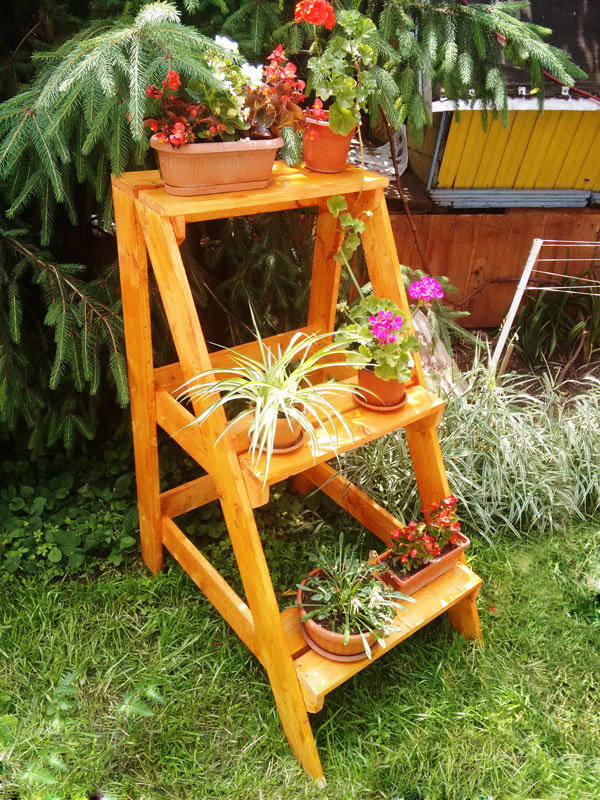
DIY Outdoor Plant Stand
The 3-tier plant stand is starting to take shape quite nicely. It is already very sturdy and I am impressed with the overall look. Just a few more slats left to attach to the supports.

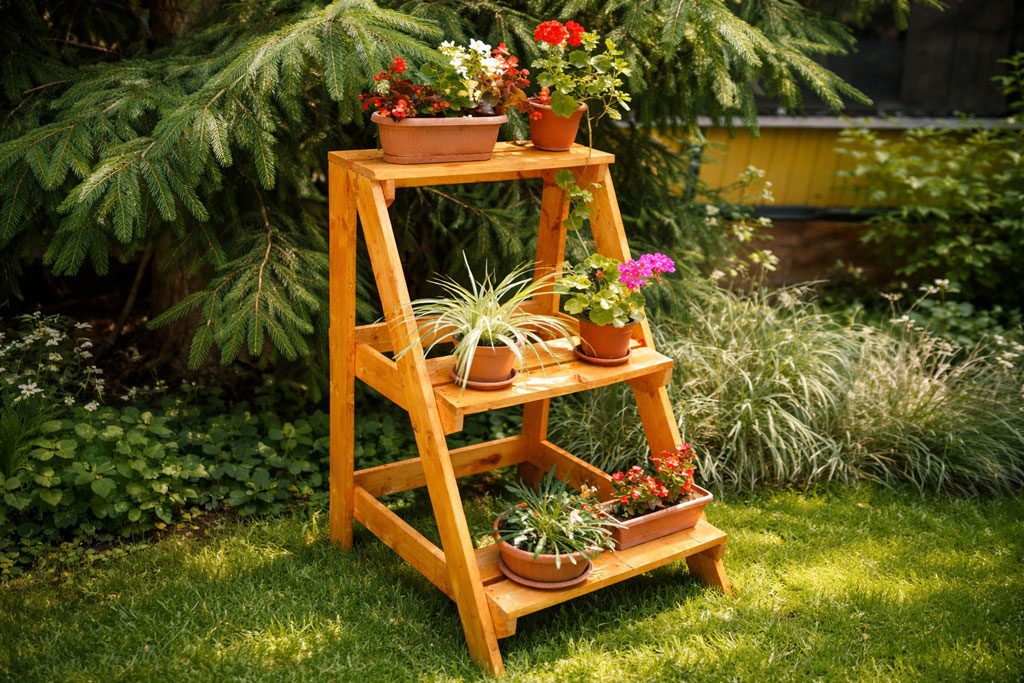
Ladder plant stand
Smooth the edges and the surface with 120-150 grit sandpaper and apply a few coats of waterproof paint or stain. The paint will protect the wooden components from decay and rot, so make sure you cover the components properly. Using cedar or pressure treated-lumber also helps, as the slats will be a lot more resistant to harsh weather conditions.
DIY-Plant-Stand-Plans
Tiered Plant Stand Plans
I hope you enjoyed this this step by step tutorial and you should take a look over the rest of my projects. I would love to hear your feedback and to see your pins, likes and shares.
If you build this diy ladder plant stand don’t forget to send a few pics. See the rest of my DIY projects HERE.
Thank you for reading our project about how to build an outdoor tiered plant stand and we recommend you to check out the rest of the projects. Don’t forget to SHARE and LIKE our projects with your friends, by using the social media widgets, if you want to help us keep adding free woodworking plans.
4 comments
You call for 2×4 wood but the pictures look like 1×4.
I live in Europe so here we don’t have 2x4s. The wood I used for the project is somewhere between 1x4s and 2x4s.
I’m interested in building the tiered plant stand.
Can download the plans?
Or do you sell ready-made kits & if so what are the sizes you have?
Please advise
PDF Plans for this in the shop: https://howtospecialist.com/store/3/