This article is about tools for installing tile. In this step by step guide we show you the main tools you need to install tile from the very beginning up to the last stages of your project. Installing ceramic tile is not a complex task, provided you use the right tools and materials. Consequently, you should pay attention to our tips, work with great care and patience and you will get the desired result in a very short amount of time.
Basically, in order to install ceramic tile you need cutting tools, tools for mixing and spreading tile adhesive and tools for making sure the tile installation is done properly. We will try to show you the main tools required when installing tile, but this is not the place to talk about the main techniques. Check out the ceramic tile projects, to learn how to install tile as a professional, step by step.
Tools for mixing adhesive
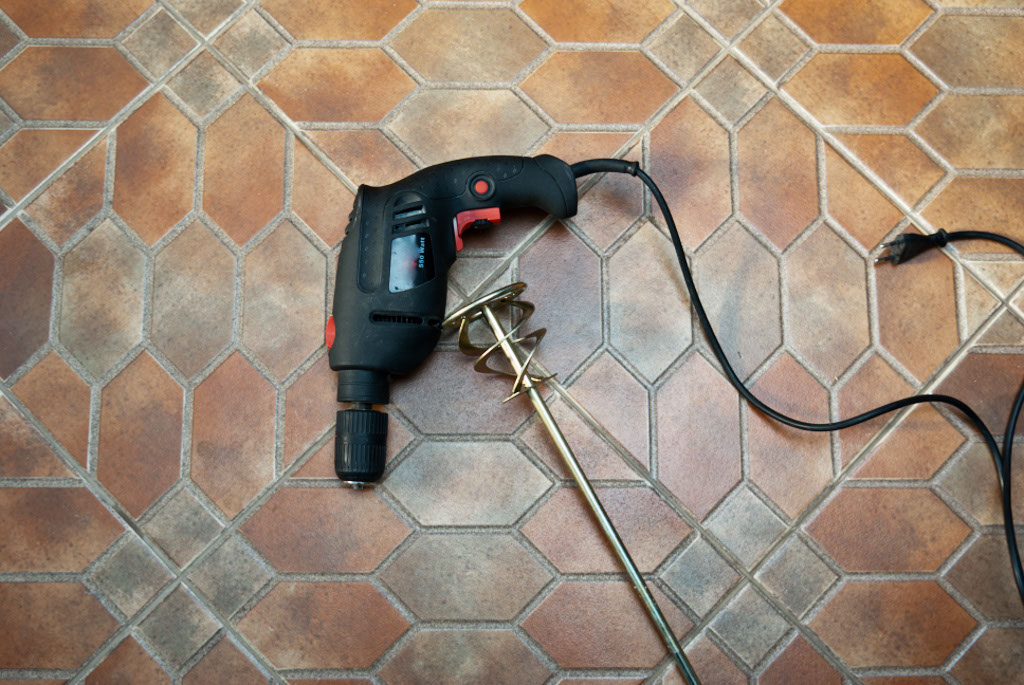
Drill and adhesive mixing paddle
First of all, you need a good drill machinery with torque control in order to mix tile adhesive. This stage is essential for the success of your project, so if you want to install tile as a professional, you need to buy a good drill machinery and attach to it a mixing pallet.
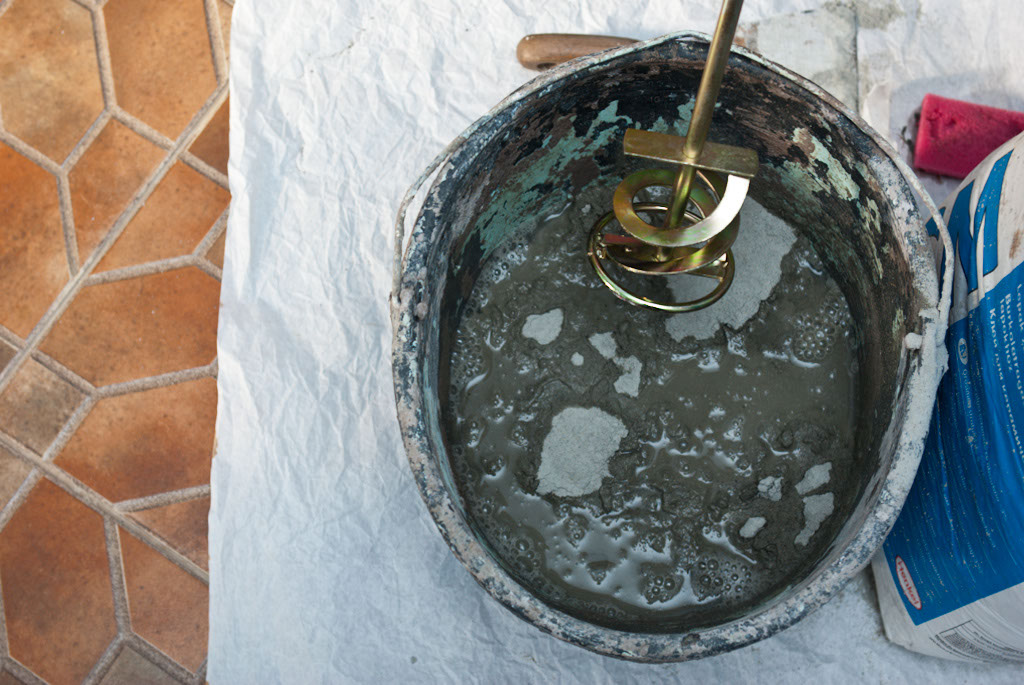
Mixing tile adhesive
When mixing tile adhesive, you have to make sure you won’t get your room dirty, so you have to place a large piece of paper (an old newspaper is ideal) or an old rug, under the rubber bucket.
Mix the adhesive in the following manner: at first use lower speeds, then you can increase the speed gradually. The mixing process should take about 3-5 minutes. Remember that you have to let the adhesive soak water for at least 10 minutes before spreading it on the floor.
Tools for spreading tile adhesive
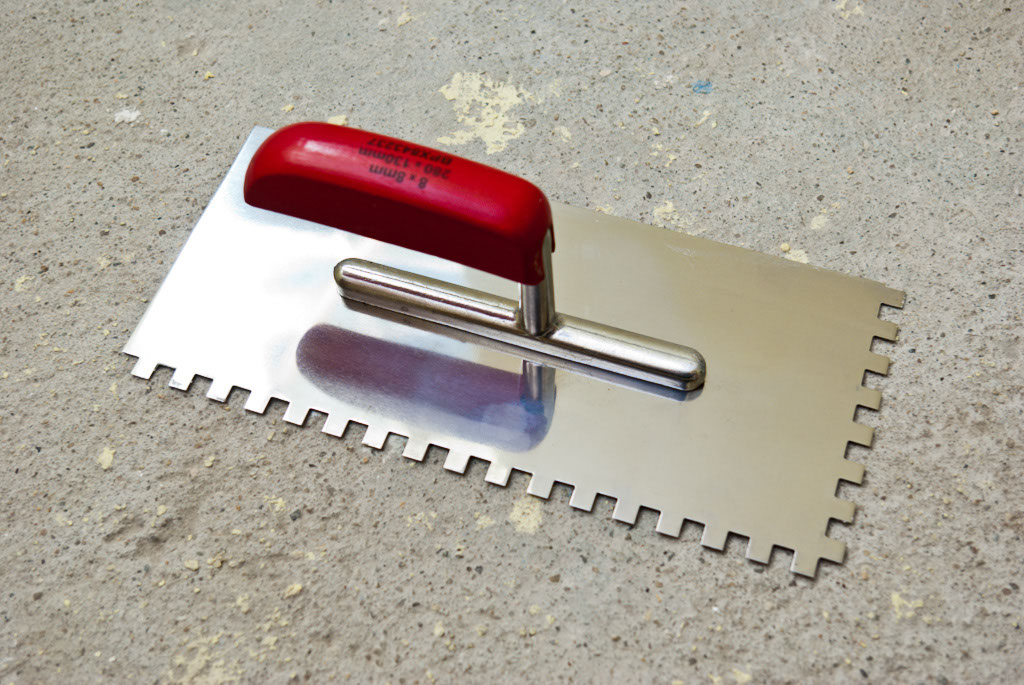
Notched float for tile
In order to spread an even layer or tile adhesive, you have to use a notched trowel. Consequently, although they come in many dimensions, you have to purchase at least one notched float. If you already have one, you must clean it from any residues before using it again.

Spreading adhesive on concrete wall
In order to spread tile adhesive, you have to work with patience and great care. First, you have to load tile adhesive on the float by using a margin trowel and spread it on the wall/floor, with the straight side.
After you have spread it on the surface, you have to comb it by using the notched side, holding the trowel at about 45º. In order to get a proper adhesive bed, you have to comb the adhesive several times, by using semi-circular moves.
Cutting ceramic tiles
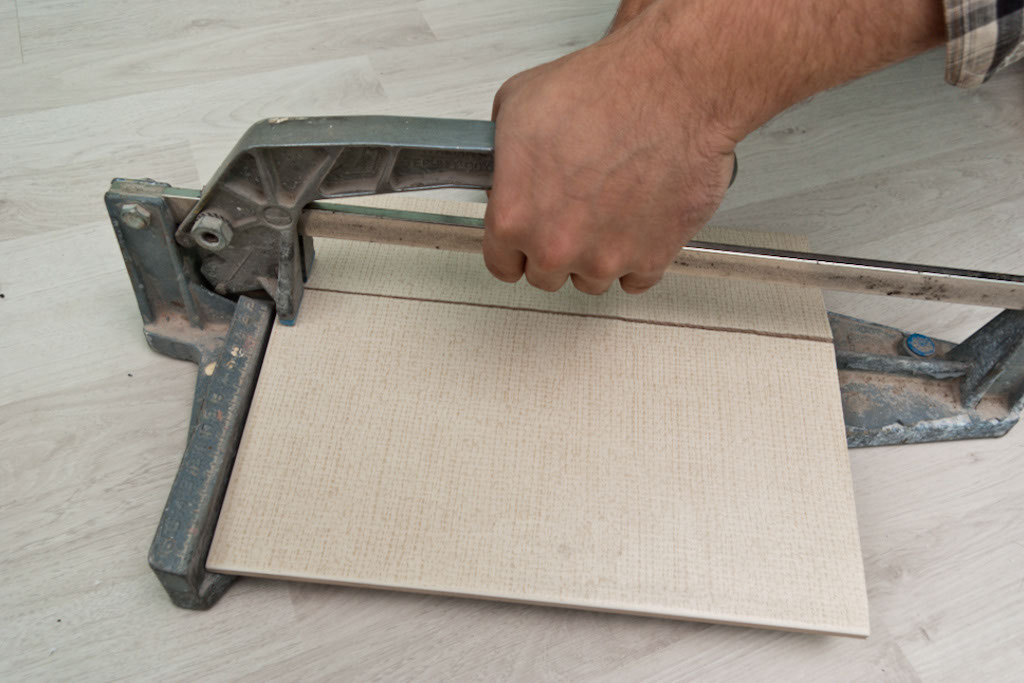
Clean ceramic tile snap
When installing tile, you need to cut tiles as to fit around walls, door jambs or other obstacles. Consequently, you need to use either a score and snap tile cutter or a wet saw.
Buying a score and snap cutter is a smart choice, as it comes at a low price and it is extremely versatile. Consequently, by using this tool you will be able to make around 90% of all possible cuts. By using a score-and-snap cutter, you won’t be able to make sound cuts inside the tiles or other complex cuts.
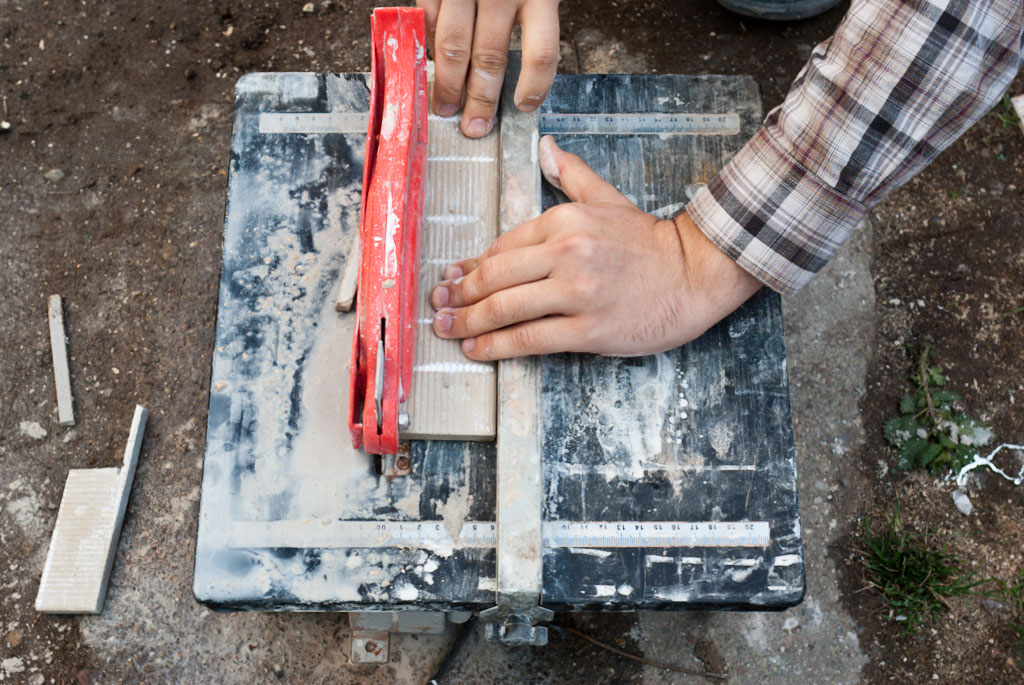
Cutting tile with a wet saw
The Wet Tile Saw is one of the best tools when talking about cutting ceramic tiles. If you choose to buy a wet saw, you will be able to cut tiles diagonally, to make complex and simple cuts very quickly.
Basically, a wet saw uses water to cool down the blade and to avoid creating dust. Using a wet saw is not difficult, if you read carefully the manufacturer’s guidelines and work with patience. Wear eye protection and a respiratory mask while using the wet saw.
Tools for installing tile

L-square
There are many cases when you need to adjust the size of the tiles, otherwise they won’t fit into place. In order to get the job done as a professional, you need to take accurate measurements. Therefore, use an L-square or a tape measure to make accurate measurements on the tiles, before cutting them.
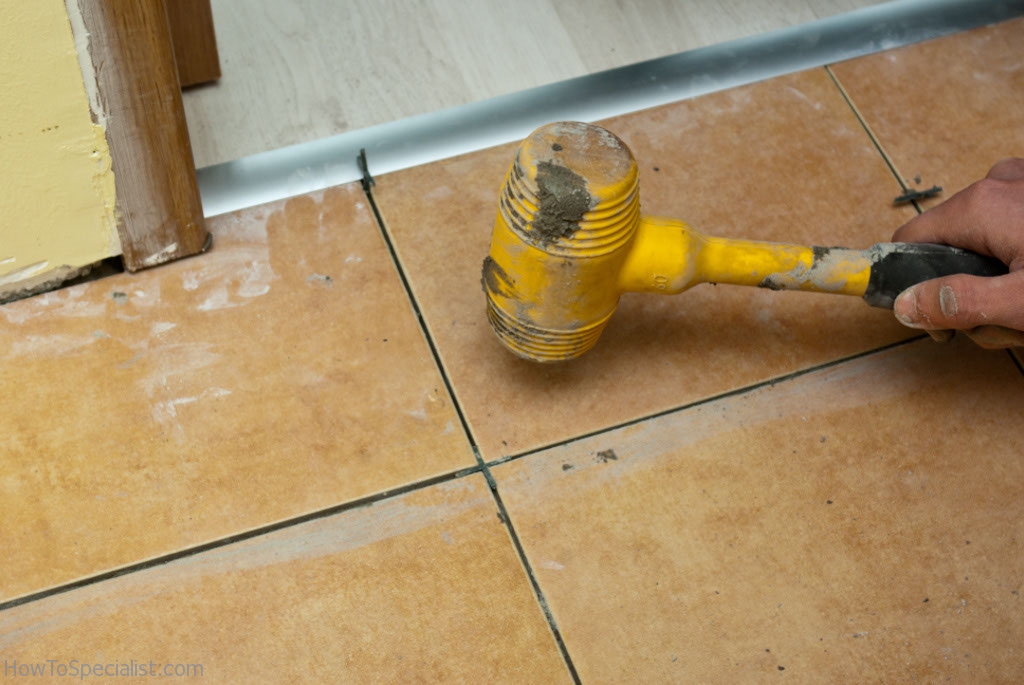
Tapping tiles to make them level
When installing ceramic tile, you may have to tap them with a mallet, to make them level. Consequently, you have to use one of these rubber hammers to tap gently the tiles, until they are perfectly level.

Using a spirit level
As we have already pointed out, a spirit level is one of those tools that help you assess the quality of your work. After install the tiles you should check if the surface is perfectly level. Place the level on the tiles in every direction to check if the tiles are horizontal or plumb.
If the surface is not level, you should remove the tiles using a trowel. Don’t apply too much pressure, otherwise you might damage the tiles. Clean the adhesive and spread it again on the surface. Use a sponge to clean the excess material.
Thank you for reading our article on how to install tile to tile transition and we recommend you to check out the rest of our projects. Please share our articles with your friends, by using the social media widgets.
