This step by step diy article is about how to install a kitchen range hood. If you want to prevent unpleasant cooking odor while you are cooking, you should consider installing a kitchen hood, just over the stove. Usually, all you have to do is to install the appliance, as well as a duct pipe that will direct the fumes outside the house, directly trough the wall behind the hood.
Taking into account this project is relatively easy, almost anyone can get the job done, without facing any issues. Nevertheless, you have to read attentively the manufacturer’s instructions before starting the actual installation, as the units differs and so does the mounting systems. The most important step of all is to center the hood properly over the stove and to leave a proper distance to it.
If there is no electric outlet near the hood, you should call an electrician to make the wiring. Although this step isn’t very complicated and we could explain briefly how to do the connection, we recommend you to take no risks when it comes to your own safety. Spending money on a good professional will pay off eventually, as it has enough expertise in the field to get the job done properly.
Made from this plan
Materials
- Kitchen hood
- Exhaust duct pipe
Tools
- Safety gloves, Safety glasses
- Drill machinery and hole saw
- Drywall saw
- Tape measure, T-square
Tips
- Wear safety glasses, when cutting the exaust duct
- Read the manufacturer’s instructions, before installing the cooker hood
Time
- Two Hours
Install a kitchen range hood
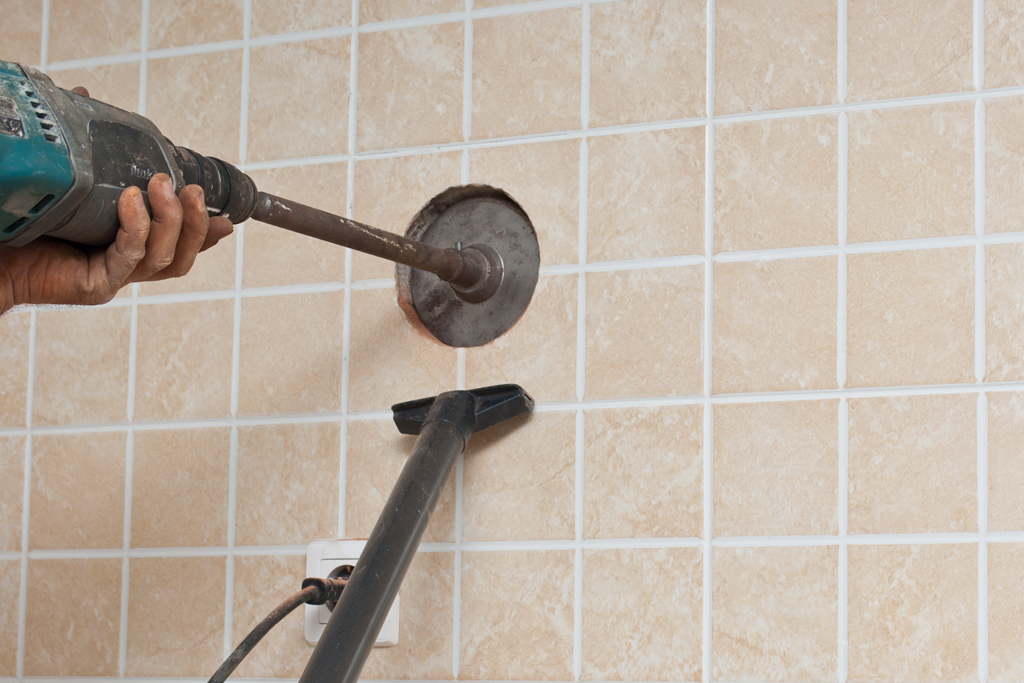
Cutting a hole trough a brick wall
First, determine where you will install the kitchen hood. Usually, the unit has to be centered, at least 25” above the cooking stove. Set the middle of the stove and use the mounting template that comes with the hood to mark the place where you will install the brackets. Afterwards, you should decide where you will cut out the holes trough the wall, to install the exhaust duct pipe.
Use a drill machinery and a large hole saw to cut trough a masonry wall, otherwise you could get the job done easily with a drywall saw.
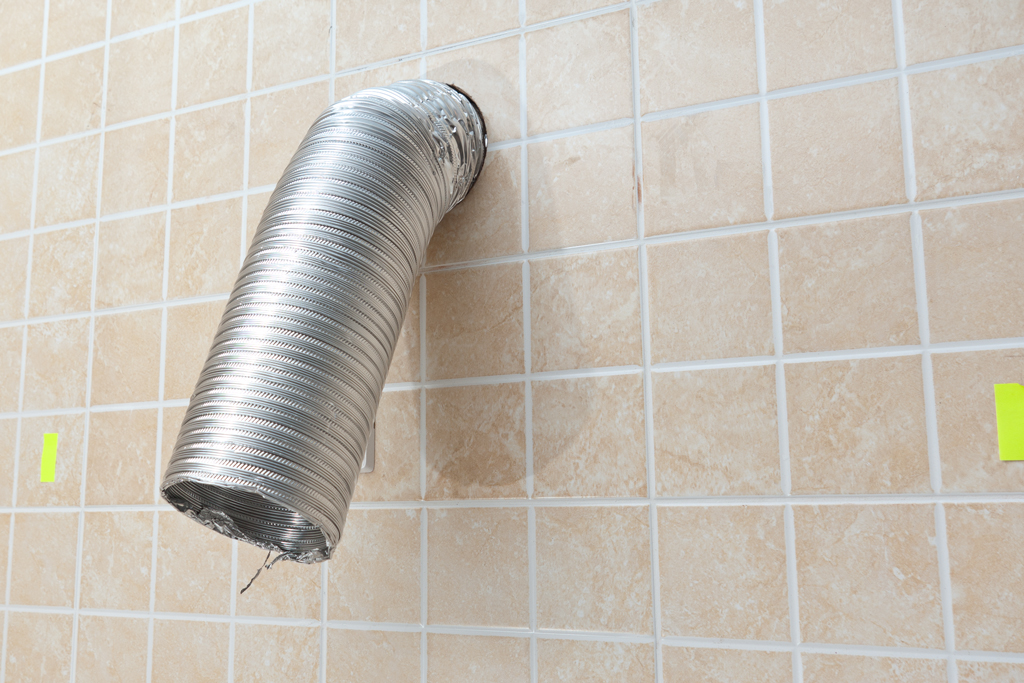
Installing the exaust duct pipe
After cutting out a hole in the wall, you should check is the duct pipe fits into place properly.
Smart Tip: It is essential to measure the exterior diameter of the pipe, before cutting out the hole in the wall.
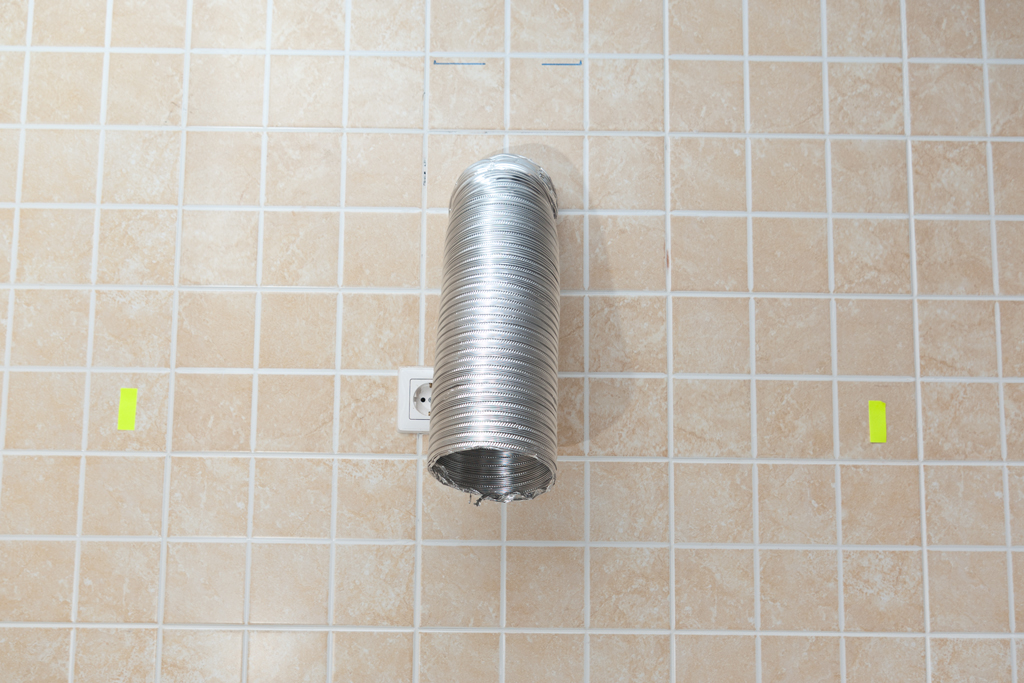
Marking the holes
As we have already said, you need to use the mounting template included in the kit to mark the holes that will support the bracket. In our case, the hood hasn’t come with any kind of brackets, so we just have to insert two screws and attach the unit to them.
Smart Tip: Before drilling the holes, make sure there are no pipes or cables in the wall. In addition, if the screws don hit a stud, you need to use anchors (for drywall).
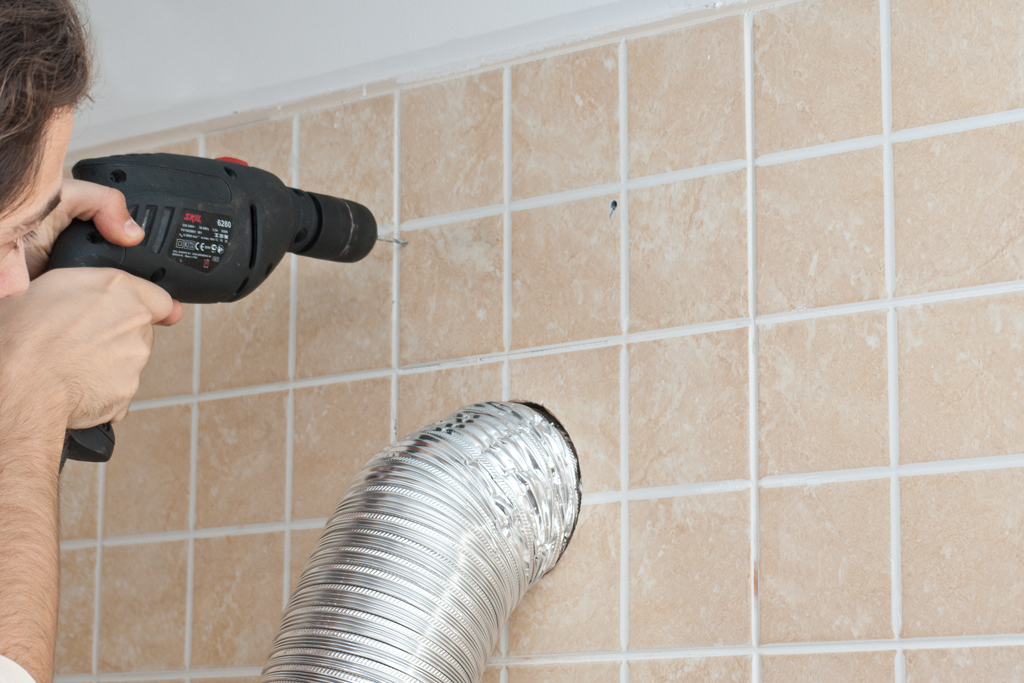
Drilling holes for the suppot screws
As the wall was covered with tile, we had to work with great care, otherwise we could break the ceramic tiles. After making sure the marks were perfectly level (use a laser or a spirit level to check the alignment) we made the holes with an appropriate bit (in our case we used a masonry bit).
Smart Tip: Use low speeds at first, otherwise the drill bit might slip from position. Make sure the drill machinery is perpendicular to the wall and don’t force it at all. On the contrary the drill should make the holes in its own stride.
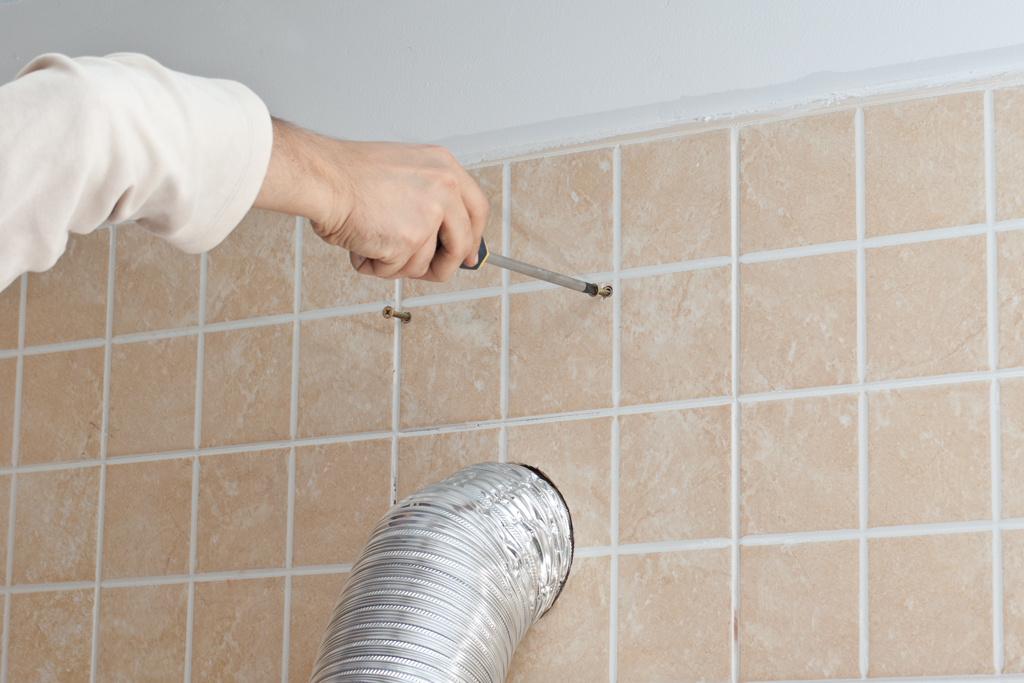
Inserting the support screws
We have install anchors and inserted the screws that were included in the package. Check if the screws are locked into place properly, otherwise they won’t be able to support the weight of the kitchen hood.
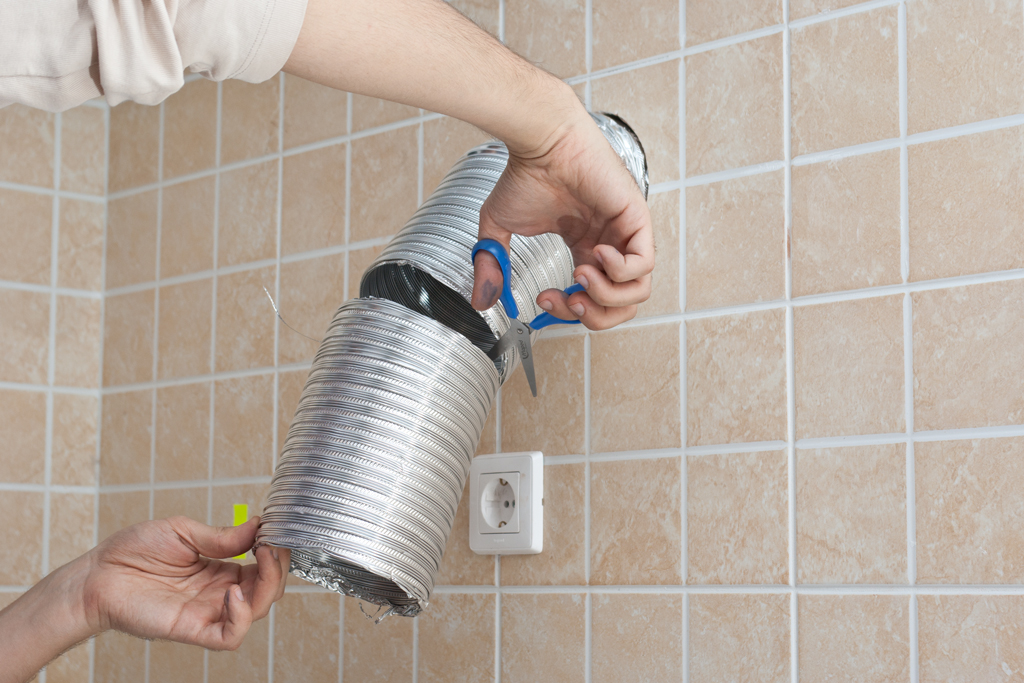
Cutting exhaust duct tape
The next step of the project is to adjust the size of the duct pipe. Read the manufacturer’s instructions before cutting the duct pipe to the right size, otherwise it might not be able to connect it to the fan.
Smart Tip: Use metal snips to cut the pipe to the appropriate size.
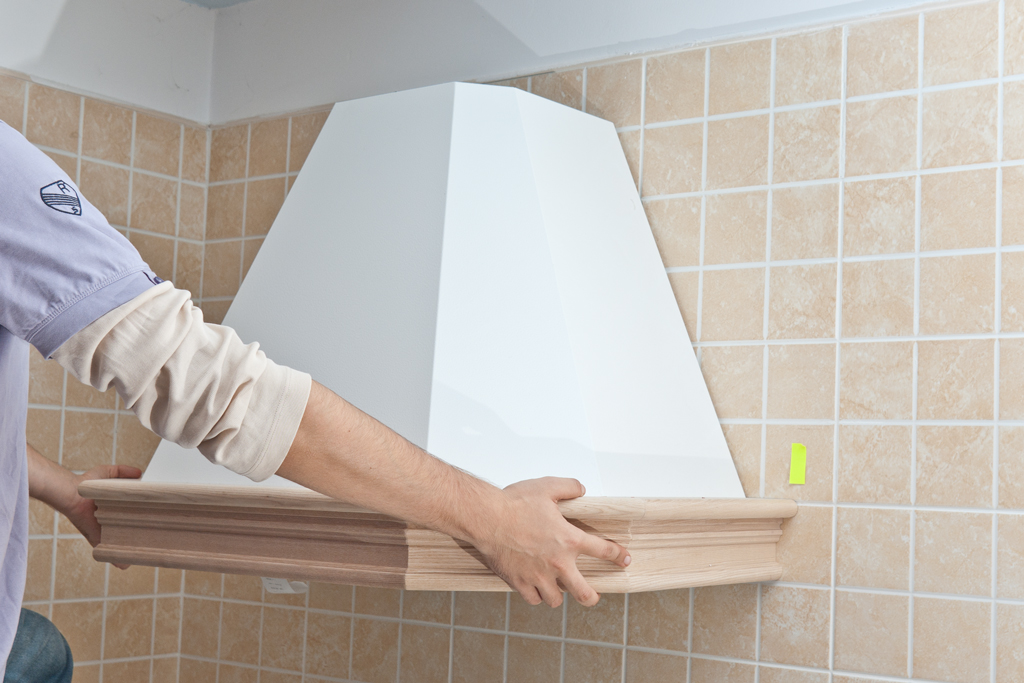
Installing a kitchen range hood
Ask another person to help you while attaching the kitchen hood to the brackets or supports. It is essential to have two persons installing the hood, as one has to hold it tightly, while the other one directs it to the supports or brackets.
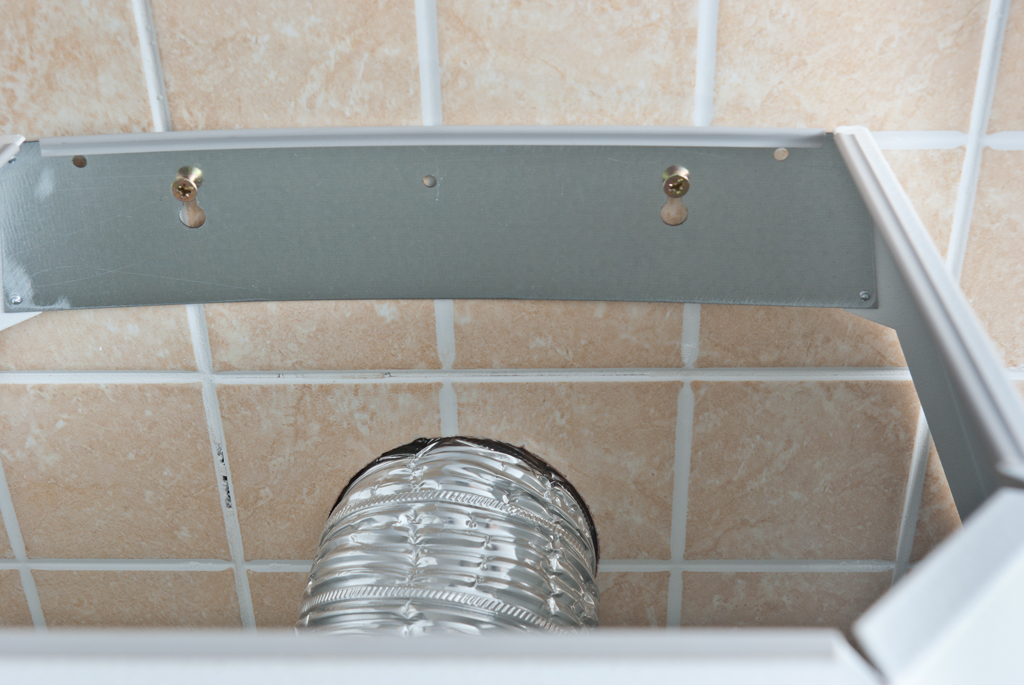
Attaching the cooker hood to brackets
In this close-up image, you should notice the hanging system. As we have already emphasized, the system might differ according to the model or manufacturer, so you should follow the instructions included in the package.
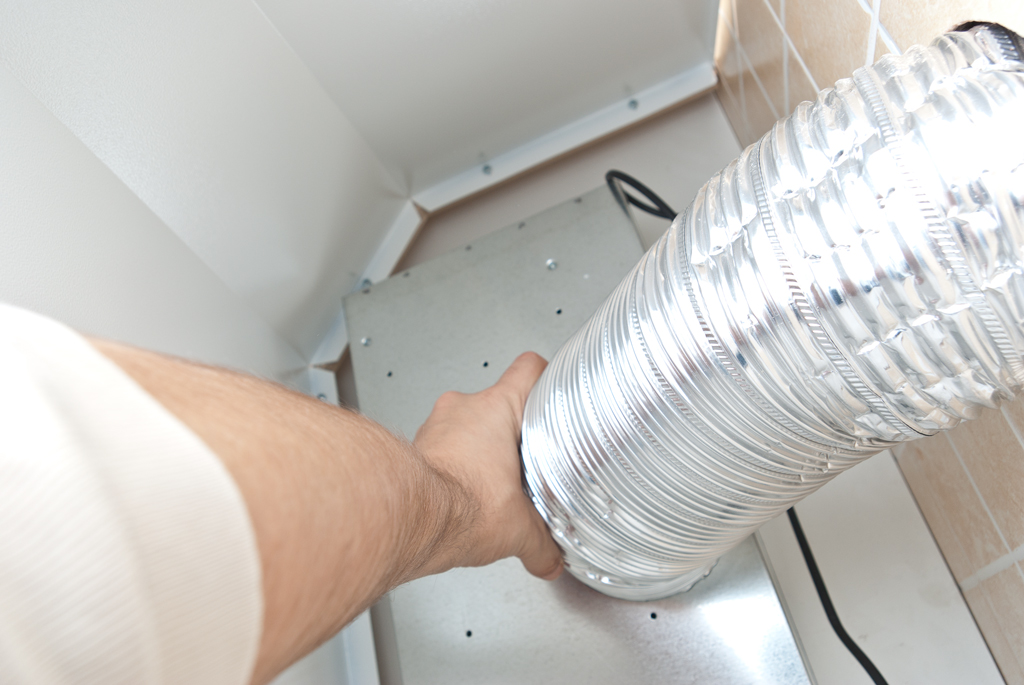
Connecting the exhaust duct pipe
Attach the pipe into place with screws (read the instructions that come with the hood) and install the vent cover, if any.
Smart Tip: Don’t forget to extend the exhaust duct to the exterior of the wall, if you haven’t done it yet. In addition, you need to install an exterior exhaust cover to the house’s exterior, in order to obtain a neat appearance.
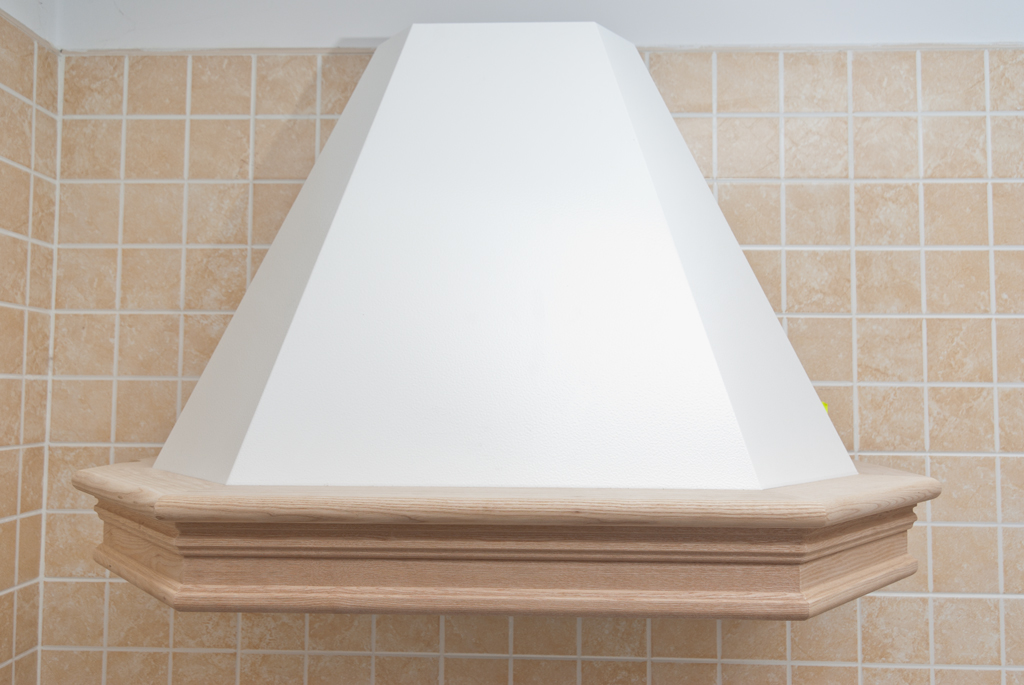
How to instal a cooker hood
Last but not least, you should take care of the finishing touches. If you have read the manufacturer’s instructions and followed our tips, all you have to do is to plug the cooker stove and check if it works properly. In addition, you should check if it is hanged properly, otherwise it might move from position.
Smart Tip: You should apply several coats of stain or paint to protect the wooden surface from moisture and grease.
Thank you for reading our diy project about how to install a kitchen range hood and we recommend you to check out the rest of the articles. Don’t forget to LIKE and SHARE our projects with your friends, by using the social media widgets. SUBSCRIBE to be the first that gets our latest projects.

1 comment
Good job Jack! You made kitchen range hood installation look easy.