This step by step article is about how to tile stairs. Installing ceramic tile on stairs is easy, provided you use the right techniques and tools. In this article, we show you how we install tiles on concrete stairs, as to make it durable, easy to maintain and give it a nice appearance. In order to install tile on stairs, you have to pay attention to a few aspects, as to get the job done as a professional. If the stairs are not even, you have to pour a mortar bet as to make them level. Before you can tile the stairs, you should wait several days until the mortar dries out.
First of all, you have to make sure the stairs are perfectly level, plumb and even. Consequently, you have to use a level and a tape measure to asses the state of the stairs, before starting the project. If the stairs are made of wood, then you should install backer boards first. Therefore, cut them to the needed dimensions and screw them both to the treads and risers. Last but not least, you have to seal the interior and outside joints by using tape and thin-set. Work with patience and make sure you lay the backer perfectly level and plumb.
Secondly, you have to purchase ceramic tile designed to be installed on stairs. Remember that you shouldn’t install regular tiles on your interior stairs, but you should choose tile stair nosing. Not only the tile nosing look better, but they are also more resistant to hits and wear over the years. Measure carefully the surface of the stairs and go to your local store to compute the need amount of floor tiles and tile nosing.
When installing ceramic tiles on stairs, you should start from the top towards the bottom, as to be able to complete the project in just one day. After you have lain the tiles on the whole surface you should’t walk on the stairs for at least 24-48 hours, according to the adhesive you have used. We recommend you to read carefully the instructions labeled on the adhesive, for accurate information. See more step by step diy tile projects HERE.
In order to install tile on stairs, you need the following:
Materials
- Water
- Thinset mortar / premixed mastic
- Ceramic tile
Tools
- Safety gloves, Eye protection
- Drill machinery with mixing palette
- Bucket, Rubber hammer
- Notched float, Wet saw
Tips
- Use tile stair nosing, if you want to get a professional look
- When installing stair tiles you have to start from left to the right
Time
- One day
Related
Stairs preparation for installing tiles
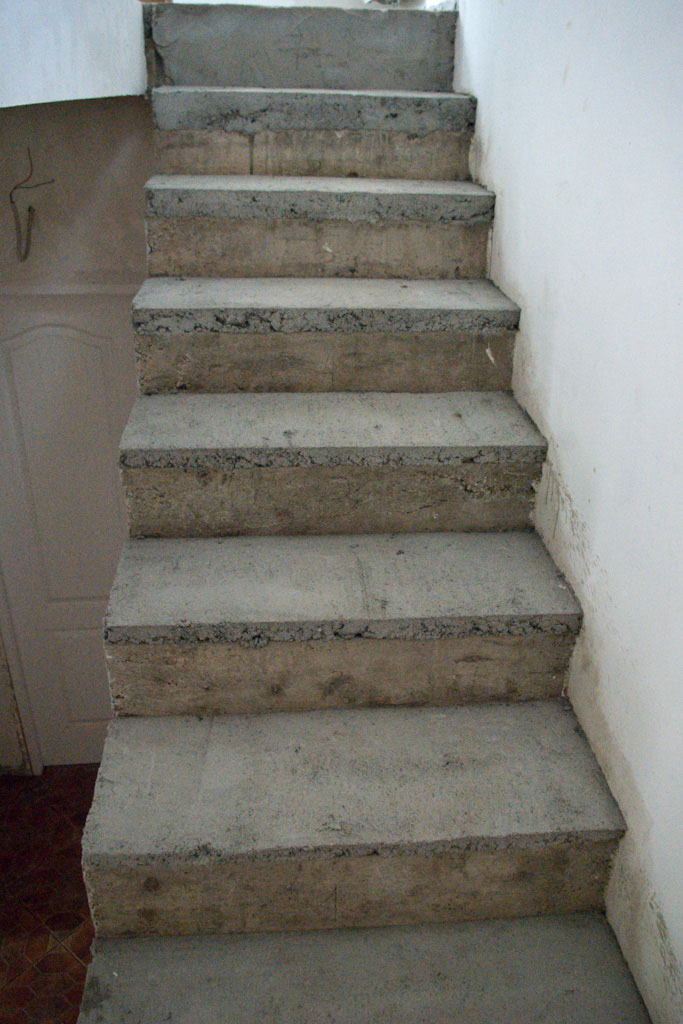
Leveling stairs
First of all, you have to make sure the stairs are level, plumb and even, otherwise you won’t be able to install tiles. Therefore, you should use a 3′ spirit level in order to make sure the base surface is level. If you notice something wrong, you have to pour a bed of mortar as to make sure the surface is perfectly level, before installing the tiles. In addition, you have to use a tape measurement as to measure the stairs and check if they are all even. In addition, if there are any irregularities on the surface, you have to remove them by using a trowel.
On the other hand, if you want to tile wooden stairs, you have two alternatives. Firstly, you could lay the tiles directly over the wood by using glue (we don’t recommend you as the wood tends to expand over the years, cracking the grout between the tiles). Secondly, you could lay backer boards to the stairs, tape the joints and then install the tiles.
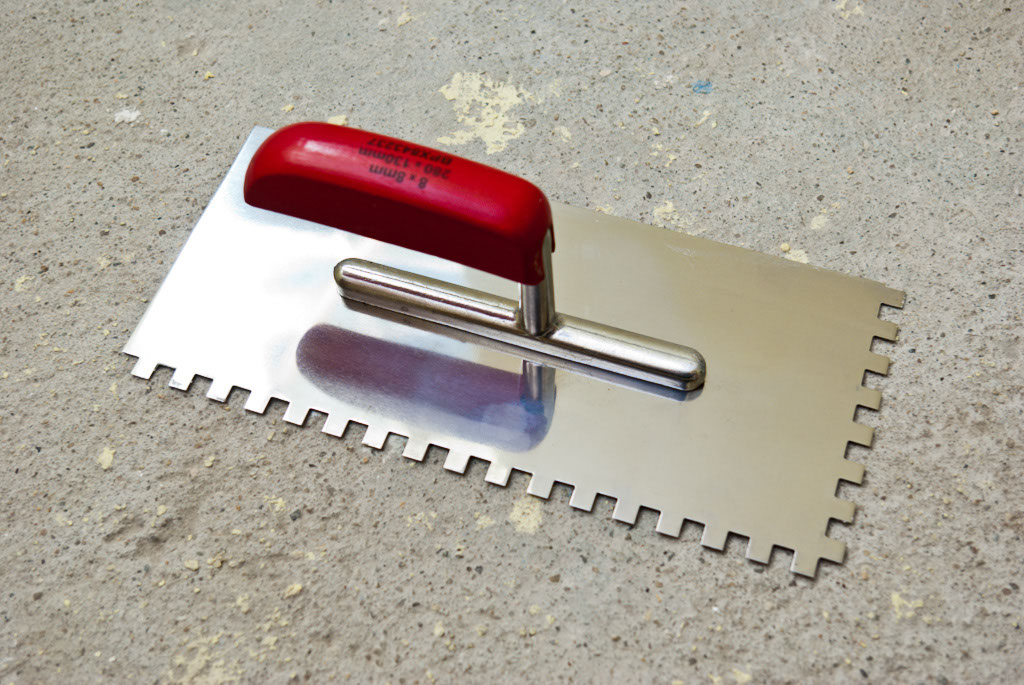
Notched float for tile
In order to spread the tile adhesive, you have to use a notched float. This tool is very useful as you can spread an even layer of adhesive on the floor. Consequently, by using the comb side of the float you will lay a level bed of adhesive.
Spreading tile adhesive on stairs
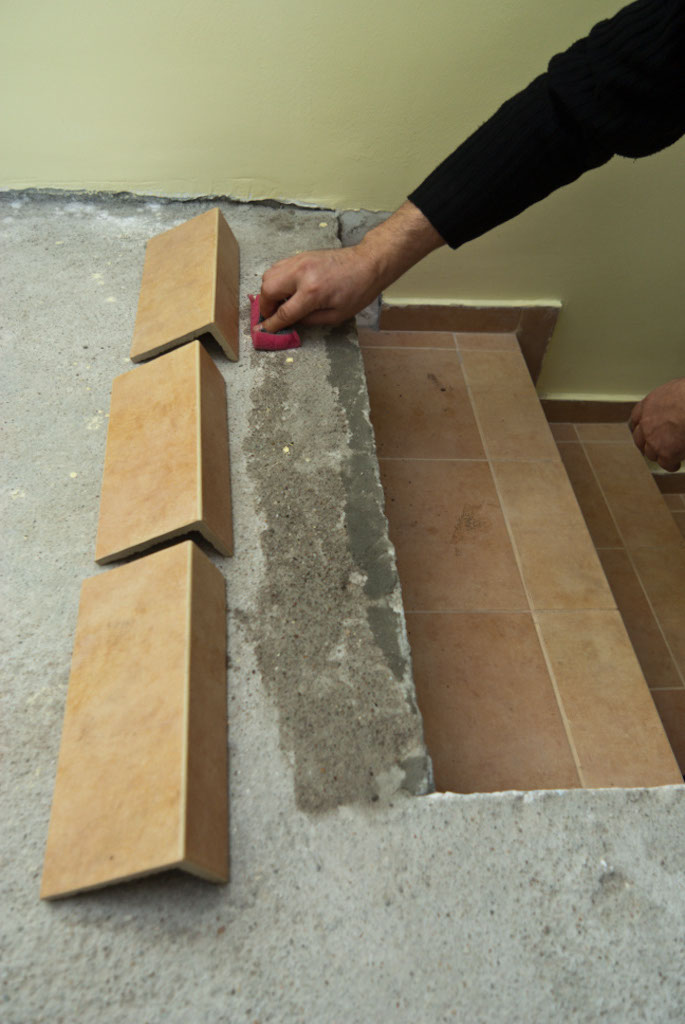
Dripping water on floor
Next, you have to start tiling the stairs from the top. Consequently, if the concrete floor is too dry, you should sprinkle a couple of drips of water, as to make sure the tile adhesive will bond with the floor.
In order to add water uniformly, you could just use a sponge. Nevertheless, you have to remember that you should not drip too much water, otherwise the adhesive won’t stick to the floor. Moreover, you should prepare the ceramic tiles for the installation, making sure they aren’t scratched or don’t have any flaw. This aspect is essential, otherwise you won’t get the desired result.
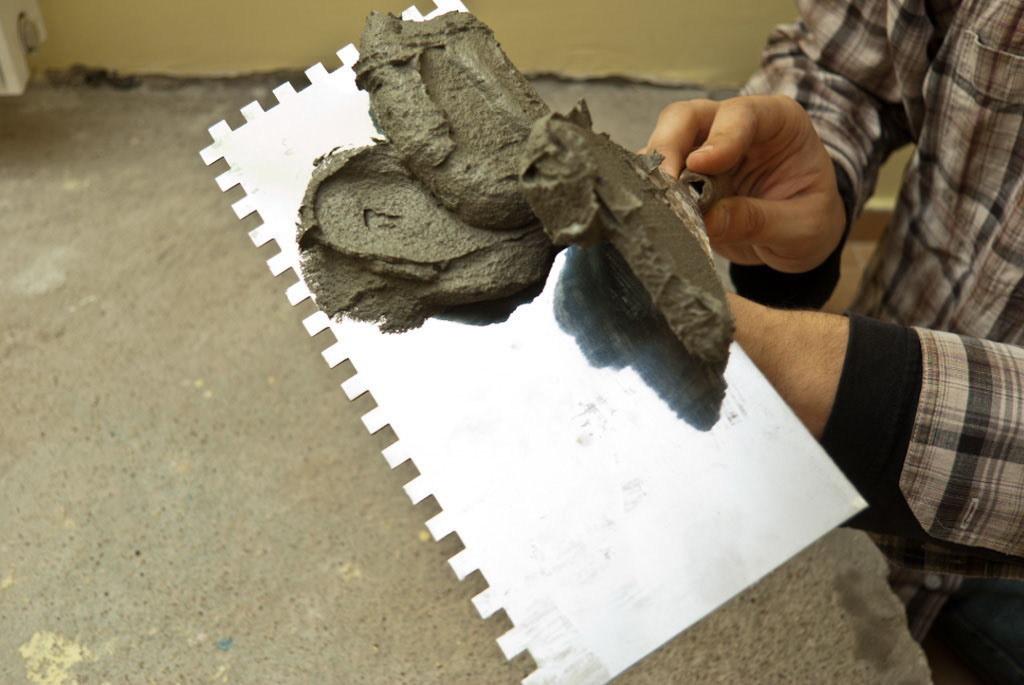
Loading adhesive on float
After you have prepared the tile adhesive with the right consistency, you should load the float, by using a margin trowel. Next you have to spread the adhesive on the stairs, first with the straight side of the float.
In order to lay the adhesive in a professional manner, you should use semicircular moves , until you have an even layer on the surface (use the straight edge first to spread the material). Next, comb the adhesive by holding the trowel at 45º.
How to tile stairs
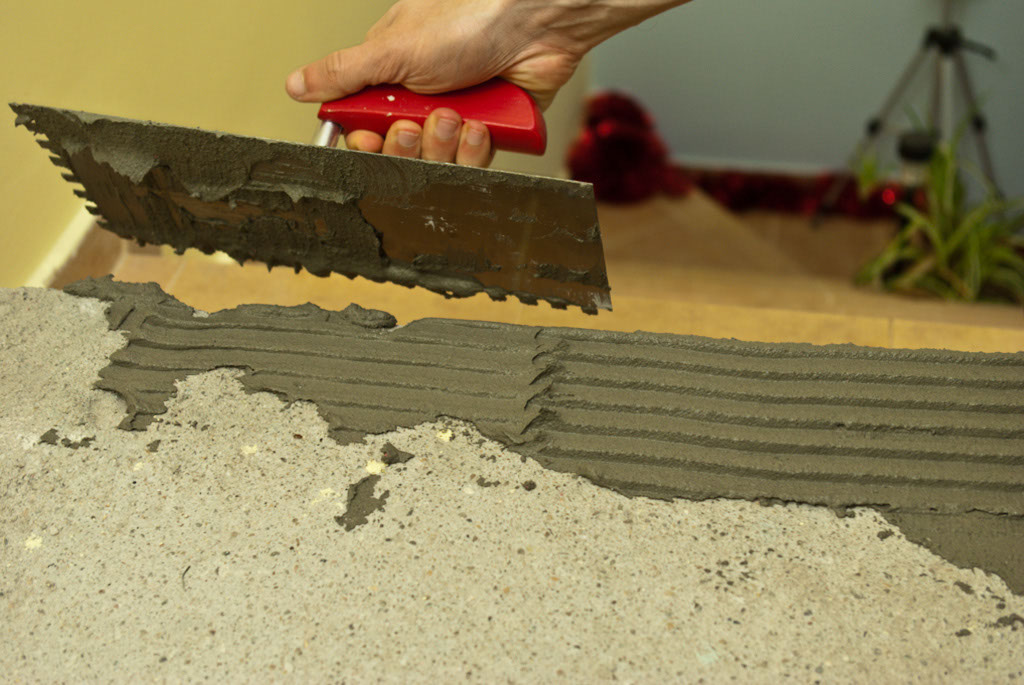
Spreading tile adhesive with a float
After you have spread the tile adhesive on the floor by using the straight side, you have to comb it with the notched side. Consequently, use the float until the layer of adhesive is even, as to make sure the tile flooring will be perfectly level.
You have to spread adhesive on a larger surface than the footprint of the tiles you are going to lay down. Consequently, you should spread adhesive at least 2” over the footprint of the ceramic tiles. After you lay the tile on stairs, you should remove the excess adhesive by using a trowel.
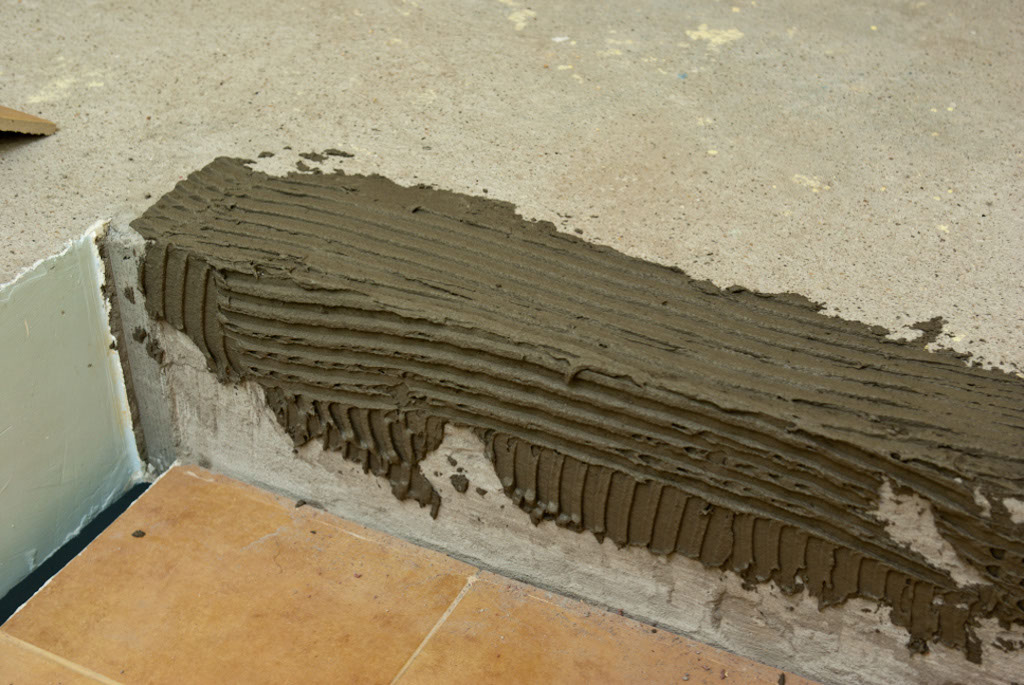
Spreading tile adhesive on stairs
In this image you can see how you should spread the bed of adhesive on the stairs. It is not a complex job, so with a little effort you should be able do the job even better. We had a hard time with the uneven concrete surface, but it turned out nice eventually.
You should keep in mind two essential elements: the surface must be level (or plumb) and the adhesive layer must be even on the whole surface (the thinset should have the right consistency).
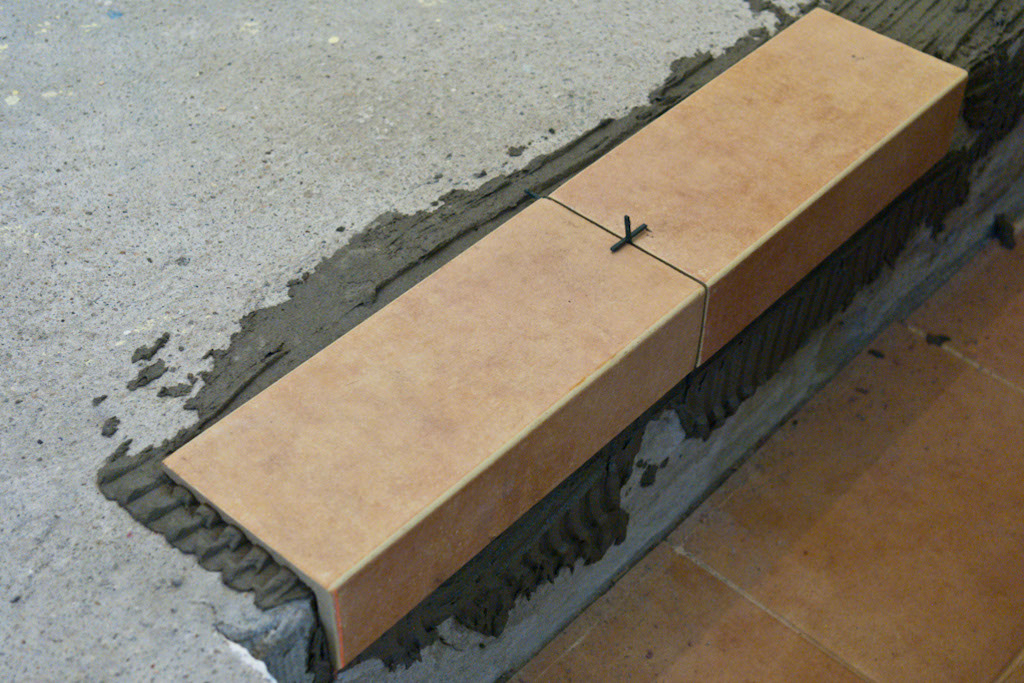
Installing tile stairs spacers
After you have spread the tile adhesive, you have to install the tile stair nosing. Although it might look complex, it is relatively easy to tile stairs, provided you use the right materials, tools and work with great care and patience.
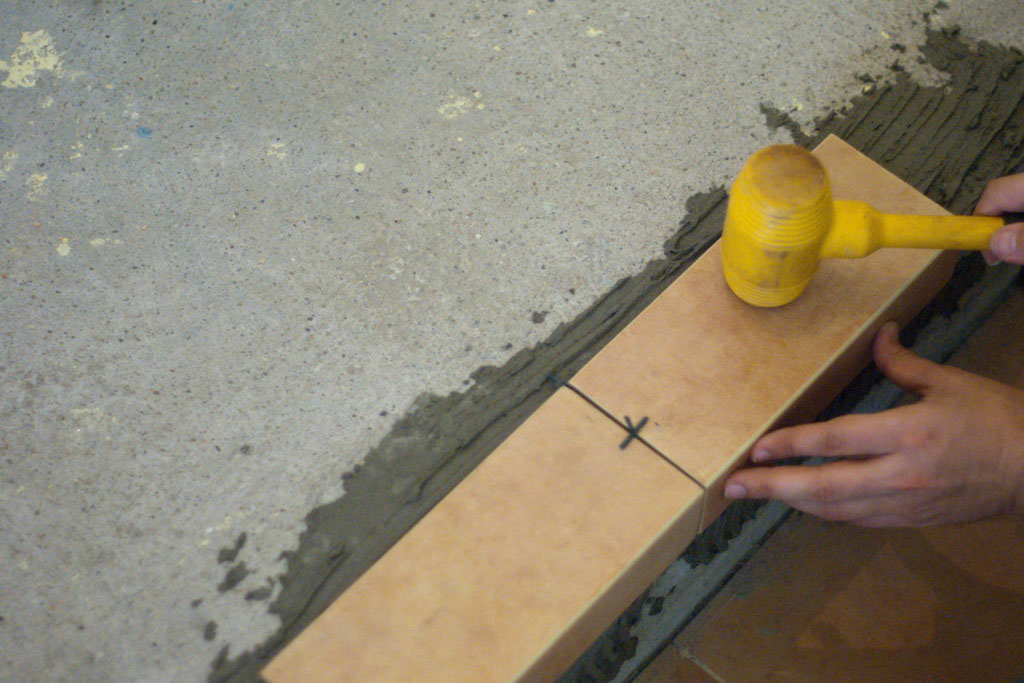
Tapping tile stairs
Last but not least, after you tile the stairs, you have to tap them gently, by using a rubber hammer (mallet). In this way, you lock the tiles into position make make them level. Therefore we recommend you to use a spirit level, to check the alignment of the tiles.
If the tiles get dirty with adhesive, you should wipe them off with a damp sponge and a little water. If you use too much water, you risk moving them from position, as the adhesive will melt down.
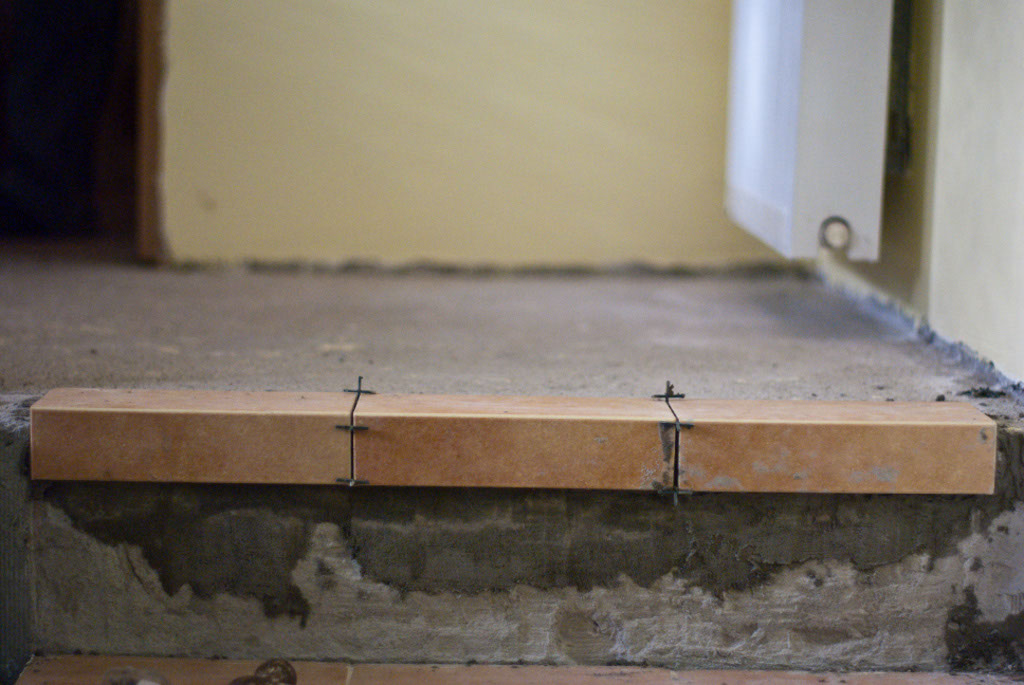
How to tile stair nosing
In this image, you can see the top of the stairs. If have succeeded in installing the stair tile nosing, then you should be able to finish the whole project without any issues.
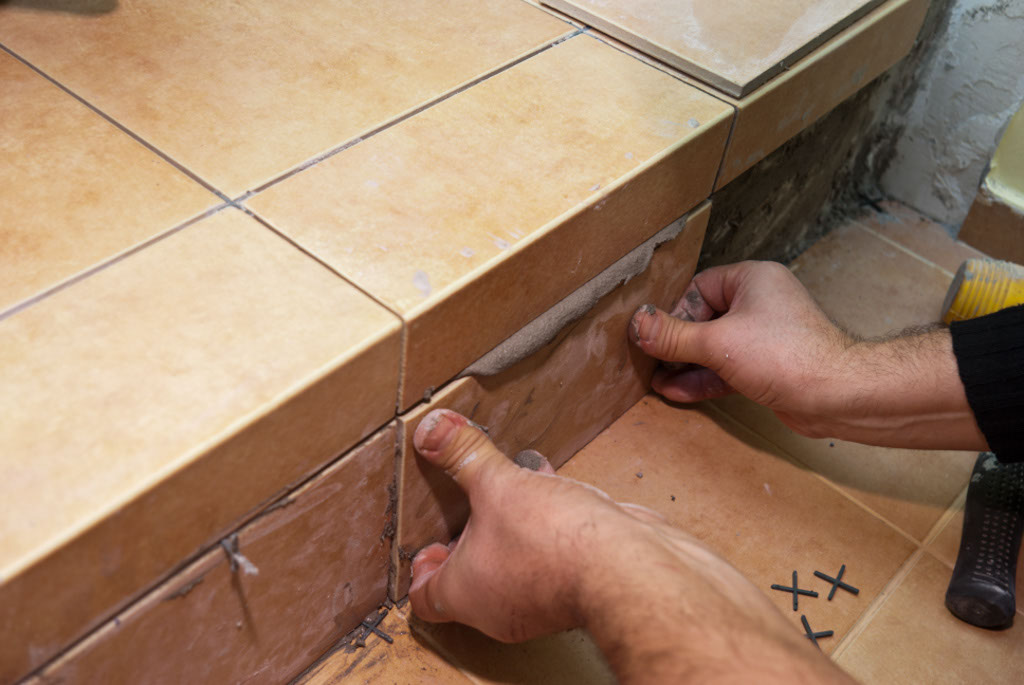
Installing tile stairs
After you have installed the tile nosing, you have to install ceramic tiles on the tread of the next stair. In this way, when you will install the stair raiser, you will hide the cut line.
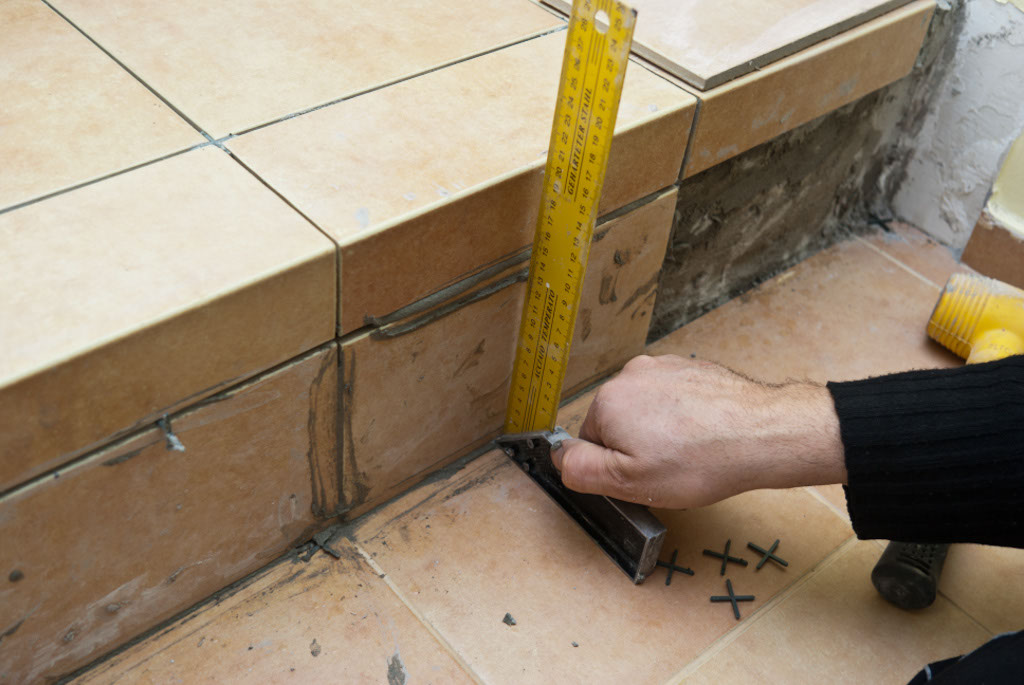
Making sure tile stairs are plumb
When installing the stair raisers, you have to use a l-square, as to make sure they are plumb. This aspect is very important, as to make sure you tile the stairs properly. When checking this aspect, you have to use the l-square on both sides of the tiles.
On the other hand, you have to install tile spacers between the tiles, as to make sure they are installed evenly.
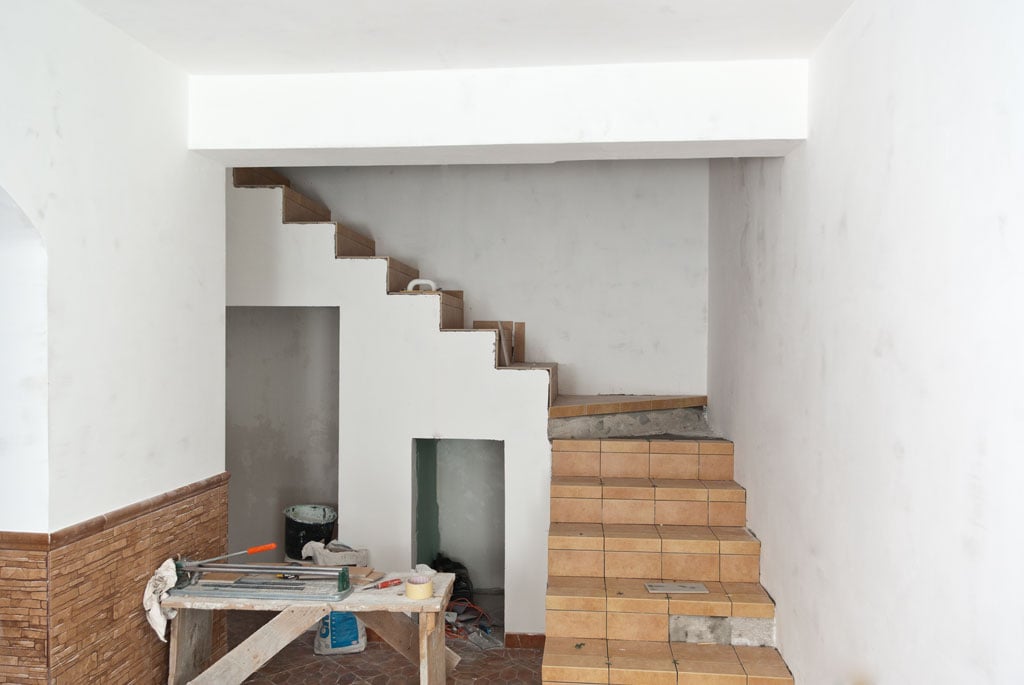
Tile stairs
Next, you have to continue installing tiles on the stairs, by using the same techniques and tips described previously. If you work with patience, use the spirit level whenever you add a tile, install tile spacers and make the cuts in a professional manner (both with the score and snap cutter and wet saw), you will add character and style to your stairs. Make sure the tiles are aligned and in a good shape.
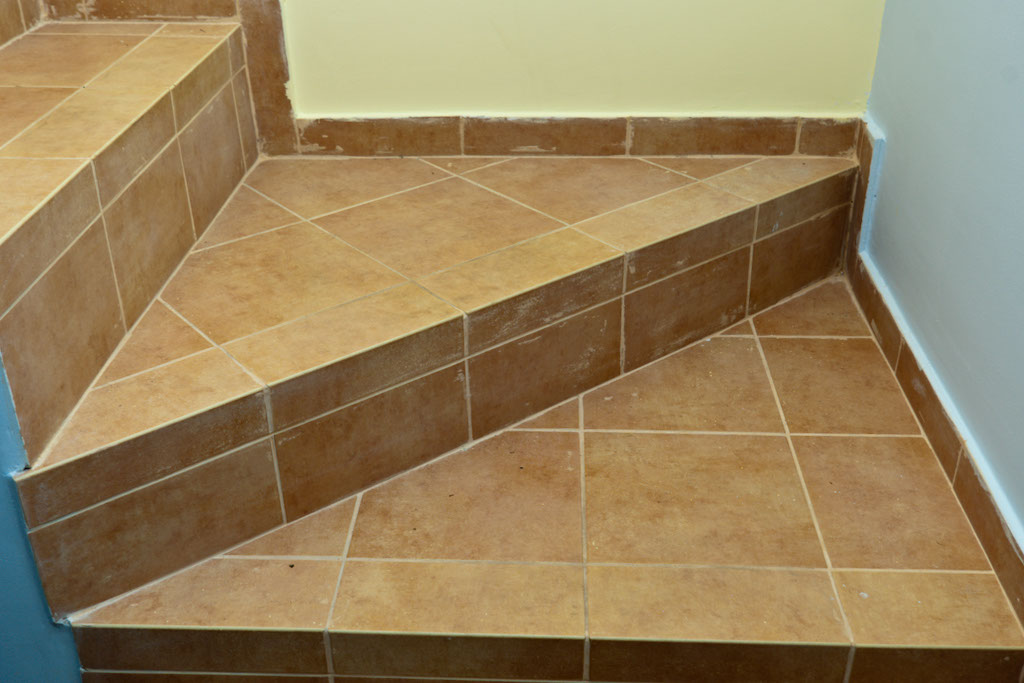
How to tile stairs landing
Last but not least, the most difficult aspect when tiling a stair, is to lay them on the landing. In addition, if you have a split landing, the job is even trickier, but doable by anyone who works with great care.
Therefore, make sure you install the tiles aligned with the tile nosing. This aspect is essential if you want to get a professional look. You have to make a few complex cuts, so you would better rent a wet saw to get the job done quickly and accurately.
Best tips for tiling stairs:
Tiling stairs is a great way to add durability and a stylish look to your home, but it requires attention to detail for both safety and aesthetics. Here are my best tips for tiling stairs:
1. Choose the Right Tile: Go for durable, slip-resistant tiles specifically designed for stairs or high-traffic areas. Porcelain or ceramic tiles with a textured or matte finish work best because they provide grip and prevent slips. Avoid glossy tiles, as they can be too slippery for stair treads.
2. Prep the Stairs Properly: Start by ensuring the stair surface is clean, dry, and structurally sound. If your stairs are concrete, make sure they’re level and smooth. For wood stairs, you may need to install a cement backer board to create a suitable surface for tiling. Make sure everything is solid and well-secured before moving forward.
3. Start with a Strong Edge: The stair nosing (the front edge of the tread) is critical for both safety and aesthetics. You can either buy specialized stair nosing tiles or use metal trim to protect the tile edges. This also provides a finished, professional look and helps prevent chipping over time.
4. Use Tile Spacers for Consistency: When tiling each tread and riser, use tile spacers to ensure consistent gaps between the tiles. This gives your grout lines a uniform look and helps with the overall finish. Tile spacers also prevent the tiles from shifting as they set.
5. Plan the Layout: Plan your layout to avoid small, uneven cuts. Measure the width and depth of each tread and riser carefully, and dry-lay the tiles to visualize how they’ll fit. You want to avoid thin strips of tile at the edges, as they’re more prone to cracking.
6. Work from the Bottom Up: Start tiling at the bottom of the stairs and work your way up. This prevents you from accidentally stepping on fresh tiles as you move up the stairs. Apply the adhesive to each tread and riser, ensuring good coverage.
7. Tile One Step at a Time: Don’t rush—tile one step at a time, allowing the adhesive to set before moving to the next step. This ensures your tiles stay firmly in place, especially on the nosing where they’re more likely to shift.
8. Measure and Cut Carefully: Stairs often have corners and tight spaces, so be prepared to make precise cuts with a wet saw. Measure twice, cut once, and always double-check your measurements before cutting tiles for the nosing or edges.
9. Grout and Caulk for Flexibility: After the tiles have set, apply grout to the joints and be sure to seal the grout lines. For the gaps between the tiles and any surrounding walls, use **silicone caulk** instead of grout, as it’s more flexible and can handle the movement of the stairs without cracking.
10. Consider Safety: Add anti-slip strips or treads if your tiles are smooth or if the stairs are in a high-traffic area. This is especially important for outdoor stairs or any area that could get wet, like near entryways.
By following these tips, you’ll get a well-finished, safe, and durable tiled staircase that not only looks fantastic but will hold up to daily wear and tear!
Thank you for reading our article on how to tile stairs and we recommend you to check out the rest of our projects. Please share our projects with your friends, by using the social media widgets.

4 comments
I am looking for corner tiles and a tiler to lay them
what are the tiles that have the angle on it called? for the edges of the stairs, cant seem to find any anywhere, I am laying wood look tile in living room and have a step down to tile and its a ragged edge am looking for some tile with edging like that, not metal or rubber…. that looks like the dark brown wood tile
They are called ceramic tile nosing.
Wrong spread of adhesive under bullnose tile. It should be (at least i would do it) right angle to longer side of tile. So from edge of stair away (on thread) and down (on riser) so when corner tile is set u can move it sideways to spread adhesive under which removes air.