This article is about how to install underlay for laminate flooring. The underlay for laminate flooring must be installed before the laminate planks, as to smoothen the irregularities in the sub-floor and to create an anti-vapour barrier. In this article, we show you, in a step-by-step approach, how to install laminate flooring underlay, as to prepare the floor for laying laminate flooring boards.
The underlay is available either in rolls or in boards, as well as in different thicknesses, or manufacturers. The main role of the underlay is to protect the room against losses of heat, to improve the sub-floor irregularities and to reduce sounds transmitted to the below room. There are many products you can choose from, so make sure you select the ones that suit your needs and budget. See all my Premium Plans in the Shop.
In order to install underlay for laminate flooring, you need the following:
Materials
- Underlay for laminate flooring
- Adhesive tape
Tools
Tips
- Buy the best underlay you can afford, on the long run it will pay off the effort
- Tape the boards together, using adhesive tape
Related
- Episode 1: Preparing the Surface
- Episode 2: Installing the underlay
- Episode 3: Installing laminate flooring
- Episode 4: Installing the baseboard
- Episode 5: Fixing Laminate Flooring Gaps
- Episode 6: Fixing Laminate Flooring Scratches
- Episode 7: Replacing Laminate Flooring
How to install underlay for laminate flooring

Preparing the floor’s surface to install underlay
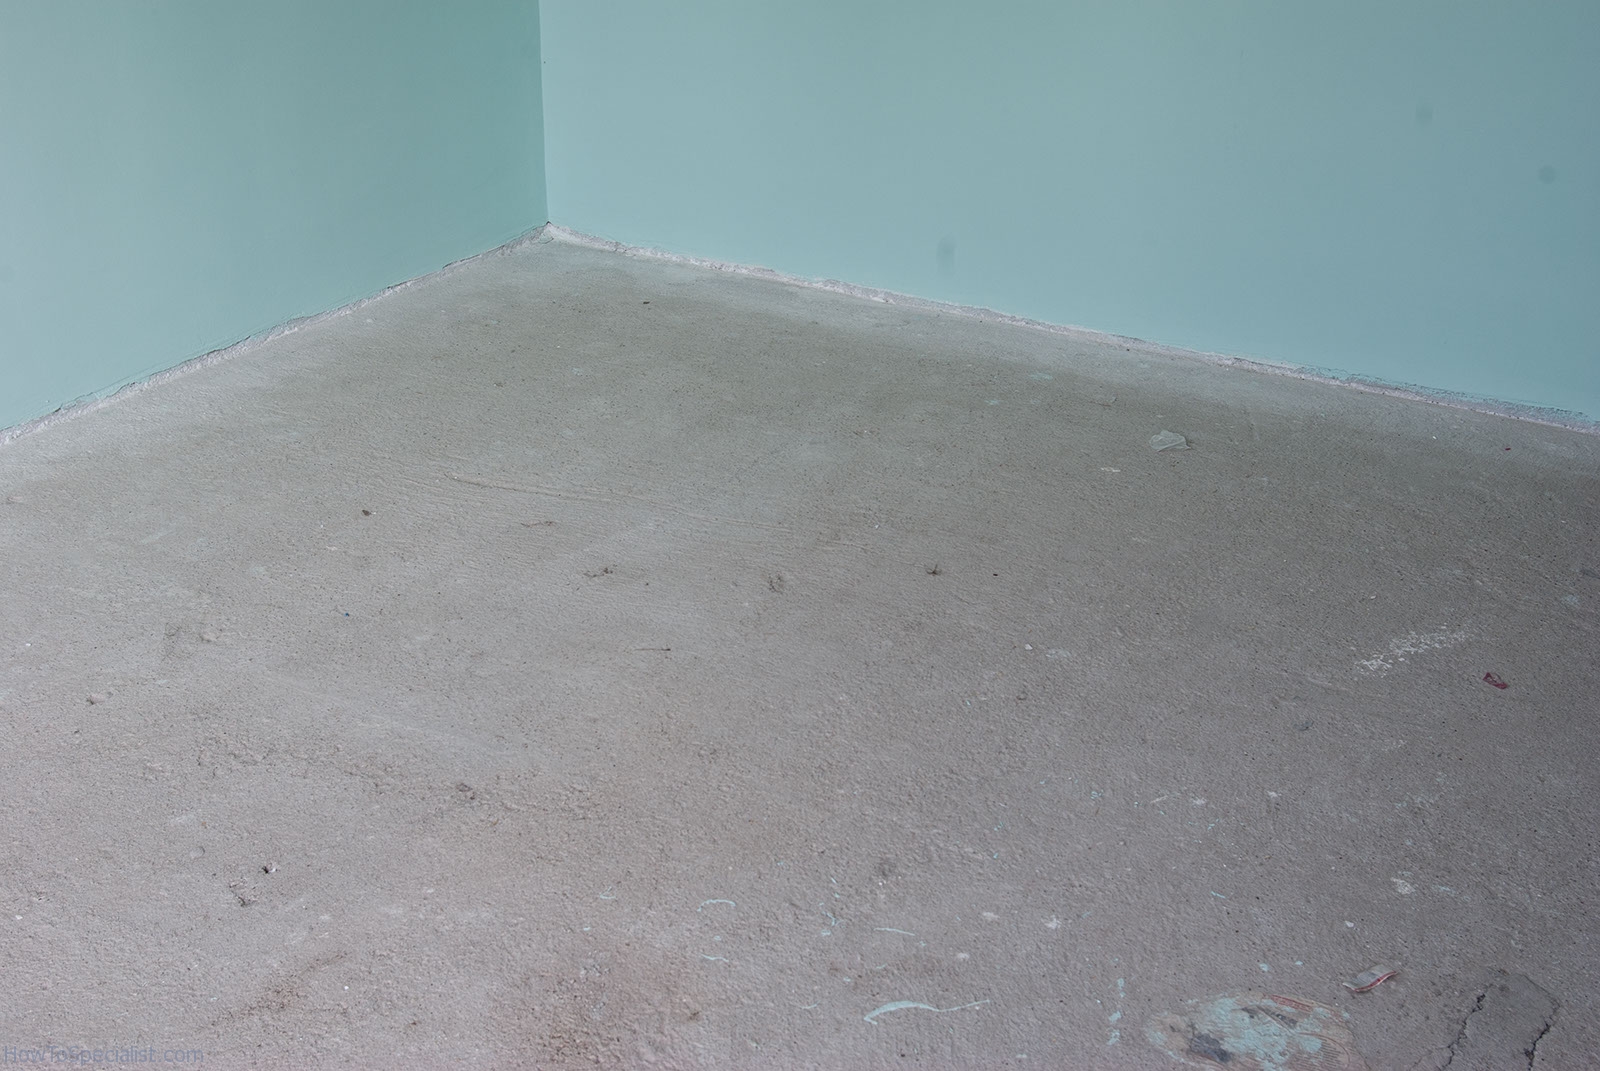
The first step of the process is to prepare properly the floor’s surface, before installing the underlay and laminate flooring. Consequently, remove all bumps and other flooring irregularities and make sure that the surface is completely dry.
Next, measure the room’s length and width as to calculate the exact area (multiply length by width) of underlay you have to buy. To avoid extra-visits to your local shop, just add 10% due to cutting wastes.

Clearing the space under door jamb
The underlay and the laminate flooring must be installed under the door jamb, not only to look fine, but also not to creek, and for a better fix on the long run. Consequently, we used o cutter to remove the polyurethane foam under the door jamb.
If there is no space between door frame and the floor’s surface, we don’t have cut the laminate floor to fit around the door, but we should do the opposite process. We usually use a hand saw, and with repetitive moves we cut the door frame, as the laminate flooring would fit perfectly under the door jamb.

Measuring distance with a framing square
The next step is to install the underlay for the laminate flooring. The underlay is available either in rolls or in boards. In this example we have used 20”/50 cm wide, 3′ 4”/12 m long, 3 mm thick boards, but the rolls are as good as the boards.
The underlay is used for its excellent thermal insulation properties (it protects the room against losses of heat), because improves the sub-floor irregularities and reduces sounds transmitted to the below room. Start laying the underlay from one corner of the room and continue till you cover the whole surface.

Cutting the underlay underlay for laminate flooring
After we had measured the needed material using a ruler, we cut the underlay at the correct dimensions. Note that we marked on the underlay the area to be cut, before we used the utility knife to make the cut.
In order to make perfect cuts, you need a framing square (to obtain perfect 90° angles) and a cutter. Alter we had cut the underlay to fit the measured dimensions, we laid it on the surface with the grooves down.

Underlay for laminate flooring with adhesive tape
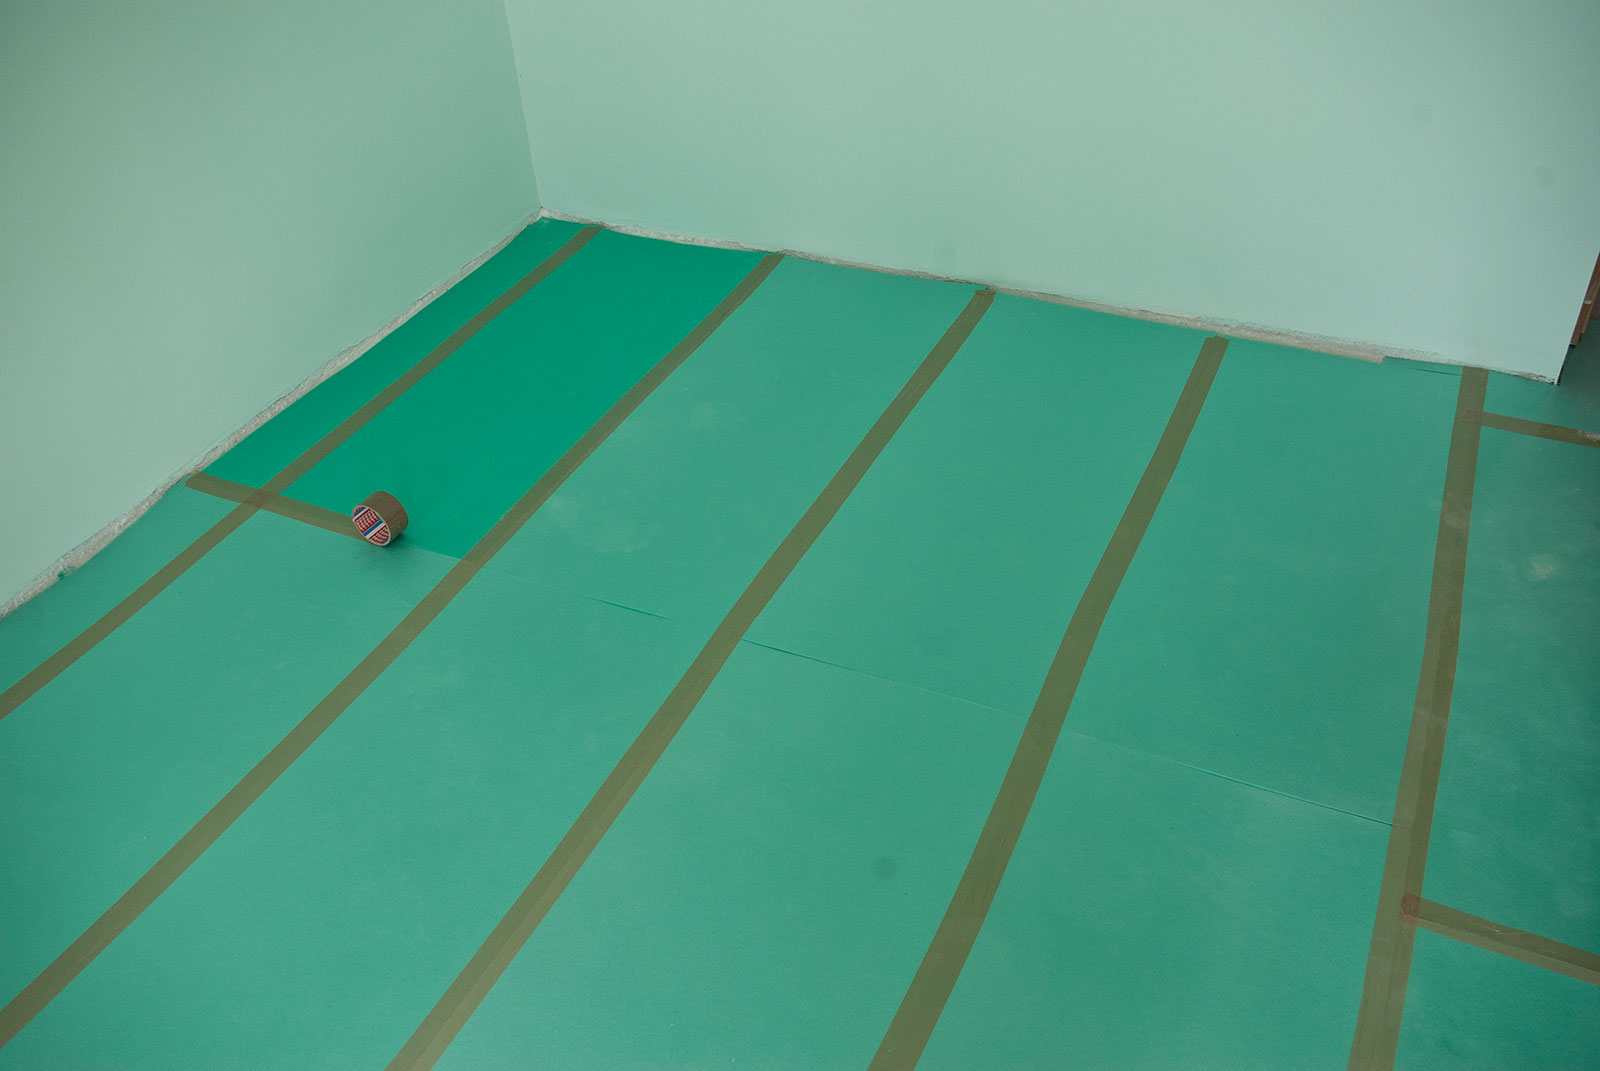
Afterwards, we have joint together the underlay boards with adhesive tape. The technique we had used, was to unroll 20”/50 cm of adhesive tape and then to press it gently with the hand, being attentive to keep it well stretched.
Another option would be to use an adhesive tape runner, which would ease the process. Nevertheless what you choose, this step is very important as it keeps all section locked together, and improves the cohesiveness of the underlay.

Underlay for laminate flooring
We have used the adhesive tape to join all edges of the boards, as to create an anti-vapour barrier to protect the laminate flooring. Do not hurry, as this stage is essential for a long lifetime of the laminate flooring. Installing laminate flooring underlay is as important as leveling the sub-floor, so work with great care. Make sure you follow the whole Laminate Flooring Series.
Thank you for reading our article on how to install underlay for laminate flooring, and we recommend you to read the rest of the articles related to laminate flooring. Please share our projects with our friends, by using the social media widgets.
