This article is about how to prepare the floor before installing laminate flooring. Laminate flooring is one of the best materials to use by homeowners when deciding to make a home improvement. The low price, the large variety of colors and textures, high quality, durability and easy maintenance make laminate flooring a great choice. In this article we will show you in a detailed manner, step by step, how to prepare the floor’s surface to install laminate flooring. Strange as it might seem, the preparation stage is essential for a proper installation of the laminate flooring, therefore pay attention to our tips. If the concrete floor has many irregularities, you should take into consideration pouring a thin layer of self-leveling screed.
If the sub-floor is made of concrete, you have to check if it is level, otherwise you should pour a thin layer of self-leveling screed. Look for cracks in the concrete and fill them with mortar. In addition, make sure you remove the residues, dust or grease before laying the underlay and the laminate boards.
If you have a wooden sub-floor you should make sure it is perfectly level and crack-free, before installing the laminate flooring. If the sub-floor is damaged, we recommend you to install 1/2” thick plywood over the whole surface. Secure the plywood boards to the wooden joists, by using nails. Make sure you read the manufacturer’s instructions before installing the plywood boards, if you want to avoid future issues. In most of the cases you should leave an expansion gap of 1/8” between the boards, but it’s best to read the product label. If the plywood is over your remodeling budget, you could use 7/16” OSB boards. Nevertheless, you should remember that you mustn’t use OSB in areas exposed to moisture and humidity, as it will swell and might even generate mold and mildew.
Caulk the edges of the plywood boards along the walls, as to create an anti-moisture barrier (only for wooden sub-floors) and to improve the thermal and sound insulation of the room. Last but not least, we recommend you to mark on the walls the location of the studs, as to use it when you attach the baseboard trims. See all my Premium Plans in the Shop.
In order to prepare the floor’s surface to install laminate flooring, you will need the following:
Materials
- Laminate flooring packs
- Underlay for laminate flooring
Tools
Tips
- Make sure that the surface is leveled, using a level
- Clean properly the floor’s surface using a vacuum cleaner
- Pour self-leveling screed if the floor isn’t smooth enough
Related
- Episode 1: Preparing the Surface
- Episode 2: Installing the underlay
- Episode 3: Installing laminate flooring
- Episode 4: Installing the baseboard
- Episode 5: Fixing Laminate Flooring Gaps
- Episode 6: Fixing Laminate Flooring Scratches
- Episode 7: Replacing Laminate Flooring
How to prepare the floor’s surface before installing laminate flooring
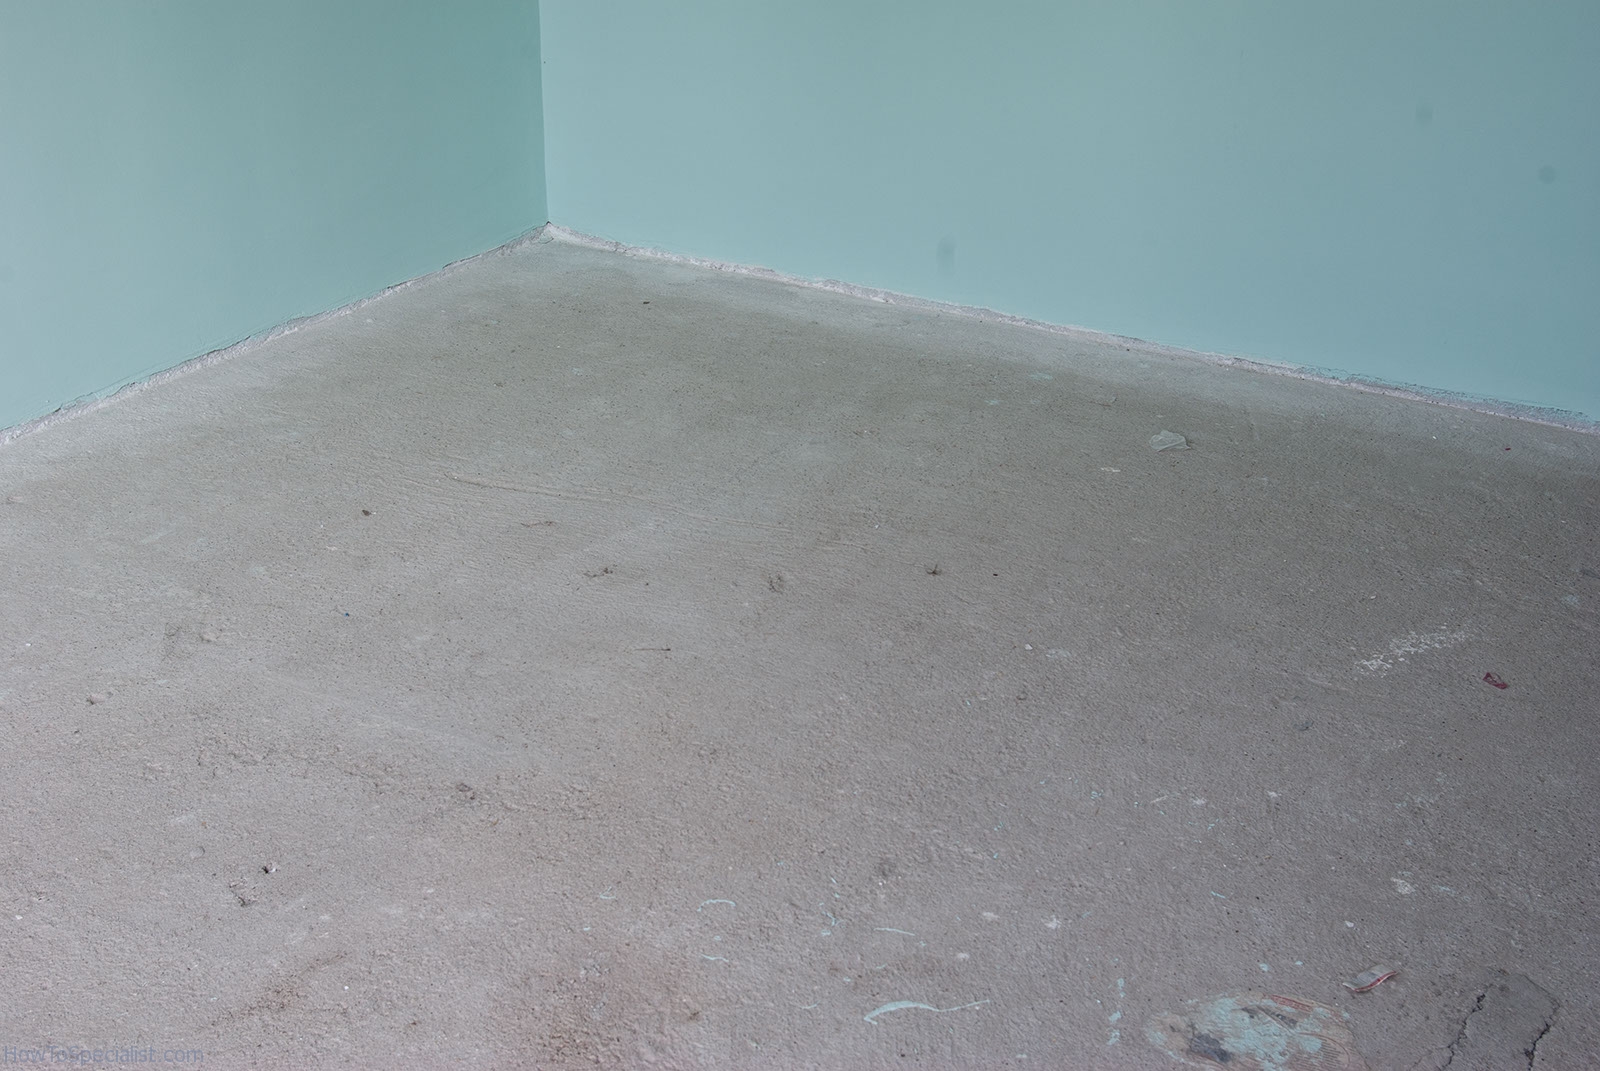
Concrete flooring
Before starting to install the laminate flooring you have to make sure the surface is horizontal, by using a level. This aspect is very important as if the surface is not level the new laminate flooring will create peaks and creak.
As shown in the materials section, you will need to buy laminate flooring underlay pads. In order calculate the needed surface, just multiply the length by the with of the room, and then add and extra 5-10% for cutting waste.
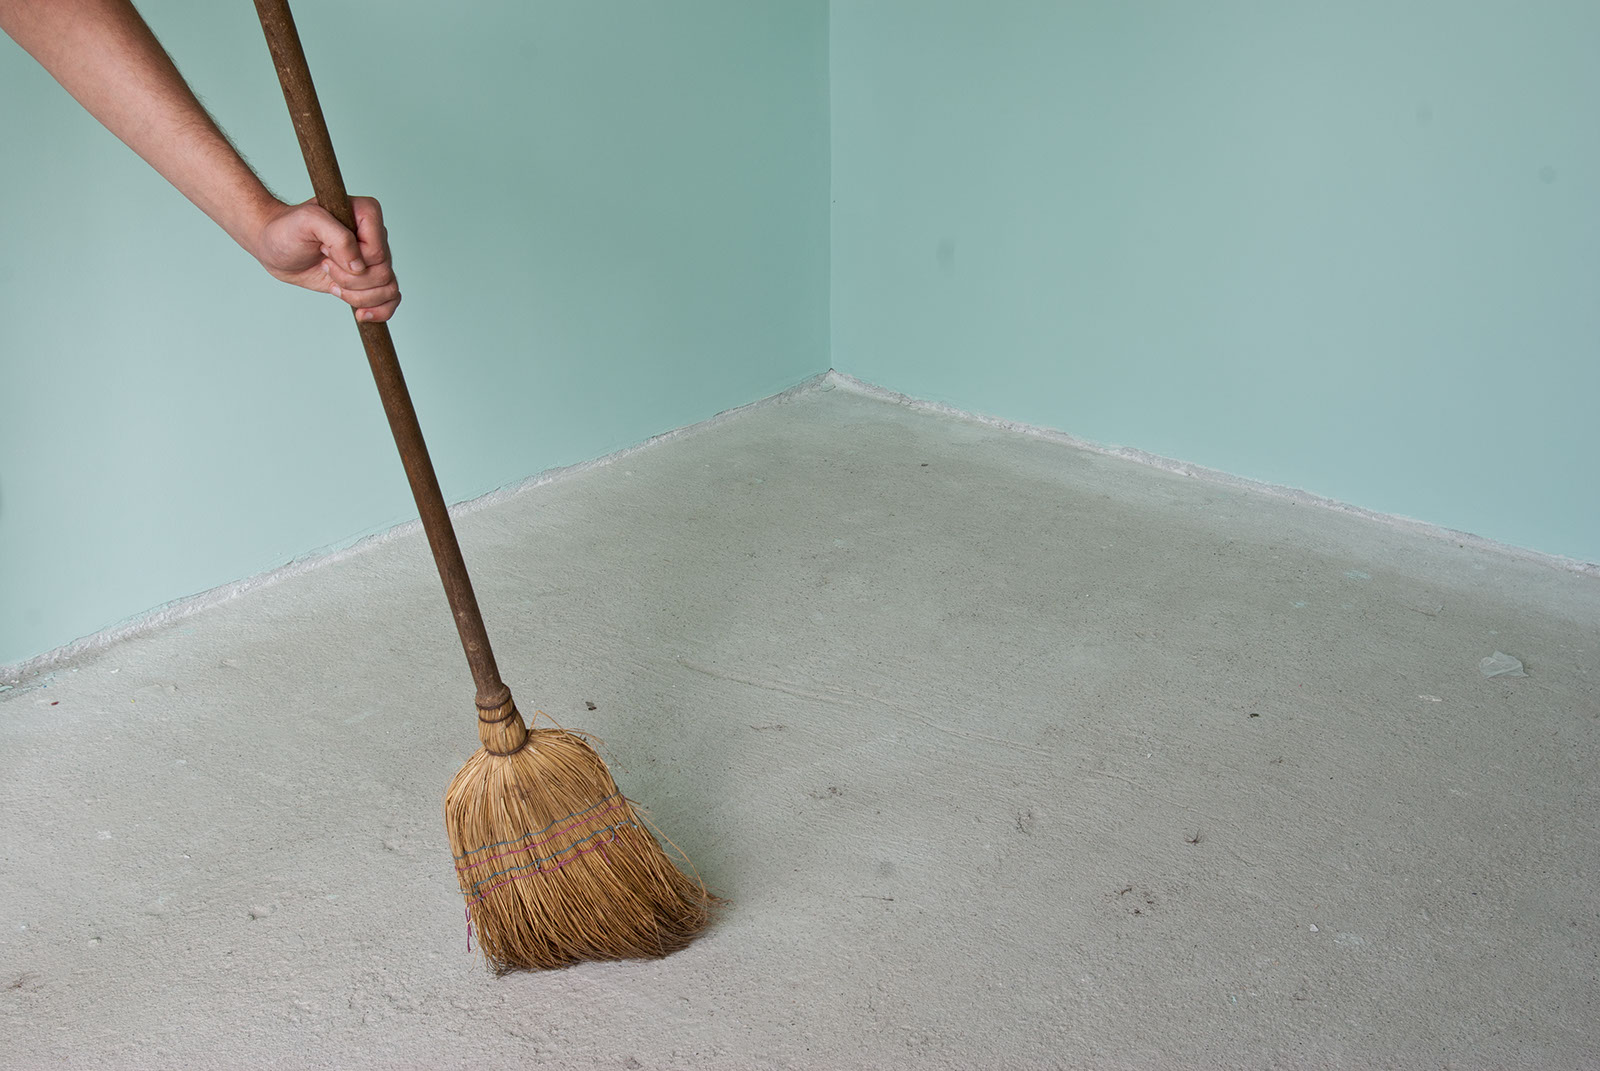
Cleaning the floor’s surface
Clean the surface thoroughly by using either a vacuum cleaner or a broom, as the residues and other small particles can compromise the project.
Pay attention to corners and alongside walls and be prepared to repeat the process is necessary. Use a respiratory mask while brooming, as to protect yourself from dust, and ventilate the room properly.

Remove concrete bumps with a palette knife
Use a chisel or a large scraper to remove the concrete bumps or any other irregularities on the sub-floor, then use the broom or the vacuum cleaner to remove them. The vacuum cleaner is a better option as it creates less dust.
If this step is overlooked, the laminate flooring may deteriorate in time or creek every time someone walks on that specific area. This step is critical for the durability of the laminate flooring, so verify carefully the surface more than once.
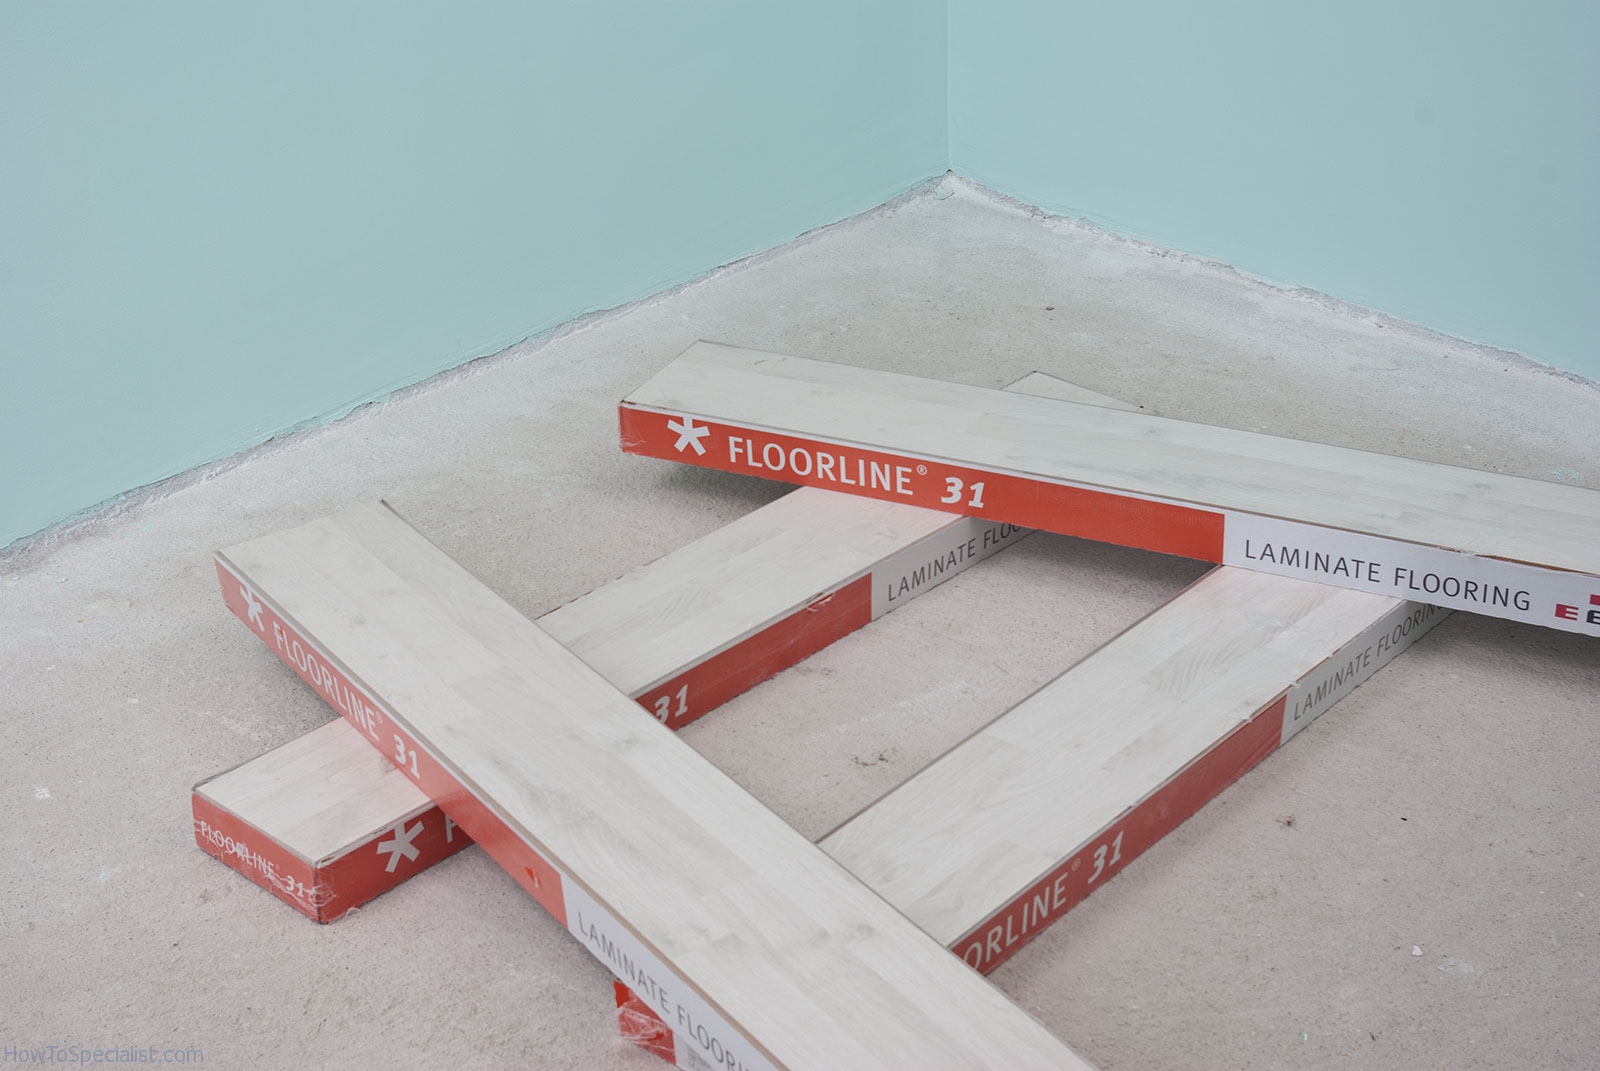
Acclimatization of laminate flooring packs
The sealed packs must be stored flat on the floor in the room they are to be installed, for at least 48 hours. In addition the temperature should be at least 18 C and the distance between the walls and the packs greater than 20”/50 cm.
For more accurate details, read the producer’s instructions. The preparation of the floor is essential, so follow these guidelines for a professional result.
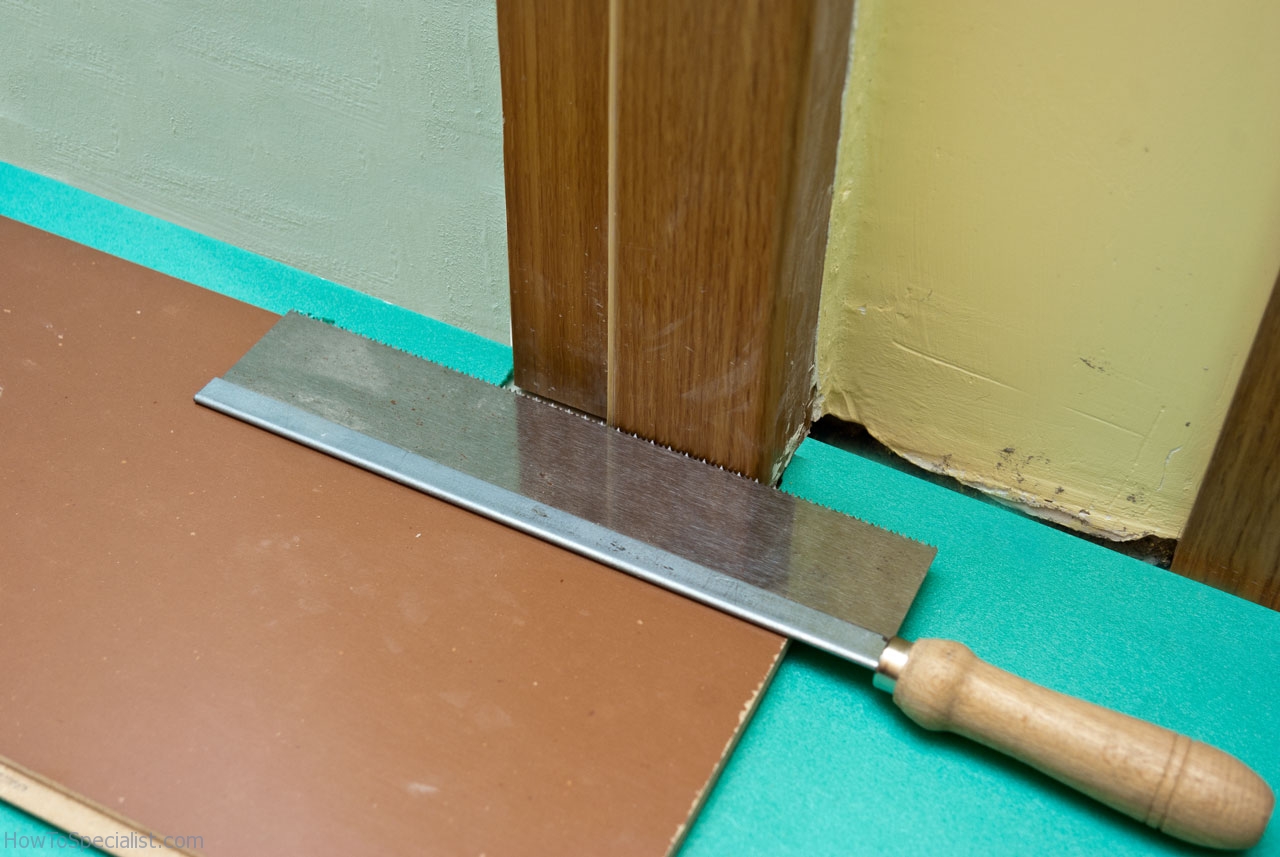
Cutting laminate flooring
Next, cut the door jambs by using a pull saw or a regular back-saw. Many home owners cut the laminate boards and lay them around the door jambs, but this method is completely wrong. Not only it won’t look good, but the laminate flooring will creak and might even peak.
The proper way of preparing the floor before laying laminate flooring is to place a piece of underlay and a laminate board on the sub-floor. Next, use the pull saw and cut gently the door jambs, making sure you hold it level.
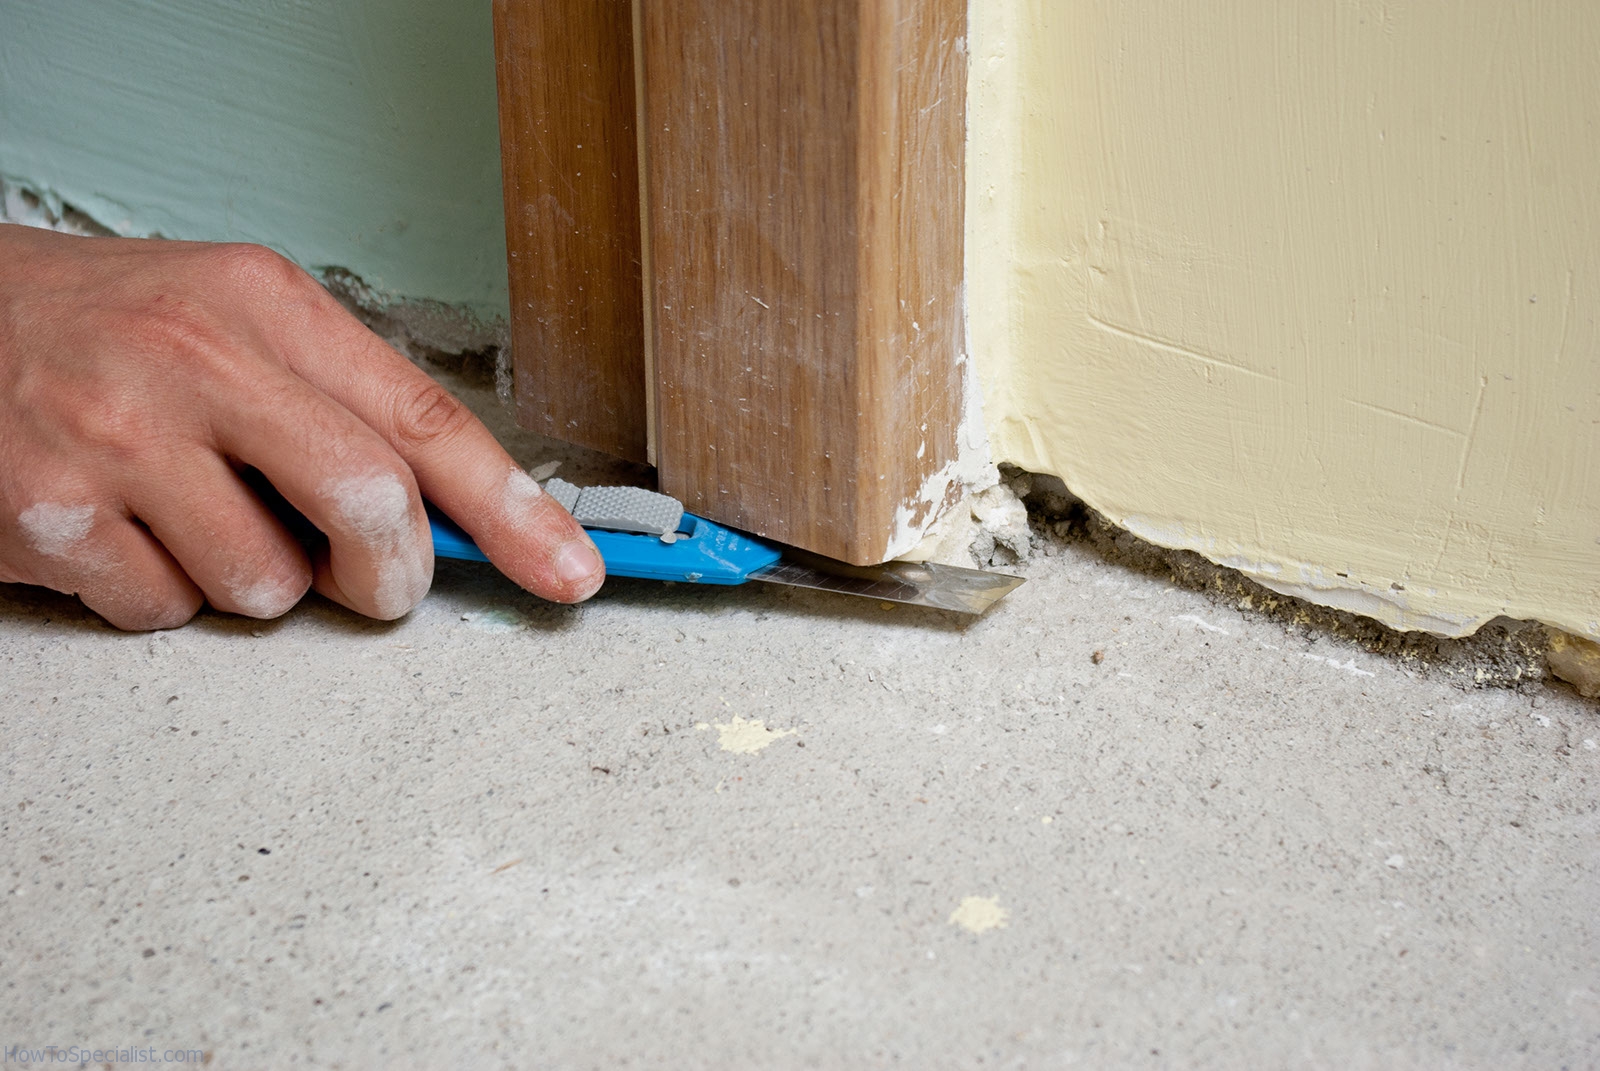
Removing residues under the door jamb
After you have cut the door jambs with the pull saw, you have to make sure space is wide enough to install a laminate board without any issues. Therefore, you should use an utility knife and remove the foam or other residues under the wooden jambs.
Work with great care, otherwise you might scratch the door jamb. After you have thoroughly prepared the surface, you have to clean the residues and check it for the last time. Look for cracks, bumps or oily areas. Make sure you follow the whole Laminate Flooring Series.
Thank you for reading our article on how prepare the floor before installing laminate flooring and we recommend you to read the rest of our projects. Please share our articles with your friends, using the social media widgets.
