This article is about how to install end molding for laminate flooring. End moldings are commonly used when installing laminate flooring. The end molding has the role of both holding the laminate planks on the floor’s surface, but also of protecting the laminate ends and making the transition to an outside door or other flooring material. In this article we show you how to install end molding, using the proper tools, materials and our tips.
Before starting the project, remember that the end moldings come in a great variety of materials, forms and colors, so you should study carefully the offer to choose the most appropriate product, according to your needs. In our case, we have installed a white plastic molding. In addition, you should also check our article on how to install transition from tile to laminate. In our case , the sub-floor was made of concrete, but you can also install plastic end moldings to a wooden sub-floor by using wood screws. See all my Premium Plans in the Shop.
In order to install end molding, you need the following:
Materials
- End molding
- Screws and dowels
Tools
- Level, rubber hammer, hammer
- Chisel, measuring tape, miter box and handsaw
- Vacuum cleaner / broom, spacers
- Drill machinery, electric screwdriver
Tips
- Use a miter box for quality cuts
- Measure attentively the space for the end molding
- Read carefully the instructions
Cutting plastic end molding
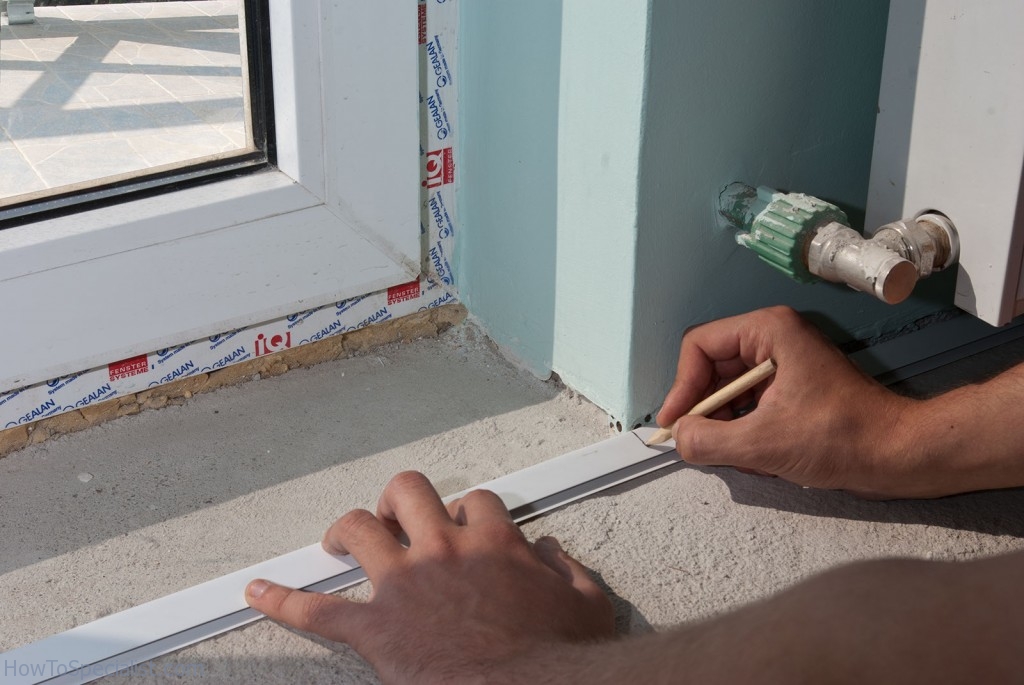
Measuring the end molding
If the room in which you install the laminate flooring has a door opening on a balcony, or the door has a high sill, then it would be appropriate to install an accessory called end molding. The first step is to measure the length of the end molding, as to fit perfectly in the space, and to mark it using a carpenter pencil.
There many types of molding available, so the best thing would be to choose the one it suits the best your needs and tastes.
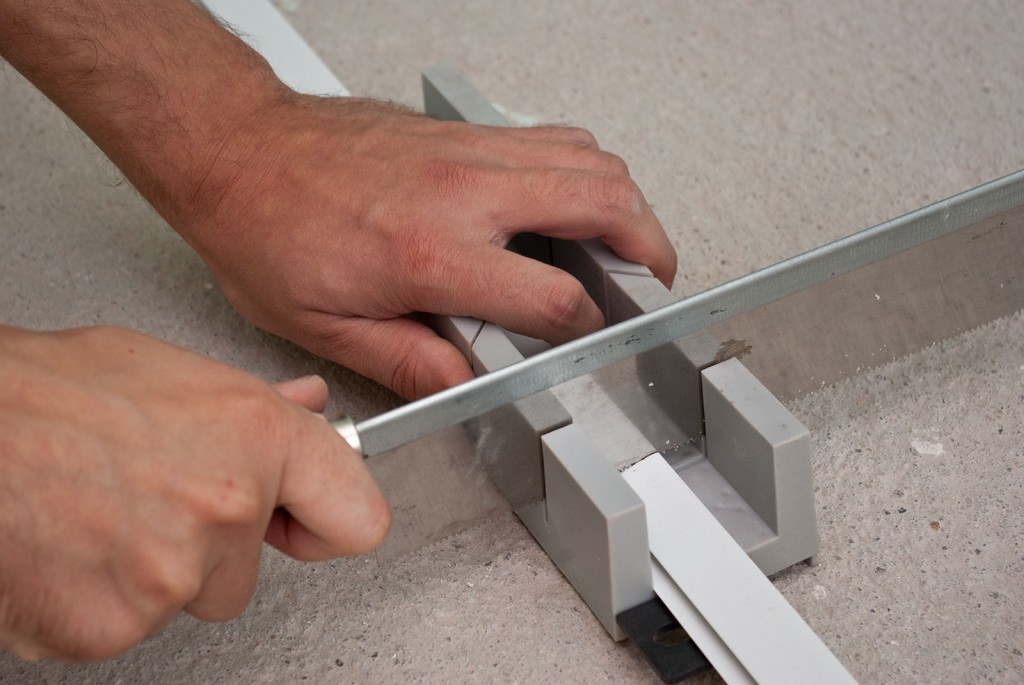
Cutting the end molding with a miter box
For a precision cutting we warmly advise you to use a back-saw, together with a saw cutting box. These are extremely useful and handy tools, as you get better control and more precise cutting than with other types of saws. The miter box is also used for producing quality angled cuts.
How to install plastic end molding
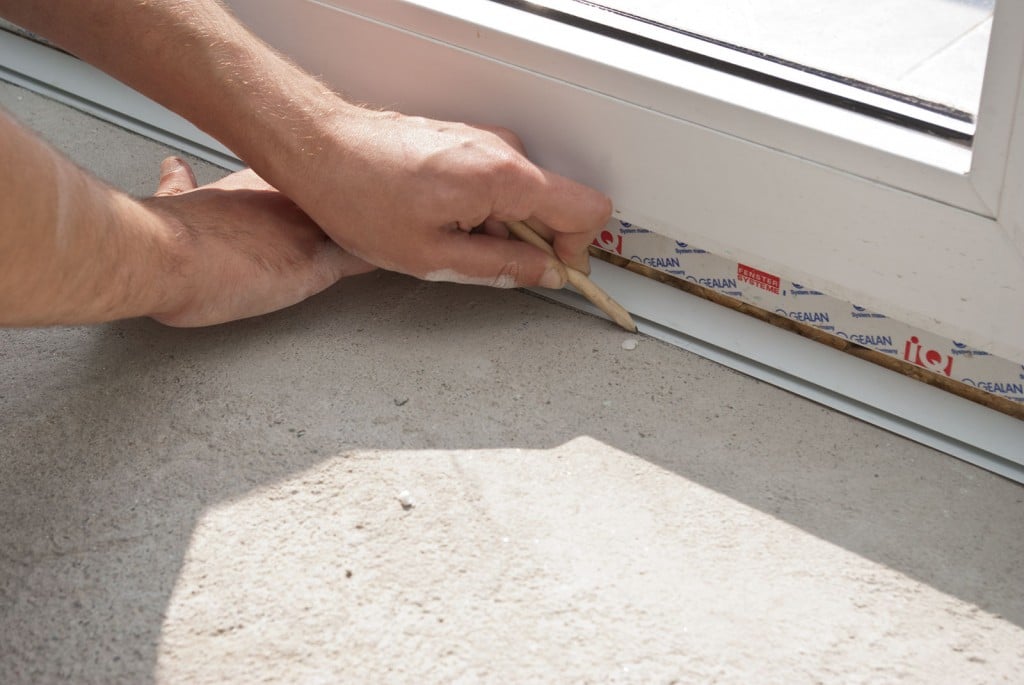
Marking the spots to screw the end molding
The end molding has the role of masking the ends of the laminate planks, but in the same time it keeps them from detaching of the floor’s surface. The next step is to draw a line on the floor using a carpenter pencil, in order to see where to drill several holes.
Some end moldings have other fixing systems, like a metal track which should be first screwed in, and then you must place the end molding in it.
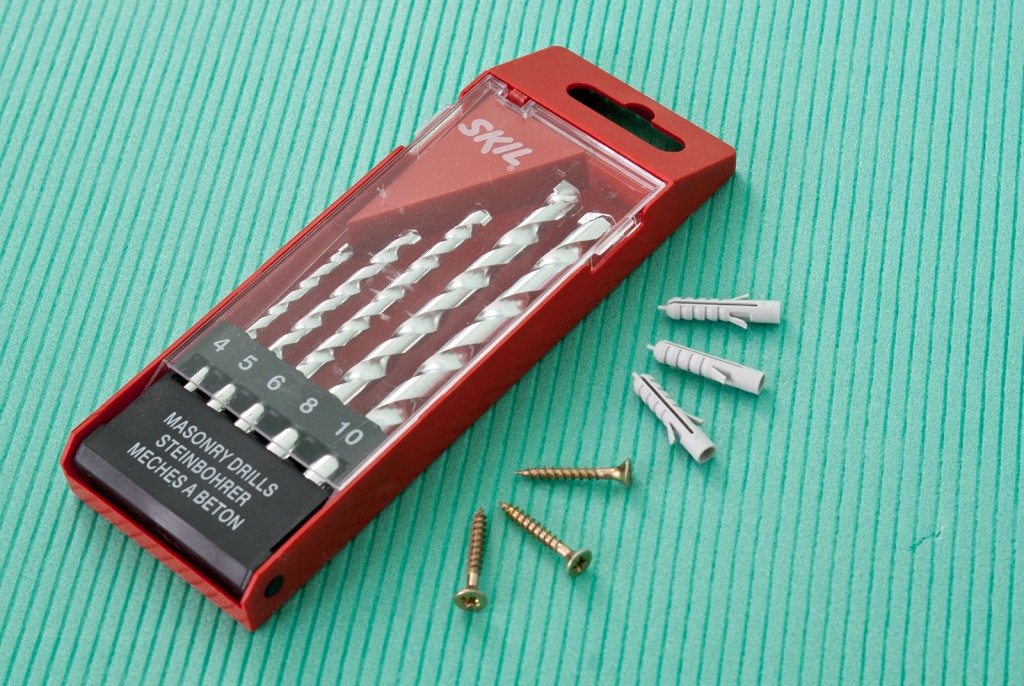
Drills, screws and dowels to fix the end molding
To complete the next step, we will be using drills for concrete, a good drill machine with hammering function, dowels and screws. Check the quality of the drill bits and do not use dull ones.
Select the drill bit size according to the thickness of the dowels you are going to use. For example, in this project we have used a drill size 5. The dowels must be long enough as to fix themselves in the concrete, otherwise the molding would move from their established position.
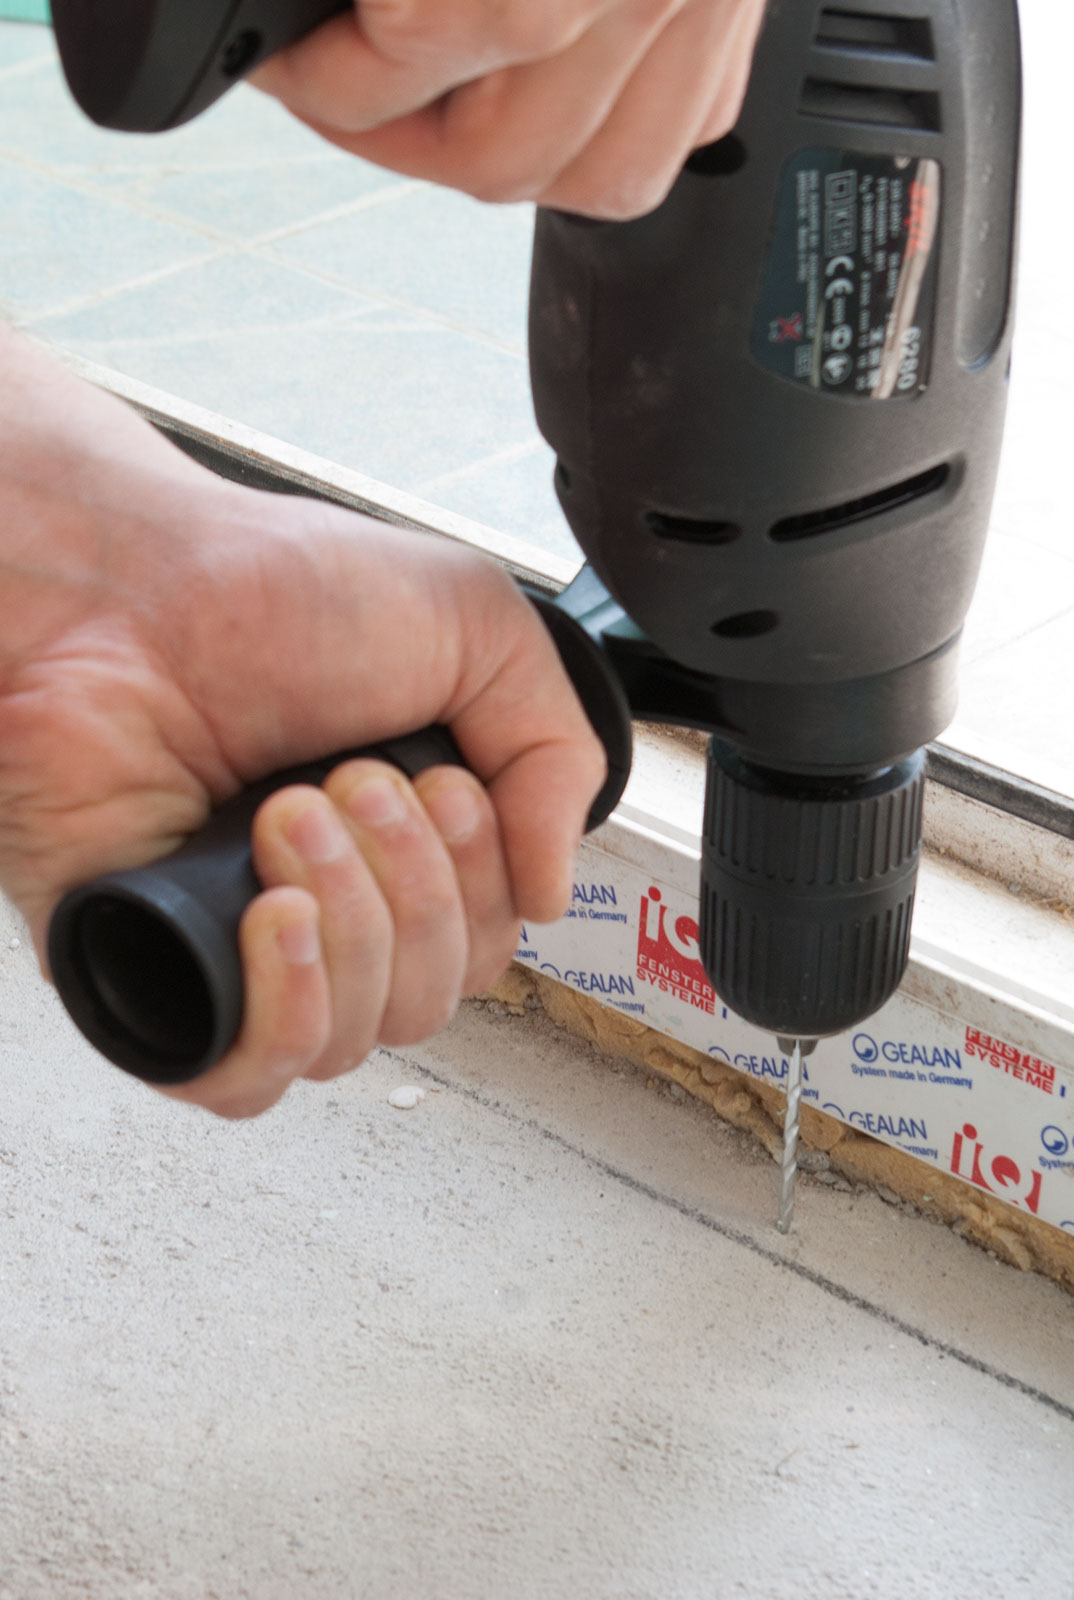
Drilling holes in concrete
Mark the spot on the floor where you want to drill, by using a pencil. The distance between holes should be roughly 10”/25 cm. The drill size should be chosen according to the dowels you have, as in most cases it is written in their instructions.
The drill machine must be hold with one hand like a gun, with the index finger on the start button. With your other hand hold the drill’s handle firmly, in order to have greater control. The drilling must be progressive: at first use low speeds to create a shallow hole. Afterwards, the speed should be increased, but at every few seconds pull the drill slightly out and press it back in again, not to block her in concrete.
If the drill heats, then take a break for few minutes to allow the drill bit to cool off, otherwise you risk damaging both the machinery and the drill bit.
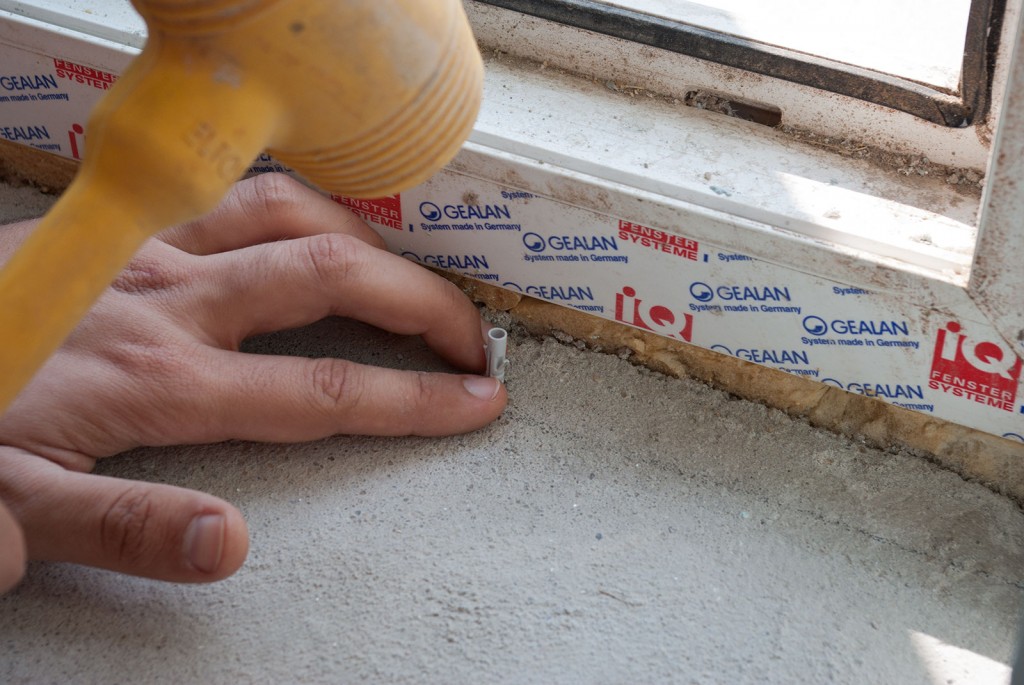
Installing dowels
In this picture you can see how we installed the dowel, using a rubber hammer. The mallet is lined up with the dowel, as not to injure yourself or damage the dowel.
In order to protect the dowel, we hit it on top by several light strokes, until the dowel is totally inserted in the floor’s surface. It is essential that dowels to be totally inserted in the floor’s surface.
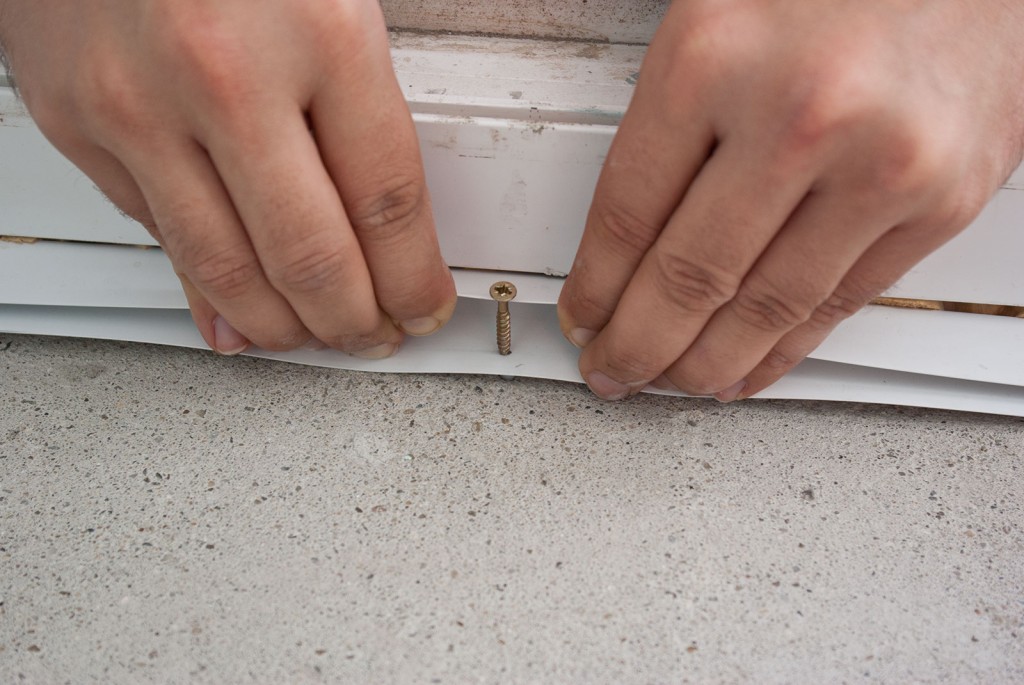
Screwing the end molding
We secured the plastic molding by inserting screws in the dowels, using a electric screwdriver with torque control. You should work with good judgment, as if one is not attentive he could easily damage the molding.
Remember that when using the electric screwdriver, you have to put more pressure than on a regular screwdriver. A regular screwdriver would also do a good job, but the electric screwdriver will be faster, as it has more power.
Thank you for reading our article on how to install end molding, and we recommend you to read the rest of the articles related to laminate flooring. Please share our projects with your friends, by using the social media widgets.
