In this article, we show you how to install baseboard trim, along with the tips needed to get a professional result. The baseboard comes in a large variety of colors, models and materials, so you should not find it difficult to choose the most appropriate molding, according to your tastes and needs. The baseboard has a dual purpose: on one hand it covers the clearance space between the laminate flooring and walls, as on the other hand it gives character to any room, if it is installed properly. If you want to learn how to install rubber baseboard, you have to read our other article and pay attention to our tips.
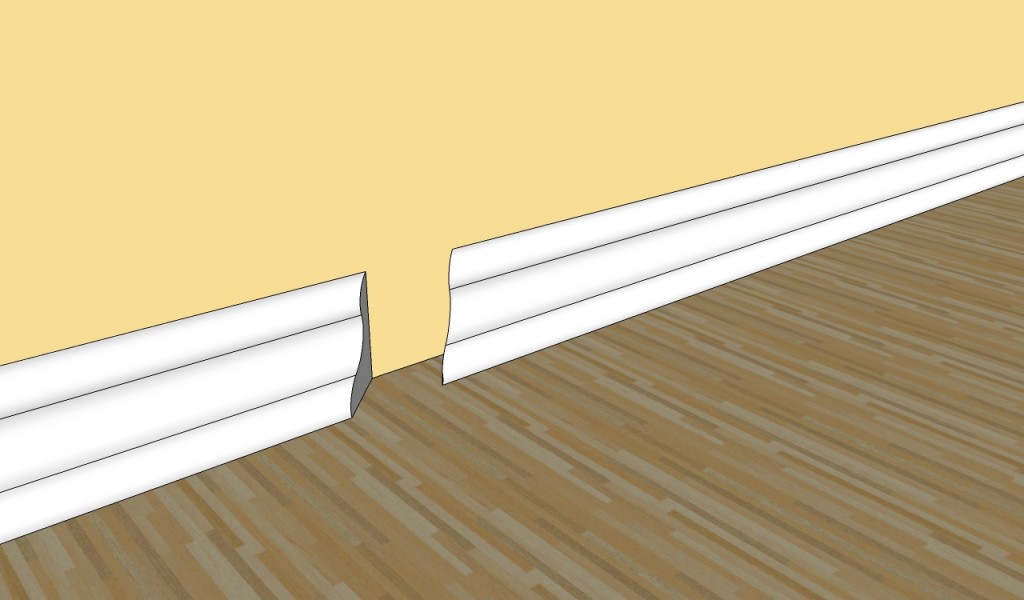
When installing baseboard trim, it is very important to start with the longest wall in the room. There are two possibilities: on one hand the baseboard is longer than the wall and then you will be cutting it to the proper dimension, or the wall is longer than the trim, and you have to use more pieces. In the latter case the baseboards should be connected by a scarf joint. This type of joint requires two baseboards with 45º cut ends, which must be fixed together either by finishing nails or glue, depending on the material they are made of, or according to the wall structure. The 45º should be also made with the miter box. If you obtain a bow, then you have to redo the measurement and then cut again.
After you have installed the baseboard trim, you have to fill the holes and the gaps, as to get a neat look. Consequently, you should use wood putty to fill the nail heads and the outside and inside corners, and caulk to hide the other gaps between the baseboard and the walls. In order to get the job done in a professional manner, you have to sand surfaces on which you have applied wood putty and if necessary to apply a second layer of putty, by using a trowel.
After you have applied the caulk, in order to fill the gaps between the baseboard and the walls, you have to take off the excess material with a trowel and then wipe off the surface with a wet cloth. If you want to protect the floor (in certain cases you might have to fill the gaps between the baseboard and the floor), you should use paper tape to mask it. After you have finished the project, you have to remove the tape and clean the floor. See all my Premium Plans in the Shop.
In order to install baseboard trim, you need the following:
Materials
- Baseboard trim, finishing nails
- Wood glue (in some cases)
- Caulk and wood putty
Tools
- Level, measuring tape and paper tape
- Drill machinery and drill bits
- Miter box or miter saw, back-saw
- Vacuum cleaner
Tips
- Measure the perimeter of the room and add 10% for cutting waste
- Use a miter box for inside and outside corner joints
- For unusual angle corners, use scrap material made make more attempts until you find the right setup
Related
How to cut baseboard trim
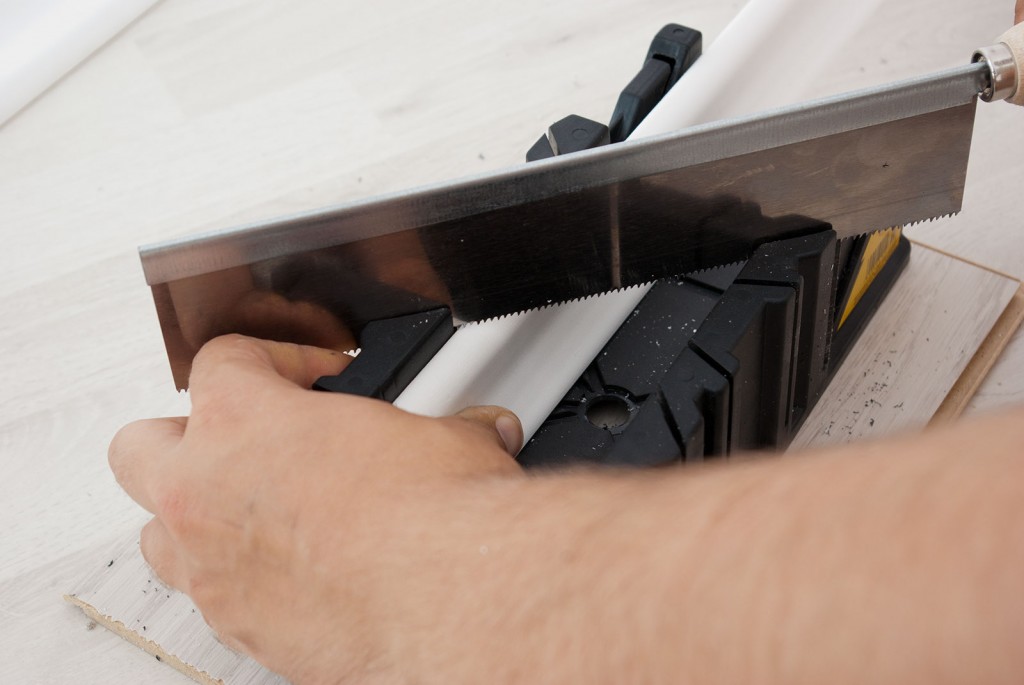
Use a meter box to get a precision cut. When installing baseboard molding around inside or outside corners, it is impossible to get a quality look without a miter box. Hold firmly the baseboard trim and cut it at 45º with a back-saw. After you have finished cutting the baseboard, use medium grit-sandpaper to smooth the cut.
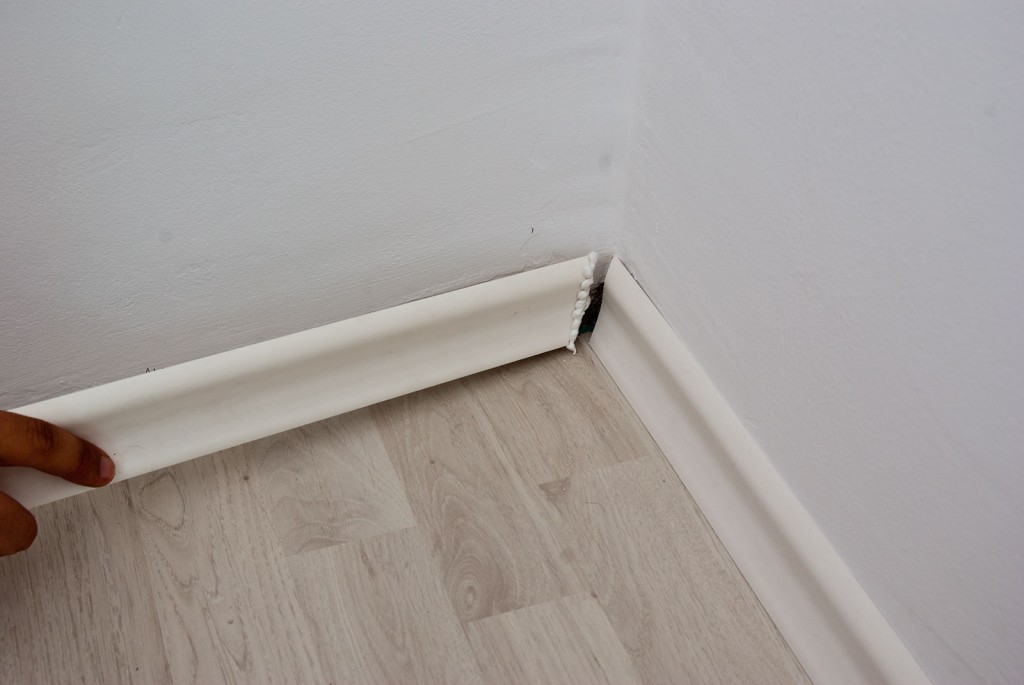
When you want to install the baseboards on an inside corner, you have to make a miter joint or a coped joint. The coped joint requires special tools and experience, so we beginner diy-ers should choose the other option. To make a miter joint, you have to know the exact angle between the walls. Each of two baseboards to be joined, must be cut usually at a 45° angle, to form a corner, usually a 90° angle.
How to install baseboard trim
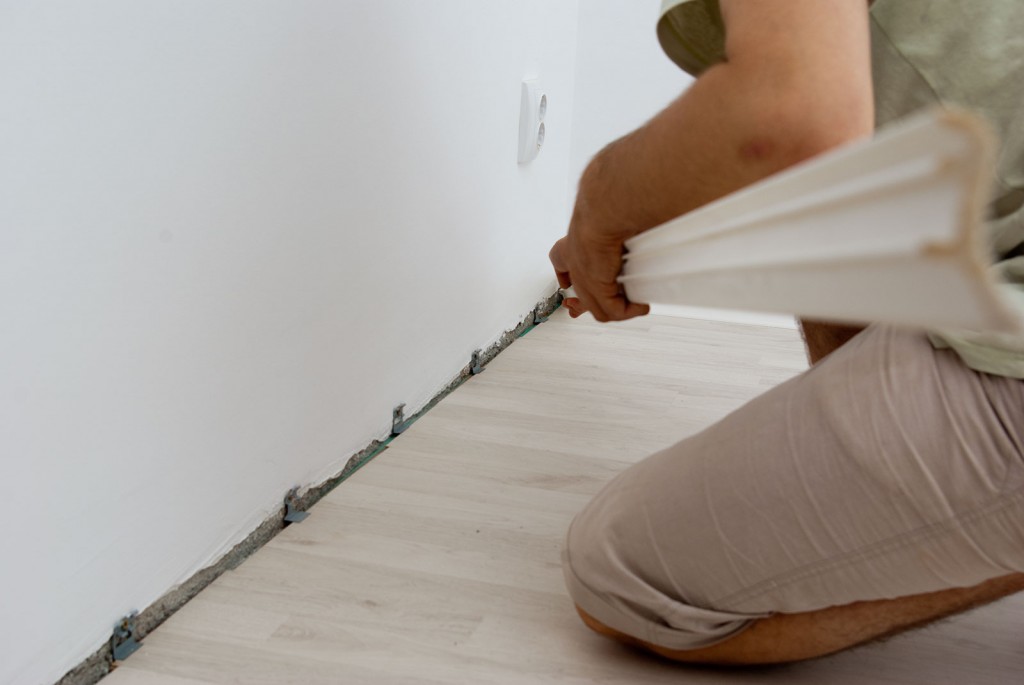
As we have already mentioned, there are some baseboards that aren’t installed in nails but in attachment clamps. This method is usually preferred when we are dealing with concrete walls . The attachment clamps must be fixed at the same level, in order to install the baseboard properly. You can use a water level, a long level or a laser level in order to make sure that all clamps are well aligned. Even a little mistake in the process, could lead to a bad result, so take your time and do all steps attentively. Mark with a pencil the spots where you will drill , leaving a space of 12”/30 cm between the marks.
Smart tip: Drill pilot holes, with a drill machine with hammering function. The machinery should be be hold with one hand like a gun, with the index finger on the start button. With your other hand hold the drill’s handle firmly, in order to have greater control. Use a vacuum cleaner to clean the surface from dust and other residues, and then with a mallet insert the dowels in the holes. The nest step is to fix the attachment clamps with screws in the dowels. We did this operation with an electric screwdriver with torque control, but it is also possible with a regular screwdriver, but it requires more time and effort.
The baseboards should be installed progressively, using your both hands. Measure the needed length and then repeat the measurement, as not to make any error or to waste material. Along the walls, if you have to install more than 2 pieces of baseboards, you have to make a connection as you can see in the image. Consequently, use the miter saw or box to cut the baseboards at 45º and attach them along the walls, making sure they are aligned at both ends.
In order to secure the baseboard trims, you might use several options: on one finishing nails, glue or metal clamps (very rare, only in certain types of baseboard). Use a hammer and drive in the finishing nails, making sure you do not damage the baseboards during the process. In addition, use a stud finder as to make sure you insert the nails in the right spots.
Smart tip: Use a nail set to insert the head of the nails under the surface of the baseboard. After you finish the job, use putty to conceal the head of the screws and possible gaps between the wall and the baseboard.
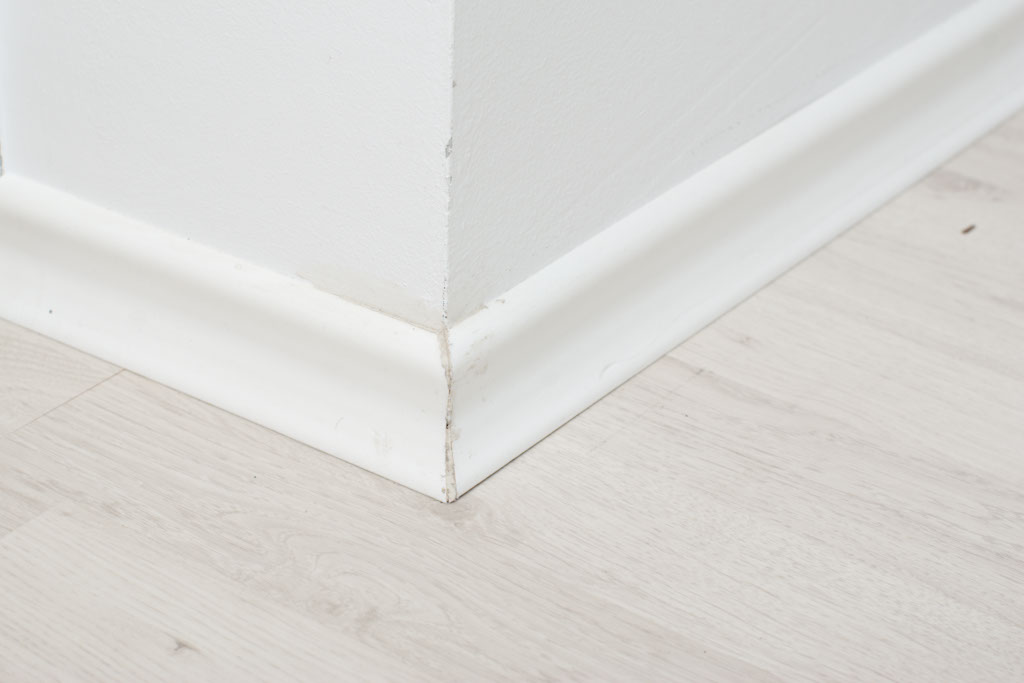
Installing a miter outside corner is easy if you use the right tools and techniques. Therefore, first measure attentively the needed length of the baseboard and cut it with a miter saw at 45º. Next, measure the next side of the corner and cut it again at 45º. If the corner is not right angled, or if there is a small gap between the two baseboard trims, you could fill it with caulk. After that, you have to clean the joint with a wet towel, as to remove the excess material.
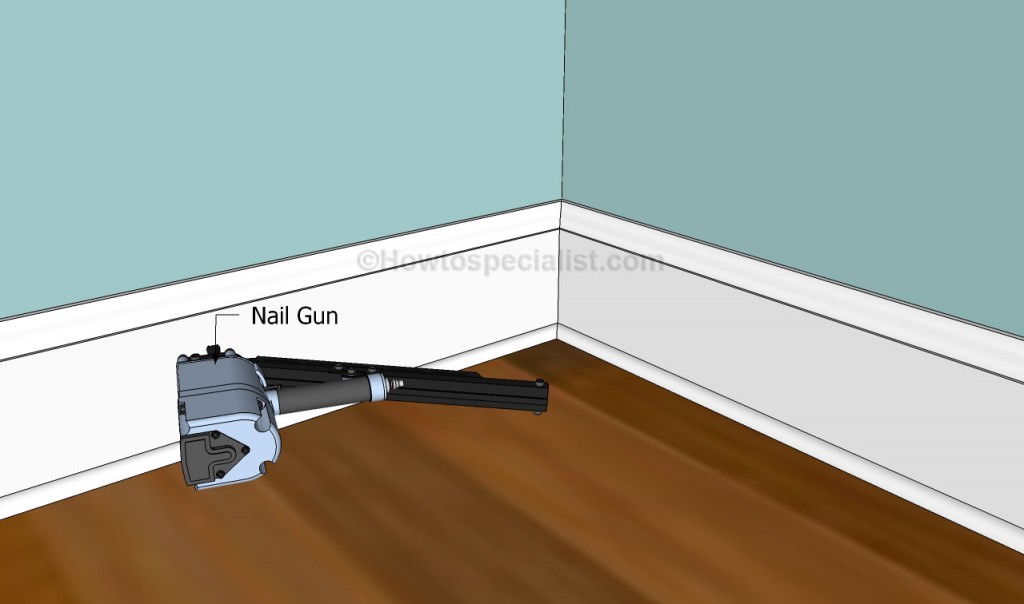
Installing the shoe molding is not compulsory, but it will enhance the look of the baseboard and it could hide the floor irregularities. Attach the shoe molding to the bottom of the baseboard and lock it into place with finishing nails, using a nail gun.
Caulk the baseboard, as to protect it from excessive moisture. In addition, you might also find it useful, if there are gaps between the wall and the baseboard. Make sure you remove the excess caulk before it dries out, using a clean cloth.
Last but not least you need to take care of the finishing touches. Therefore, we recommend you to fill the head of the screws, as well as the rest of the imperfections with wood putty. After it dries out, smooth the surface with medium-grit sandpaper and vacuum the residues. Place masking tape on the wall, before painting the baseboard trim.
My best tips for installing baseboard trim
Installing baseboard trim after laying laminate flooring gives your room a clean, polished finish. Here are my best tips for a professional-looking installation:
1. Leave an Expansion Gap: Laminate flooring needs room to expand and contract with temperature changes, so always leave a 1/4 inch expansion gap between the laminate and the wall. The baseboard will cover this gap, giving the room a seamless look while allowing the flooring to move naturally.
2. Cut Baseboard at 45° for Corners: When installing baseboard around corners, cut the ends of the trim at a 45-degree angle using a miter saw. This allows the pieces to fit together neatly at outside or inside corners, creating a clean, professional look.
3. Measure and Mark Carefully: Always measure twice and mark the baseboard carefully before cutting. Ensure your cuts are accurate, especially when fitting around doorways or in tight spaces.
4. Use a Stud Finder for Secure Attachment: To attach the baseboard securely, use a stud finder to locate the studs in the wall. Nailing into studs ensures the baseboard is firmly attached and won’t shift over time.
5. Use Construction Adhesive and Finishing Nails: Apply construction adhesive to the back of the baseboard to hold it in place while you nail it. Use finishing nails to secure the trim to the wall, nailing at an angle to ensure the best grip. Nail every 16-24 inches along the baseboard.
6. Caulk for a Seamless Finish: After the baseboards are installed, apply caulk to fill any gaps between the trim and the wall. This gives the baseboard a seamless look and hides small imperfections. Use a caulk that matches the color of your trim for a neat finish.
7. Paint or Stain Before Installation: If you’re planning to paint or stain the baseboard, it’s easier to do this before installing it. Once installed, touch up any spots that were missed or damaged during installation.
8. Cope Inside Corners for a Tight Fit: For inside corners, consider coping the joints instead of mitering. This involves cutting one piece at a 90-degree angle and then using a coping saw to cut along the profile of the other piece. This method results in a tighter, more professional fit in uneven corners.
9. Use a Nailer for Faster Installation: If you’re installing a lot of baseboard, consider using a nail gun or brad nailer. This speeds up the process and ensures the nails are driven in evenly without damaging the baseboard surface.
By following these tips, your baseboard trim installation will look clean, professional, and well-fitted around your laminate flooring, adding the perfect finishing touch to your room!
Thank you for reading our article on how to install baseboard trim and we recommend you to read the rest of the articles related to laminate flooring. Please share our articles with your friends by using the social media widgets.

