There’s something about homemade blueberry muffins that just feels right. Maybe it’s the smell of fresh berries and vanilla wafting through the kitchen, or the way a warm muffin breaks apart in your hands—soft and tender in the middle, with those golden, crispy tops that practically beg for a pat of butter. It’s the kind of comfort food that’s simple, nostalgic, and impossible to resist.
This recipe is about keeping things easy without sacrificing flavor. No need for a mixer or fancy ingredients—just basic pantry staples and a handful of juicy blueberries. Whether you’re baking for a slow weekend morning, stocking up for grab-and-go breakfasts, or looking for something sweet to pair with your afternoon coffee, these easy blueberry muffins are a go-to you’ll come back to again and again. So preheat that oven, pull out a mixing bowl, and let’s get baking. Because great muffins don’t need to be complicated—they just need to be made with care. And trust me, once you smell these coming out of the oven, you’ll be glad you made the time.
This batter right here? It’s not just for blueberries. That’s the beauty of it—it’s a solid base that plays nice with just about any berry you’ve got on hand. Got some raspberries in the fridge? Toss ‘em in. Strawberries? Just chop ’em up a bit so they bake evenly. Blackberries, cherries, heck—even diced peaches work great too. I’ve even thrown in a mix of whatever was leftover in the freezer and ended up with a batch that disappeared in under a day. The trick is to coat your fruit with a little flour first—that keeps ‘em from sinking straight to the bottom. And don’t stress if a few berries burst while folding them in—those little streaks of juice just make the muffins look more homemade (in the best kind of way). This recipe’s built to flex, so go ahead and make it yours.
Time Estimate
- Prep time: 10 minutes
- Bake time: 20–22 minutes
- Total time: ~30 minutes
Cost Estimate (USA Average Prices, 2025)
- Total cost: $5.00 – $7.00
- Cost per muffin (12 muffins): ~$0.50
Ingredients (Makes 12 Muffins)
- 1 ½ cups all-purpose flour
- ¾ cup granulated sugar
- ½ tsp salt
- 2 tsp baking powder
- ⅓ cup vegetable oil
- 1 large egg
- ½ cup milk (whole or 2% is best)
- 1 tsp vanilla extract
- 1 cup fresh or frozen blueberries
- 1 tbsp flour (to coat the blueberries)
- Optional: Coarse sugar for sprinkling on top
Tools You’ll Need
- Mixing bowls
- Whisk or fork
- Muffin tin (12-cup)
- Paper liners or cooking spray
- Spoon or ice cream scoop
- Cooling rack
Step 1: Preheat and Prep
Preheat your oven to 400°F (204°C)—that high heat is what gives these muffins their nice domed tops and golden edges. While that oven gets to work, grab a standard 12-cup muffin tin and line it with paper liners. If you’re out of liners, no worries—just give each cup a quick spray with non-stick cooking spray or lightly grease with butter or oil.
Once that’s done, set the tin aside on your counter. We’re about to whip up a batter that’s going to fill those cups with something soft, sweet, and seriously satisfying.

Step 2: Mix Dry Ingredients
In a large mixing bowl—the kind that gives you room to stir without making a mess—whisk together the flour, sugar, salt, and baking powder. This dry base is the backbone of your muffin batter, so take a moment to make sure everything is evenly combined. No clumps, no streaks—just a nice, uniform mix that sets you up for success when the wet ingredients go in.
Getting this part right means your muffins rise evenly, have the perfect texture, and don’t surprise you with a bite full of baking powder later on. It’s a simple step, but it makes a big difference down the road.
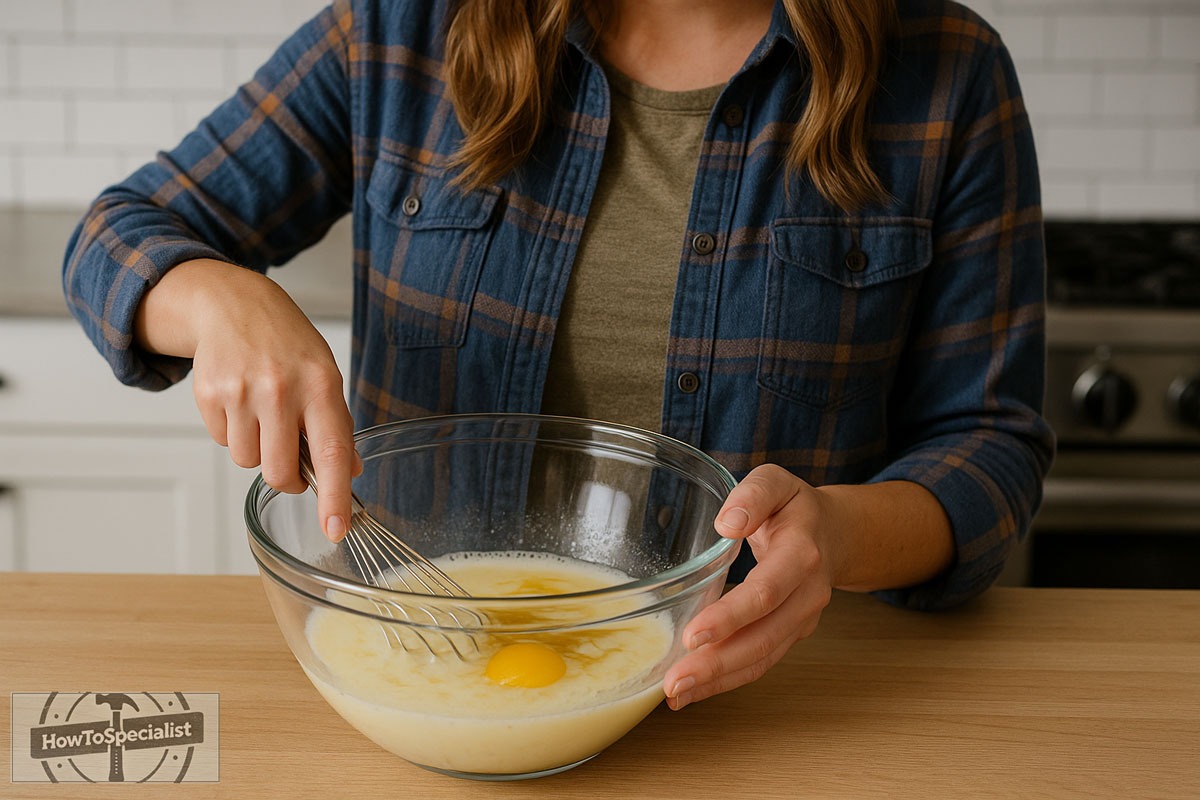
Step 3: Combine Wet Ingredients
In a separate bowl or large measuring cup, crack in your egg, pour in the oil, milk, and vanilla extract, and give it all a good whisk until the mixture is completely smooth and well blended. This is your wet base, and it’s what brings all the moisture, richness, and flavor to the party.
The oil keeps the muffins tender, the milk adds creaminess, and the vanilla? That’s your secret weapon—it rounds out the flavor and gives that classic, bakery-style aroma when these beauties hit the oven. Take your time here and make sure everything’s fully combined before moving on. A well-mixed wet base means a better batter, and better batter means better muffins.
Step 4: Make the Batter
Go ahead and pour your wet ingredients right into the bowl with the dry mix. Now grab a wooden spoon or spatula and gently stir everything together. You’re not looking for a perfectly smooth batter here—just stir until the dry spots disappear. A few lumps are totally fine (and actually a good sign!).
The key here is not to overmix. The more you stir, the more the gluten develops, and that’s what gives you dense, chewy muffins instead of soft and fluffy ones. So mix with intention, but don’t get carried away. Once it’s just combined and everything’s looking evenly moistened, stop right there—you’re ready for the blueberries.
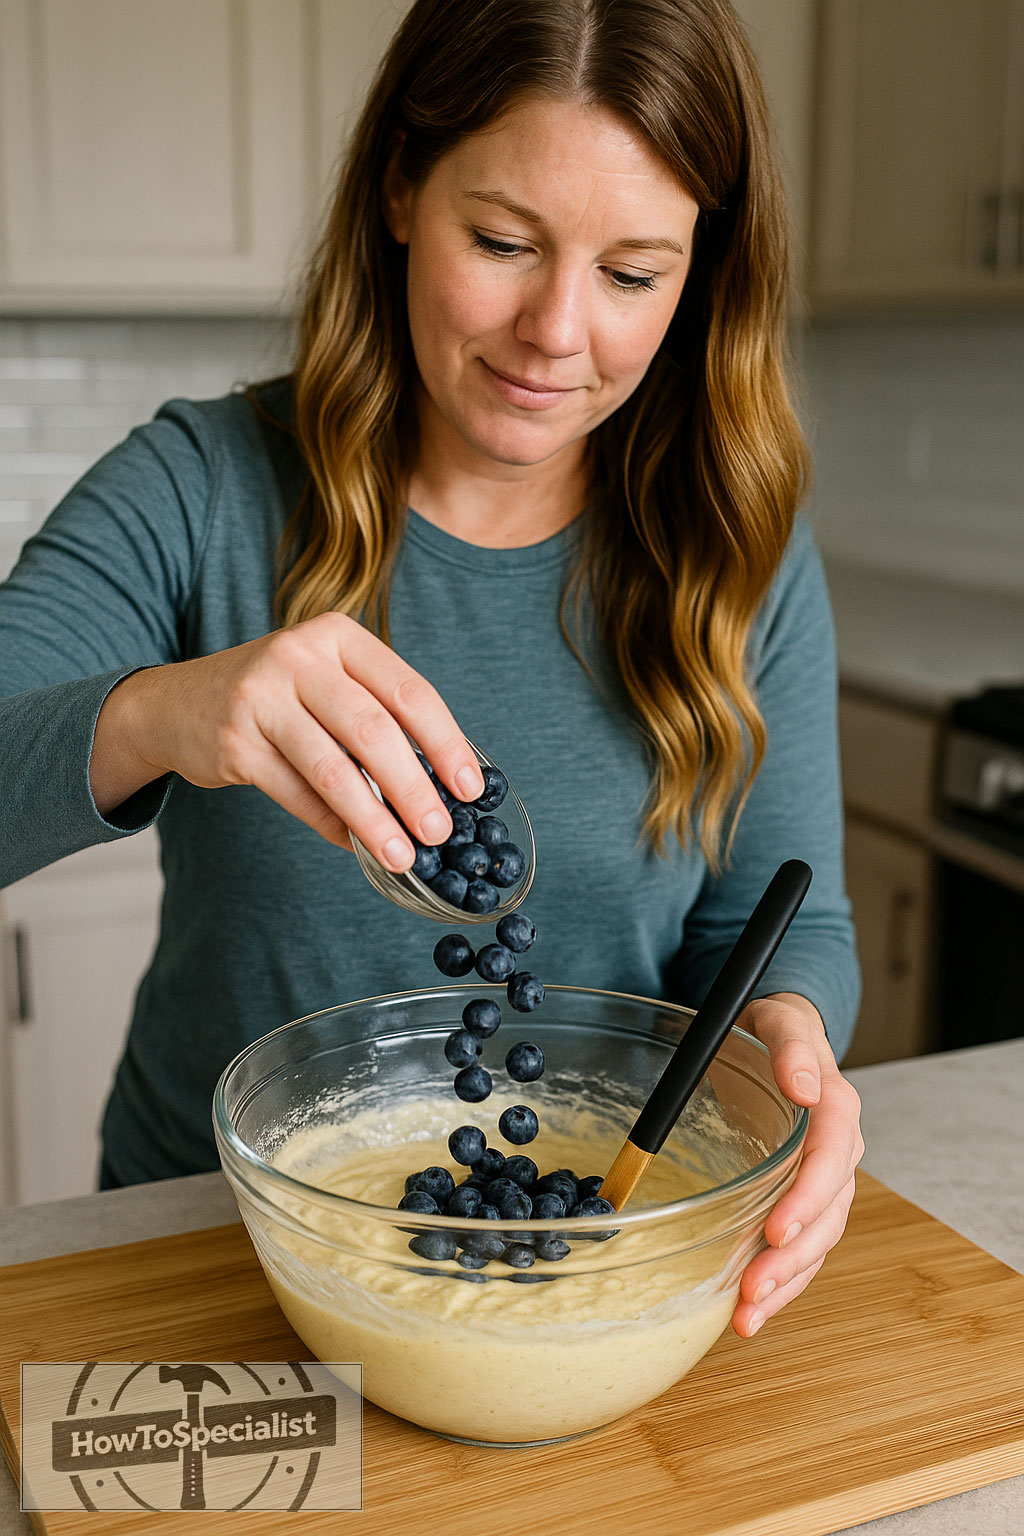
Step 5: Add the Blueberries
In a small bowl, add your blueberries and sprinkle them with 1 tablespoon of flour. Give them a gentle toss until they’re lightly coated. This little trick keeps the berries suspended throughout the muffins instead of all sinking to the bottom—and it makes a big difference in every bite.
Once they’re coated, pour the blueberries into your muffin batter and gently fold them in using a spatula or wooden spoon. Be careful not to stir too hard—you want to keep the batter light and the berries whole. A few streaks of blueberry juice are fine, but the goal is to spread them out evenly without turning your batter purple. Keep it light, keep it gentle, and you’ll have muffins bursting with berries in every bite.
Step 6: Fill the Muffin Tin
Using a spoon or ice cream scoop, divide the batter evenly among the 12 muffin cups. Aim to fill each one about ¾ of the way full—that’s the sweet spot for a nice rise without overflowing. If a little batter gets messy, no stress—just wipe the edges clean so they bake up neat and pretty.
Now, if you’re feeling fancy (and I always say go for it), sprinkle a pinch of coarse sugar—like turbinado or raw sugar—right on top of each muffin. It adds a little sparkle and a gentle crunch that makes these muffins look like they came straight from a bakery. Totally optional, but totally worth it.
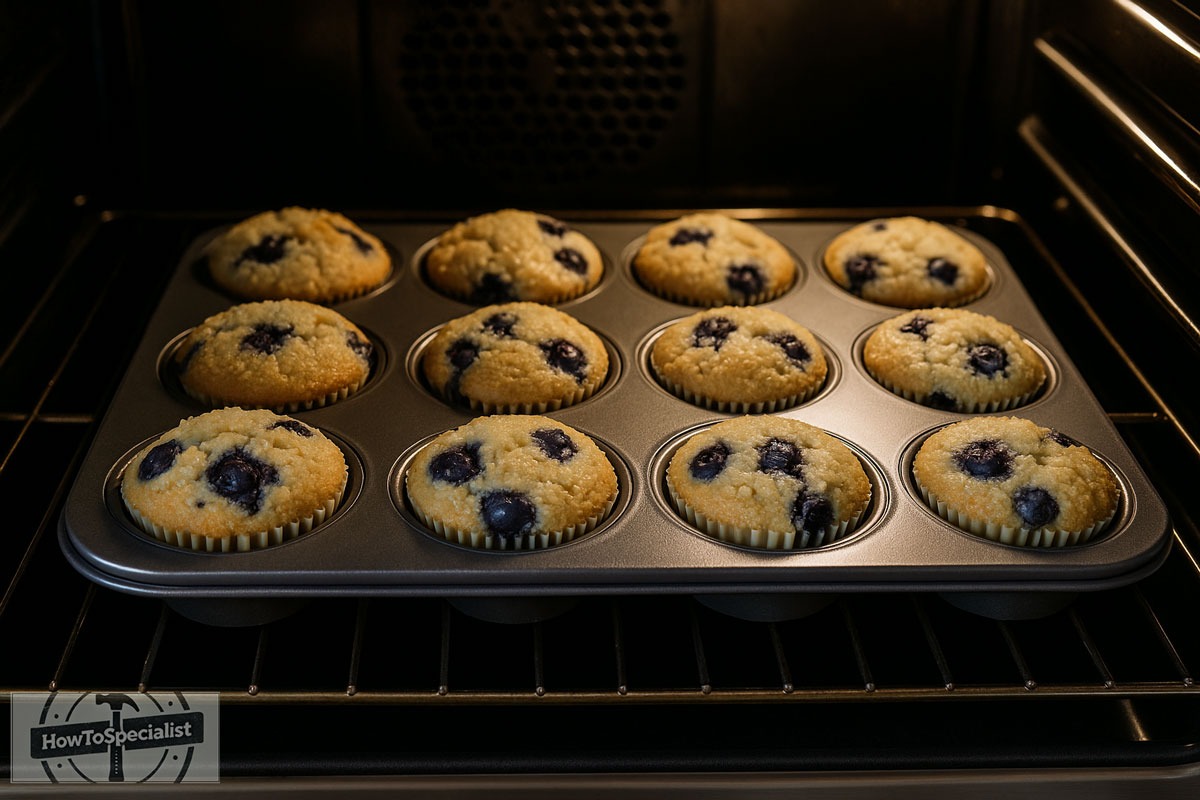
Step 7: Bake to Golden Perfection
Slide that muffin tin onto the middle rack of your preheated oven and let the magic happen. Bake for 20 to 22 minutes, keeping an eye on them toward the end. You’re looking for golden-brown tops that feel springy to the touch and make your kitchen smell like pure comfort.
To check if they’re done, stick a toothpick or skewer into the center of a muffin. If it comes out clean—or with just a few moist crumbs—you’re good to go. If there’s wet batter clinging to it, give them another minute or two and check again. Every oven’s a little different, so trust your eyes and your nose as much as the timer. When they’re ready, pull ‘em out and get ready to enjoy the reward.
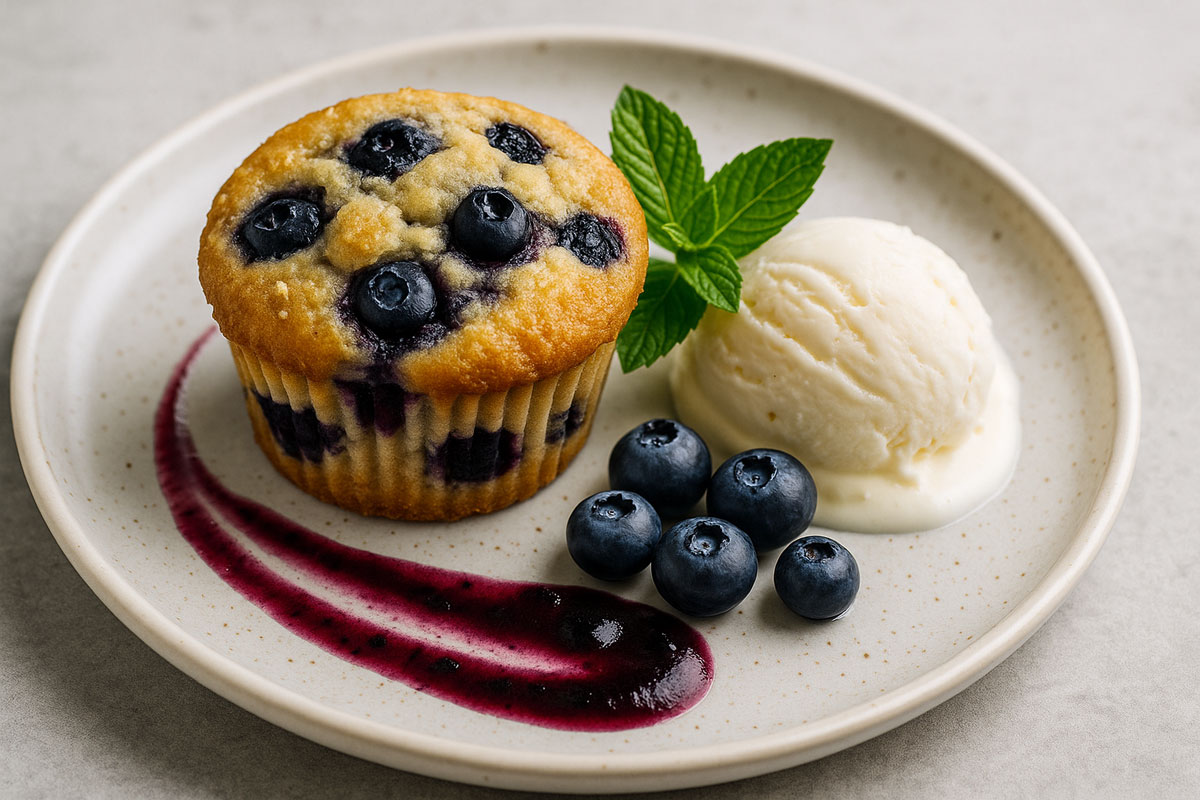
Step 8: Cool and Serve
Once your muffins are out of the oven, let them cool in the tin for about 5 minutes. This helps them firm up just enough to hold their shape when you lift them out. Plus, it gives the flavors a chance to settle in—and trust me, that short wait is worth it.
After that, carefully transfer the muffins to a cooling rack so they don’t steam and get soggy on the bottom. If you’re like me, you’ll want to sneak one while it’s still warm—soft, steamy, and bursting with berry goodness.
Serve them fresh for the best texture and flavor, but if you’ve got leftovers (lucky you), just pop them in an airtight container and they’ll stay good for up to 3 days at room temperature. You can also freeze them for later—just reheat in the microwave for a cozy muffin moment any day of the week.
My 5 absolute best tips for baking perfect homemade blueberry muffins
1. Use Fresh or Properly Prepped Frozen Blueberries
Fresh blueberries work beautifully, but frozen can be just as good—as long as you don’t thaw them first. Keep them frozen and toss with flour before folding them into the batter. This helps prevent purple streaks and keeps them from sinking.
2. Don’t Overmix the Batter
This is the golden rule of muffin-making. Mix just until the dry and wet ingredients are combined—no more. Overmixing develops gluten, which makes muffins tough and dense instead of light and fluffy.
3. Toss Berries in Flour to Prevent Sinking
Before adding your blueberries to the batter, toss them with a tablespoon of flour. This simple trick helps suspend the berries throughout the muffins so you get a burst of fruit in every bite—not just a soggy layer at the bottom.
4. Bake at a Higher Temperature for a Tall Rise
Starting your muffins at 400°F (204°C) gives them that beautiful domed top you see in bakeries. Lower temps make flatter, less appealing muffins. That extra heat gives them a quick lift early on, locking in shape and moisture.
5. Sprinkle Coarse Sugar on Top Before Baking
Want that bakery-style crunch and sparkle? A little turbinado or raw sugar on top before they hit the oven adds texture and makes them look as amazing as they taste. It’s a small detail that really levels up your muffins.
Optional Variations
- Swap in chocolate chips for a sweeter twist
- Add ½ tsp lemon zest to brighten things up
- Use buttermilk for extra moisture and tang
Nutritional Info (Per Muffin, Approximate)
| Nutrient | Amount |
|---|---|
| Calories | 190 kcal |
| Protein | 3g |
| Carbs | 28g |
| Sugar | 14g |
| Fat | 7g |
| Saturated Fat | 1g |
| Fiber | 1g |
| Sodium | 150mg |
Based on standard ingredients and fresh blueberries.

Final Thoughts
These homemade blueberry muffins are as simple as it gets—and that’s exactly why they’re so darn good. No complicated steps, no oddball ingredients, and no stand mixer required. Just honest, classic ingredients you probably already have in your pantry, coming together to make something that feels like it came straight from a cozy neighborhood bakery.
They’re fluffy on the inside, golden on top, and loaded with sweet, juicy blueberries in every bite. The kind of muffin that makes you pause for a second after the first bite and go, “Yep. That’s a keeper.” Whether you’re baking them up for a lazy Sunday breakfast, packing them in lunchboxes, or sneaking one in with your afternoon coffee—they hit the spot every time.
So go ahead—grab a bowl, grab those berries, and preheat that oven. In just 30 minutes, you’ll have a dozen little beauties cooling on the rack and making your kitchen smell like heaven. And fair warning: if you share them, don’t expect leftovers—and absolutely expect someone to ask, “Did you really make these from scratch?” You’ll smile, nod, and maybe… just maybe… keep the recipe your little secret.