This article is about how to paint ceilings. Generally speaking, you should start redecorating your room with the ceiling, otherwise you might drip paint on the freshly repainted walls. In addition, this project consists of all the steps necessary to paint ceilings, from the preparation stage up to applying the final coats, so we recommend you to pay attention to our tips, if you want to get the job done as a qualified professional.
Tips for painting ceilings
As in any diy project, the preparation stage plays a huge role in the success of your work. Therefore, we strongly recommend you to work with great care and knowledge, otherwise the project might end up as a failure. When painting ceilings, you have to make sure the surface is level and without bumps or other visible irregularities.
In order to get the job done as a qualified professional, you should use the right tools. Therefore, you could choose the paint the ceilings either with rollers or by using brushes. Nevertheless, from our experience we can point out that you will get the job done quicker and easier if you choose the rollers.
In order to obtain a neat look, you will have to apply at least two coats of paint. In addition, the first coat of paint should dry out before applying the final layer, otherwise it will not cover the whole surface evenly.
We recommend you to mask the wires and the other objects on your ceiling, by using a plastic bag and paper tape. In addition, protect the flooring by placing sheets or old rugs on the whole surface.
Materials
- Paint
- Putty / filler
Tools
- Roller, brushes
- Paint kettle, trowel
- Sand block, old rugs
Tips
- Apply two coats of paint
Time
- Several hours
Preparing the ceilings
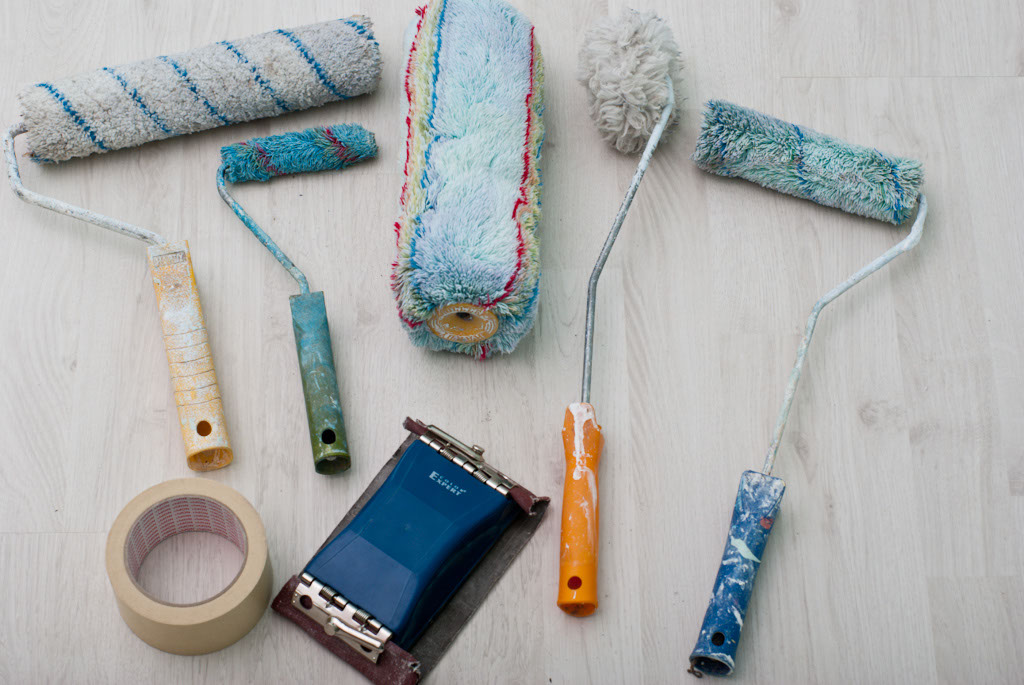
Painting tools
Step 1: Use the right tools for the job. Therefore, in order to paint ceilings you will need to use rollers and brushes of different sizes. In addition, you have to use paper tape (to mask certain items), a sand block (to remove the irregularities) and dust sheets.
Step 2: Before starting to prepare the surface of the ceilings, you have to remove the light fixtures, curtains and other furniture items. Nevertheless, if you have heavy furnishings, you should move them in the middle of the room and cover them with dust sheets.
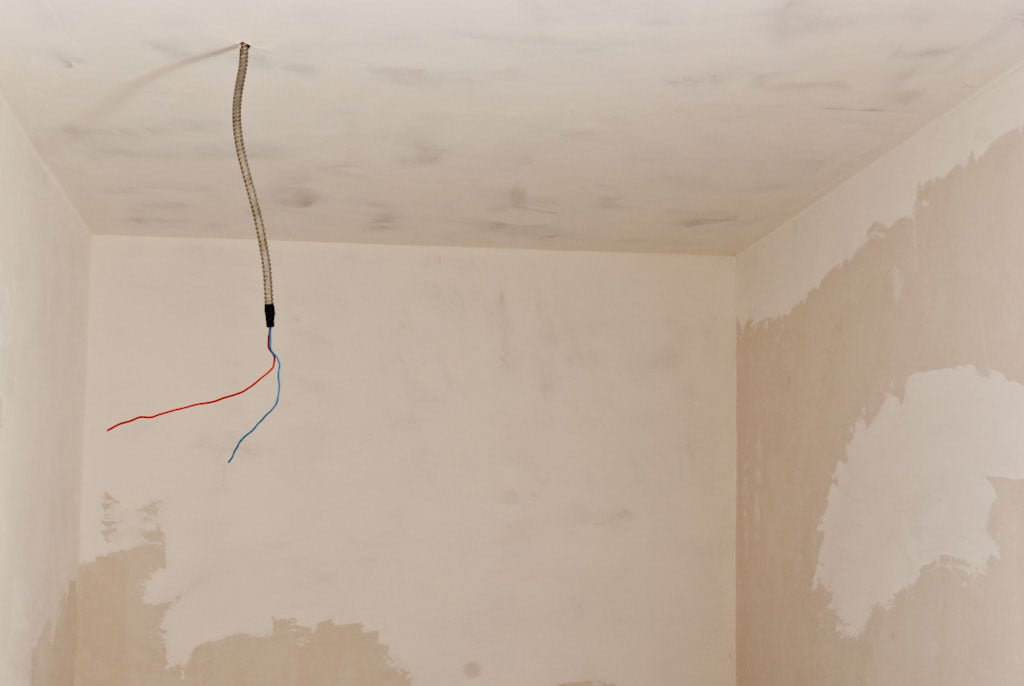
Finished drywall ceiling
Step 3: Thoroughly prepare the surface of the ceiling. If the ceiling is painted, then you have to remove the old coats, by washing it with a sponge and an appropriate detergent. If the ceiling is new, then you have to sand it as to even out its surface.
Step 4: Use a hand lamp to identify cracks or other blemishes in the ceilings surfaces. Next, fill them with putty or with a appropriate filler and sand the surface until you obtain a level surface. Last but not least, use a clean sponge to remove the dust and inspect once more the ceilings.
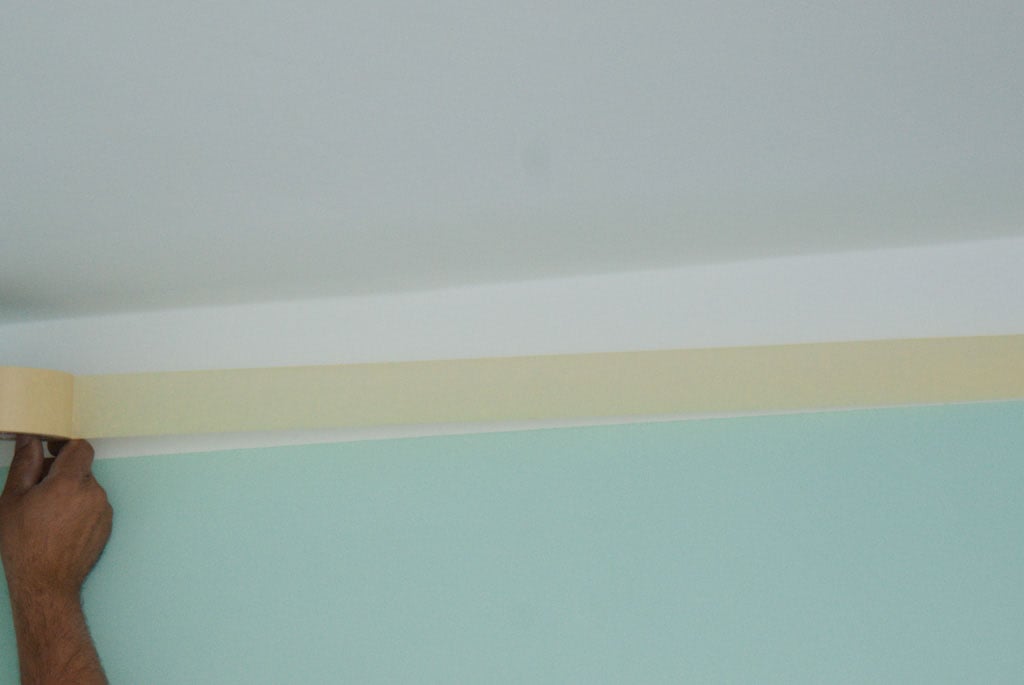
Masking the wall edges
Step 5: Mask the wall edges by using a paper tape. Nevertheless, if you are going to paint the walls after you are done with the ceilings, you should skip this step. In our case, we wanted to obtain a unique design, therefore we applied the paper tape about 5” below the ceiling, but you can lay it along the top of the walls.
Step 6: Fill the kettle with paint. If you are going to use a brush, then you should pour in the paint, as to come about 1′ up on the kettle’s walls. If you will use a roller, then you could pour in more paint.
How to paint ceilings

How to paint a ceiling with a roller
Step 1: Cut in the edges with a small brush or a roller, around the perimeter of the room. Make sure you don’t load too much paint on the roller or brush, otherwise you would waste a great amount of material. If you are going to have the walls painted as well, then you shouldn’t worry about getting drips on them.
Step 2: Paint around the light fixtures or other items. Remember that you have to turn the electricity off, before painting around the electrical wires, otherwise you risk serious injuries.

Painting ceilings
Step 4: Paint the rest of the ceiling, by using a large roller with a long nap. After you have cut in the ceiling of your room and the light fixtures, you have fill the rest of the surface with paint. Therefore, load paint on the roller and use forward and backward moves to distribute an even coat of paint on the rest of the ceiling.
Step 5: Allow the first coat of paint to dry out, before applying the final layer. Usually, about 2-3 hours will be enough for the paint to dry thoroughly, but we recommend you to read the instructions.
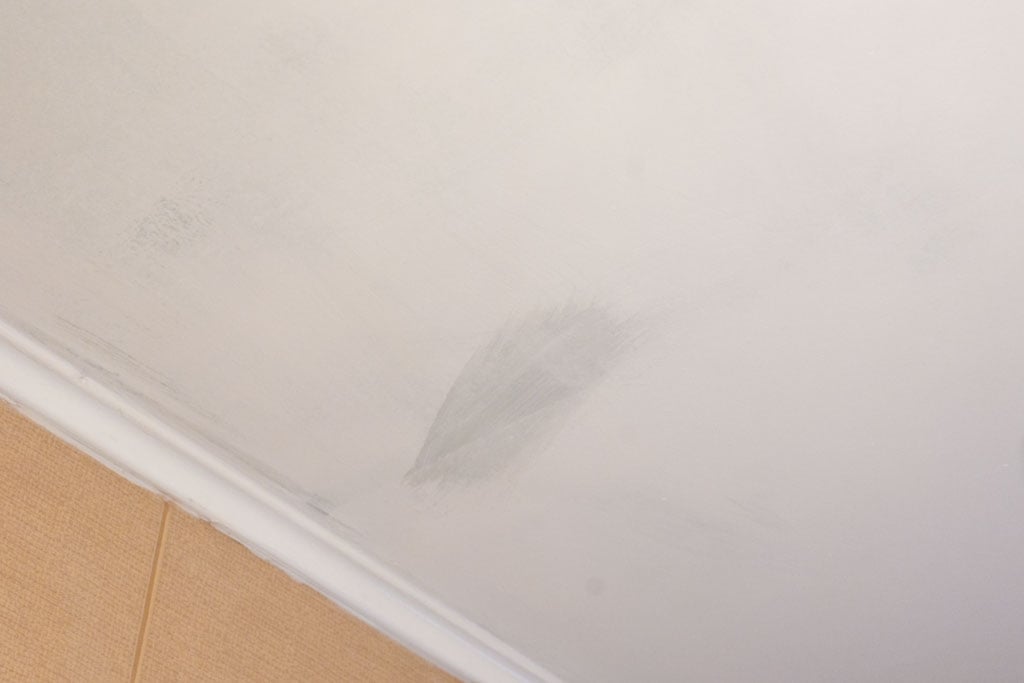
How to paint ceilings
Step 6: In this image you can see the paint starting to dry out. As you can easily notice, a single coat of paint won’t be enough to get a neat look, therefore be prepared to apply a second one, in the same manner described above.
Smart tip: Make sure you ventilate properly the room, as the paint vapors are toxic but also to boost the drying process.
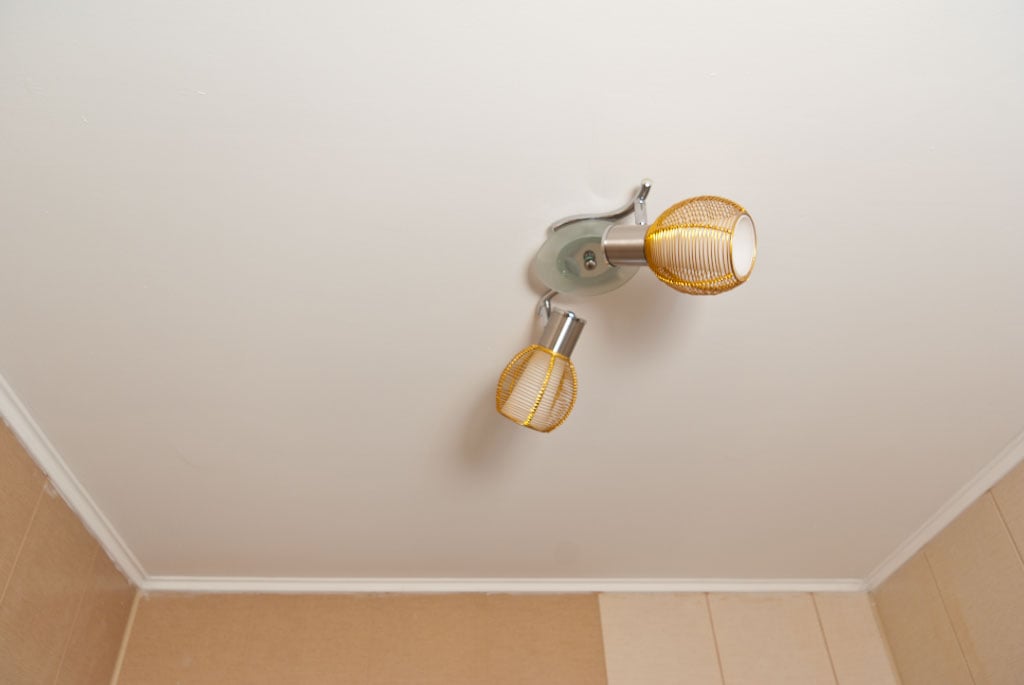
Painting ceilings
Step 7: Apply the second coat of paint, in the same manner described above. Work with patience and with great care, as to obtain an excellent result. Make sure you mix thoroughly the paint before distributing it on the ceilings.
Step 8: Remove the masking tapes and the dust sheets. After you have get the job done, you have to clean the flooring, move the furniture back and install the light fixtures.
My best tips on painting ceilings:
Painting a ceiling can seem like a daunting task, but with the right preparation and technique, it’s a manageable project that can dramatically brighten up a room. Whether you’re refreshing an old ceiling or painting a new one, here are my best tips to make painting your ceiling easier and more effective.
1. Gather the Right Tools and Materials
Before you start, make sure you have all the necessary tools and materials:
- Ceiling paint (choose flat or matte finish to hide imperfections)
- Paint roller with an extendable handle
- Angled brush for cutting in
- Painter’s tape
- Drop cloths or plastic sheeting
- Paint tray
- Ladder or scaffolding
- Dust mask and safety glasses
2. Prepare the Room
Proper preparation makes painting easier and keeps your space clean:
- Move furniture out of the room or cover it with drop cloths or plastic sheeting.
- Use painter’s tape to mask off any areas you don’t want to paint, like the tops of walls, light fixtures, or trim.
- If the ceiling has any dust or cobwebs, gently wipe it down with a dry cloth or vacuum it using a brush attachment.
3. Fix Imperfections
Before painting, inspect the ceiling for any imperfections like cracks, holes, or stains:
- Use spackle to fill small holes or cracks and sand the area smooth once it’s dry.
- For larger cracks, apply joint compound and use a putty knife to smooth it over. Sand it down after it dries for an even finish.
- If there are any water stains, use a stain-blocking primer to prevent the stain from bleeding through the paint.
4. Choose the Right Paint
It’s important to choose the right type of paint for ceilings:
- Flat or matte paint is best for ceilings because it hides imperfections better than glossy finishes.
- If you’re painting a bathroom or kitchen ceiling, consider using a paint formulated for high-humidity areas to prevent mildew and water stains.
5. Cut In Around the Edges
Start by cutting in around the edges of the ceiling with a 2-3 inch angled brush:
- Dip the brush in paint and carefully paint along the edges where the ceiling meets the walls, light fixtures, or trim.
- Be steady and precise, and don’t worry about making perfect lines—this step ensures you can use the roller without getting too close to the edges.
Cutting in helps create clean lines and prevents roller marks near the edges.
6. Use a Paint Roller with an Extendable Handle
For the rest of the ceiling, use a paint roller with an extendable handle to avoid standing on a ladder for the entire project:
- Attach a roller cover with a 3/8-inch nap or 1/2-inch nap for smooth to lightly textured ceilings.
- Pour the paint into a paint tray, then roll the roller back and forth in the tray to load it with paint. Make sure to remove excess paint by rolling it over the tray’s ridges to avoid drips.
7. Apply the Paint in Sections
When painting the ceiling, work in manageable sections to ensure even coverage:
- Start in one corner and work your way across the ceiling, painting in W or M-shaped strokes to spread the paint evenly.
- Maintain a wet edge to prevent lap marks, meaning you should overlap your strokes slightly while the paint is still wet.
Avoid overloading the roller with paint, as this can cause drips and uneven coverage.
8. Paint with Even Pressure
To avoid streaks or roller marks, apply even pressure while rolling:
- Roll the paint in one direction, then go over it lightly in the opposite direction to smooth out the texture.
- Don’t press too hard on the roller, as this can leave marks. Let the roller glide over the surface for a smooth finish.
9. Use Two Coats for the Best Finish
For the best results, apply two coats of paint to the ceiling:
- Allow the first coat to dry completely (usually 2-4 hours, depending on the paint) before applying the second coat.
- The second coat ensures an even, uniform color and better durability, especially if you’re covering a darker or stained ceiling.
10. Check for Missed Spots
Once the ceiling is painted and the second coat has dried, use a bright light or natural light to inspect the ceiling for any missed spots or thin areas:
- Touch up any spots with a small brush or roller, being careful to blend it into the surrounding paint.
Bonus Tip: Use a Ceiling-Specific Paint Color Many manufacturers offer ceiling-specific paint that is slightly off-white or lightly tinted to reduce glare and hide imperfections better than bright white. Consider using one of these shades for a smoother, more even look.
By following these steps, you’ll be able to paint a ceiling with a clean, even finish that brightens up any room. With a bit of preparation and the right technique, painting a ceiling can be a straightforward and rewarding project.
Thank you for reading our article on how to paint ceilings and we recommend you to check out the rest of our projects. Don’t forget to LIKE and SHARE our articles with your friends, by using the social media widgets. SUBSCRIBE to be the first that gets our latest projects.
