This step by step diy woodworking project is about how to build a toy box. Building a toy box is a straight forward project that will help you store your kids toys. Moreover this is a great opportunity to use your tools and build something with your own hands. If you already have the materials form other projects, you can get the job done in just one weekend at a decent cost.
Building a beautiful wooden toy box is a lot easier as it may look at first glance, especially if you using the right plans. In addition, we recommend you to take a look over the instructions shown in this article. Nevertheless, it is really essential to adjust the size and the design of the toy box to your needs before starting the actual construction of the wooden box, while using the same woodworking techniques described below.
Invest in high quality lumber, such as pine, redwood or cedar, especially if you want to build a durable storage box or if you will place it outside. Select the pieces of lumber with attention, as all the components need to be perfectly straight and without any visible flaw. Drill pocket holes in order to join the components properly, in order to get a durable bond and a nice appearance. See all my Premium Plans in the Shop.
Made from this plan
Building a toy box

Building a toy box
Materials
- A – 4 pieces of 2×2 lumber – 21” long LEGS
- B – 4 pieces of 1×6 lumber – 21” long, 4 pieces – 45″ FRAME
- C – 12 pieces of 1×4 lumber – 21″ long, 6 pieces – 45″ SLATS
- D – 13 piece of 1×4 lumber – 22 1/2″ long FLOOR
- E – 13 piece of 1×4 lumber – 22 1/2″, 2 pieces of 1×2 – 45″, 1 piece – 48″ long, 2 pieces of 2×3 – 22 1/2″ LID
- F – 4 small caster wheels WHEELS
- 1 piece of 2×2 lumber – 8′
- 19 pieces of 1×4 lumber – 8′
- 2 pieces of 1×2 lumber – 8′
- 1 piece of 2×3 lumber – 6′
- hinges
- gas strut
- 1 1/4″ pocket screws
- 1 1/4″ screws
- wood stain, wood filler
- caster wheels
Tools
- Safety gloves, glasses
- Miter saw, jigsaw
- Chalk line, tape measure, spirit level, carpentry pencil
- Drill machinery and drill bits
Tips
- Apply several coats of wood stain to the wooden components
- Fill the holes with wood filler and smooth the surface
- Plumb the sides of the bench with a spirit level
Time
- One Day
Related
How to build a toy box

Building the frame of the toy box
The first step of the woodworking project is to build the frame of the toy box. As you can see in the image, we recommend you to build the legs from 2×2 lumber, while the cleats should be made out of 1×4 lumber.

Attaching the slats
Building the faces of the toy box can be build in several ways, such as fitting the 1×6 slats vertically or horizontally. In this project, we consider that fitting the slats horizontally really adds value to the woodworking project and enhances the look of the storage box.

Installing the floor of the toy box
Continue the home project by attaching wooden slats to the bottom of the toy box. Cut the 1×4 slats at the right size, using a circular saw, and lock them to the cleats with galvanized screws. Leave no gaps between the slats and add glue between them, if you want to get the job done as a professional. You could also install 2×2 cleats under the slats, if you want a better support.

Building the lid of the toy box
One of the last steps of the project is to build the lid. As you can see in the image, you should build the lid from 1×4 or 1×6 slats. Lay the slats on two cleats, making sure you assemble the lid on a perfectly level surface. Check if the corners are right-angled before attaching the trims to both sides of the lid.

Installing the lid of the toy box
After building the top of the toy box, you have to check if it fits into place and lock it to the structure with hinges. There are several types of hinges you could choose from, so select the alternative that suits your needs and budget. Check if the top opens and closes properly, before taking care of the finishing touches.

Caster Wheels
Adding small caster wheels to the bottom of the toy box is a good idea, if you want to move it frequently. Make sure you install the caster wheels properly, by insert the screws into the frame of the toy box.
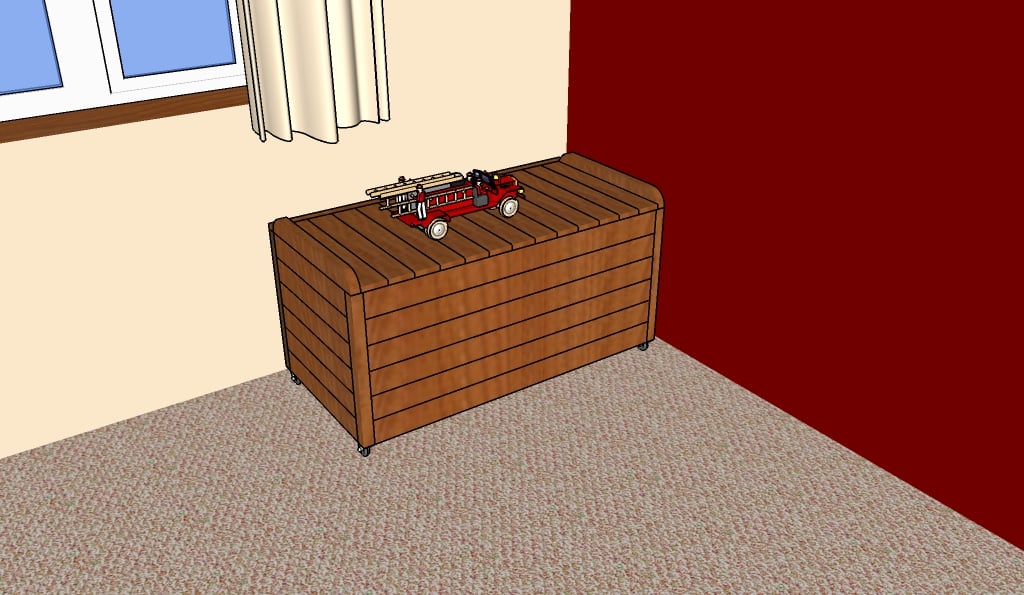
How to build a toy box
The best part about this project is that you can use the toy box as a bench and move it across the bedroom easily. If you apply a nice finish, your project will stand out and add value to your home.

How to build a toy box
Last but not least, you should pay attention to the finishing touches. Therefore, make sure all the components are locked together and insert all the screws properly. Afterwards, fill the holes with wood putty and let it to dry out for several hours. Sand the surface with medium-grit and clean the residues before applying the primer and the final coats of paint.

Thank you for reading our project about how to build a toy box and we recommend you to check out the rest of the projects. Don’t forget to share our projects with your friends, by using the social media widgets. LIKE us on Facebook to be the first that gets our latest projects and to help us create more free plans for you.
6 comments
Great idea to decor child’s room! need to check it out.
*try it out :D
That’s great. Good luck and let me know how it comes out!
Do you have a material list of how many boards? Also did you use a kreg jig ?
Yes you do need a KregJig. I’ve updated the list as well.
Thank you!