This article is about how to build a concrete and wooden fence. In this project I show you how to build this fence that is built on a concrete foundation and it has wooden boards made out of douglas fir. This is a 6 ft tall fence: the foundation is 1′ tall and the wooden boards are 5′ long. In addition, the boards are attached to a metal framing that is made out of pipes. This fence will last for decades, if you apply new stain over the wooden boards every 2-3 years. In addition, I recommend you to apply a few coats of paint over the metal pipes, before installing the fencing boards. This is Episode 2 of the Fence Series, so make sure you take a look over the rest of the parts.
This is a heavy duty fence that is recommended for any type of soil and weather. We built this fence is less than one week and it is 70 ft long. We reinforced the concrete foundation with a rebar beam. I really enjoyed this project and I think it is a great compromise between costs and style. You also need to check out my other fence tutorial, where I show you how to build a stylish concrete fence. See all my Premium Plans HERE.
Made from this plan
Materials
- concrete
- rebars
- construction lumber
- nails
- fence boards
- screws
- stain, metal paint
Tools
- Measuring tape, carpentry pencil, l-square
- Hole Digger
- Digging Shovel, Square Shovel
- Concrete Mixer
- Wheelbarrow
- Hammer
- Welder
- Circular saw
- C-clamps
Time
- 1 week
Related
- Episode 1: How to build a concrete fence with wooden panels
- Episode 2: How to build wooden fence with concrete base
- Episode 3: How to build a block fence
- Episode 4: How to install natural stone to fence
How to Build a Concrete and Wooden Fence
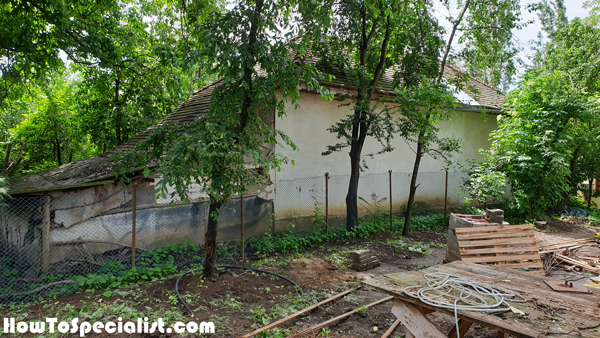
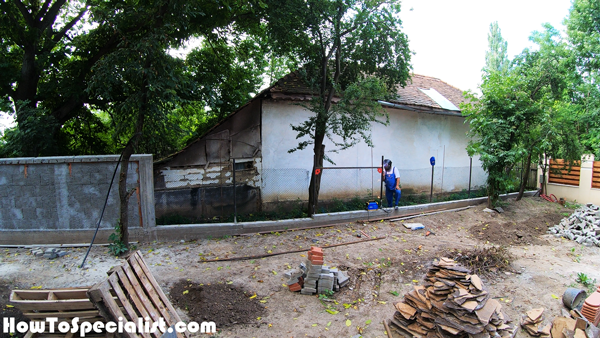
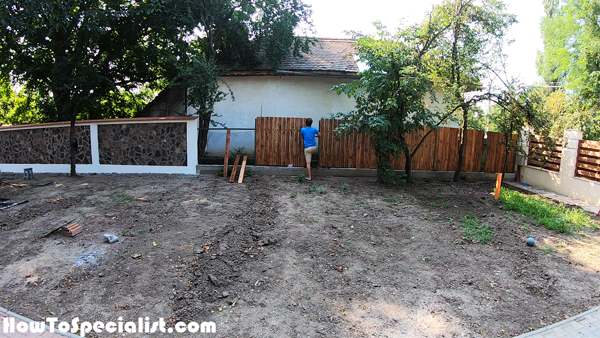
The first step of this project was to tear down the old fence. In our case, we had an old fence made of metal posts and wire. First, we removed the wire fence and then we took out the posts one by one. This was not a very time consuming job, as the fence was in a terrible shape.
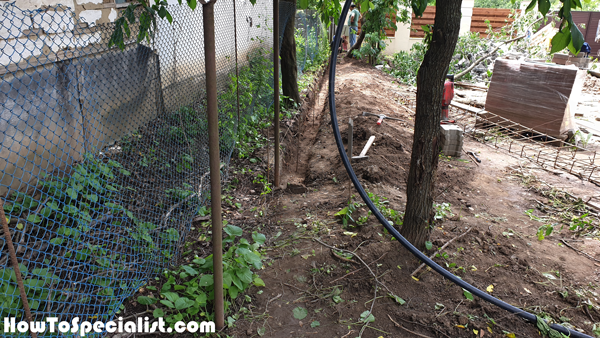
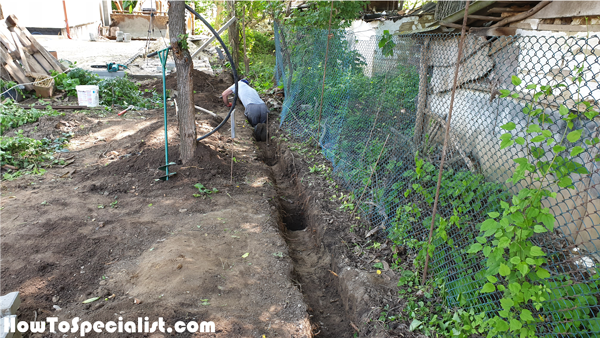
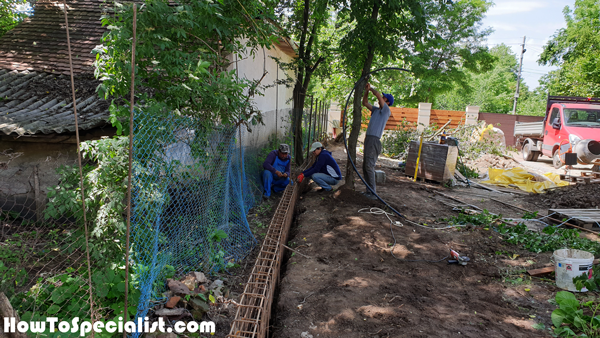
We used a few stakes and string to lay out the place for the new fence foundation. We went for a 10″ wide and 12″ deep fence foundation. The ground was relatively horizontal, so this was an easy task. We didn’t have enough room to use a mini excavator, so we dug the ditch by hand. We used shovels to dig into the ground
We set the metal posts every 6′. We used a post digger to make a larger hole for the metal posts. Make sure you align the posts one with another, using string and batter boards. You also need to check if the posts are equally spaced.

This is a closeup with the holes for the metal posts. We dug another foot below the bottom of the ditch. That should be enough for a fence.
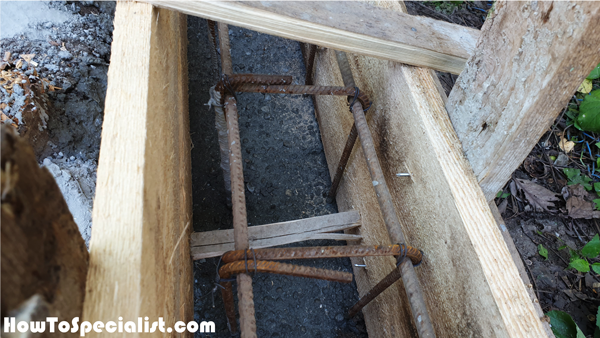
We will reinforce the concrete with rebars for better support. Therefore, we assembled a rebar beam that is 8″ wide and 20″ high (it will reinforce the elevation as well). The stirrups are placed every 8″.

This beam is 40 ft long, because it is best not to cut the rebars. This is a relatively light rebar beam, so it only took 3 guys to move it to the ditch.
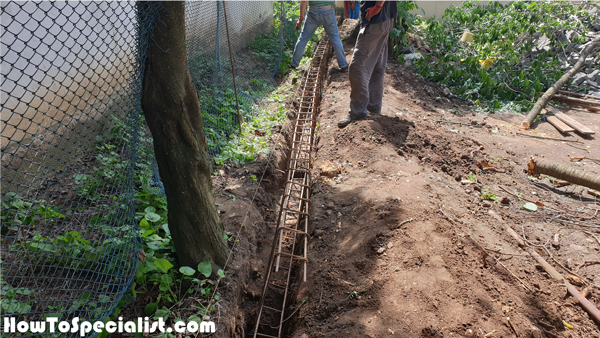
Next, we moved the rebar beam to the ditch and we tried to center it into place.

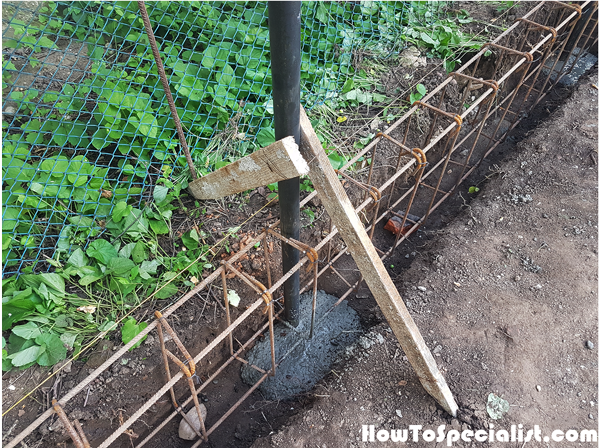
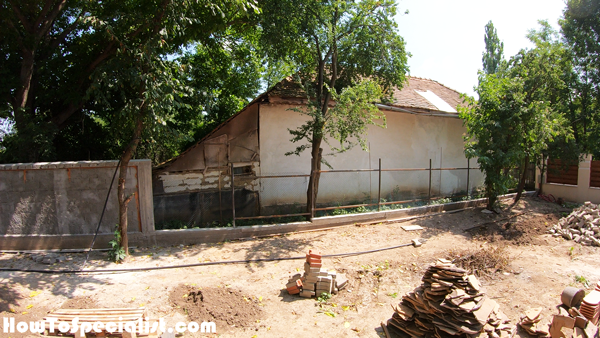
We set the metal posts to the holes and then set them into place with concrete. Use a spirit level to plumb the posts vertically in all directions. Align the posts with string and place them equally spaced.
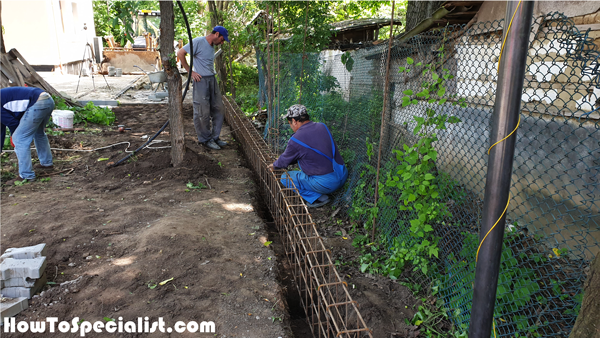
The new fence will have a section made out of bricks. Therefore, we installed the rebars for the columns.
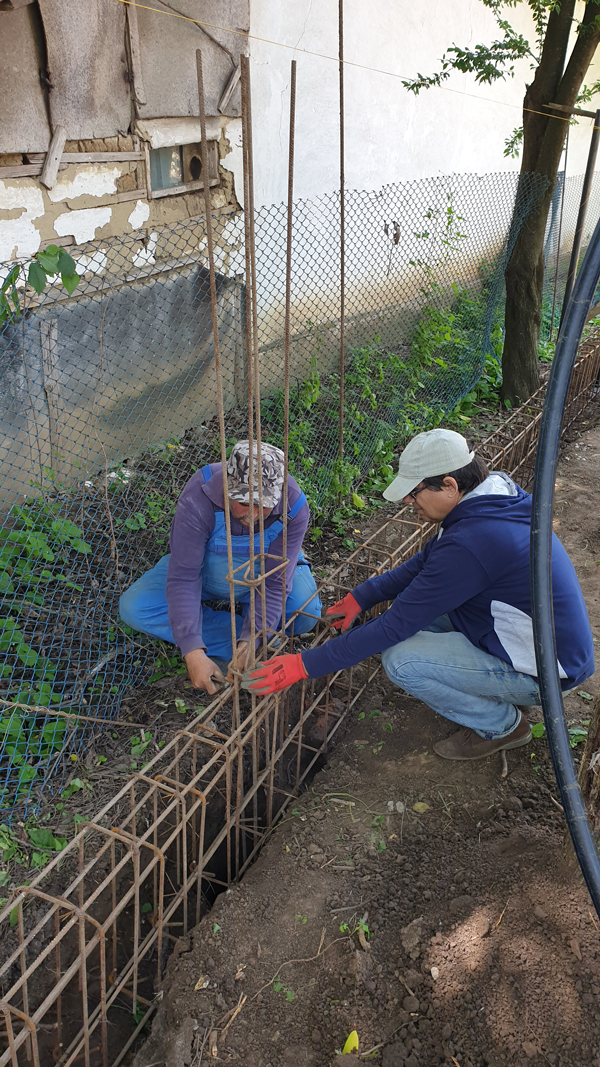
Closeup with the rebars for the columns. Notice that you need to secure the rebars to the foundation beam.
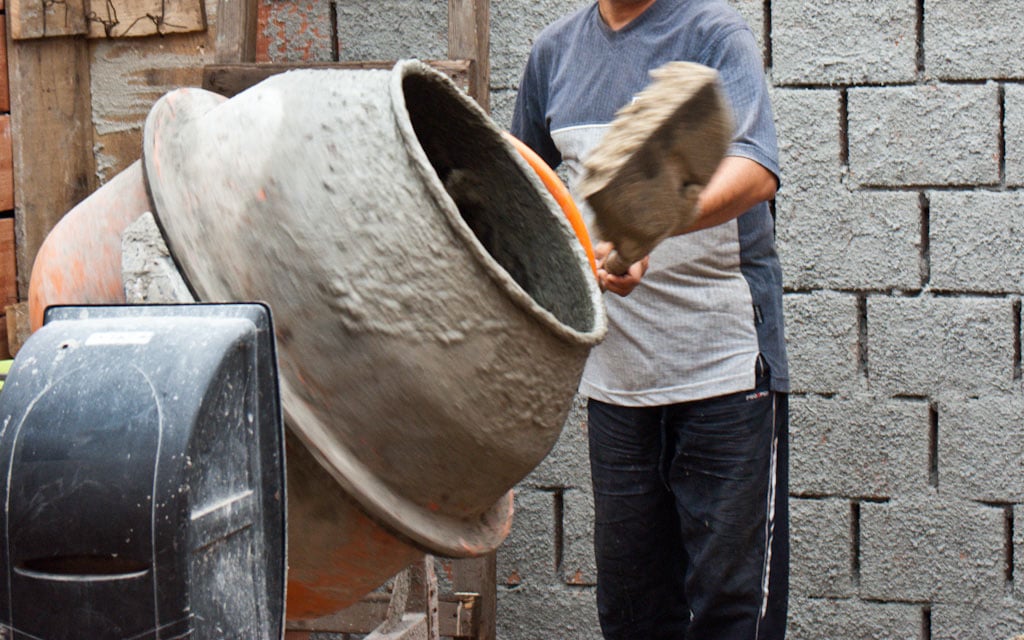
We used a concrete mixer to prepare the concrete for the fence foundation.
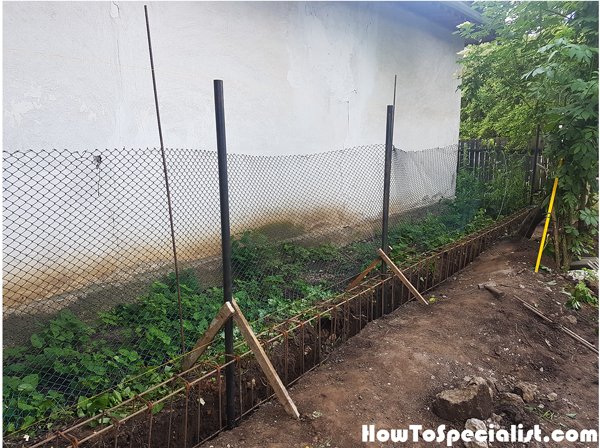
Next, full the ditch with concrete and let it dry out for one day before proceeding with the other steps. Use some temporarily braces to support the metal posts till the concrete dries out.
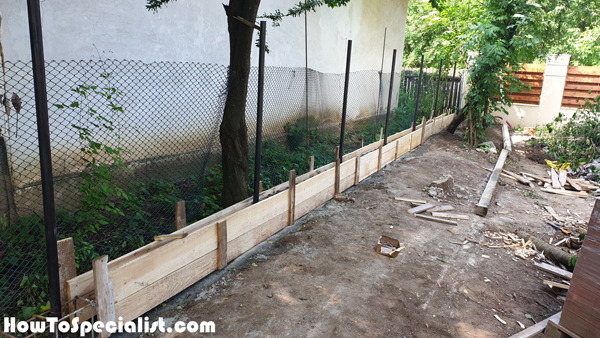
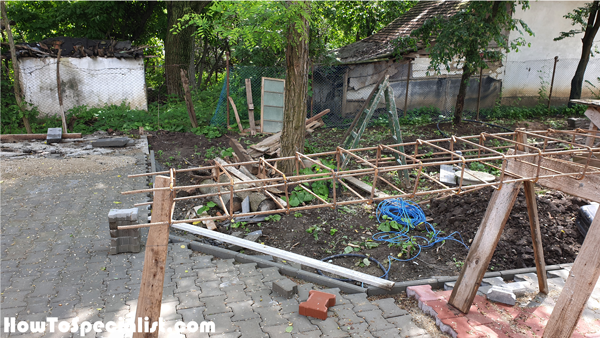
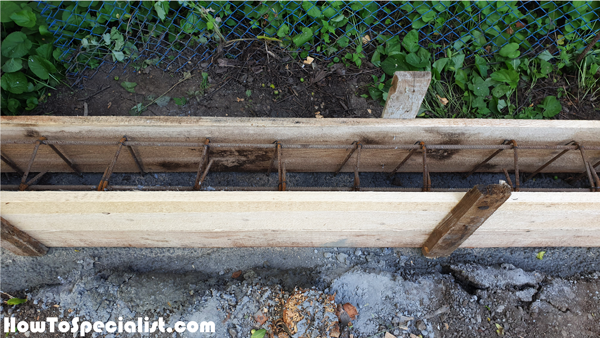
We assembled the panels for the elevation forms. Leave about 1″ on both sides of the rebars and use a spirit level to plumb the panels vertically. Use string lines to align the panels perfectly straight.
Use spacers to lock the form panels 8″ spread apart.
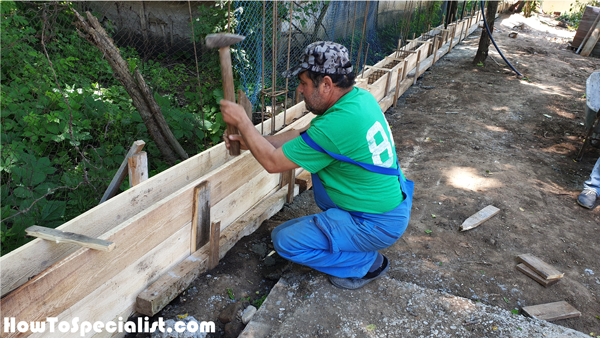
Use a large hammer to set the stakes into the ground. The stakes will keep the forms locked together tightly.
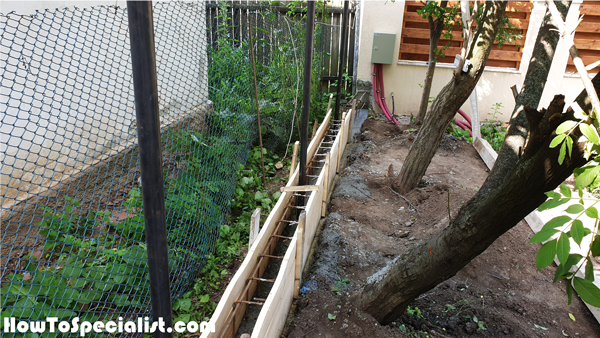
Use spacers inside the forms and then use wire to lock the two sides together tightly.

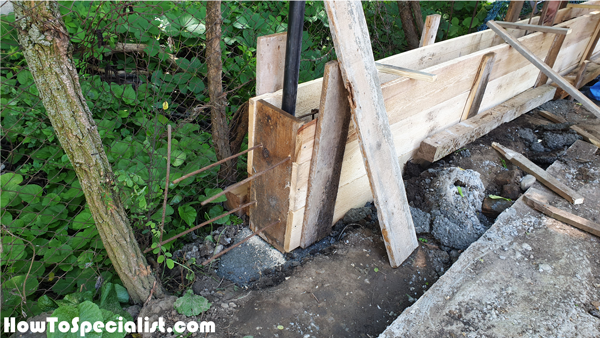
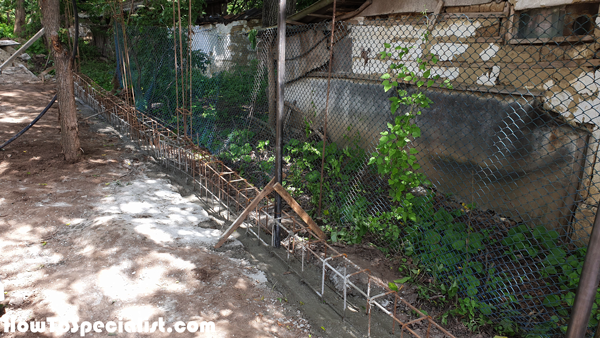
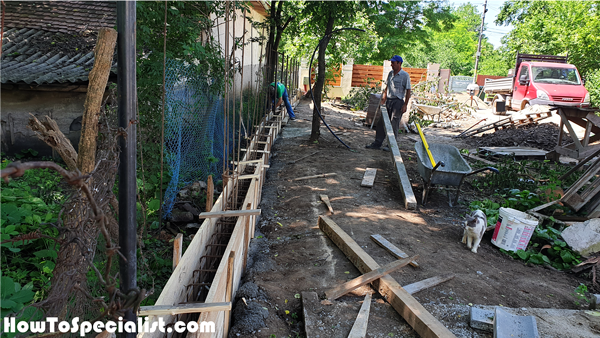
We also set a slat to the end of the formwork. In addition, we inserted rebars, so we can continue the concrete fence in the future. Fill the forms with concrete and let it dry out for at least one day.
Remove the forms with attention, so you don’t damage the concrete. Removing the forms will speed up the curing process.
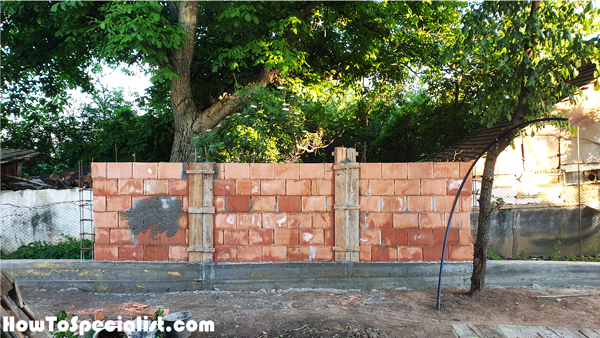
This concrete and wooden fence also features a brick wall section. Make sure you check out my full tutorial on how to build this brick section of the fence.
We welded rectangular pipes between the metal posts, as supports for the wooden fence boards. Use a spirit level to check if the pipes are horizontal.
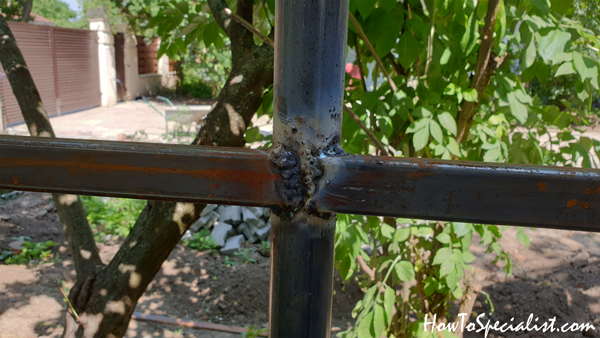
Weld
The welds need a little polishing.
Apply a few coats of primer and paint over the metal pipes, to protect them from the elements.
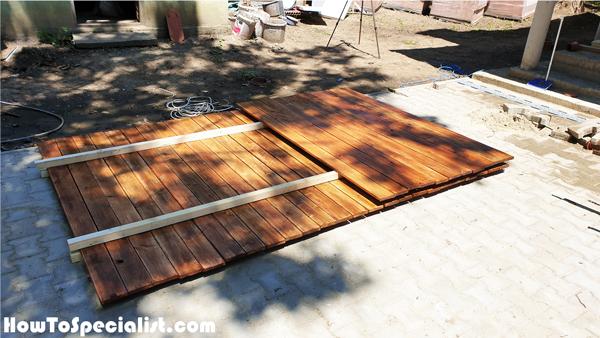
I used douglas fir boards for the fence. We applied a few coats of stain over the boards, to match the style of the rest of the property.
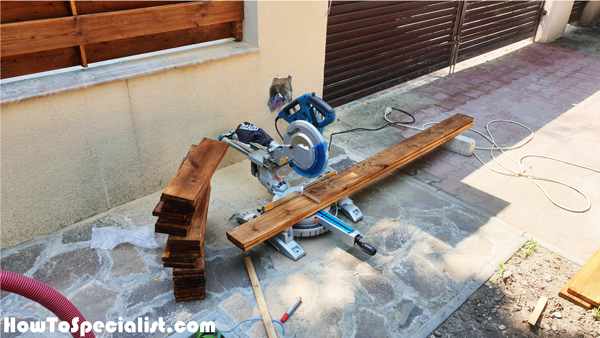
I used my miter saw to cut all the boards to 5 ft. It was a quick job with the help of the miter saw.

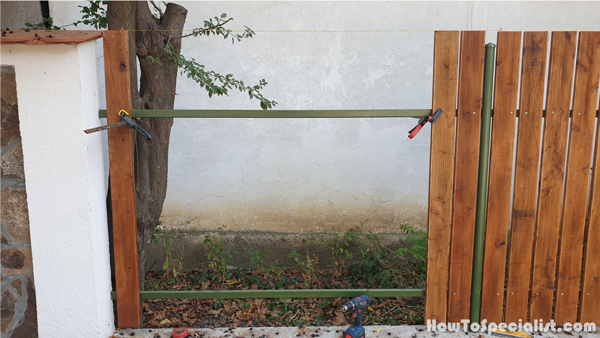
Next, I started installing the fence boards to the metal supports. The procedure is super simple. I used string to align the top of the boards then clamped the boards to the metal pipes. I drill pilot holes through the wooden fence boards and into the metal pipes. Then I used a screwdriver to secure the boards into place tightly. I used two screws for the top pipe and for the bottom pipe.

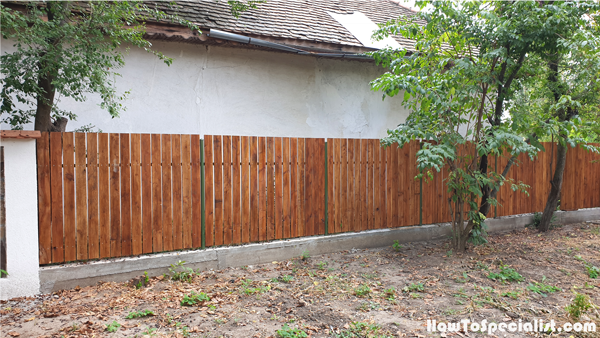
I installed the first panel using the same techniques.
Almost done, and the fence looks really nice.
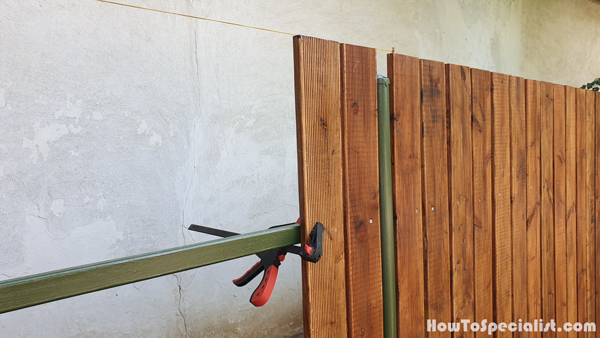
Using C-clamps speeds up the process, as you will lock them down while drilling the pilot holes and inserting the screws.
Make sure the top of the boards are level one with another. Use spacers to create even gaps, or butt the boards one to another.
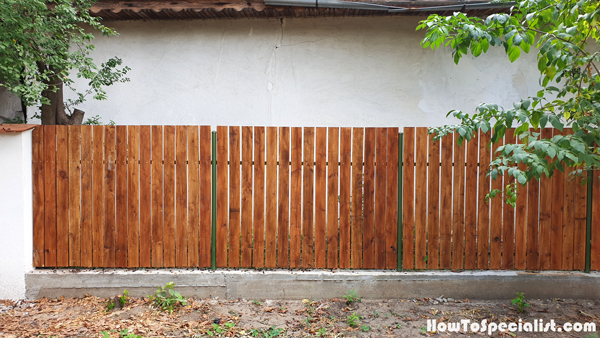

Wooden-fence-with-concrete-base—diy-project
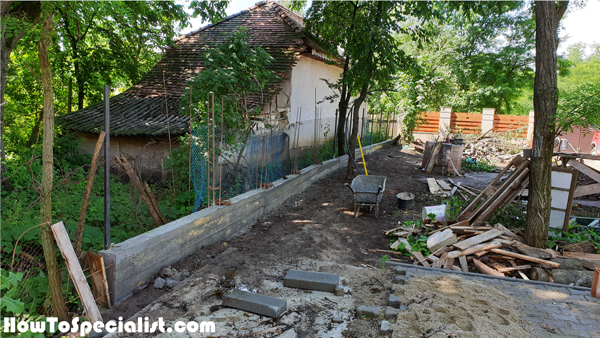
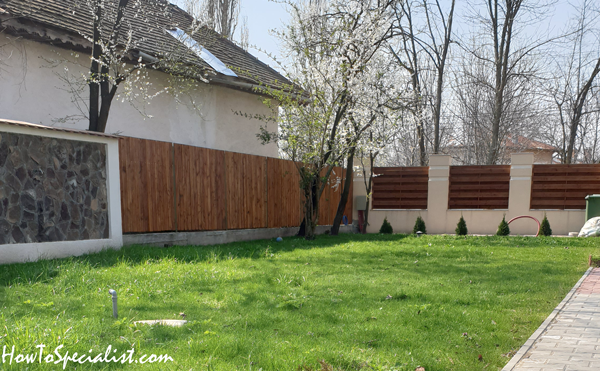
That is a huge difference between the fence now and before. Don’t you agree? As you can see, building a concrete and wooden fence is really easy if you have a few friends to help you. This is not a beginner project, so I recommend you to leave it to professionals if you are a total newbie. See all my home improvement projects HERE.
My best tips on building a wooden fence:
Building a wooden fence with a concrete base is a great way to create a long-lasting and stable structure. Not only does the concrete help protect the wood from ground moisture and rot, but it also provides a strong foundation that prevents shifting over time. Whether you’re looking to enhance privacy, keep pets safe, or simply add curb appeal, here are my best tips for building a wooden fence with a concrete base.
1. Plan and Measure the Fence Layout
- Determine Fence Purpose and Height: Decide on the purpose of your fence—privacy, security, or decoration—and choose the appropriate height. Most privacy fences are around 6 feet tall, while decorative fences can be shorter.
- Mark the Fence Line: Using stakes and string, mark the boundary where the fence will go. Measure the distance between each fence post, usually spacing them 6 to 8 feet apart.
- Check Local Building Codes: Before starting, check with your local municipality for building codes, zoning rules, and any necessary permits. Some areas have restrictions on fence height and placement.
2. Gather Materials and Tools
- Wood: Pressure-treated wood or cedar is ideal for outdoor fences due to their resistance to rot and insects.
- Concrete Mix: Use ready-mix concrete for setting the fence posts. It provides a strong and stable foundation.
- Gravel: Lay down a gravel base at the bottom of each post hole for drainage.
- Tools: You’ll need a post hole digger, level, tape measure, wheelbarrow, shovel, and a power drill or hammer for attaching the fence panels.
3. Dig Post Holes
- Hole Depth: The rule of thumb is to dig post holes to a depth of 1/3 the total post length. For example, for an 8-foot fence post, the hole should be about 2.5 to 3 feet deep.
- Hole Width: Make the hole around 2-3 times the width of the post to provide stability. Typically, 12 inches in diameter is standard for a 4×4 post.
- Add Gravel for Drainage: Pour 6 inches of gravel at the bottom of each hole to improve drainage and help prevent water from pooling around the wooden posts, which can cause rot over time.
4. Set Posts in Concrete
- Position the Post: Place the post in the center of the hole, making sure it’s upright. Use a level to ensure the post is perfectly vertical.
- Mix and Pour the Concrete: Follow the instructions on the bag to mix the concrete. Pour it around the post, ensuring the concrete reaches about 2-3 inches above ground level for maximum stability. Slope the top of the concrete away from the post to help with water runoff.
- Allow the Concrete to Cure: Let the concrete cure for at least 24-48 hours before attaching the wooden panels. For extra strength, wait up to a week if possible.
5. Attach the Wooden Panels or Rails
- Install Rails First: If you’re building the fence with horizontal rails, attach the bottom and top rails to the posts first. This provides support for the vertical fence boards.
- Use Galvanized Screws or Nails: To attach the fence boards or panels to the posts and rails, use galvanized screws or nails. These are resistant to rust and ensure the structure remains strong over time.
- Space Fence Boards Evenly: Use spacers to ensure consistent gaps between the vertical fence boards if you’re building a picket-style fence. For privacy fences, the boards should be butted up against each other with no gaps.
6. Add a Concrete Base Between Posts (Optional)
- Concrete Between Posts: For an even more durable and attractive look, you can pour a low concrete wall or base between the posts before attaching the fence panels. This adds extra stability and helps prevent weeds or grass from growing at the base of the fence.
- Formwork for the Base: Build simple formwork using plywood or lumber to shape the concrete base. Pour the concrete between the formwork, smooth it with a trowel, and let it cure.
- Style Options: You can also add decorative elements, like stamping patterns into the concrete or staining it for a custom look.
7. Finish and Protect the Wood
- Wood Sealer or Stain: After the fence is fully built, apply a wood sealer or stain to protect the wood from moisture, UV rays, and weathering. Make sure to reapply every 2-3 years to keep the fence looking fresh.
- Weatherproof Hardware: Use weatherproof hinges, latches, and fasteners for any gates or additional features. This prevents rust and ensures smooth operation over time.
8. Maintain Your Fence
- Regular Inspections: Inspect the fence annually for signs of wear, such as loose boards, damaged posts, or cracks in the concrete base.
- Pressure Washing: Keep your fence clean by pressure washing it every couple of years. This removes dirt, mildew, and any buildup that could weaken the wood.
- Repair as Needed: Repair any damage quickly to prevent it from spreading. For example, replace cracked boards or tighten loose screws or nails to maintain the fence’s integrity.
Thank you for reading our article on how to build a concrete and wooden fence and we recommend you to check out the rest of our projects. Please share our articles with your friends by using the social media widgets. Let me know in the comment area what you think about this project!