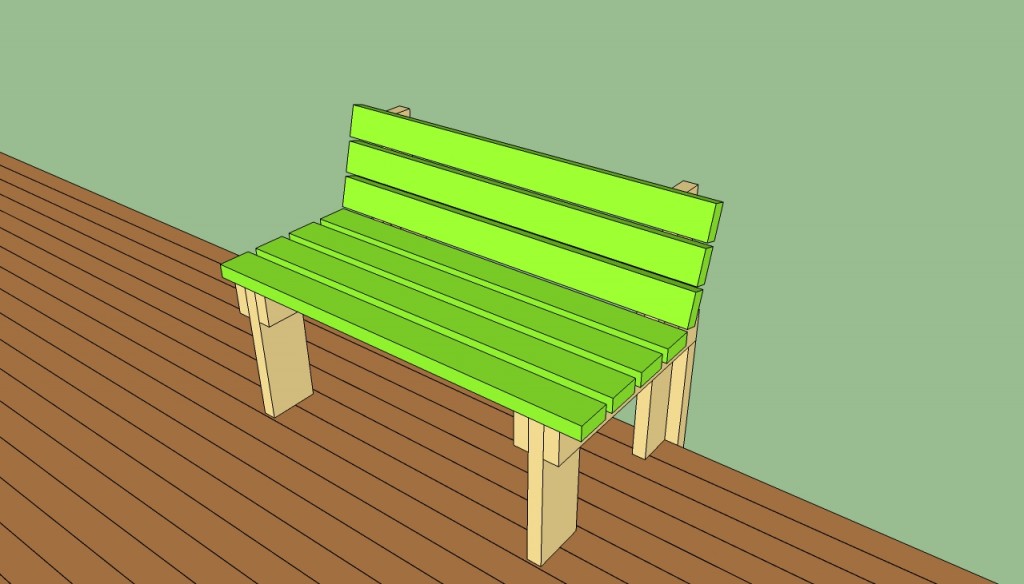
This diy article is about deck bench plans free. Building deck benches is a straight forward woodworking project, if you use the right plans for your needs and select the lumber properly. A well-built deck bench will enhance the look of your deck and add a dramatic effect to your garden. There are many design to choose from, according to the anchoring method and the materials you are going to use. Irrespective of your choice, you should try to use the same materials for the bench, that you have used for the deck.
Wooden deck benches come in many shapes, designs and sizes, as you can use lumber of different sizes. On one hand, you could use 4×4 posts to support a simple deck seating, while on the other hand you have to install a 2×10 beam to build the back support of a bench attached to decking. Nevertheless, you can combine these techniques and materials, in order to fit your needs, tastes and budget.
You should plans everything from the very beginning, if you want to obtain a professional result. Therefore, you should determine if you will anchor the deck bench to the framing joists, or you will attach it to the decking. Even though this aspect might look unimportant, it influences to a great extent the final design of your project. That is why, you should analyze all the techniques presented in this article and choose the one that suits your needs. See all my Premium Plans in the Shop.
Made from this plan
Materials
Tools
- Safety gloves, glasses
- Miter saw saw
- Chalk line, tape measure, spirit level, carpentry pencil
- Drill machinery and drill bits
- Router, 1/4” round bit
Tips
- Pre-drill holes in the wooden components, before driving in the screws
- Smooth the edges of the components, with a router
- Align the components before locking them into place
Time
- One day
Deck Seating Plans
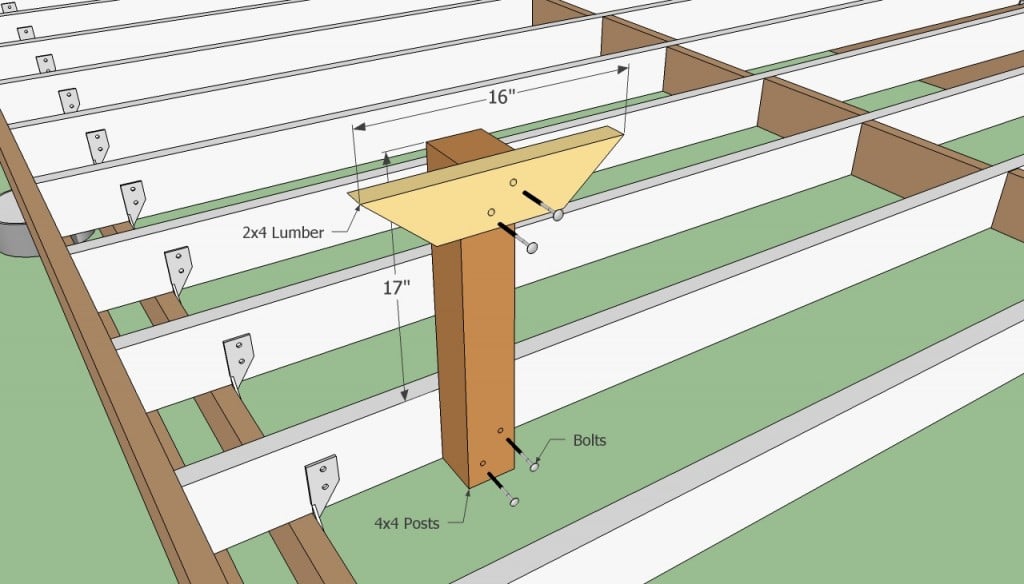
First of all, if you want to build a simple deck seating and anchor it to the framing, you should follow the instruction of this tutorial. Therefore, you should install a 4×4 wooden post to the deck joists, by using two 6” carriage bolts (or use 5” lag screws) and a 2×6 crosspiece.
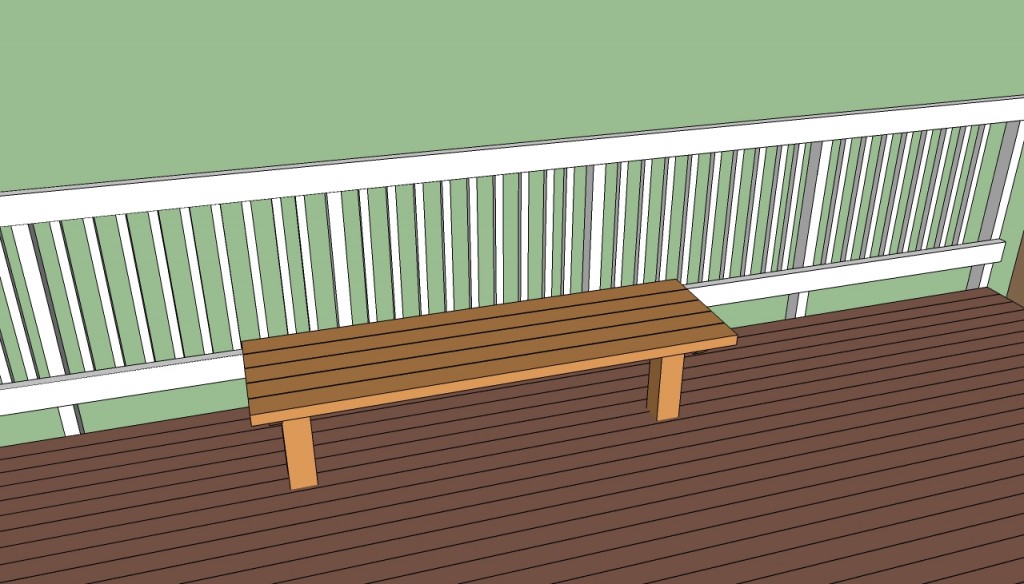
After you have installed the two supports to the deck framing, attach the 2×4 (or 2×6) wooden boards with 3” decking screws. As you can see in the image, the slats should overhang about 2”, on both sides of the bench. If you want to add a dramatic look to your bench, round the edges with a router and 1/4” bit.
After you have built the deck seating, you should sand the whole surface with average-grit sandpaper and fill the holes with wood putty. As you should notice, in order to build this bench, you must have access to the framing, otherwise you have to choose a different model.
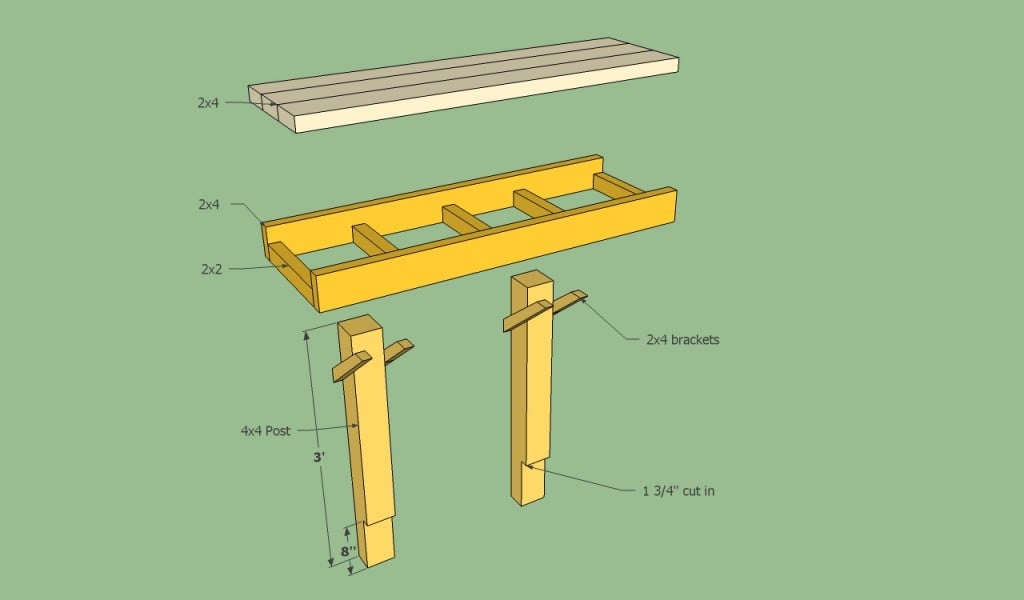
On the other hand, you can choose a more neat design, if you are willing to spend more time on this project. As you can see in the image, you have to install two 4×4 posts and several wooden brackets. Moreover, you have to build a basic frame and install the 2×4 wooden boards into place.
Deck Bench on Framing Plans
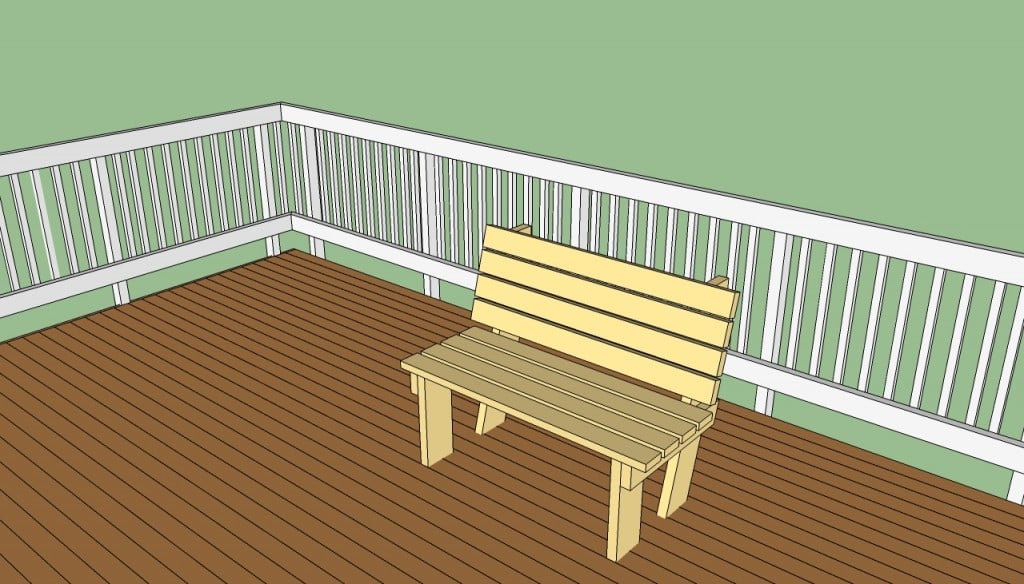
If you also want a back support, you should follow these free plans and attach the components to the deck joists. As you can see in the image, you have to lean the the back support, at an angle of 15 degrees. In addition, you have to cut the ends of the 2×6 leg at the same angle. Afterwards, drill several holes in the components and anchor them to the framing with lag screws.
Position the components into position, plumb them accurately and install the 2×4 crosspieces. Therefore, you have to drill several pilot holes and lock them into position with 4” carriage bolts. Don’t forget to use washers, when inserting the blots trough the wooden components.
Next, you have to install the 2×4 slats into position, making sure they are equally spaced (the gaps between the boards will improve the drainage of the water). Pre-drill holes in the slats before inserting the 3” screws, otherwise the wood might split. The slats should overhang about 2” on both hands, but you could adjust this aspect, according to your needs.
Next, you should get the job done by finishing the surface with average-grit sandpaper. In addition, you could round the exposed edges of the wooden components, by using a router and a 1/4” bit. On the the other hand, you should align the components properly before locking them into place, in order to obtain a professional result.
How to build a bench on decking
Last but not least, there is third manner in which you can build a deck bench. This technique is ideal for low-ground decks and for completed decks, as you have to anchor it only to the rim joist. As you can see in the image, there are many components that you have to build in order to assemble the wooden bench, but you can get the job very quickly if you select the right materials.
Use a 2×10 piece of lumber to build the back support, as you need to cut it with 15 slope. In addition, you also need a 2×6 to build the front leg and four 2×4 crosspieces. Lock the front leg to the back support by driving in 3 1/2” carriage bolts, making sure you align these components accurately. Afterwards, anchor the rear brace to the joist and drive in screws trough it in the back support.
Thank you for reading our article about deck bench plans free and we recommend you to check out the rest of our projects. Don’t forget to share our project with your friends, by using the social media widgets.

