This article is about how to install travertine tile flooring. In this article I show you a step by step tutorial on how to install travertine tile flooring and how you can save tons of money by doing the project by yourself. For this project we bought peach travertine that was polished for a sharp look. If you have underfloor heating, this tutorial will answer all your questions and show you a few tips so you can speed up the installation.
Make sure you use an adhesive that is suitable for natural stone installation. You need to pour some water in the bucket, pour the adhesive powder and let it soak for 5 minutes. Then use the mixer attachment to your drill to get the right consistency. I recommend you to start the first row with a full tile, the second wall with 1/2″ tile and then you start again with a full tile. The “brick pattern” is simple to set and it looks beautiful. See all my Premium Plans HERE.
Made from this plan
Materials
- travertine
- adhesive
Tools
- Measuring tape, carpentry pencil, l-square
- notched trowel
- angle grinder, diamond blade
- bucket trowel
- bucket
- mixer attachment
- spirit level
Time
- 1 day
How to Install Travertine Tile Flooring
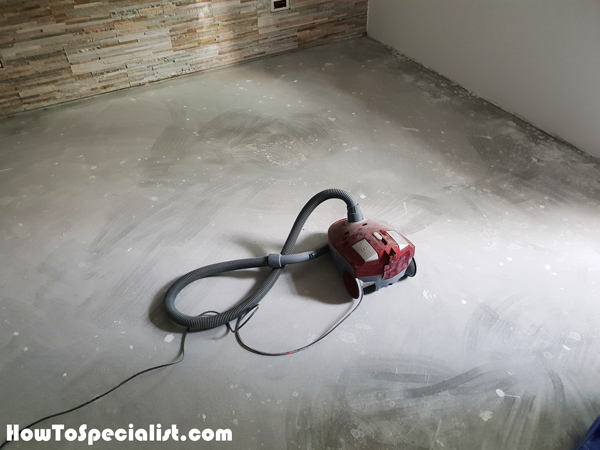
We are going to install the travertine flooring tiles in the living room. As you can easily see in the diagram, it’s a new building with a concrete floor. Remember that you need check if the surface is perfectly level and straight, otherwise you won’t be able to install the travertine tile floor. First we used a vacuum to remove the dust.
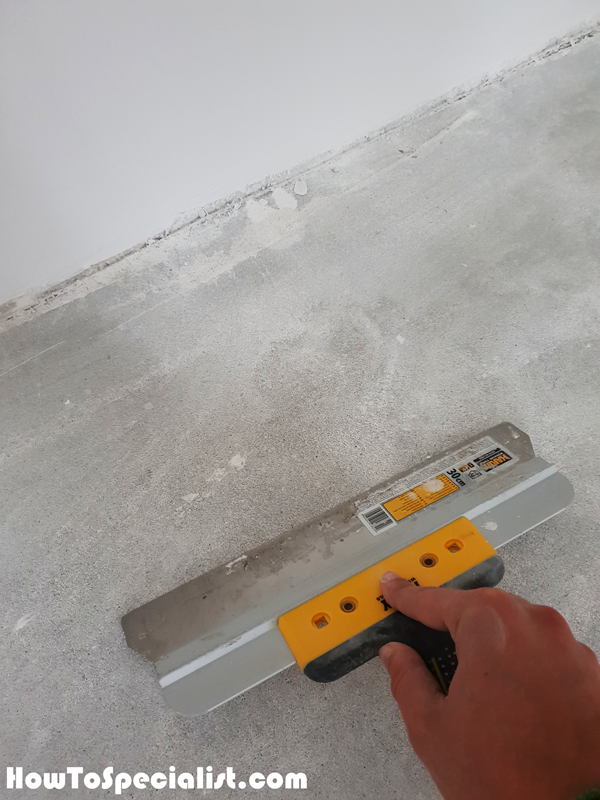
Next, we used a wide putty knife to take remove the small lumps and other irregularities in the floor. It was a really simple and quick process, because the floor was pretty smooth, being finished with a helicopter.
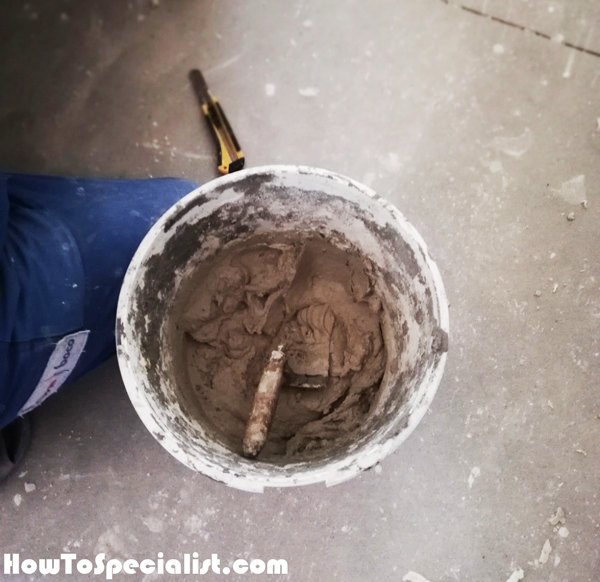
Next, mix some adhesive in a bucket. Make sure the adhesive is properly mixed and it has the consistency of cream, so you can work with it and spread it on the wall. for travertine I recommend you to go for white adhesive, because the dark one will stain the tiles. Make sure you choose adhesive that is suitable for travertine flooring installation.

I really liked this peach travertine because it goes well with stone cladding I have installed on 2 walls of the living room. You can see a complete tutorial here.
Start laying the full tiles from the most visible corner of the room. Begin the first row with a full tile and then continue the second row with a half tile, following the brick pattern. Make sure you leave a small expansion gap between the tiles and the wall (about 1/3″), especially if you have underfloor heating, like me.
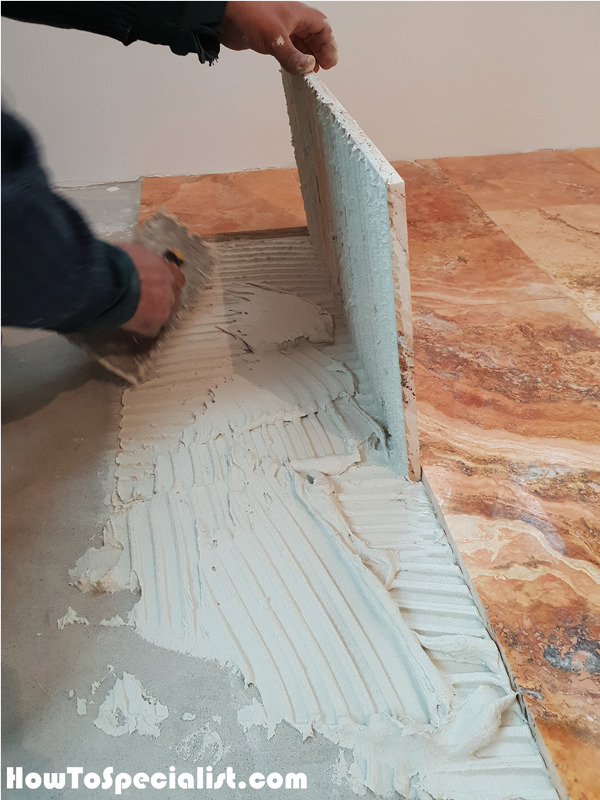
Spread the adhesive with a notched trowel and then press the tiles gently, making sure you don’t leave gaps between the tiles.
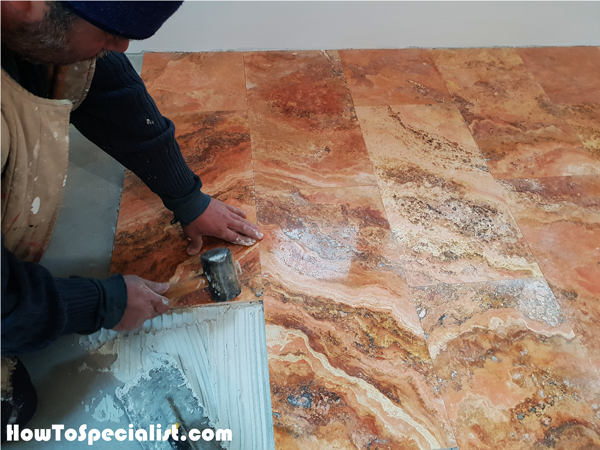
Use a rubber mallet to set the travertine tiles into place. Make sure you hit the tiles gently because the travertine is fragile and it cracks easily.
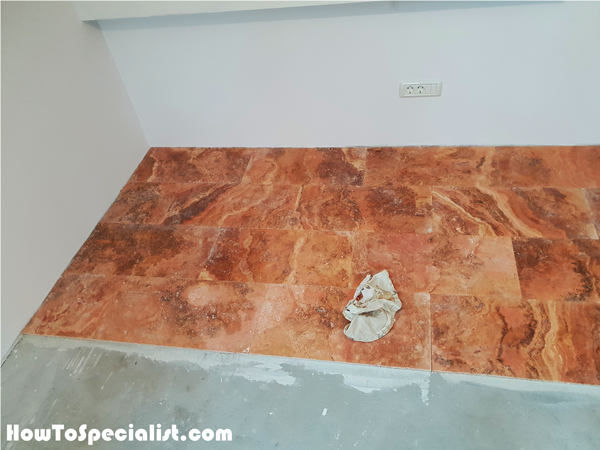
Use a clean cloth to remove the excess of adhesive and keep the tiles tidy. The color of the travertine tiles varies extensively, so make sure you take a look over the floor before laying more flooring.
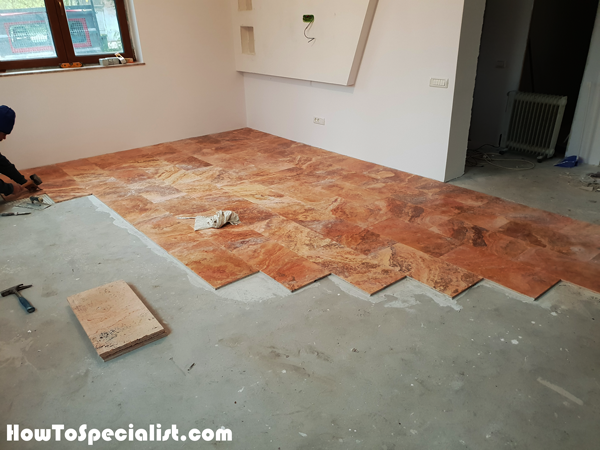
You need to start a few rows at once, because you will speed up the process.
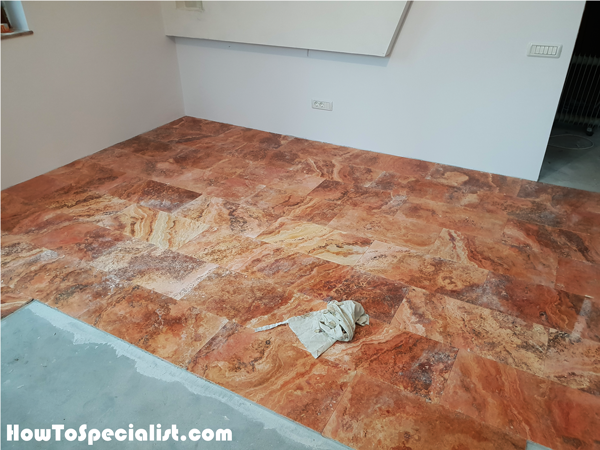
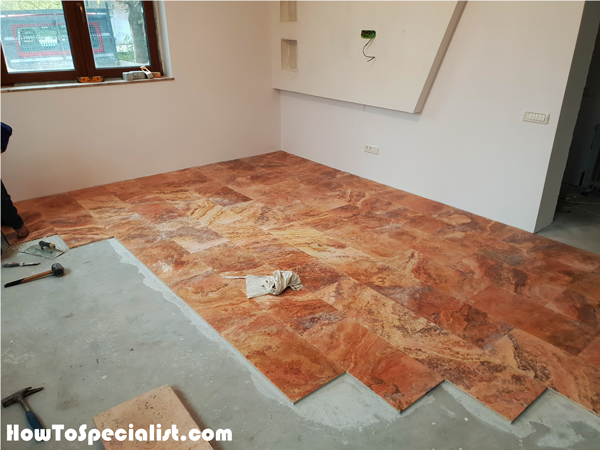
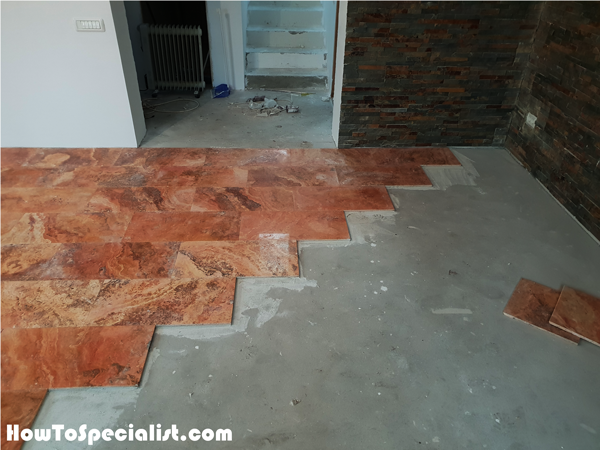
Another tip is to scrap off the excess regularly because the adhesive dries out quickly. Keep the working space as clean as possible.
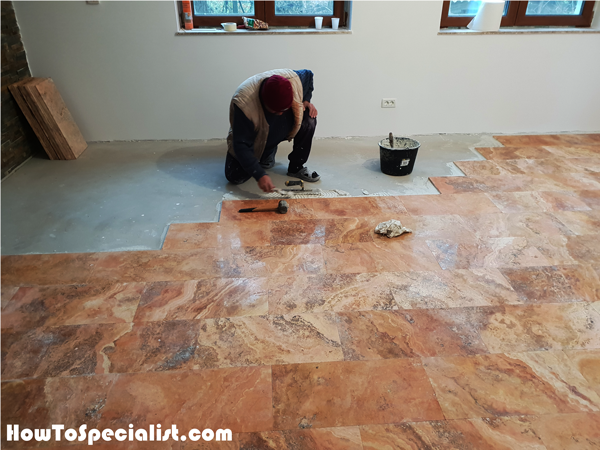
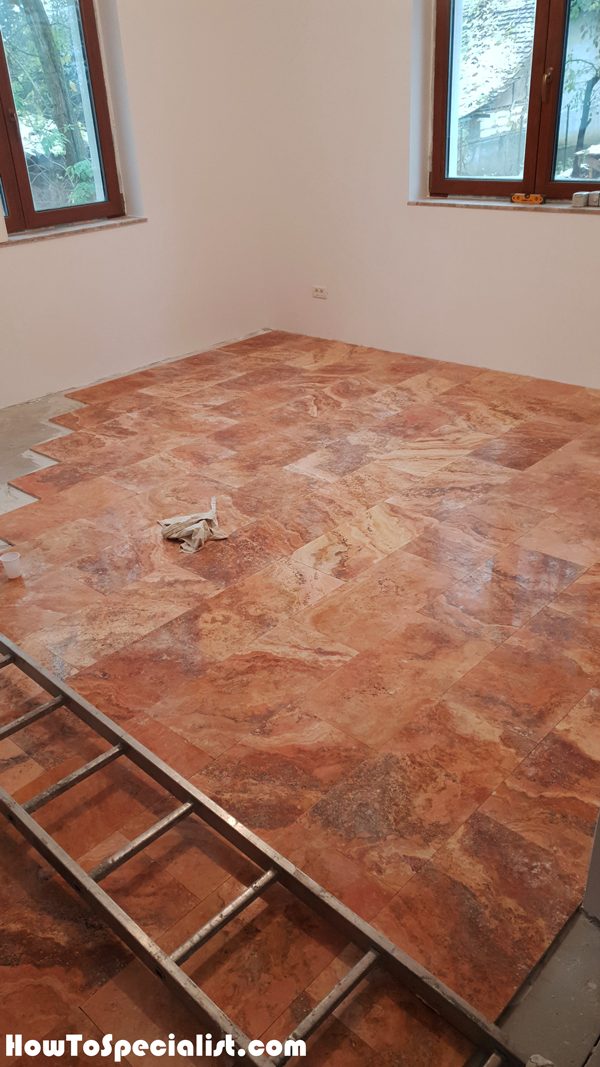
We used a ladder to have access to the corner of the room, but not step over the tiles that have just been installed. It is a quick and simple trick, but it works like a charm.
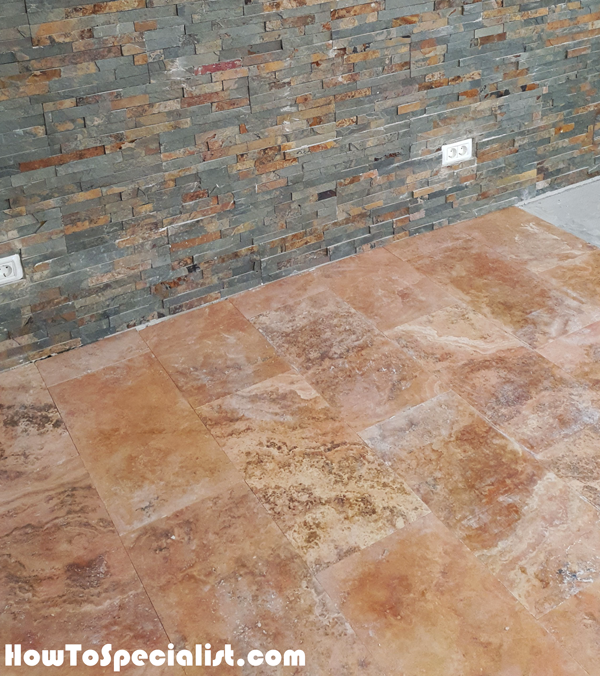
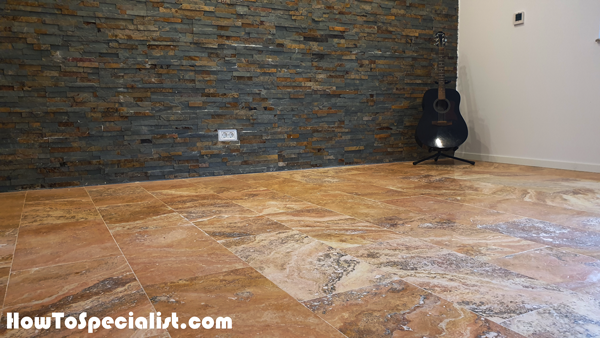
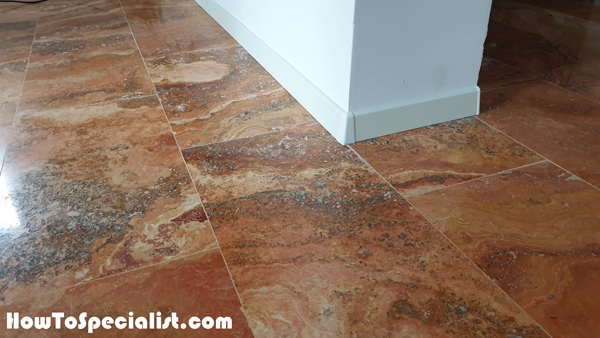
Last but not least, you need to grout the small gaps between the tiles. Select a color with the same tone as the travertine. You don’t need a lot of group because you don’t need to use spacers between the tiles. Let the grout to set for one day and then you can finally mop the floor thoroughly and enjoy the beautiful look of natural stone.
My best tips on laying travertine tiles
Laying travertine tiles can create a beautiful, natural stone look in your home, but it requires some attention to detail. Here are my best tips for a successful travertine tile installation:
1. Prepare the Surface: Make sure the subfloor or surface is clean, dry, and level. Use a self-leveling compound if necessary, as travertine tiles need a smooth, even surface to prevent cracking over time. Any bumps or dips will affect the finished look.
2. Plan the Layout: Before laying any tiles, dry-lay the travertine to plan your layout. This helps you visualize how the tiles will look and ensures you won’t have small, awkward cuts at the edges of the room. Start in the center and work outward to maintain symmetry, especially in visible areas.
3. Use a White Thinset Mortar: Travertine is a porous stone, and dark-colored adhesives can sometimes show through. Use a white thinset mortar to avoid discoloration and ensure a clean finish. Mix it to the consistency of peanut butter for easy spreading.
4. Butter the Tiles: For better adhesion, back-butter each tile by applying a thin layer of thinset on the back before pressing it into the mortar bed on the floor. This helps fill any small gaps and prevents air pockets under the tile.
5. Use Tile Spacers for Consistent Gaps: Travertine tiles can vary slightly in size, so it’s important to use tile spacers to maintain consistent grout lines. Typically, 1/8-inch to 1/4-inch spacers work best for travertine. Check alignment regularly as you go.
6. Seal Before Grouting: Travertine is porous, so it’s best to seal the tiles before grouting to prevent the grout from seeping into the stone and staining it. Use a high-quality **penetrating sealer**, applying it with a clean cloth or sponge, and allow it to dry fully before proceeding.
7. Grout Carefully: Use a non-sanded grout for narrow joints (1/8 inch or less) and apply it with a rubber grout float, working the grout into the joints at a 45-degree angle. Wipe away excess grout with a damp sponge, being careful not to wipe the grout out of the joints. Avoid over-saturating the tiles with water during cleanup.
8. Level the Tiles as You Go: Travertine can be slightly uneven, so as you lay each tile, check for levelness using a level or straight edge. Use a rubber mallet to gently tap down any high spots, ensuring the tiles sit flush with each other.
9. Seal Again After Grouting: Once the grout has fully dried, apply another coat of sealer to protect both the grout and the travertine from moisture and stains. This final seal will help enhance the natural beauty of the stone while keeping it protected.
10. Use a Wet Saw for Cutting: Travertine is a natural stone and requires a wet saw for precise cuts without chipping. Measure twice, cut once, and go slow to ensure clean, smooth edges.
By following these tips, you’ll be able to install travertine tiles with confidence, achieving a stunning, durable result that enhances any space!
Thank you for reading our article on how to install travertine and we recommend you to check out the rest of my projects. Please share my tutorials with your friends by using the social media widgets. That helps me keep adding free content to the blog.
