This article is about how to install stone cladding. In this article I show you a step by step tutorial on how to install natural stone veneer tiles so you can transform the look of any room and add that rustic charm that lasts and never gets tacky. The natural stone has been used for ages in home decor because it is an inexpensive material to uplift your home design. For this project, we bought natural stone that cost about $30 per square meter.
Make sure you use an adhesive that is suitable for natural stone installation. You need to pour some water in the bucket, pour the adhesive powder and let it soak for 5 minutes. Then use the mixer attachment to your drill to get the right consistency. For these stone cladding tiles there is no pattern you have to follow, but I recommend you to start the first row with a full tile, the second wall with 1/2″ tile and then you start again with a full tile. See all my Premium Plans HERE.
Made from this plan
Materials
- stone cladding
- adhesive for stone
Tools
- Measuring tape, carpentry pencil, l-square
- notched trowel
- angle grinder, diamond blade
- bucket trowel
- bucket
- mixer attachment
Time
- 1 day
How to Install Stone Cladding
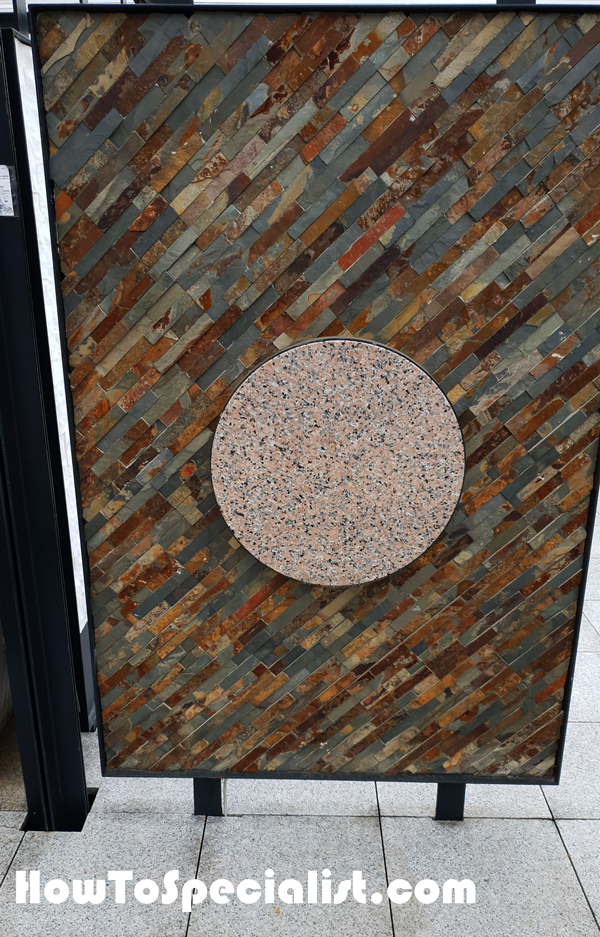
The first step of the project was to select the stone cladding for the living room. We went to the natural stone showroom where we saw over 100 models and colors. We decided to go for this beautiful rustic stone that combines rusty tones with dark grey.
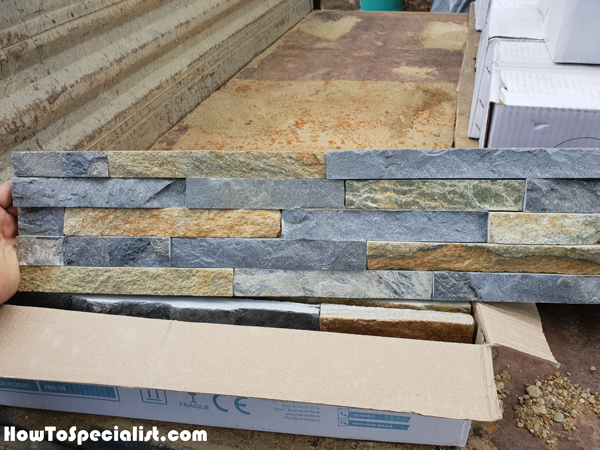
The small pieces of stone are glued together in larger rectangular tiles, so you can install them easier and save time. The tiles are stacked together in boxes.
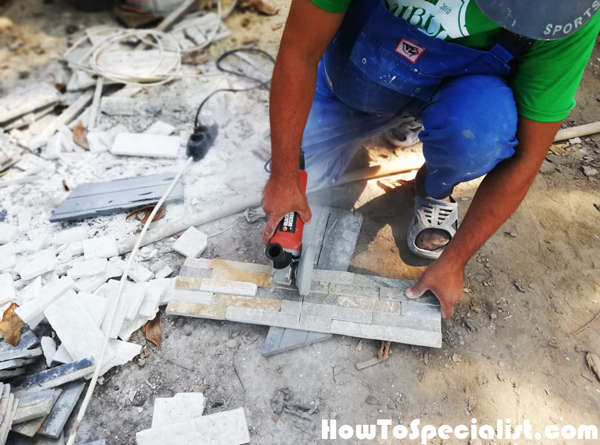
We used an angle grinder to cut the stone tiles to the needed dimensions. Make sure you use a quality diamond blade to get nice, clean cuts. Before starting the project you need to gather all the tools to have them at hand: a trowel, a notched trowel, a bucket and the drill mixer attachment.
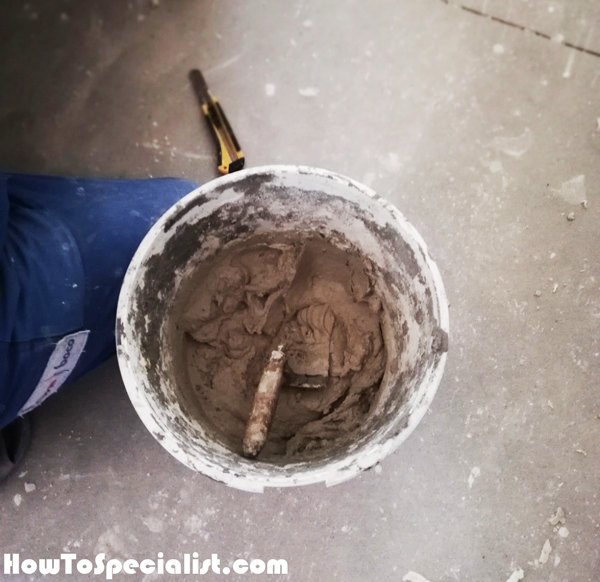
Next, mix some adhesive in a bucket. Make sure the adhesive is properly mixed and it has the consistency of cream, so you can work with it and spread it on the wall.
You need to prepare the surface before starting the natural stone veneer installation. Make sure the support wall is masonry, brick or cider blocks. Otherwise, you can still install the stone but you need extra steps, like installing a waterproof barrier.
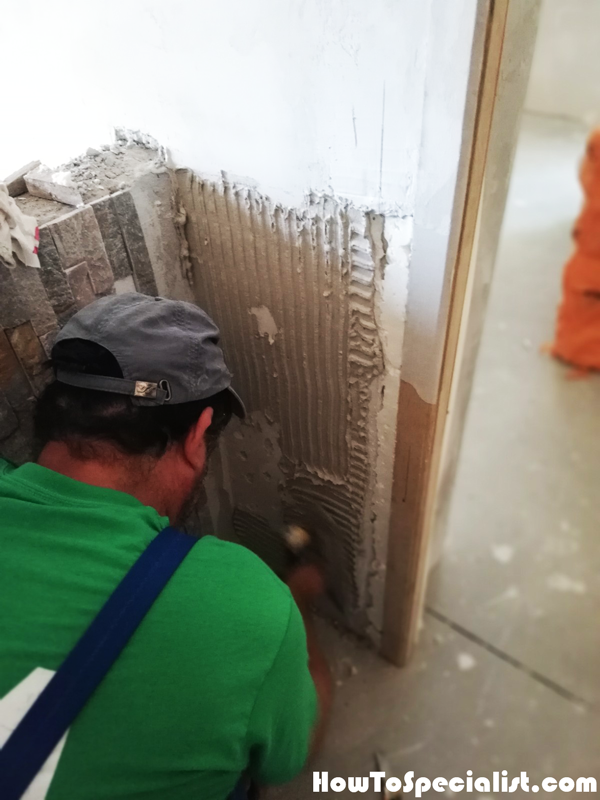
In our case, the support wall are made of bricks covered with cement render. They were straight and clean, as it’s a new construction. We used a notched trowel to spread an even coat of adhesive to the wall. Make sure you take off the excess. Don’t spread the adhesive on a surface larger than a few tiles, because it dries quickly.
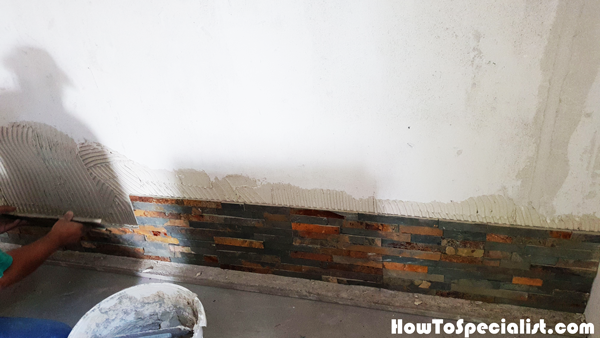
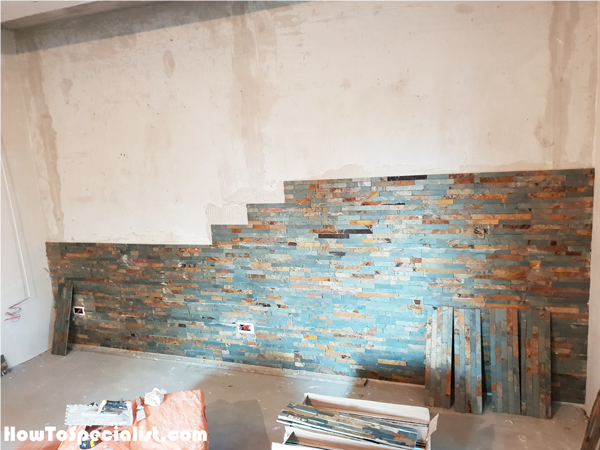
Press the tiles into the adhesive, making sure there are no gaps between the tiles. Repeat the process with the rest of the tiles. Pay extra-attention to the first row, because it needs to be perfectly straight. Use a straight edge or a laser to make sure the tiles are straight.
In order to speed up the stone installation, you can start a few rows at once. Use a spirit level or a laser to check if the rows are perfectly straight.
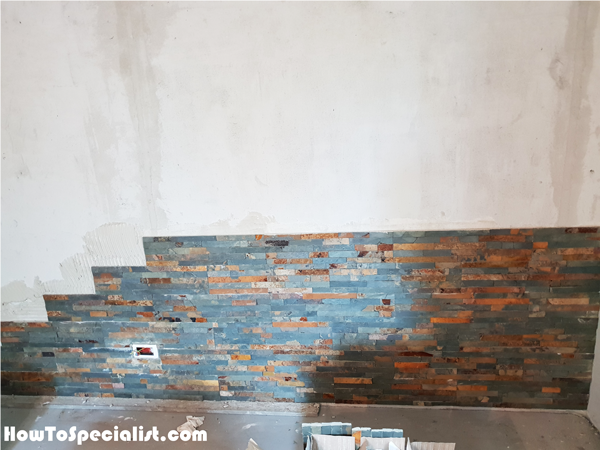
Continue installing the stone cladding tiles, checking regularly if the rows are horizontal. You can use a spirit level or even better a spirit level.
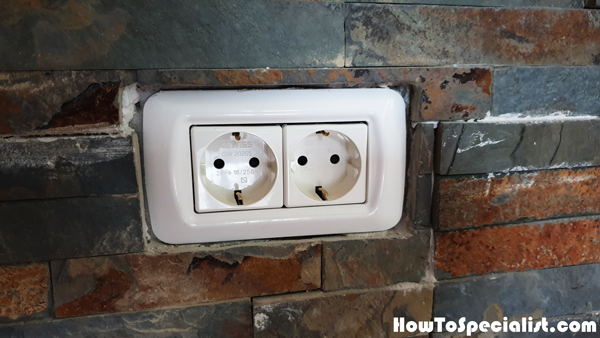
You need to make a few cutouts around the outlets. Mark the cut lines on the tiles and then use an angle grinder to adjust their size to fit into place.
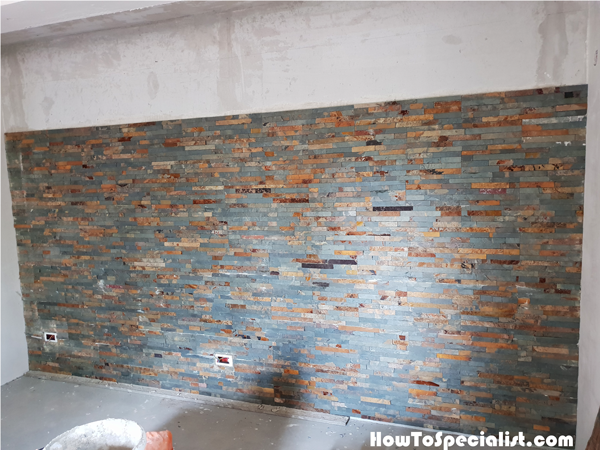
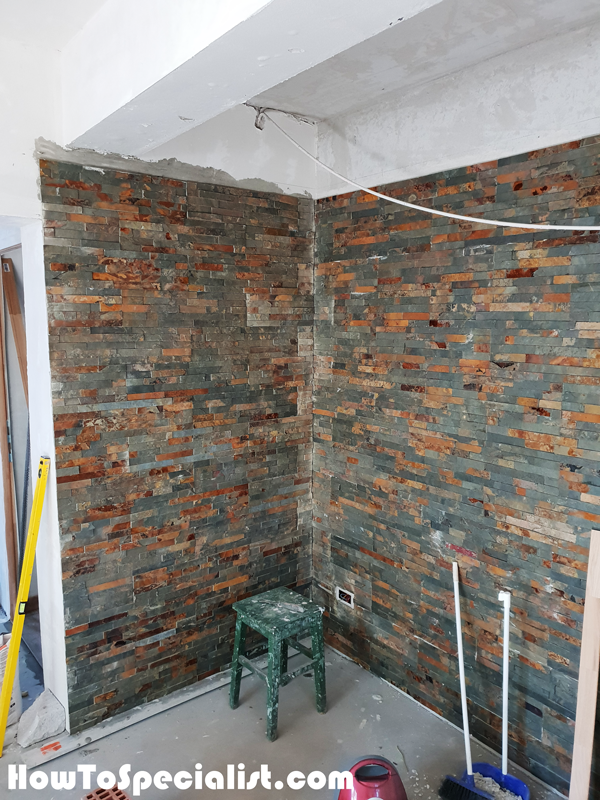
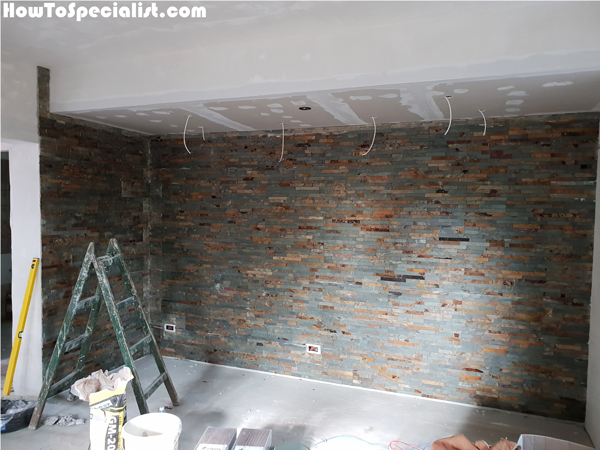
Progress… The wall starts to take shape.
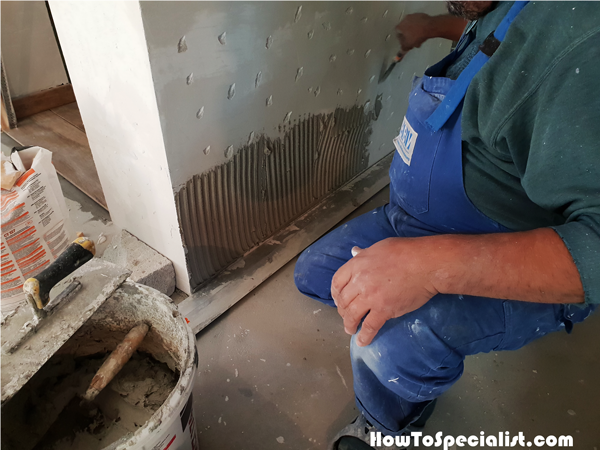
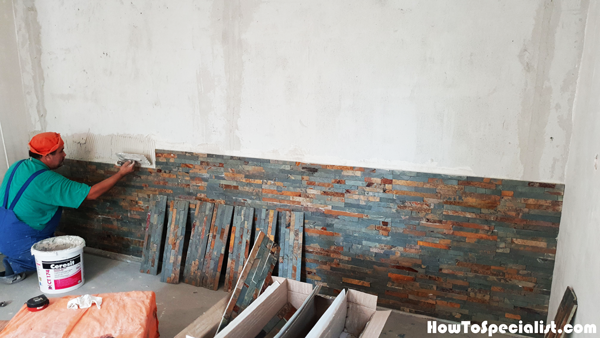
Halfway the project we decided to lay natural stone on the adjacent wall, as well. Unfortunately, we had already plastered the wall so that wasn’t a proper support for the stone to glue to. Therefore, we used the drill machinery to make small dents in the plaster so the adhesive could stick to the render.
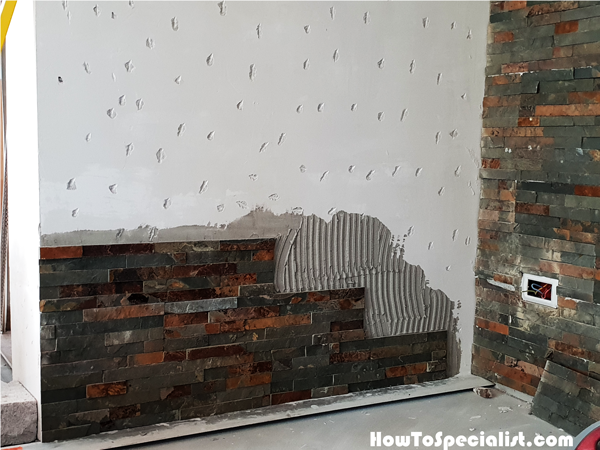
We installed the natural cladding tiles to the wall, making sure they align with the other wall.
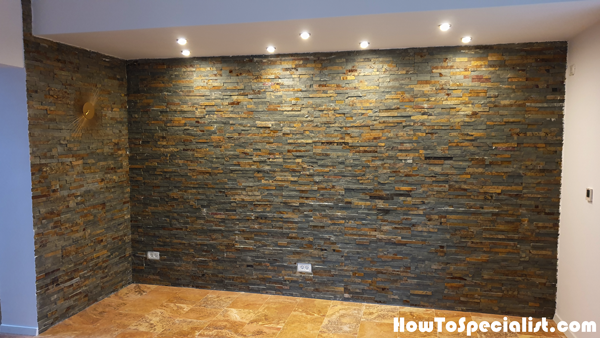
This is a quick project that will definitely change the look of your room. See all my home improvement projects HERE.
Thank you for reading our article on how to install stone cladding and we recommend you to check out the rest of our projects. Please share our articles with your friends by using the social media widgets.