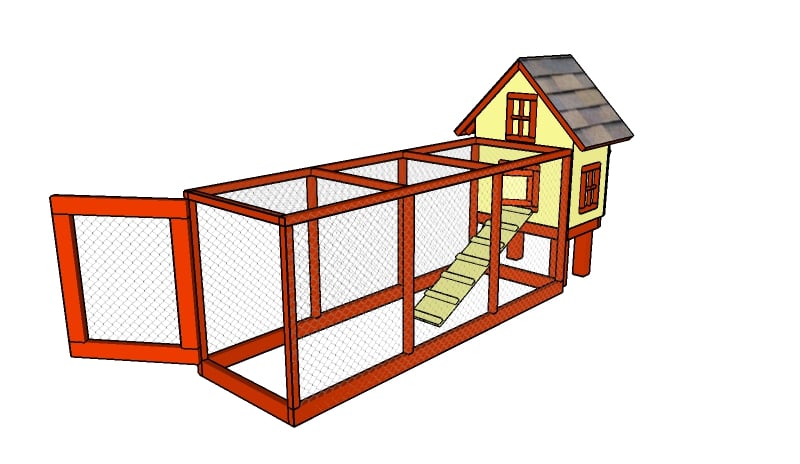
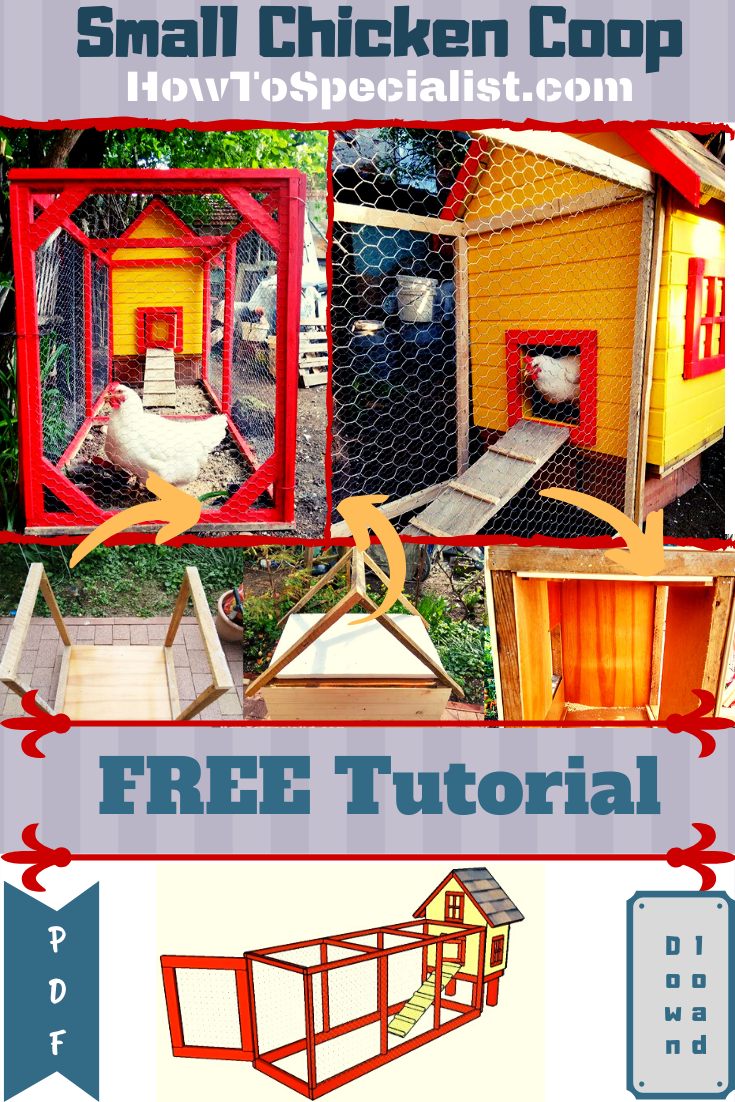
This step by step woodworking project is about how to build an insulated chicken coop. I built this coop for a closed friend who had a pile of recycled lumber in his yard, but not enough experience in working with lumber. I gave him a hand to build a small chicken coop with insulated floor and walls. I also built a small run for the coop and added a few decorative touches, so it could add value to the backyard.
We recommend you to invest in the best materials you could afford. Therefore, you should buy weather-resistant lumber, such as pine or cedar. Always take accurate measurements before adjusting the size of the components at the proper size. Drill pilot holes trough the components before inserting the wood screws, to prevent the wood from splitting. See all my Premium Plans in the Shop.
Made from this plan

If you want to see the plans I have used for this project, click HERE. The plans come with a cut list and many diagrams to help you make a cute insulated chicken coop in your own backyard.

How to build an insulated chicken coop

I used mainly recycled materials so the lumber may differ in size and not match the ones shown in the plans. First of all, I assembled the floor frame and attached the panel. I use a speed square to make sure the corners are right-angled. I pre-drilled holes to prevent the wood from splitting.

Next, I fitted the polystyrene sheets to the floor frame. In this manner, the chicken coop will be insulated and the hens protected from the cold weather.

I attached the 3/4″ plywood floor to the frame to seal it up. I used 1 1/4″ nails to secure it to the frame.

Next, I framed the side walls and lock them to the floor. I drill pilot holes through the bottom plates and inserted 2 1/2″ screws into the floor. I used a spirit level to make sure the side walls are perfectly plumb.

I attached the tongue and groove slats to the sides of the chicken coop. Then I fitted polystyrene sheets to the walls, to insulate them.

I attached the insulation sheets to the wall of the chicken coop, between the studs, as shown in the diagram. I then sealed everything with 1/4″ plywood sheets. I used brad nails to lock the sheets to the studs.

You can see in the image the insulation attached to the back wall. You can also see the back door opening. The back door will be used to harvest the eggs and to clean the inside of the coop.

After installing the interior wall I also attached 1×1 strips to the four corners, to enhance the rigidity of the frame.

I attached the boards to the back of the chicken coop.

If you want to create a storage compartment under the roof, you should attach a few pieces of wood under the ceiling. Drill pocket holes at both ends and lock them to the top plates with screw.

Attach a plywood sheet to the ceiling supports. Use screws to lock it into place.

I attached the 2×2 rafters to the chicken coop to frame the roof. I drilled pilot holed and inserted 3 1/2″ screws into the top plates.

I attached tongue and groove boards to the front and to the back of the chicken coop.

Use a saw to make the angle cuts to the tongue and groove slats. As you can see, the insulated chicken coop is starting to take shape quite nicely. Make sure you build the coop close to its final location, as adding more components will increase its weight.

I applied a couple of paint coats to the exterior of the coop. I chose yellow for the siding and red for the trims. I think it looks pretty good.

I attached the slats to the roof. As you can see, I used recycled lumber for the roof, but they worked very well. Then, I attached the trims to the roof and around the door opening. I placed bricks under the chicken coop, so I can lift it 1′ from the ground.

You should notice the back door of the chicken coop. This door provides easy access to the coop so you can take the eggs and clean the inside weekly. I used a salvaged piano hinge and a simple latch to secure the door into place. As you can notice in the image, I have not installed the corner trims to the door.

I used 1x3s to build the chicken run. Next, I attached the chicken wire to the frame. I attached strips of wood over the chicken wire to lock it to the frame and to keep it stretched. Alternatively, you can use staples.

I build a ladder using some scrap pieces of lumber. I drilled pilot holes and I used 2 1/2″ screws to lock the ladder to the coop.

I built the front door of the coop and attached it to the jambs with hinges. I also installed a latch, so I can keep the inside safe from predators. Make sure you drill some vents, as well.
I also built a door for the chicken run. I applied a few coats of paint to the chicken run to enhance the look of my project and to protect the components from the elements.

I attached asphalt shingles to the roof, to make it waterproofed. Installing the shingles was a straight forward job, so don’t be intimidated. Just follow the instructions and take your time. The chickens seem to enjoy their new home as it is a huge improvement compared to their previous shelter. In addition, everyone thinks it’s a small playhouse due to the playful design.
Thank you for reading our project about how to build an insulated chicken coop and we recommend you to check out the rest of the projects. Don’t forget to LIKE and SHARE our projects with your friends, by using the social media widgets. SUBSCRIBE to be the first that gets my latest projects.
