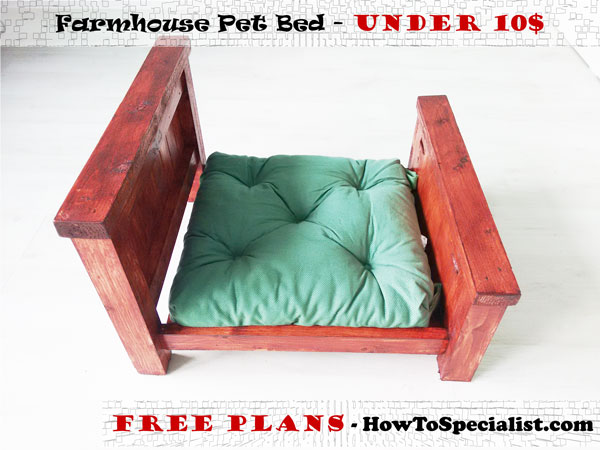
This diy step by step diy project is about how to build a pet bed. This project is about building a wooden farmhouse bed for your favorite pet. You can use this rustic bed for your dolls, as well. I managed to build this diy bed frame for cat under 10 $, using pine and common tools. This makes for an unique decorative piece that will brighten up the look of any home.
You should always plan everything from the very beginning, in order to prevent costly mistakes and to save time. If this is your first project, you should read the instructions with attention. Invest in high quality lumber and plywood, as the components will be exposed to bad weather. Protect the components with appropriate paint or stain.
There are a few tips that you should take into account, if you want to get a professional result. Therefore, take accurate measurements and use professional tools when making the cuts or when drilling pilot holes. Align the components at both ends and add waterproof glue to the joints, if you want to create a rigid structure. See all my Premium Plans in the Shop.
Made from this plan
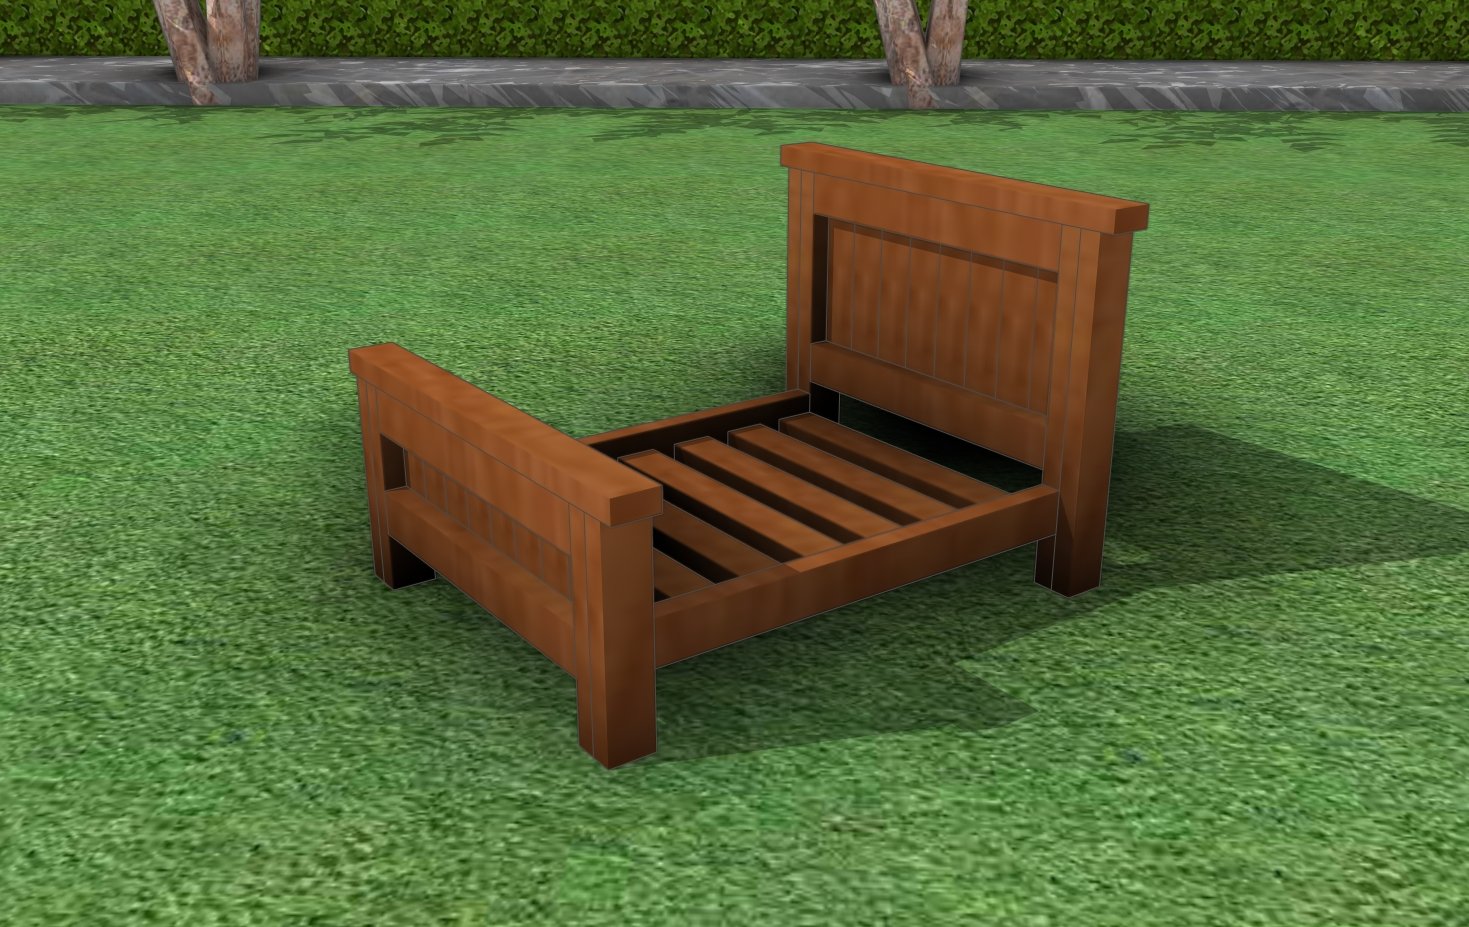
It’s that simple to build a pet bed!
Building a farmhouse pet bed

Building a pet bed
Materials
- A – 4 pieces of 1×2 lumber – 12″ long, 4 pieces – 7″ long LEGS
- B – 8 piece of 1×2 lumber – 8″ long PANEL
- C – 2 pieces of 1×2 lumber – 12″ long, 1 piece – 16″ long CLEATS
- D – 8 pieces of 1×2 lumber – 5″ long PANEL
- E – 2 pieces of 1×2 lumber – 12″ long, 1 piece – 16″ long CLEATS
- F – 2 pieces of 1×2 lumber – 16″ long, 7 pieces – 12″ long RAILS
- 5 pieces of 1×2 lumber – 8 ft
- 1 1/4″ screws
Tools
- Safety gloves, glasses
- Miter saw, jigsaw, pocket hole jig
- Chalk line, tape measure, spirit level, carpentry pencil
- Drill machinery and drill bits
Tips
- Use a good miter saw to make the angle cuts
- Drill pilot holes before inserting the screws
Time
- One Day
Related
Pet bed plans
Farmhouse-bed-bed
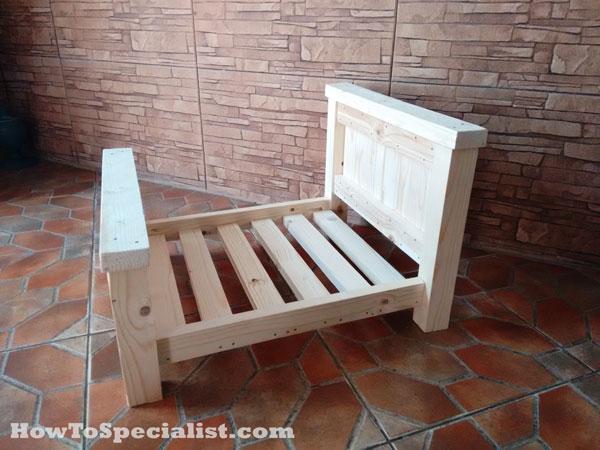
Building this rustic farmhouse pet bed is one of those projects that seem intimidating but in reality it can be done by any person with basic woodworking skills. This bed is ideal for a cat or for a small dog, but you can adjust the dimensions to suit your needs.

Building the headboard panel
The first step of the project is to assemble the headboard for the bed. Cut the components from 1×2 slats. Use glue and 1 1/4″ brad nails to lock the cleats to the panel boards.
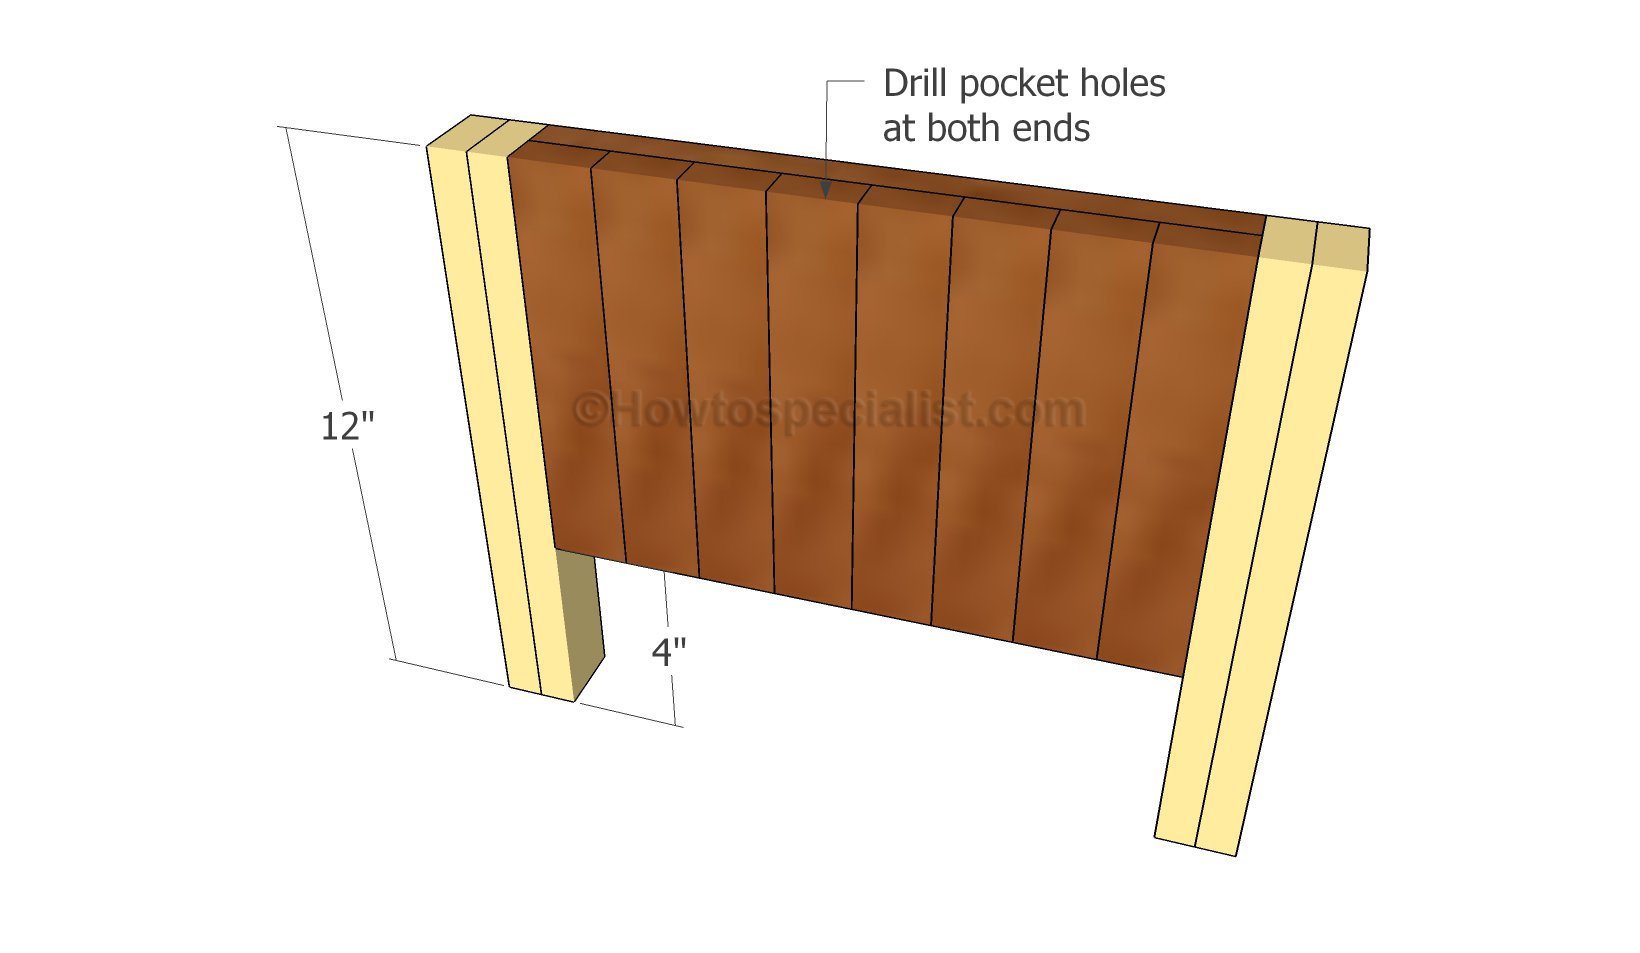
Attaching the legs to the headboard
Build the legs for the headboard from 1×2 slats. Drill pocket holes along the sides of the headboard and insert 1 1/4″ screws into the legs. Leave no gaps between the components and add glue to enhance the rigidity of the joints.
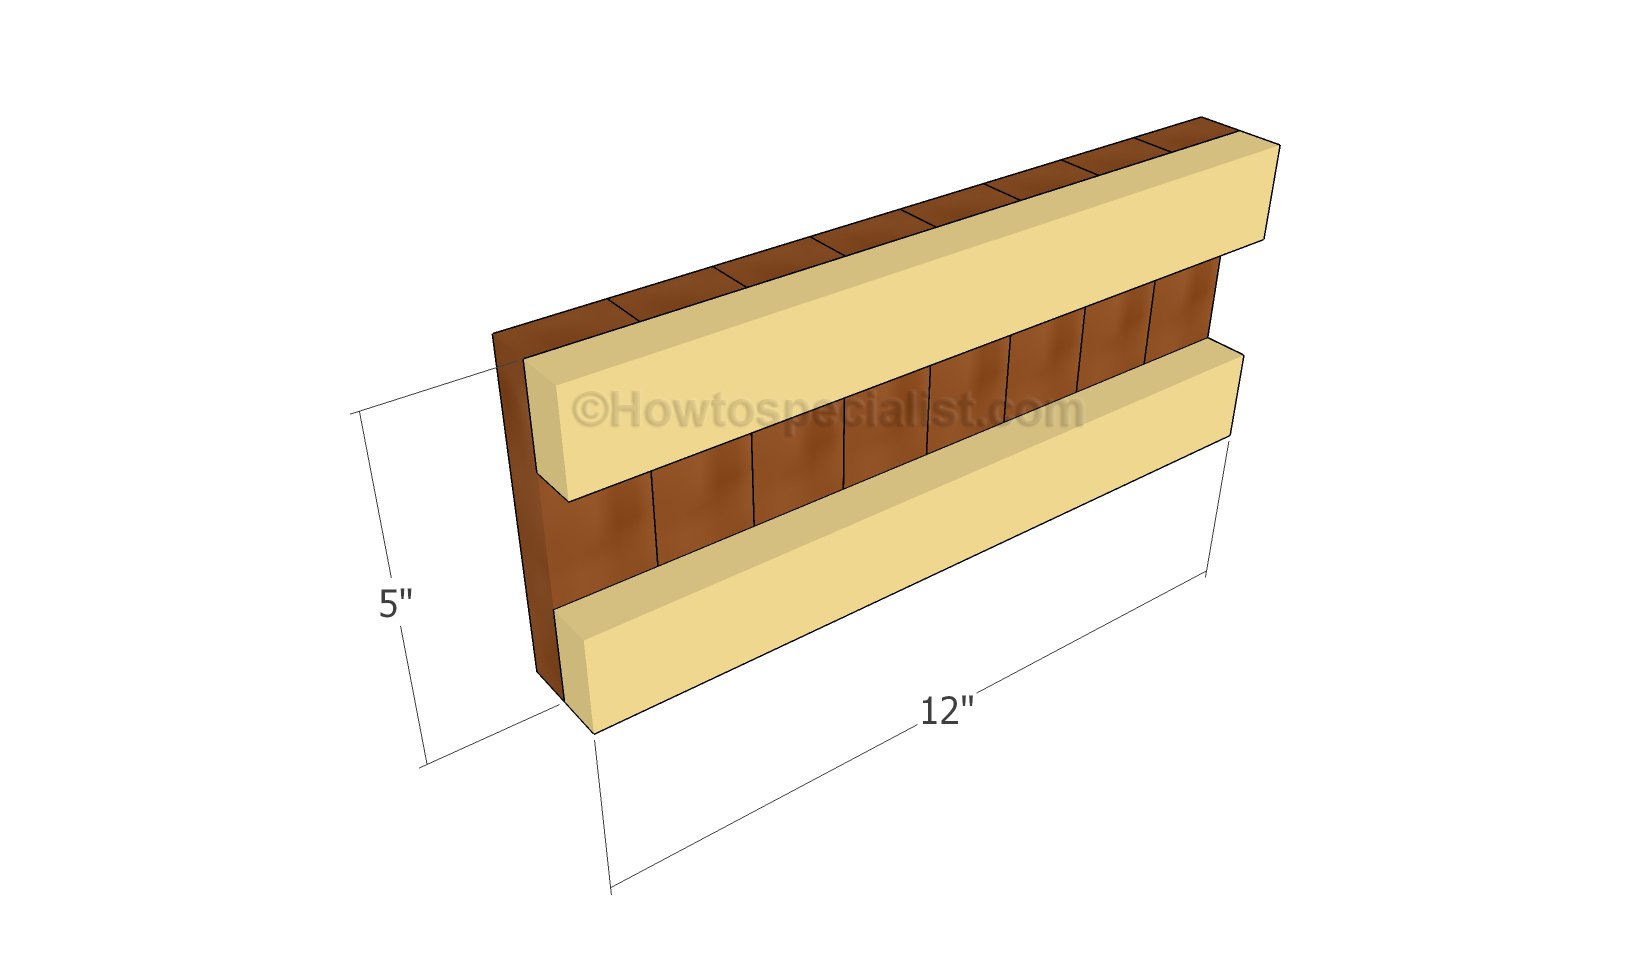
Footboard panel
Assemble the footboard with attention.
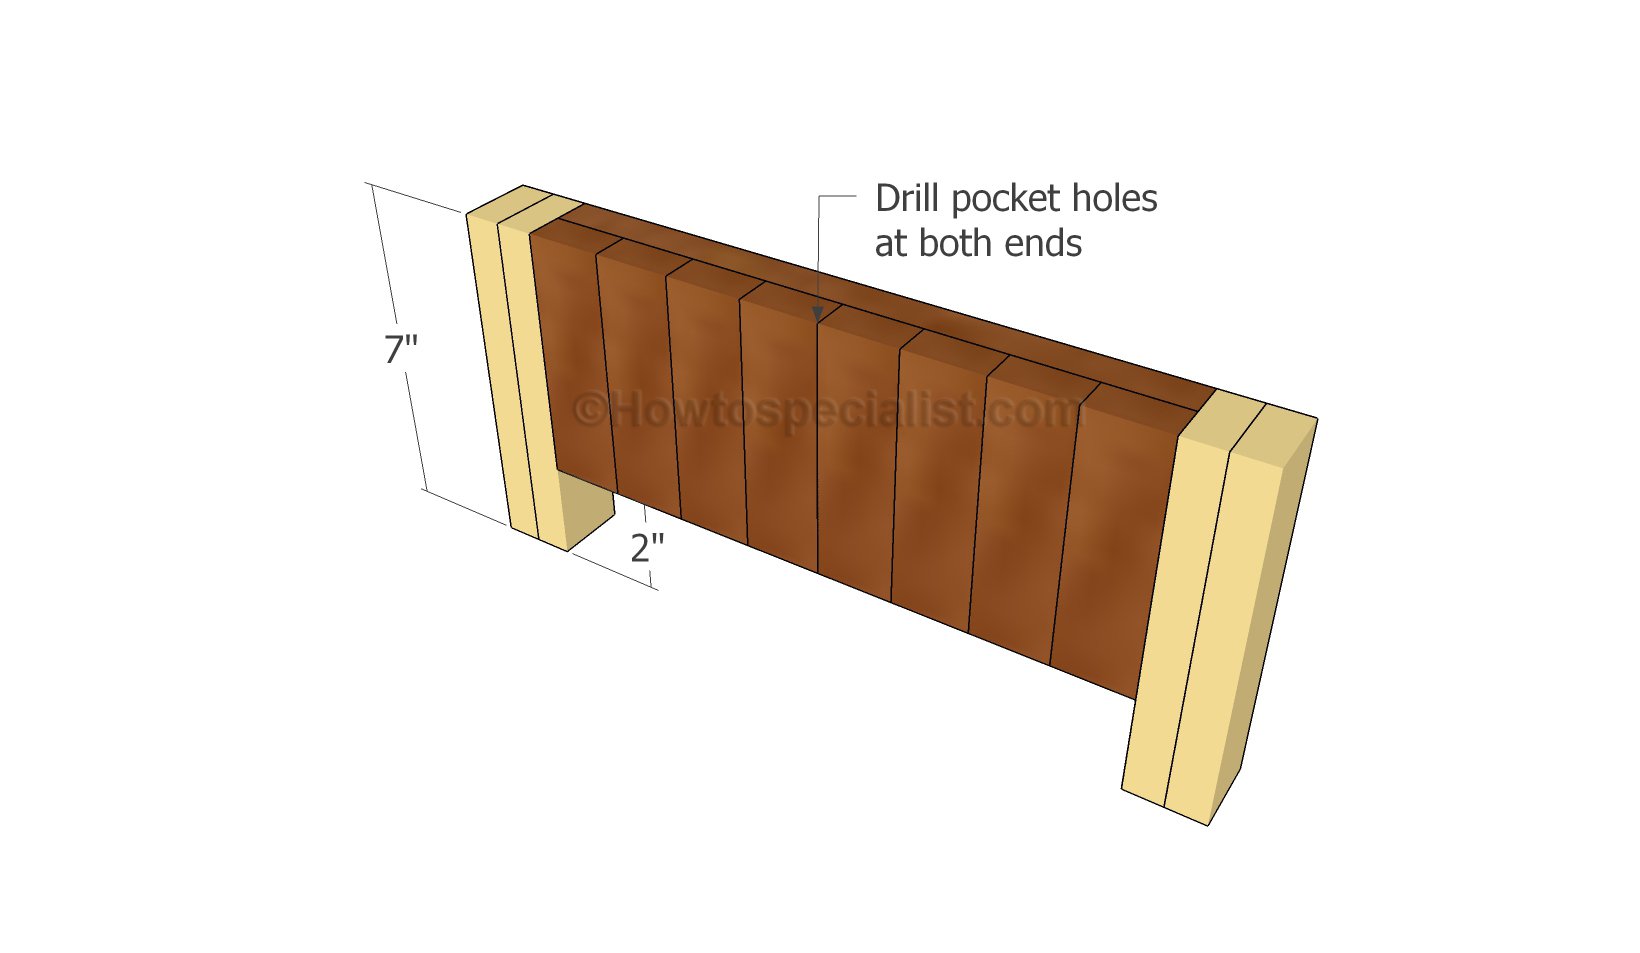
Attaching the legs to the footboard
Attach the legs to the footboard.
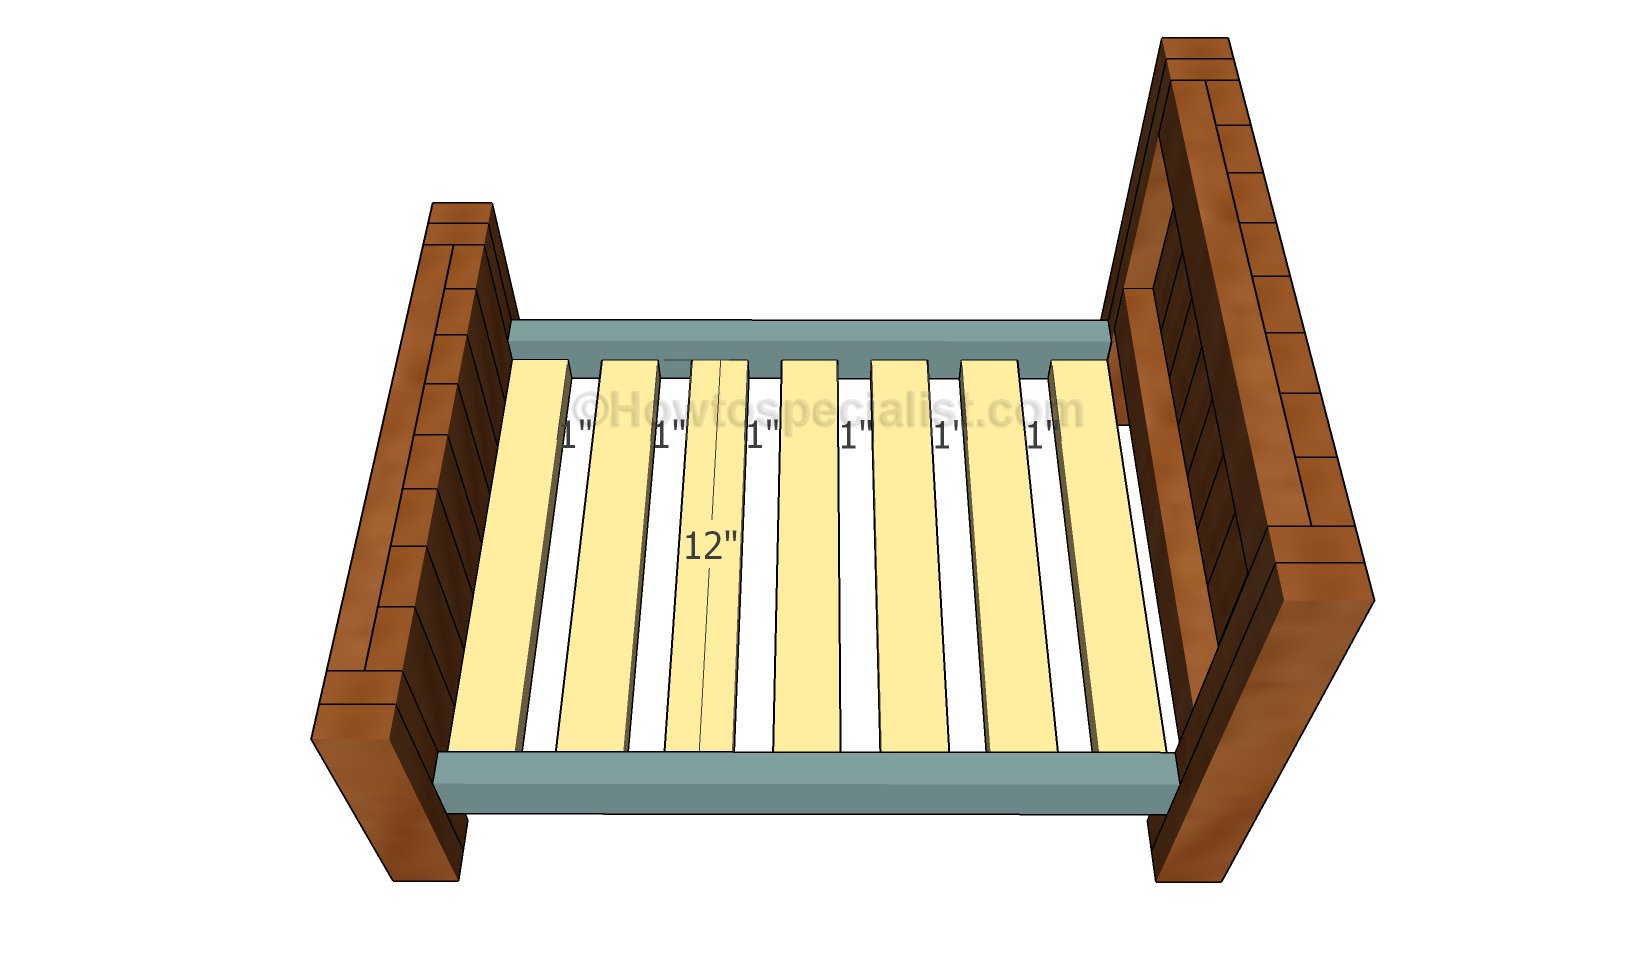
Fitting the support slats
Next, you need to build the bed rails and to attach the support slats. Use 1 1/4″ brad nails to secure the slats to the rails. Drill pocket holes at both ends of the rails and insert 1 1/4″ screws into the legs.
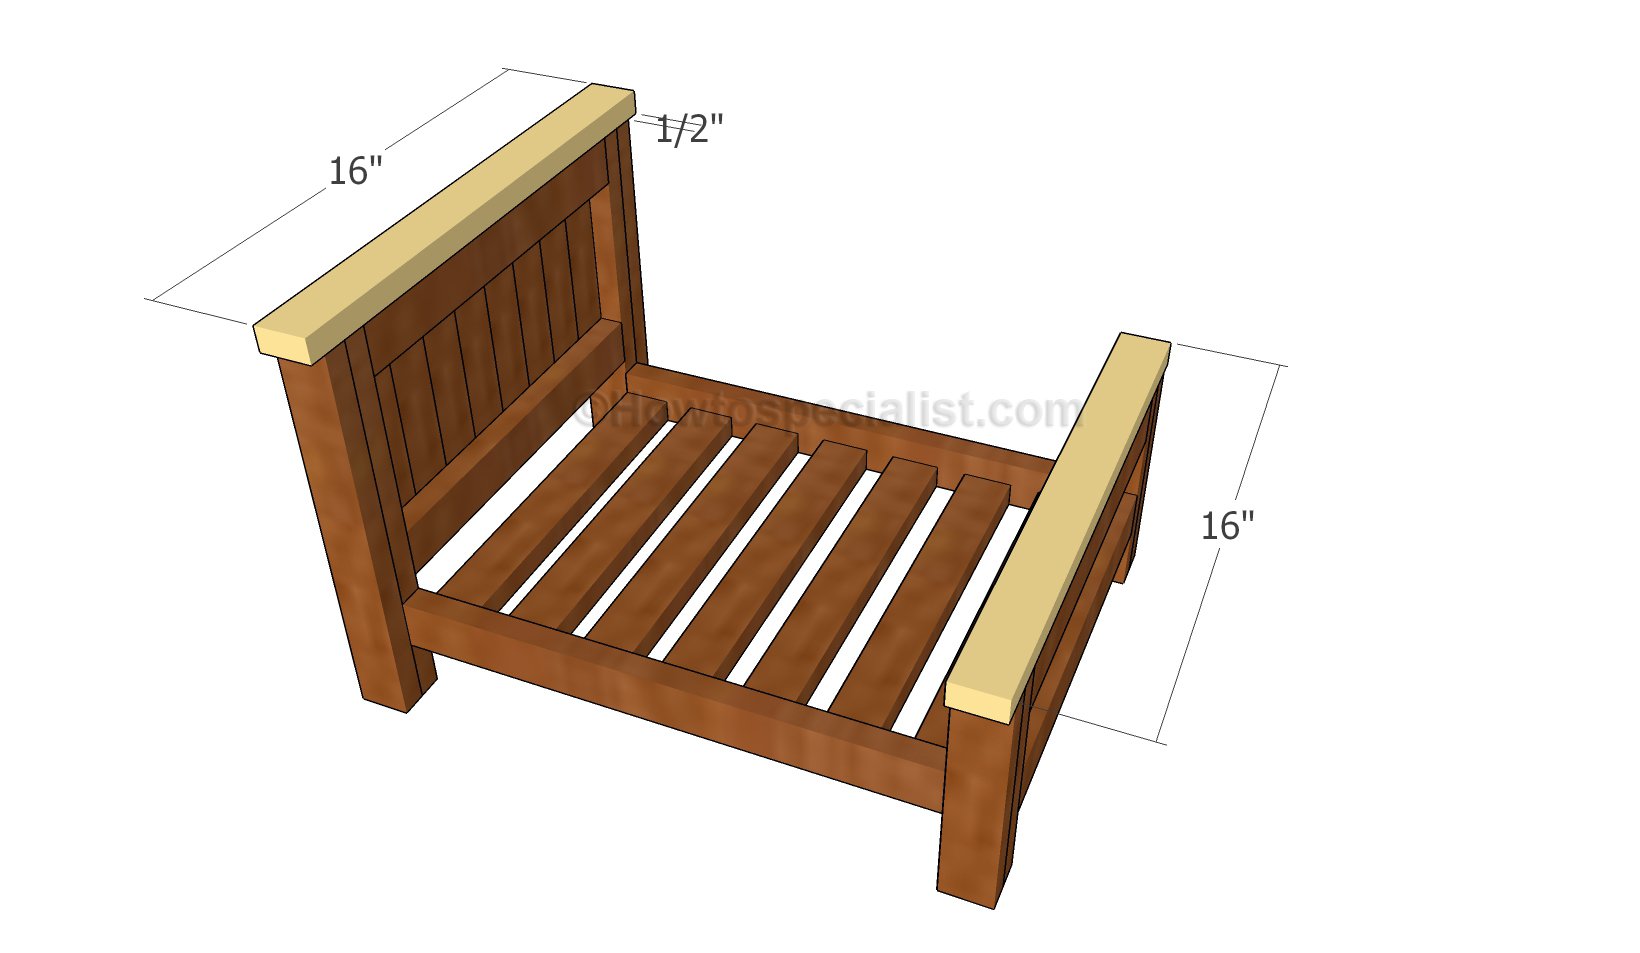
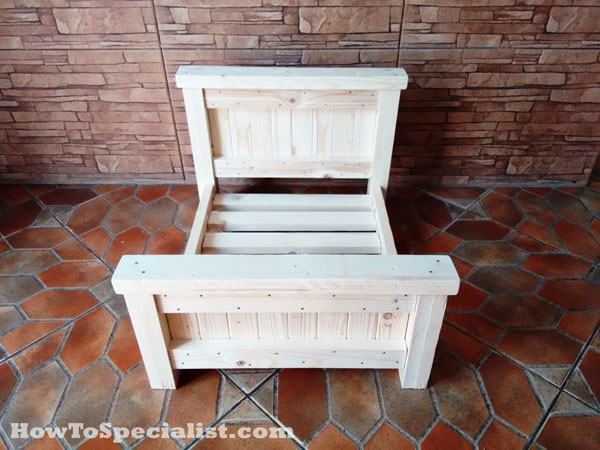
Fitiing the top trims
Attach the top trims to the bed frame using glue and 1 1/4″ finishing nails.
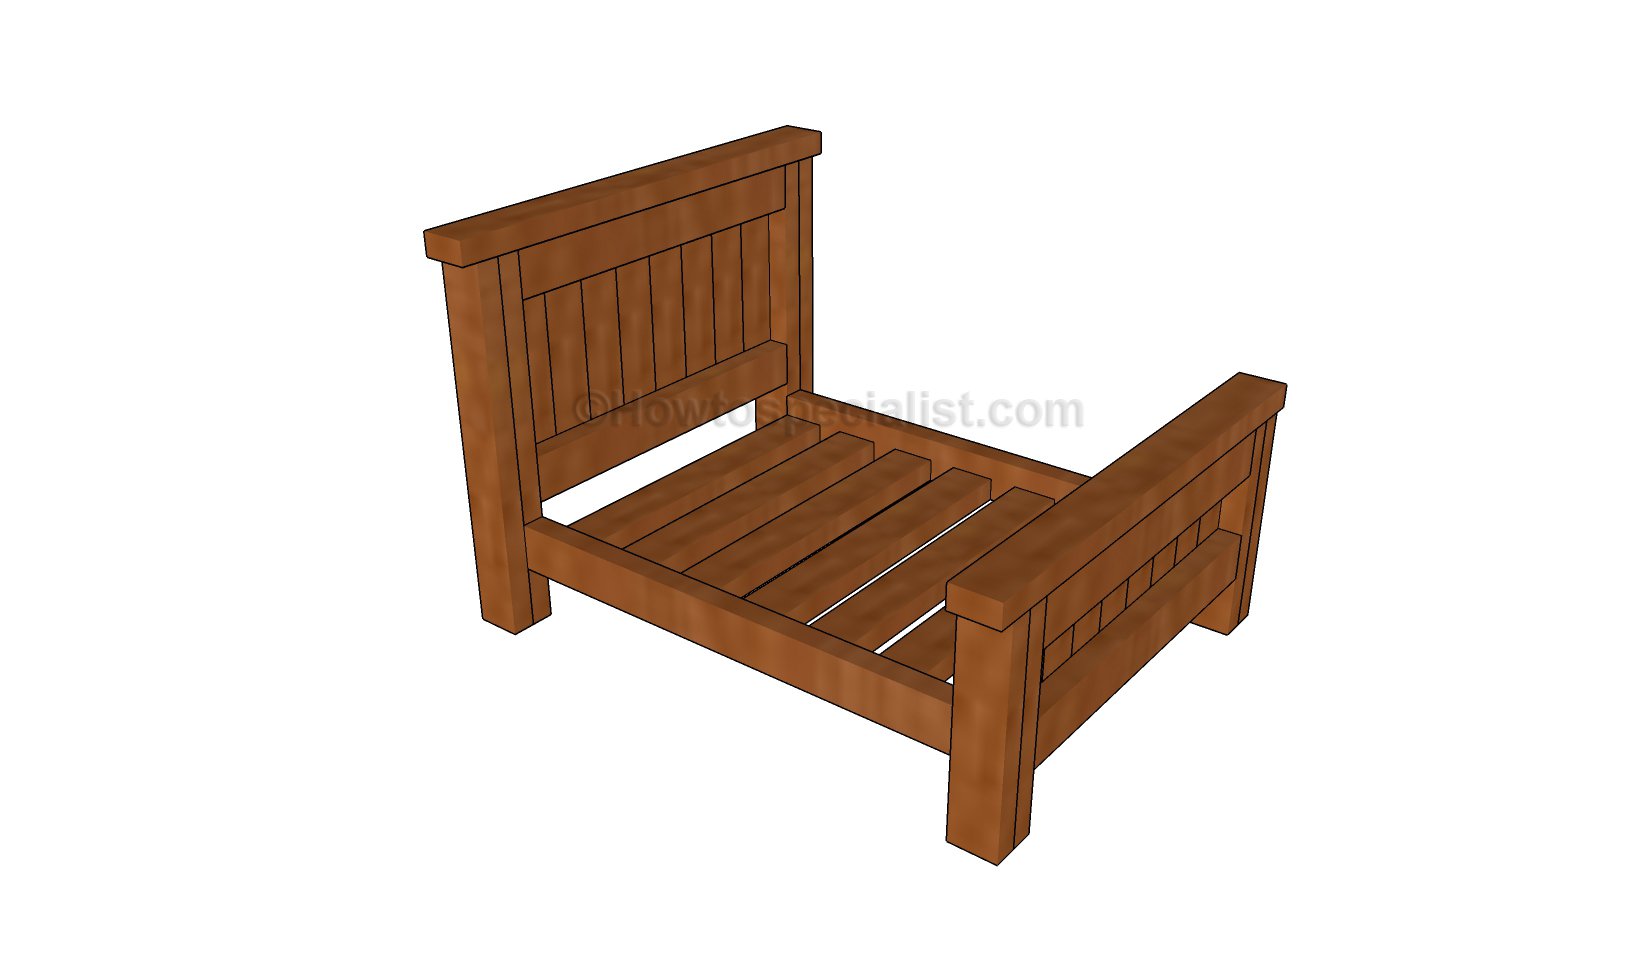
How to build a pet bed
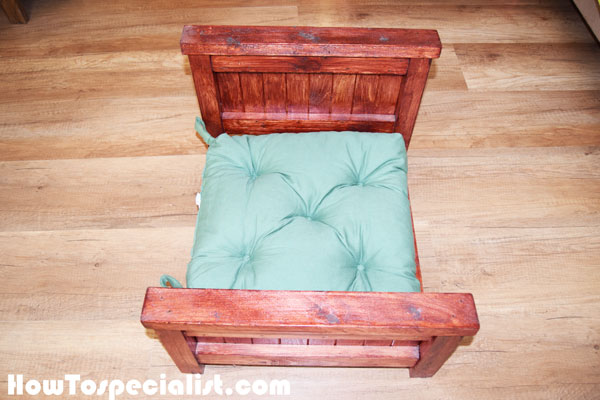
Find an appropriate pillow for the bed frame. If you like the design, you can use the project as a doll bed.
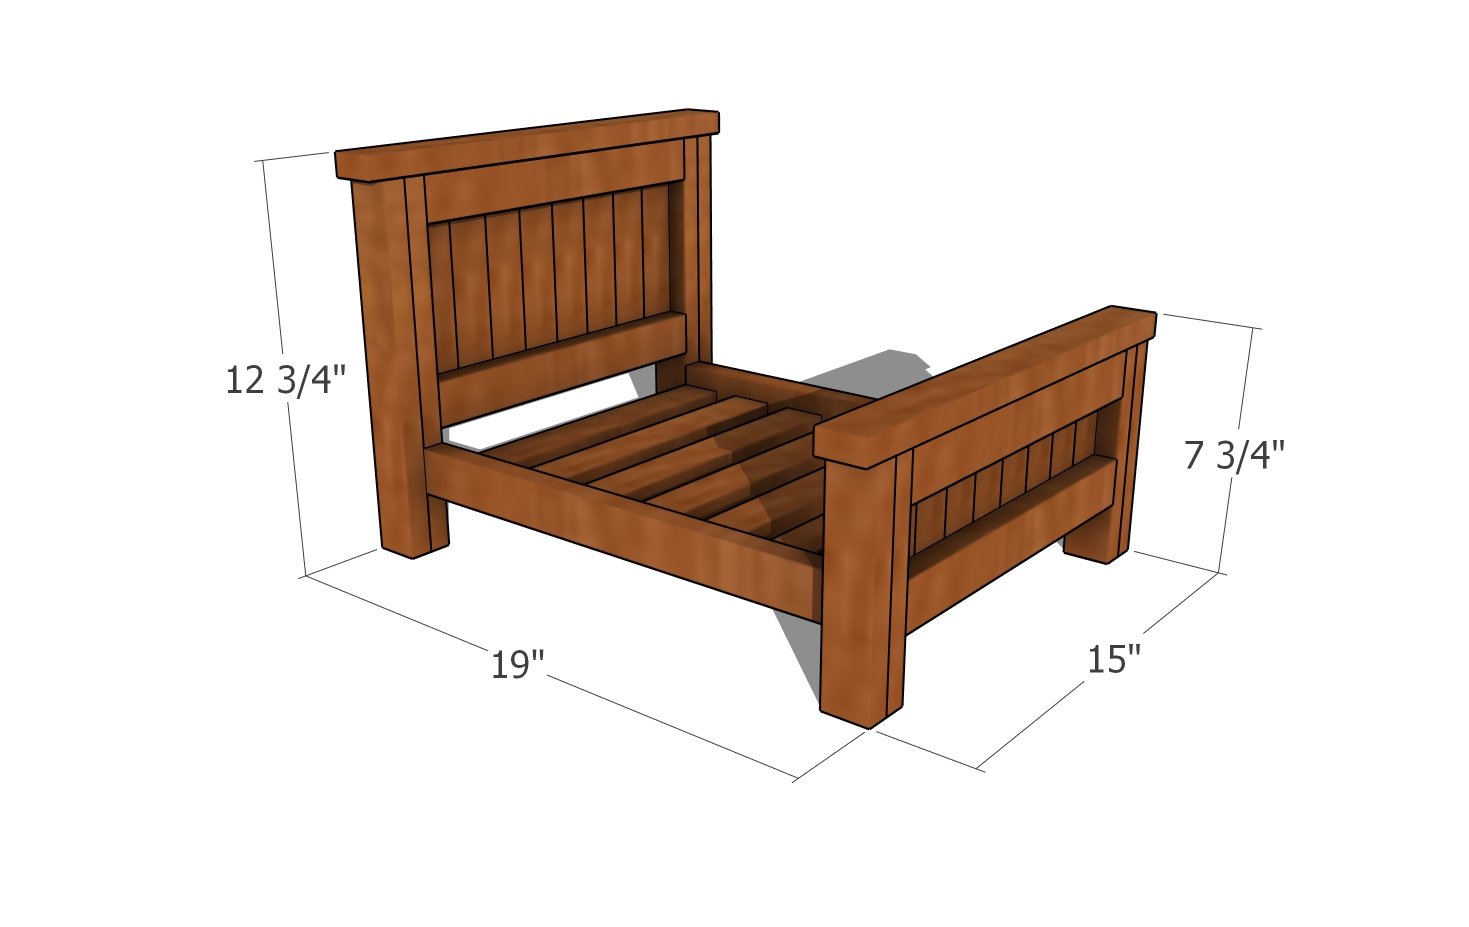
Pet bed – dimensions
Pet bed plans
What you will like the most about this project is that all components are built from 1×2 slats.
How to build a farmhouse pet bed
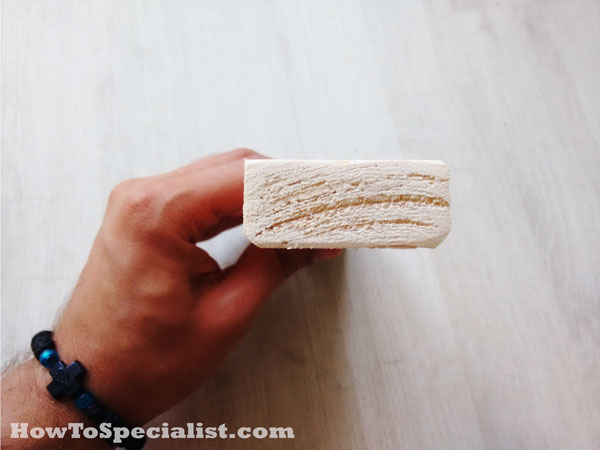
Assembling the legs
The first step of the woodworking project is to build the legs. Therefore, cut the components from 1×2 lumber and smooth the edges with sandpaper. Add glue to one edge of the components.
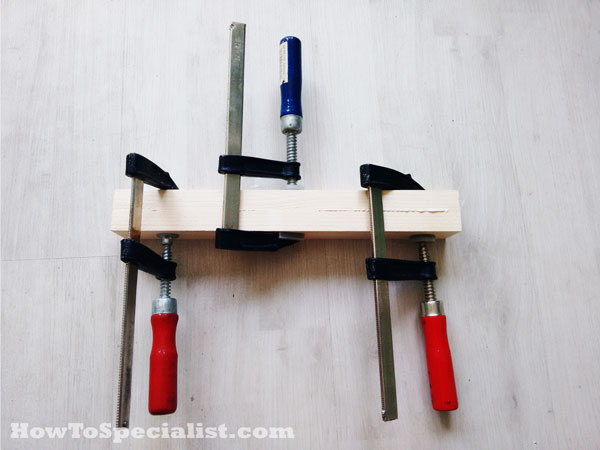
Gluing the legs
Clamp the two pieces of 1×2 lumber together tightly, after aligning the edges with attention and let the glue dry for a few hours.
Sanding the edges of the panel slats
Cut the components for the panel of the headboard. As you can see in the diagram, I used sandpaper to smooth the exposed edges of the slats.
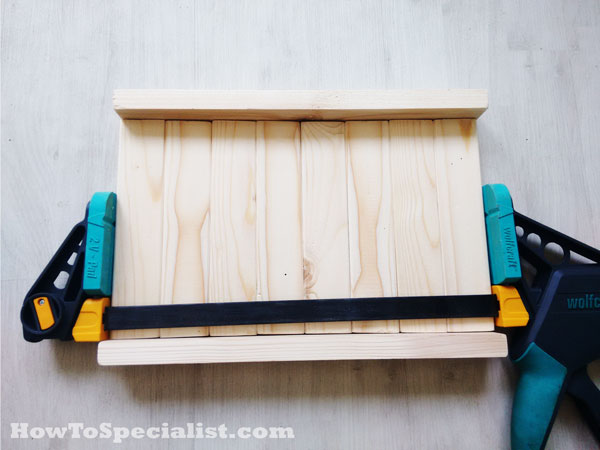
Making the headboard panels
Align the slats and clamp them together tightly. Leave no gaps between the slats.
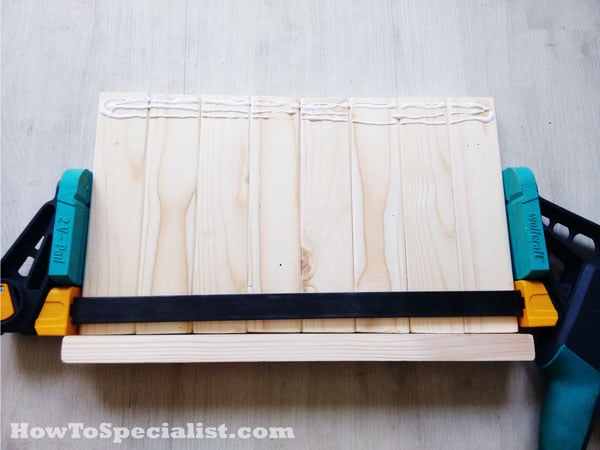
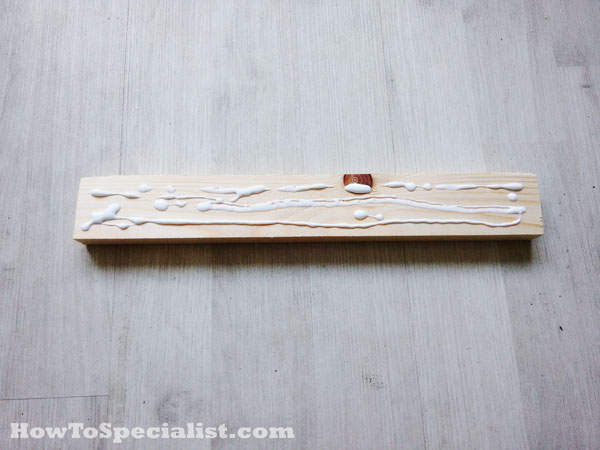
Adding glue to the headboards
Add glue to the top and to the bottom of the panels, as shown in the diagram.
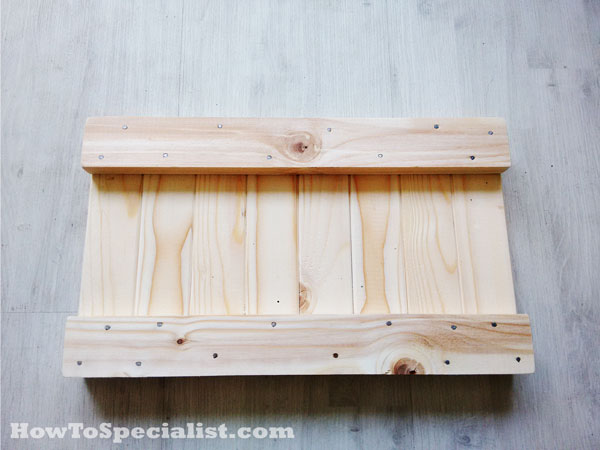
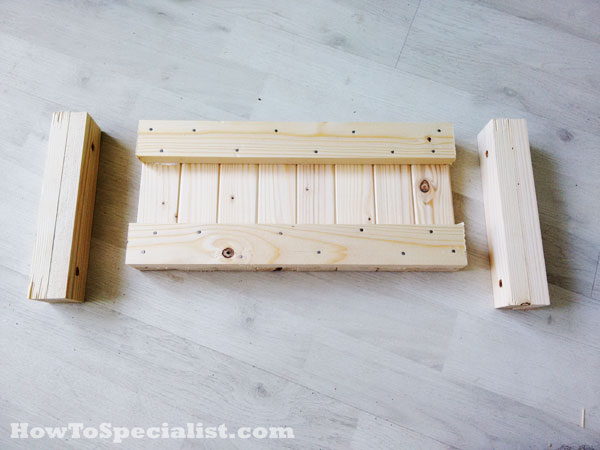
Building the headboard
Fit the 1×2 cleats and secure them to the panel with 1 1/4″ brad nails.
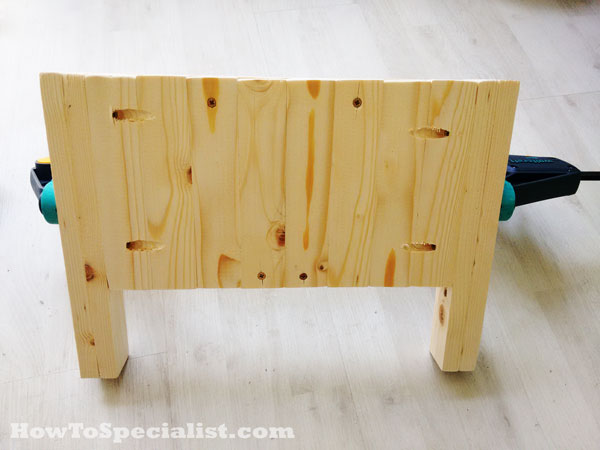
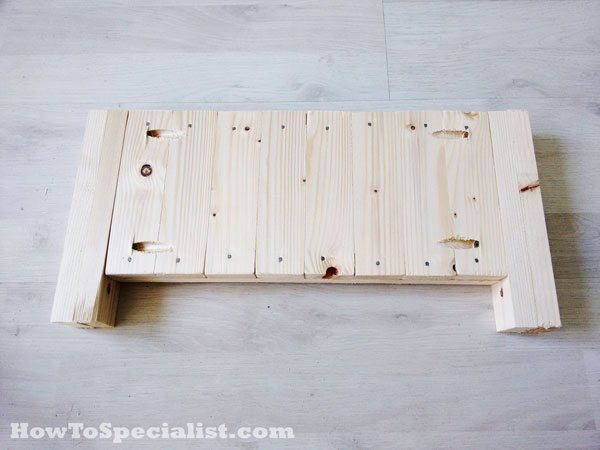
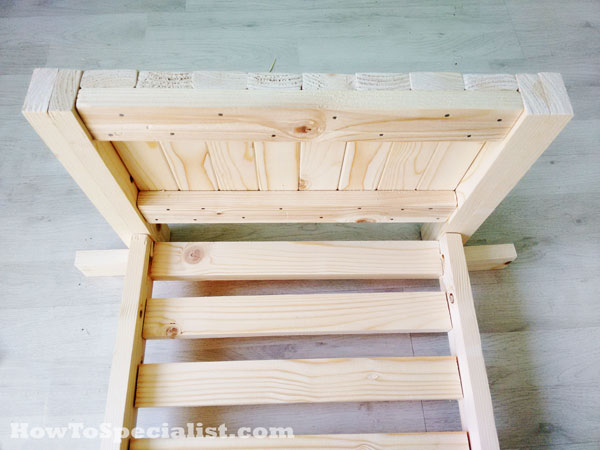
Attaching the legs to the headboard
Drill pocket holes along the sides of the headboard and secure it to the legs using 1 1/4″ screws. Add glue to the joints and make sure the corners are square.
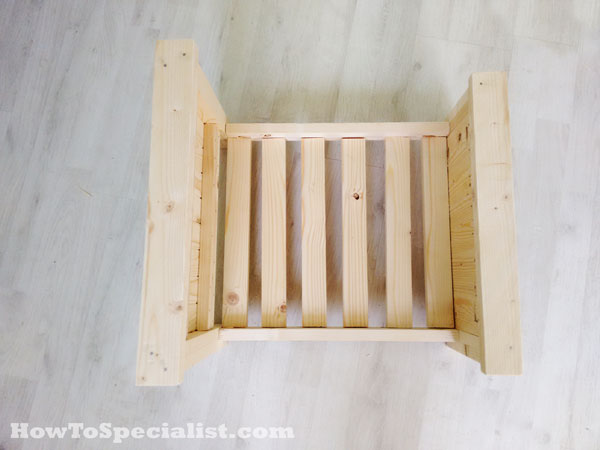
Assembling the footboard
Build the components for the footboard before assembling them together.
Building the -footboard
Drill pocket holes along the sides of the back of the panel ad insert 1 1/4″ screws into the legs. Add glue and leave no gaps between the components.
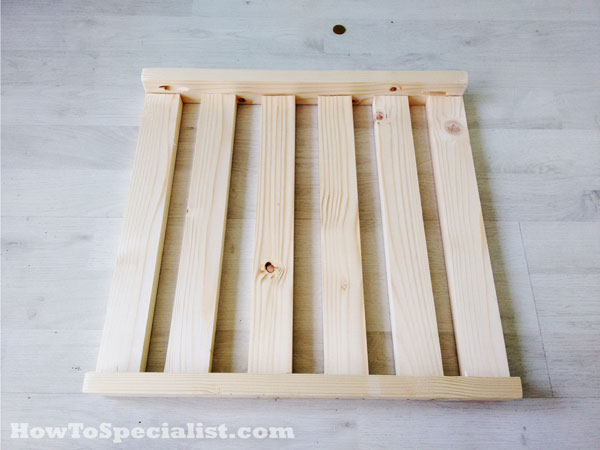
Building the bed rails
Build the rails for the bed frame out of 1×2 lumber. Drill pocket holes at both ends of the rails. Insert 1 1/4″ nails through the rails into the supports splats. Place the support slats equally-spaced and align everything with attention.
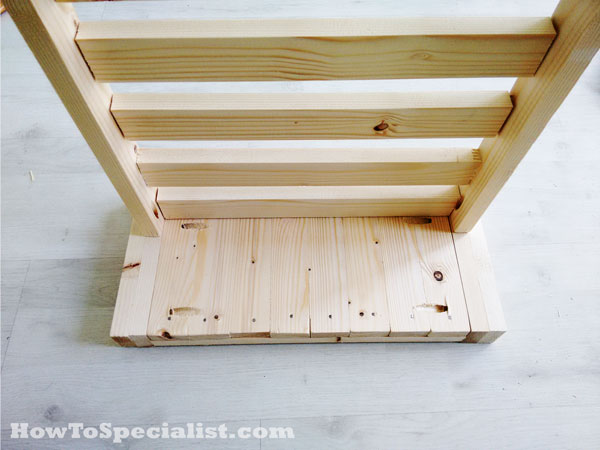
Assemble the pet bed
Attach the rails to the headboard and insert 1 1/4″ screws.
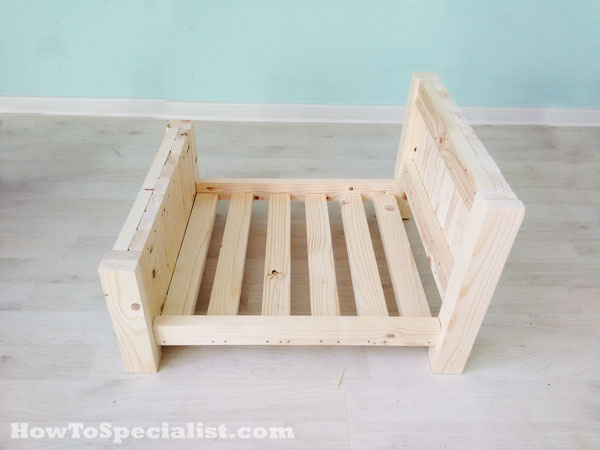
Building a pet bed
Next, attach the rails to the footboard, making sure the corners are right-angled. Leave no gaps between the components.
Attaching the headboard
As you can see in the image, my pet bed is starting to take shape quite nicely.
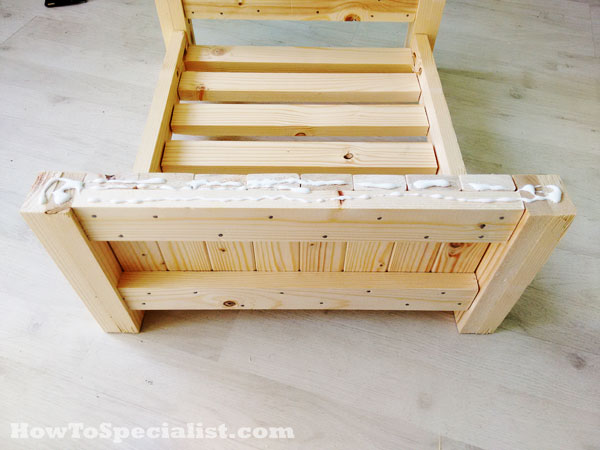
Adding glue for the top trims
I applied glue to the top of the footboard and headboard.
Doll bed plans
Next, I attached the trims to the headboard and to the footboard. Center the trims before securing them into place with nails.
How to build a pet bed
After assembling the pet bed, you need to smooth the surface and to fill the holes with wood putty.
DIY Pet Bed
Apply conditioner to the wooden components before applying the stain. This will enhance the durability of the bed frame.
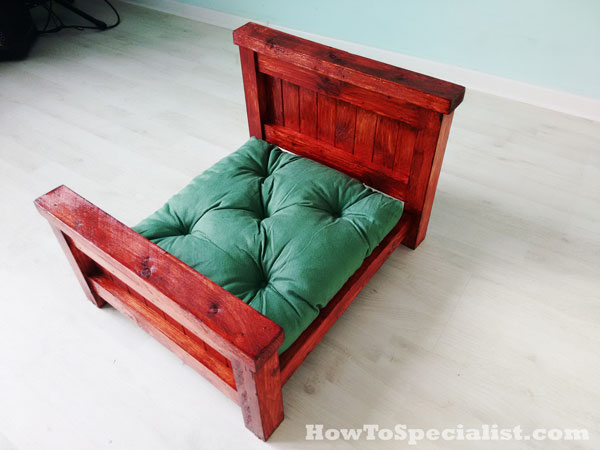
Staining the pet bed
I used rosewood stain and then I applied a few coats of sprain lacquer to seal everything. I fitted the pillow to the bed frame.
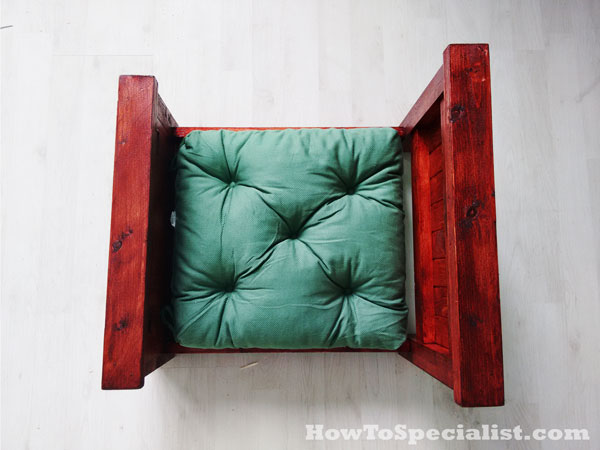
Fitting the pillow
I am happy with the final look of the project and I am looking forward to seeing my cat using it.

Pet bed plans
Pet Bed
I hope you enjoyed this this step by step tutorial and you should take a look over the rest of my projects. I would love to hear your feedback and to see your pins, likes and shares. If you build this pet bed don’t forget to send a few pics. If you want to protect them from decay.
Thank you for reading our project about how to build a pet bed and we recommend you to check out the rest of the projects. Don’t forget to SHARE and LIKE our projects with your friends, by using the social media widgets, if you want to help us keep adding free woodworking plans.