This a article is about how to finish a drywall arch. After we have shown you how to build the frame and the drywall arch, it is time to continue the project with the next stage: finishing the drywall arch. This operation is not very complex nor requiring extreme skills, but you must learn the basics in order to finish the project. Consequently, we will highlight the main techniques and steps, in order to be able to finish your drywall arch. Therefore, make sure you apply a couple of coats of putty and you use paper tape (or fiberglass mesh) on the edges of your drywall arch.
First of all, you need to spread drywall putty over the edges and joints, and use a fiberglass mesh or drywall paper to hide the irregularities. In order to apply the putty, you have to use several tools: such as a trowel and a float. In addition, you should use a cutter or an utility knife to cut the drywall paper to the needed length.
Next, you have to sand thoroughly those surfaces several times, using different granulations of sandpaper, in order to obtain a proper finish. Make sure you use a respiratory mask, as the dust resulting from the operation is very toxic for your respiratory system.
Last but not least, you have to clean the surface with a dry cloth or a large brush, as to remove the dust. Then, you have to apply a couple of coats of paint, in order to get the job done in a proper manner. Finishing the drywall arch is not difficult, just make sure you follow all these steps and tips.
Made from this plan
Materials
- Drywall mud
- Fiberglass net / paper tape
- Float, 4-inch trowel
- 10-inch trowel, bucket
- Mixing paddle, drill machinery
Tools
- Safety gloves, safety glasses
- Utility knife, measuring tape
- Float, 4-inch trowel
- Bucket, mixing paddle
- Drill machinery
Tips
- Use quality paper tape or fiberglass net
- Apply three coats of drywall mud, for a professional finish
How to finish a drywall arch
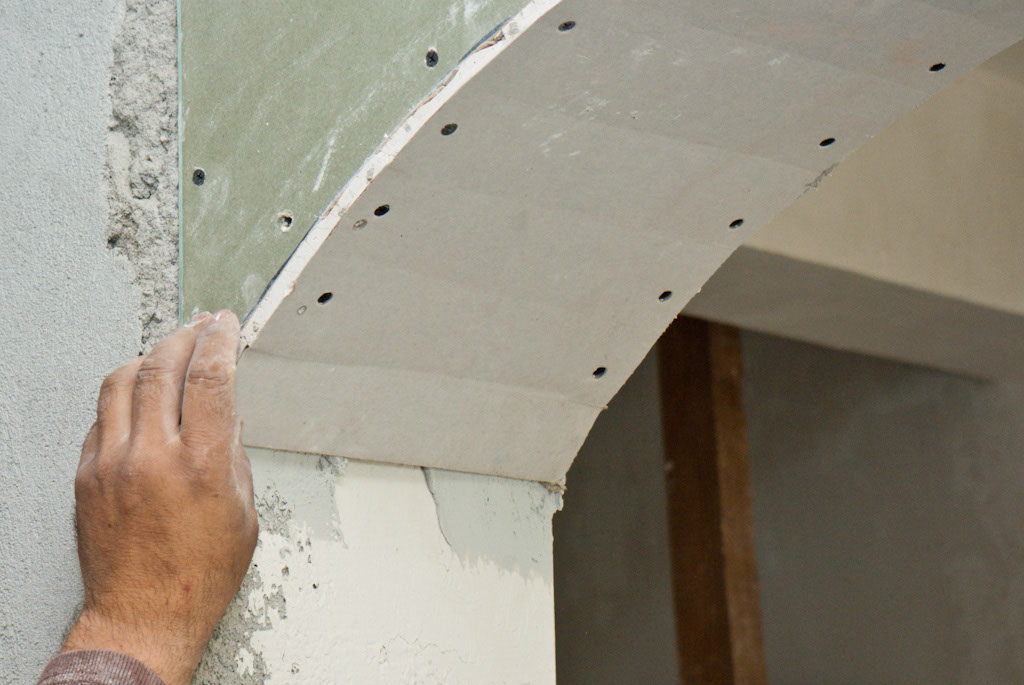
Finishing the drywall arch ends
The first step is to evaluate the drywall arch, to see if it has been built properly, if it is aligned with the door opening and if is properly secured into position. Afterwards, if nothing is wrong, you can proceed to preparing the drywall mud.
Consequently, there are two possible situations: if the bucket has water over the compound, then you have to mix the product with a mixing puddle. On the other hand, if notice no water in the bucket, it means that the mud is ready to use. However read carefully the product’s label, as to find out more.

Using a float to apply mud on drywall arch
Next, start applying the drywall mud on the joint between the arch and the door opening, by using a float. Load about 2” of mud on the float, and apply it with linear moves on the drywall. Make sure that there are no paper or residues in that area, as they could mix with the compound and damage the look of the arch.
Remember that you should apply enough mud as to create a curved surface, which has to match with rest of the arch.

Applying mud with a trowel
We have also used a 5” trowel to apply mud on the screw heads. If there is any excess material, just load it on your knife and then scrap it into the bucket.
Remember that you have to apply three coats of mud, so the first one should be as thin as possible, but in the same time it should cover all irregularities on the drywall boards. Do not apply too much mud at once, just apply little material, and add more if necessary.
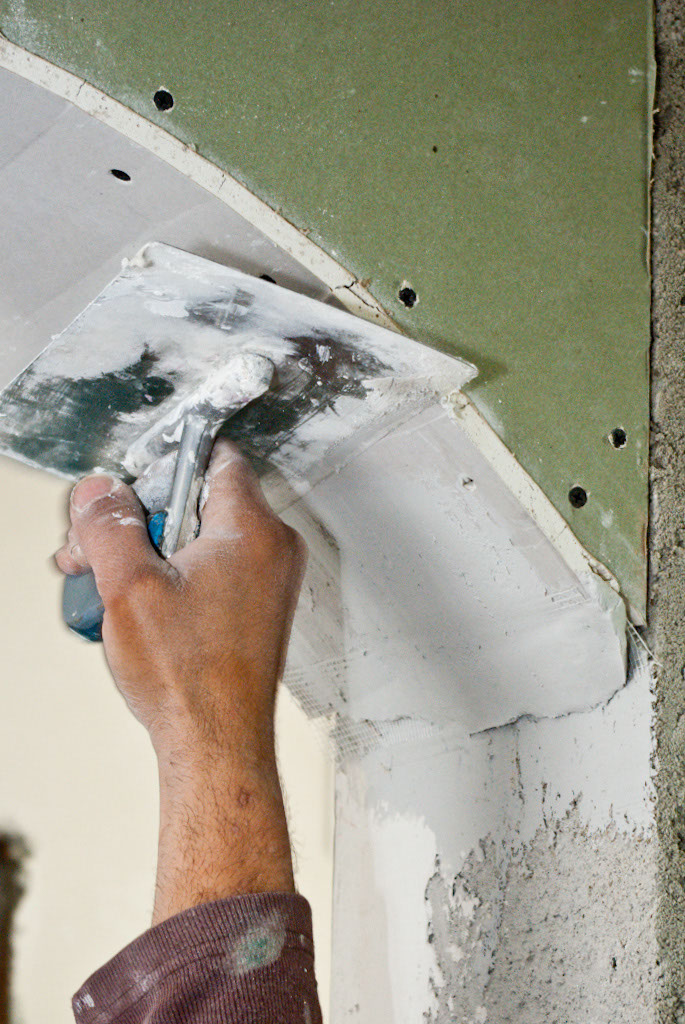
Covering the screw heads with drywall mud
In this image you can see the technique from a different perspective, as to be as relevant as possible. The float is a very useful too and we recommend you to buy one, as it pays off the money, especially when working with curved surfaces. Use plastic gloves as to avoid dirtying your hands. In addition, when applying the coats of mud, just use some old clothes, as it is likely to dirty them too.
The hand which applies the compound with the float must be loose. Stretch the mud layer as much as possible, by moving the float several times. Afterwards, you should repeat the process, until the surface is straight, with no signs of irregularities. Remove the excess mud that on the adjacent areas.
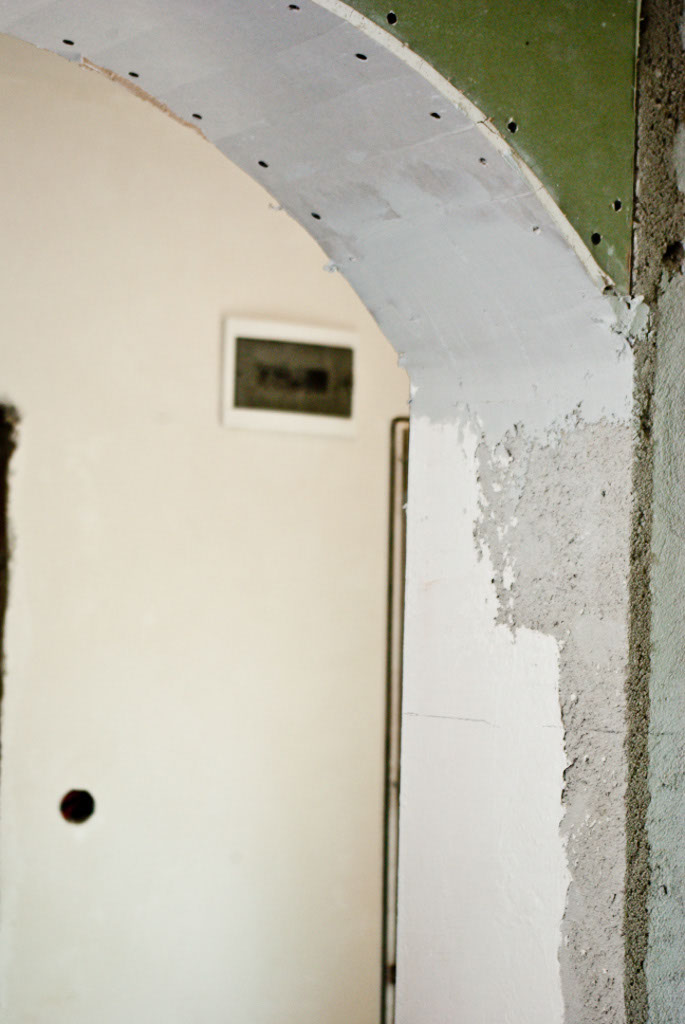
First coat of mud on the drywall arch
Roughly speaking, you can notice in the image one end of the the drywall arch. We applied the mud and then stretched it with the float, as to get a beautifully curved surface, to match the pattern of the arch.
If you finished this step and you are satisfied with the result, you can go to the next step: applying the paper tape. However, there are two similar product you can use: either paper tape or fiberglass net. You can choose any of these two products, as we assure you that they are both very good, but in this project we used rolls of fiberglass net.
After you have finished applying the mud on a joint or edge, you should fix the fiberglass net. Just unroll the necessary length, center it over the joint and then press it over the mud.It is essential to center the paper tape / fiberglass net, as to secure the joint. You can see the whole process in the following images.
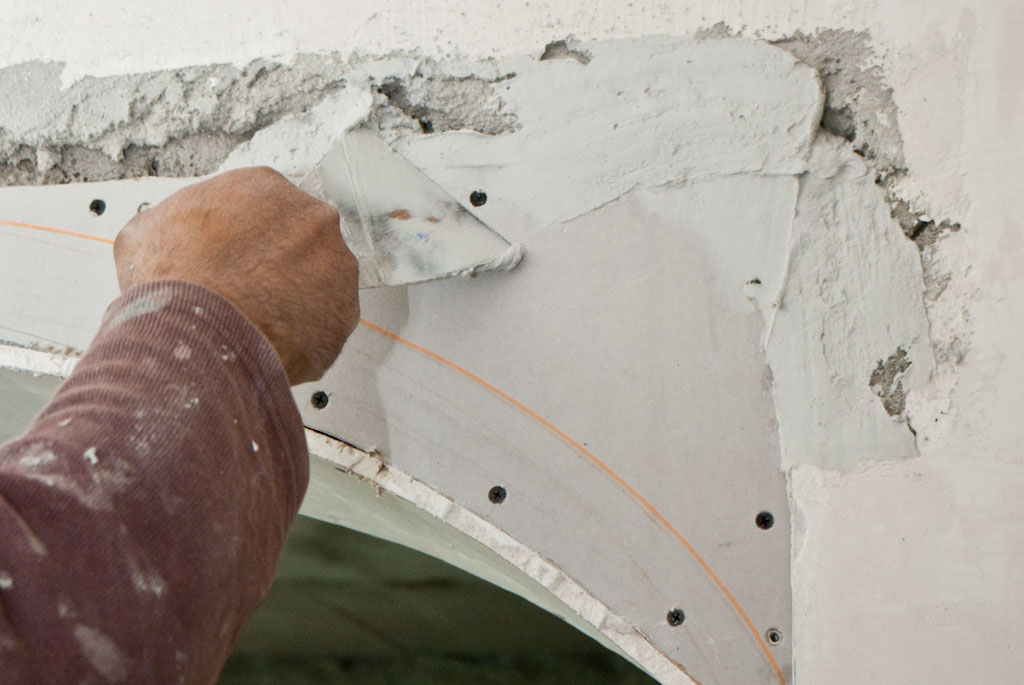
Applying mud to the arch edges
If there are any other irregularities around the drywall arch, just fill them with mud, using the knife. We first applied compound material, as to fill in all the gaps and then used a bigger knife or a float, to smoothen the surface.
Load the excess material on the drywall knife and then put it back in the bucket, as to be able to reuse it later. Remember to verify if the created surface is level with the rest of the wall and arch, as later it would be difficult to repair these mistakes.
Finishing a drywall arch

Applying fiberglass net on the drywall edges
After you made sure there is no excess material in the areas where you have applied drywall mud, it is time to install the paper tape / fiberglass material as to give strength to the joints.
Consequently, measure the needed dimensions and cut a piece of tape to the required length. Next, place the net on the center of the joint and press it gently with your fingers on the fresh mud. Remember that the tape must be stretched as much as possible, otherwise it will make folds.

Applying paper tape on the drywall edges with knife
After you have secured one end of the net on the intended surface, just use the drywall knife to push the rest of the tape, making sure the paper tape is perfectly stretched.
Go gently several time with the trowel over the net, as to make sure it is well fixed on the surface. In addition, check the area as to notice any possible undesired folds. If you find any, just remove the tape off the wall, and apply it again, this time properly.

Applying fiberglass net on the curved arch
Now that we have applied the paper tape / fiberglass net on the arch joints with the door frame, it is time to also install the tape on the curved arch.
The technique is similar: unfold 15”/40 cm of paper tape / fiberglass net, and attach one half of it to the curved arch. The net has adhesive on one side, so it will stick on the drywall. Remember to stretch it as you apply it on the arch.
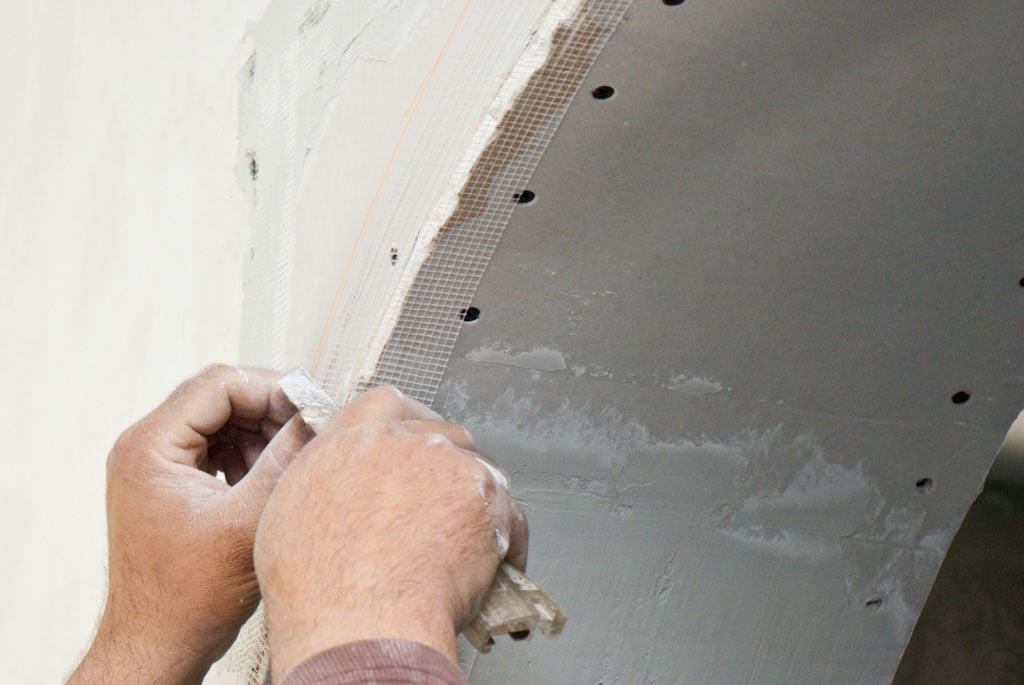
Finishing the curved arch edges
You will probably notice that when attaching the other half of the tape on the perpendicular drywall, it would tend to create folds. The solution is to use a razor knife and to cut the sides of net in those areas, and then to attach it on the curved arch. Place the drywall knife at one end of the joint, and then go over the surface to the other end, while pressing the tape / net in the material.
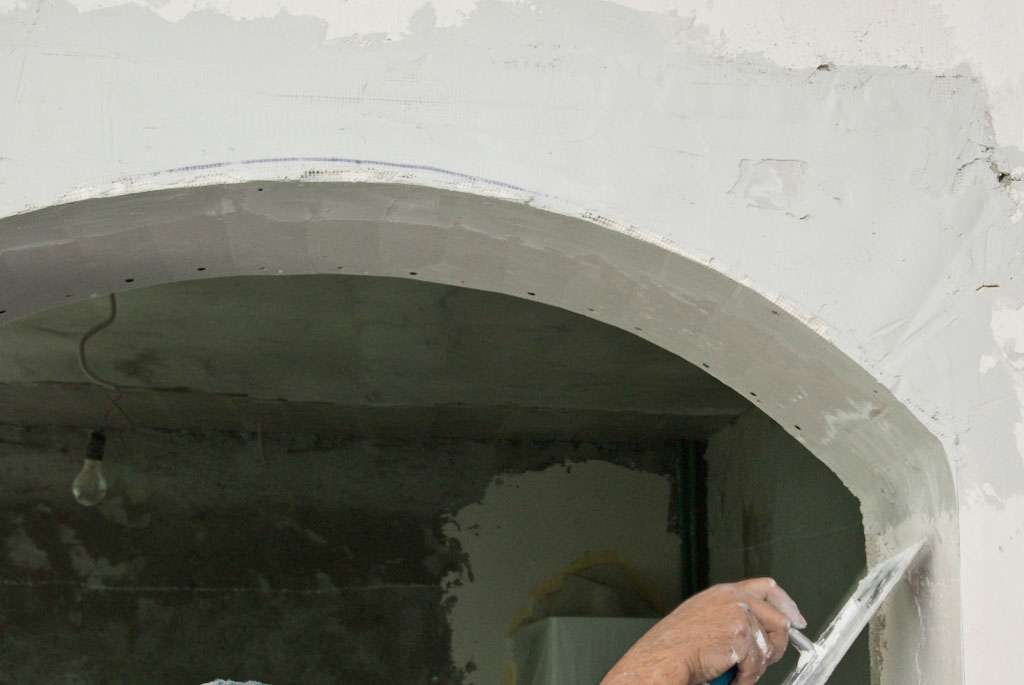
Applying the second coat of drywall mud
If the covered joints are dried, they will turn into perfect white. Use medium-grit sand paper to smooth the surface, but don’t remove too much of the coat, as to uncover the paper tape. Use a respiratory mask when sanding.
Clean the surface of dust and apply a second cost of mud on the whole surface of the arch. Wait until the mud is dried, and sand the surface using a fine-grit sandpaper.
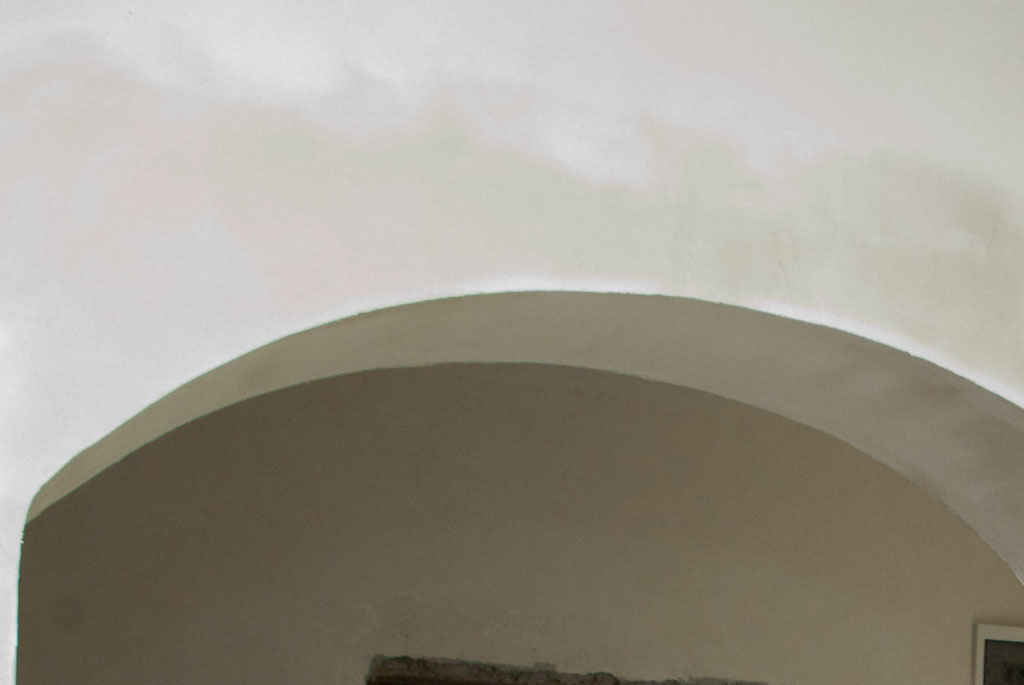
Paper-sanded drywall arch
Clean the surface thoroughly and remove the dust or any other residues. It time to apply the third and final coat of drywall mud, on the arch. In order to apply a very thin layer of mud, use a 10” knife or the float.
Wait 10-12 hours until the coat is perfectly dried (the mud should be white). Use again fine-grit sandpaper over the whole surface of the arch, as to smoothen the tinny irregularities and to get a perfectly straight area.
Thank you for reading our article on how to build a finish a drywall arch, and we recommend you to share our projects via Twitter, Facebook or Google +, by using the social media widgets.
<< Previous | Next >>
