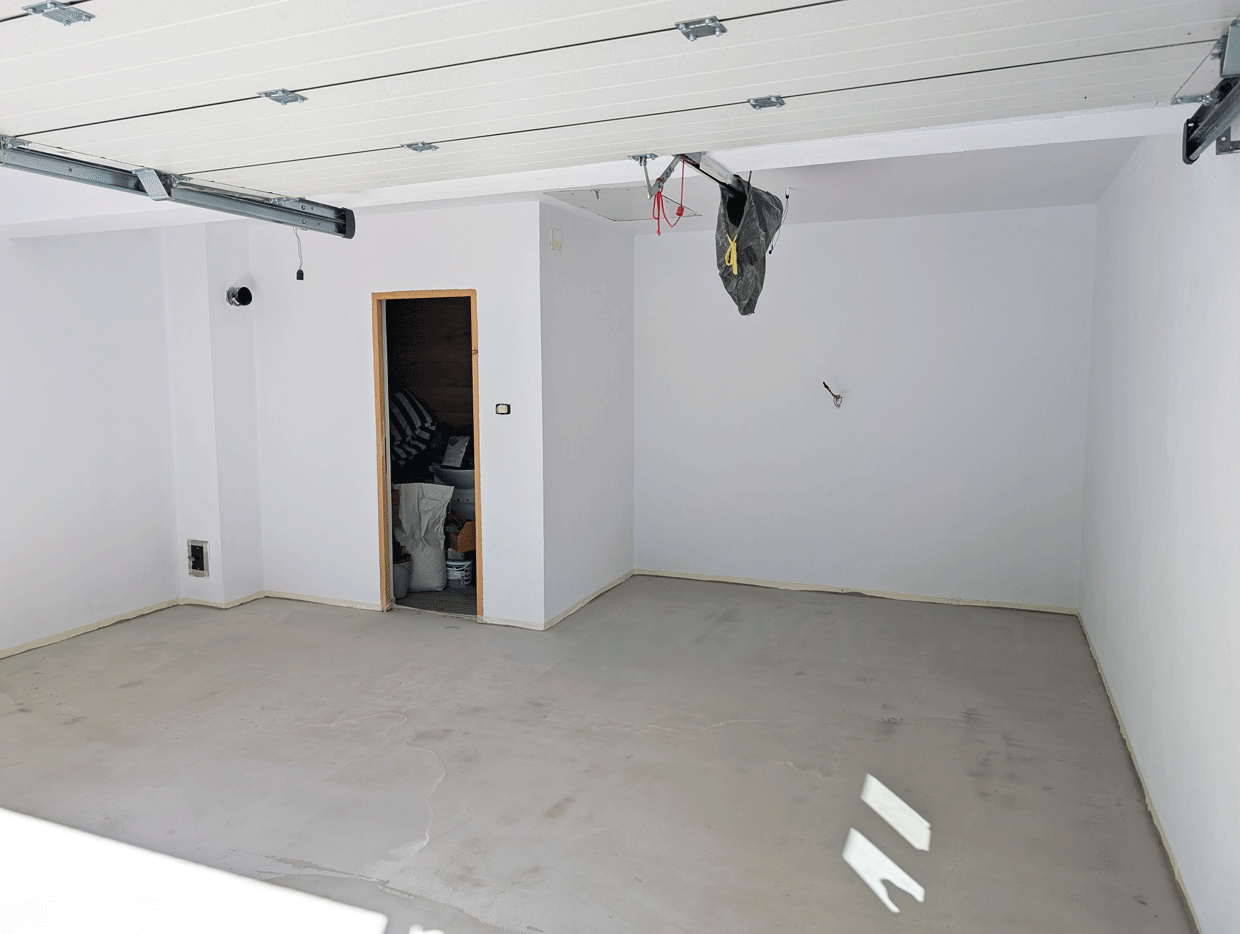
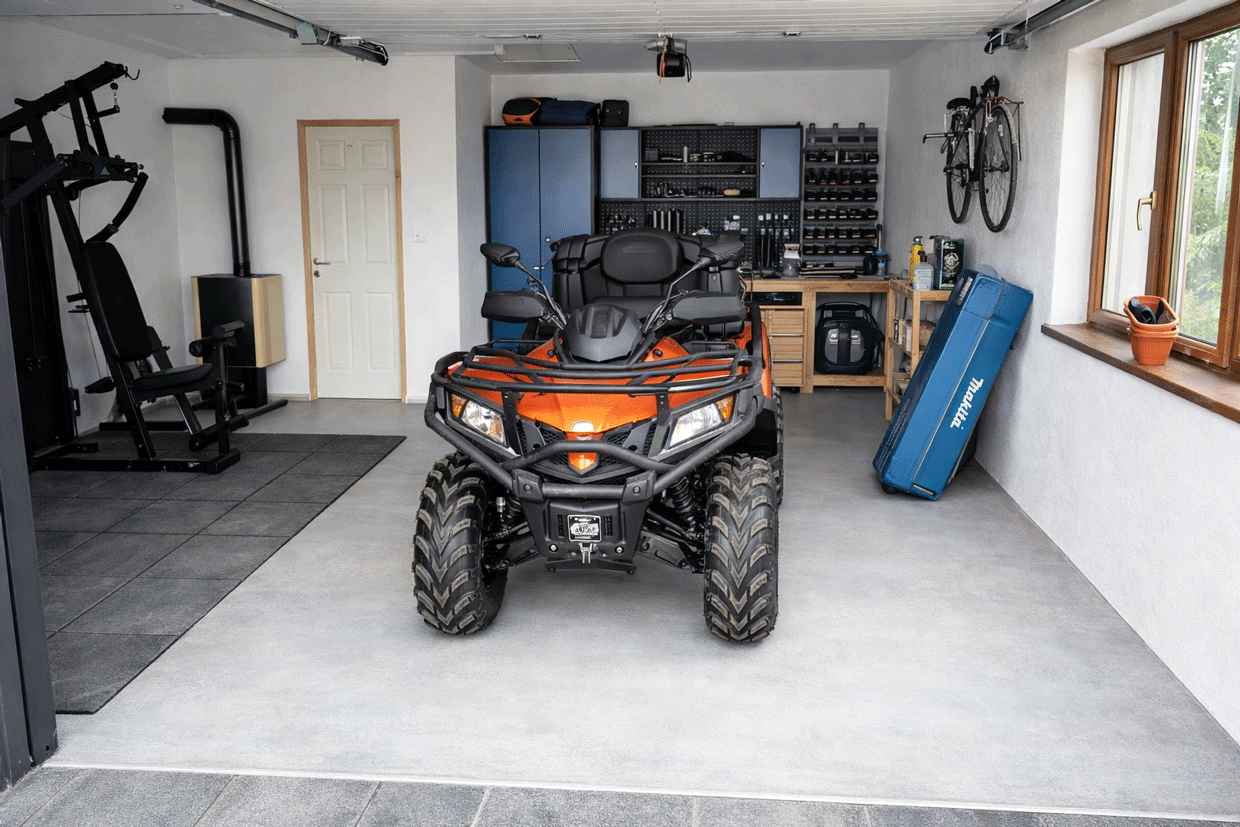
This article is about How I Finished My Garage Interior: Smooth Floor, Fresh Paint, and a Clean, Professional Look. Finishing the interior of my garage was one of those projects I kept putting off, but once I started, it completely changed how the space feels and functions. What used to be just a rough, unfinished area is now clean, bright, and actually enjoyable to work in. The focus was simple: paint the walls and ceiling for a fresh look, then upgrade the floor with a self-leveling screed and a durable two-component garage paint.
I started with the walls and ceiling because that’s what sets the tone of the whole space. After basic prep and cleaning, I applied primer and then went with a light color to reflect as much light as possible. It made a huge difference right away—the garage felt bigger, brighter, and much more organized even before touching anything else.
Next came the floor, which was in rough shape and definitely needed attention. Instead of trying to patch things here and there, I poured a self-leveling screed to create a flat, even surface. It’s one of those steps that requires a bit of planning, but once it flows and settles, it does most of the work for you. Seeing the floor transform from uneven concrete to a smooth base was easily one of the most satisfying parts of the project.
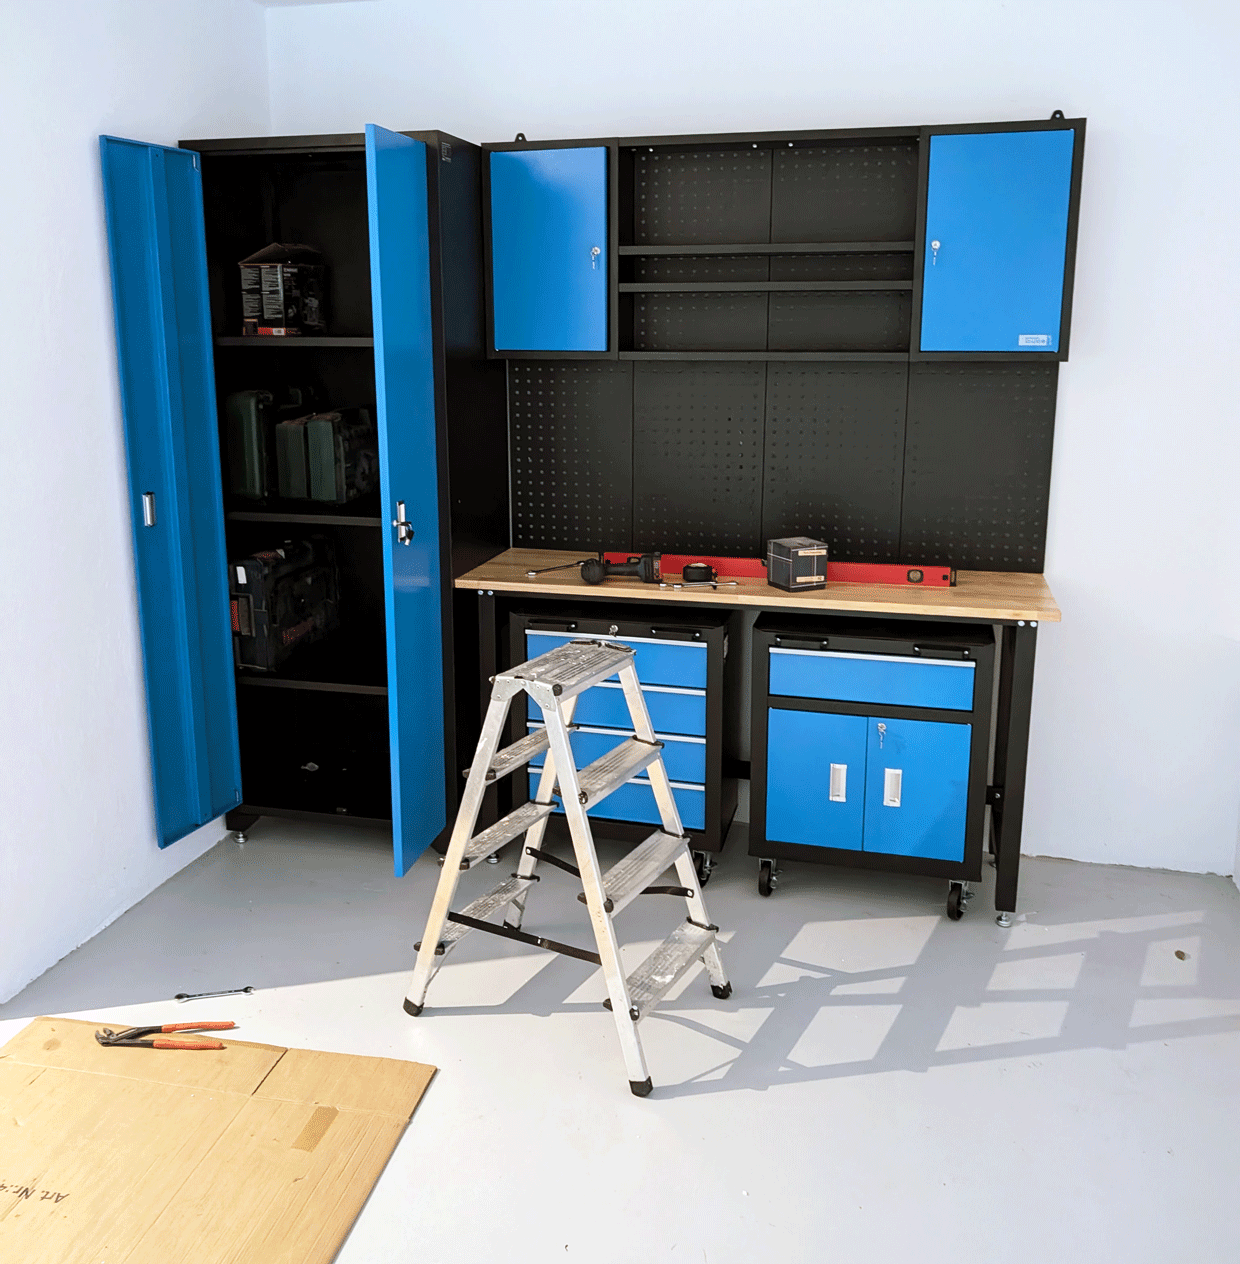
To finish it off, I applied a two-component garage floor paint. This is where everything comes together. The coating adds durability, makes cleaning easier, and gives the garage that professional, finished look. In just a few steps, the space went from basic and dusty to a proper workshop I actually enjoy spending time in.
Painting the walls
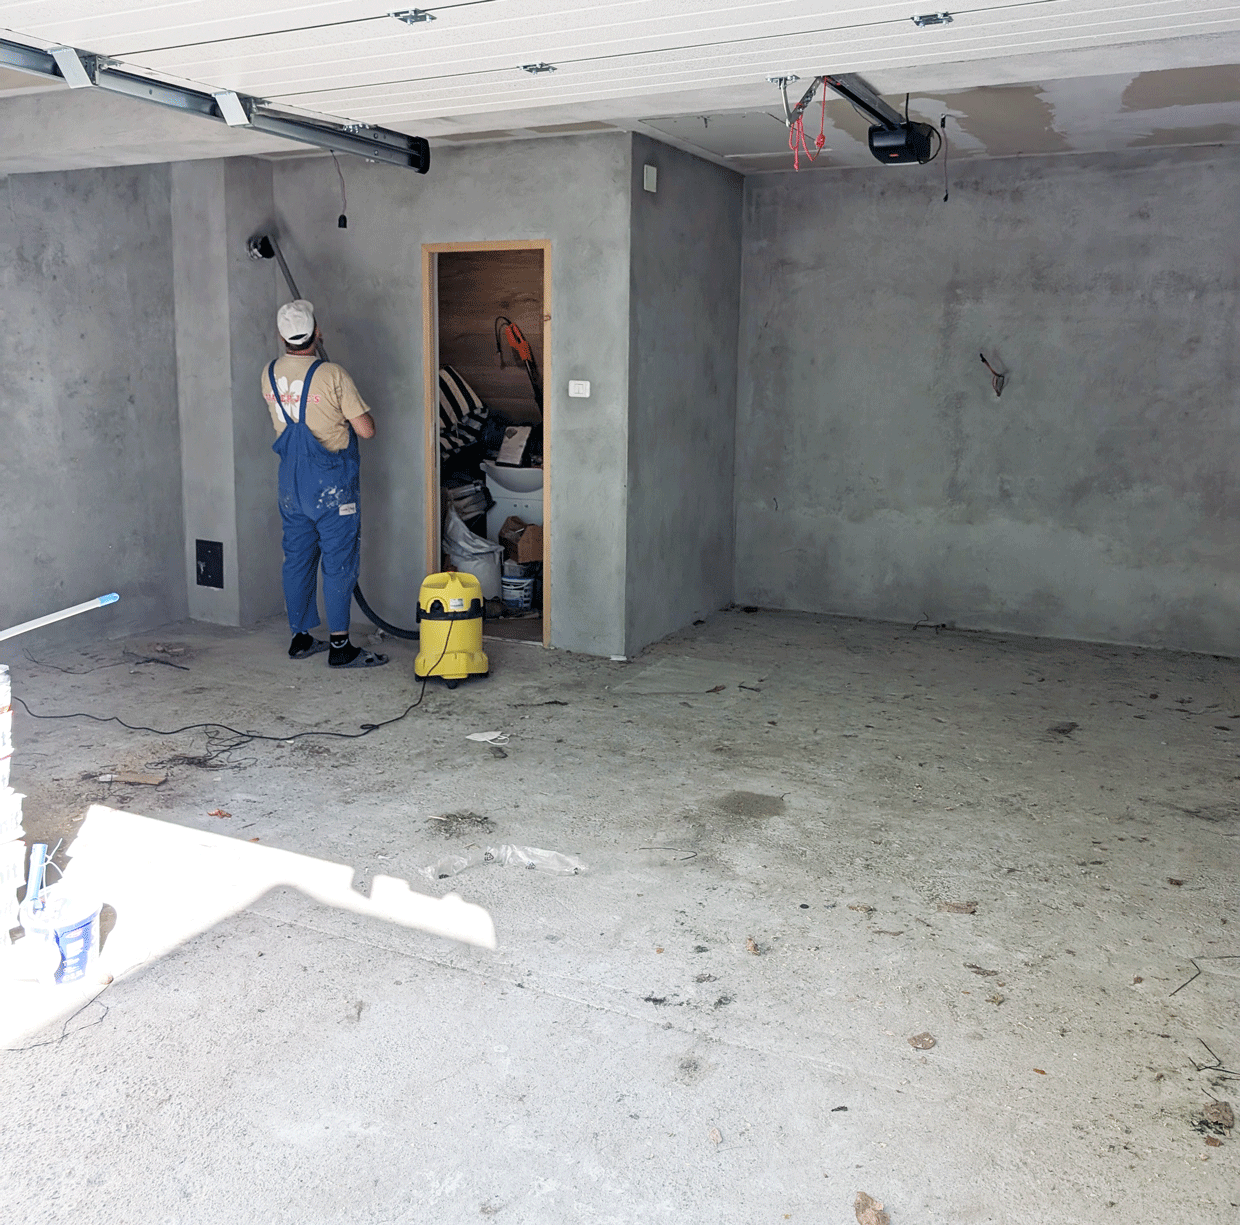

Before touching any paint, I started by vacuuming the entire interior of the garage. Walls, ceiling, corners—everything. Garages collect a lot of dust over time, and if you skip this step, the paint won’t stick properly. It’s a simple move, but it sets the tone for a clean, professional result right from the beginning.
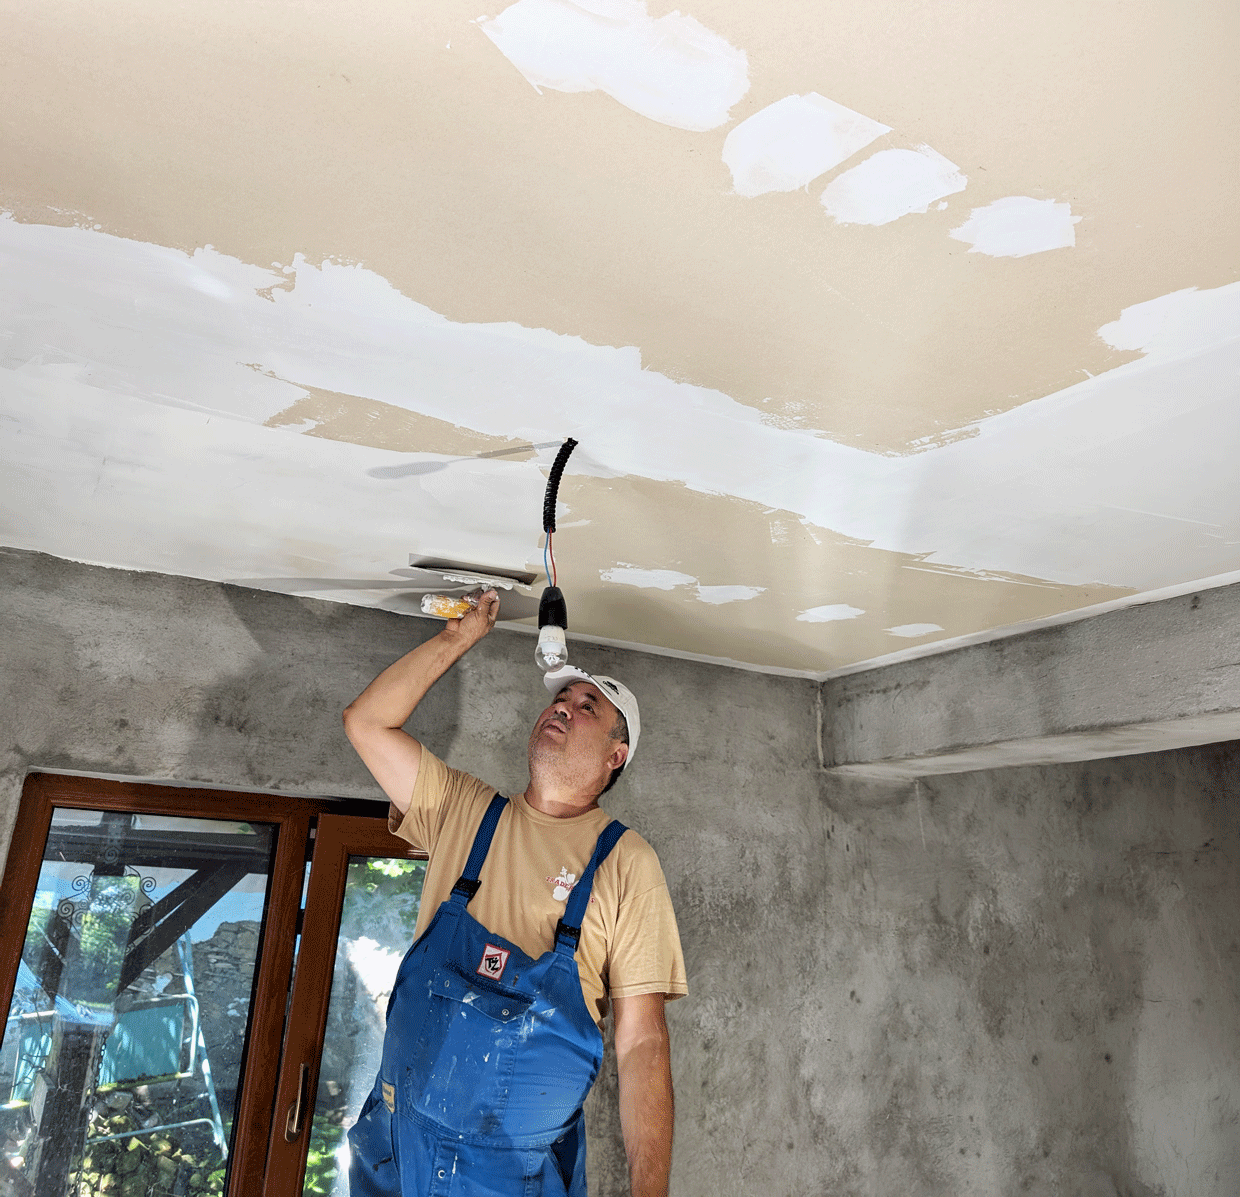
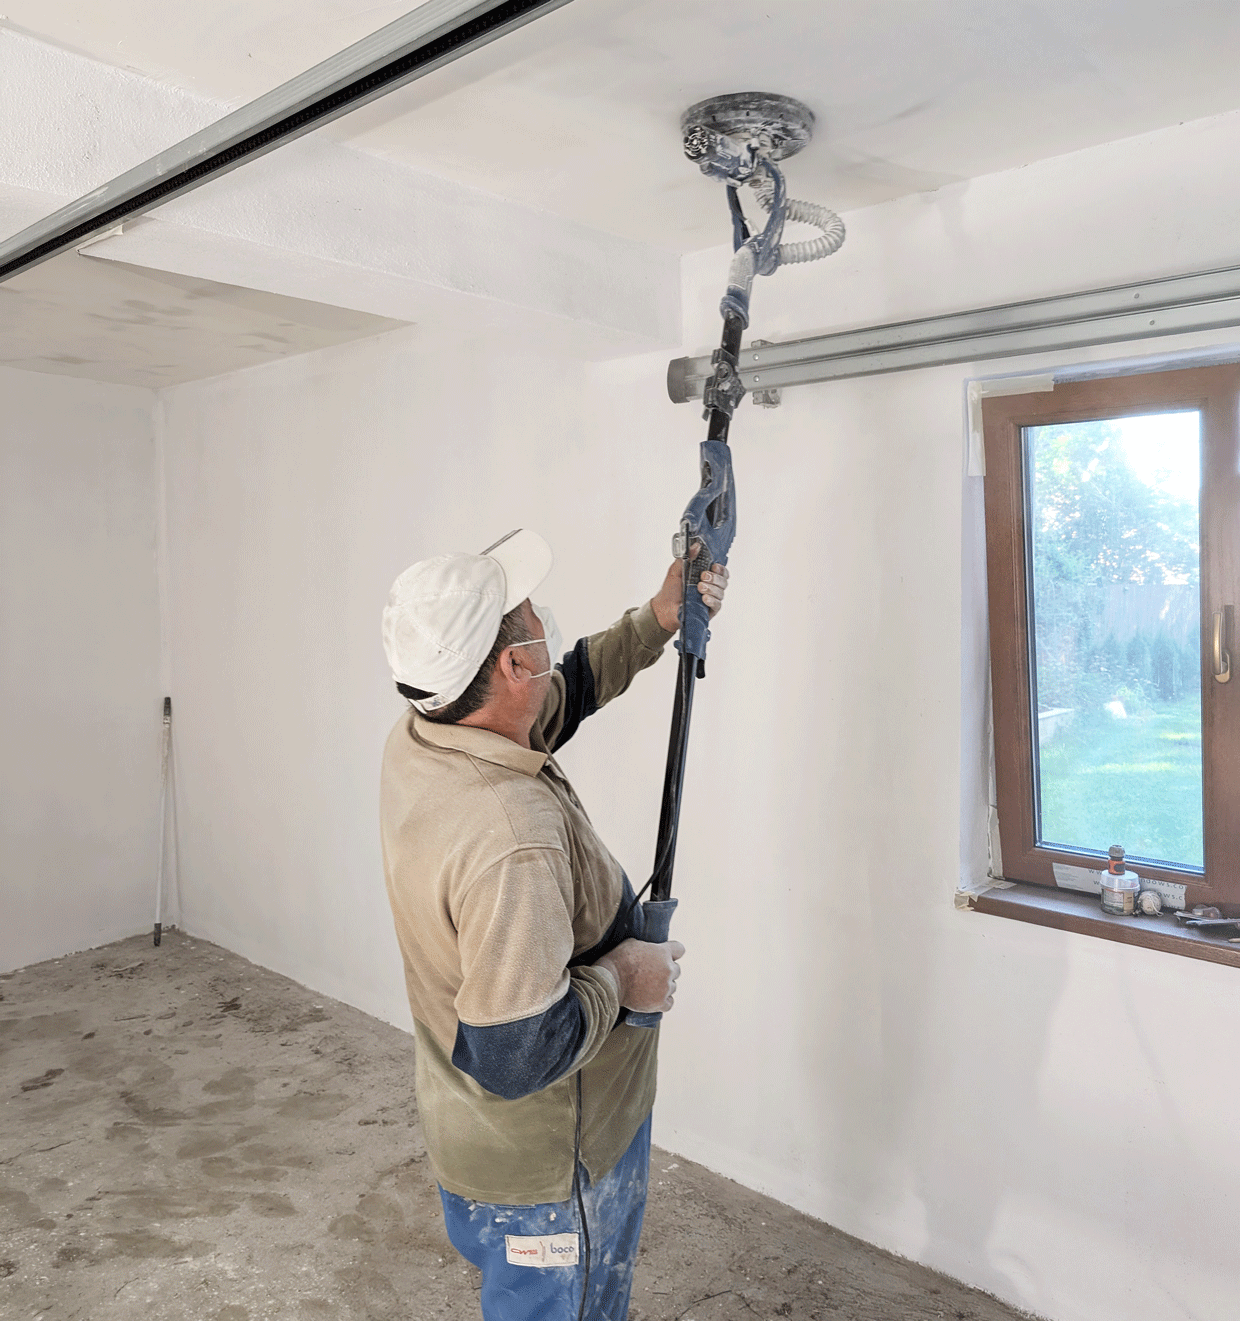
The ceiling needed a bit more attention, so I applied a layer of finishing plaster to smooth things out. I didn’t go overboard—just enough to even out the surface and get rid of the rough texture. After it dried, I sanded the ceiling with fine sandpaper until it felt smooth to the touch. This step makes a big difference once the paint goes on, especially with light reflecting from above.
Next, I applied primer on both the walls and the ceiling. This helps seal the surface, improves adhesion, and ensures the paint covers evenly. It also reduces how much paint the surface absorbs, which saves material and gives a more uniform finish. Once the primer dried, everything already looked cleaner and more consistent.
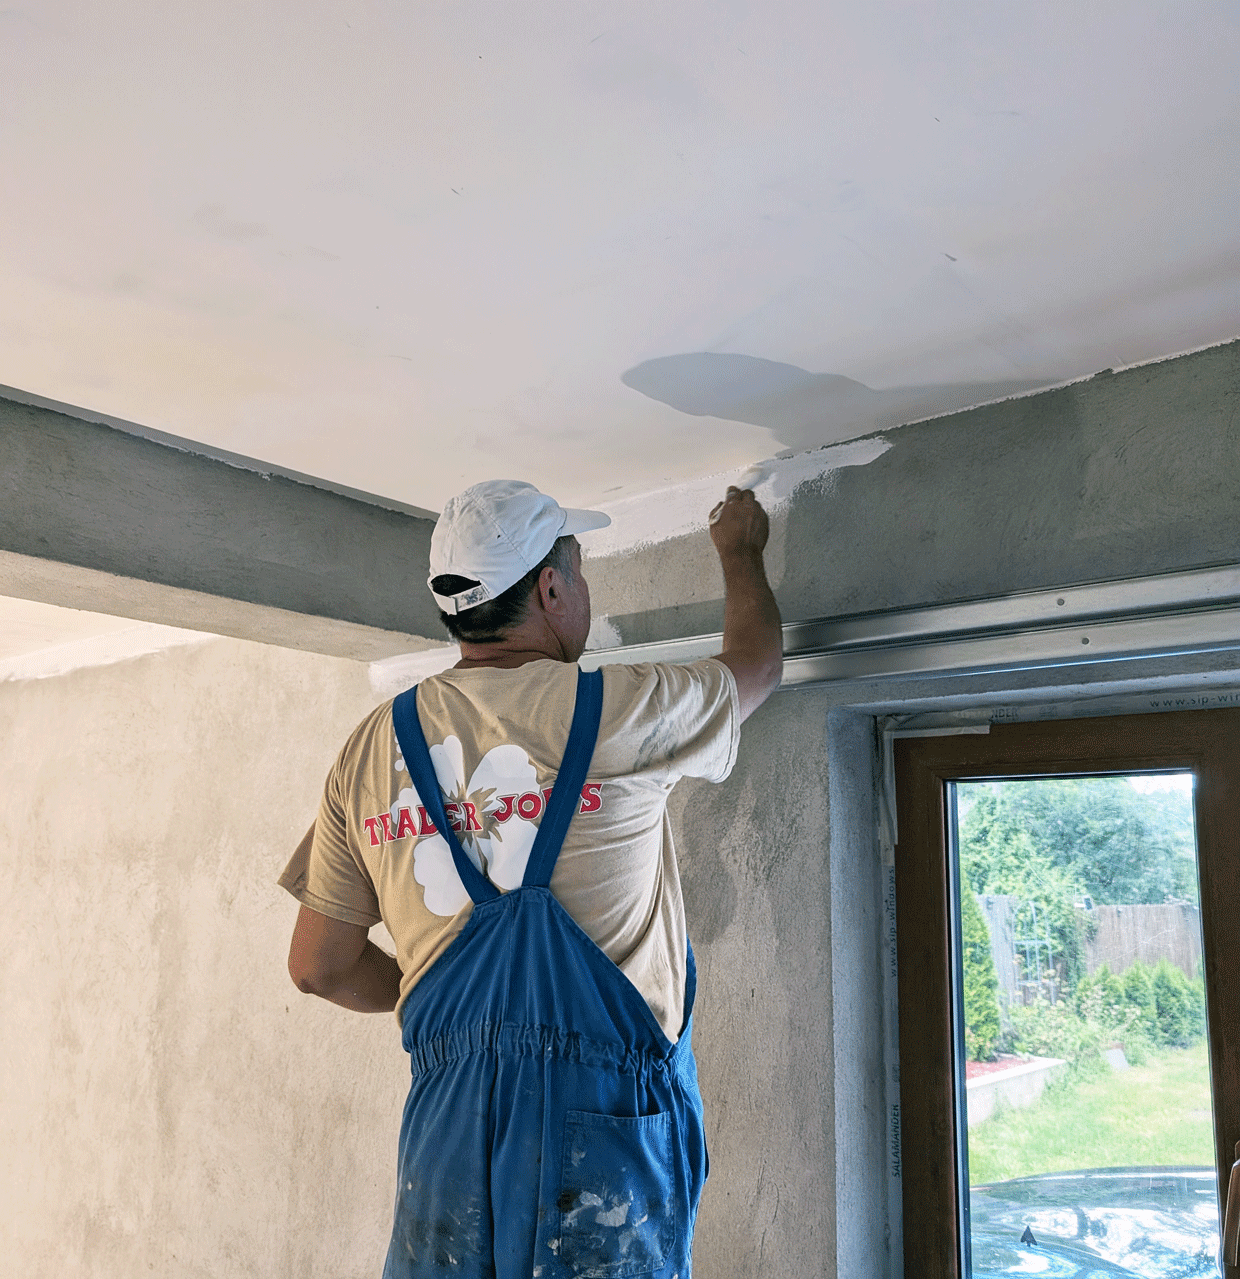
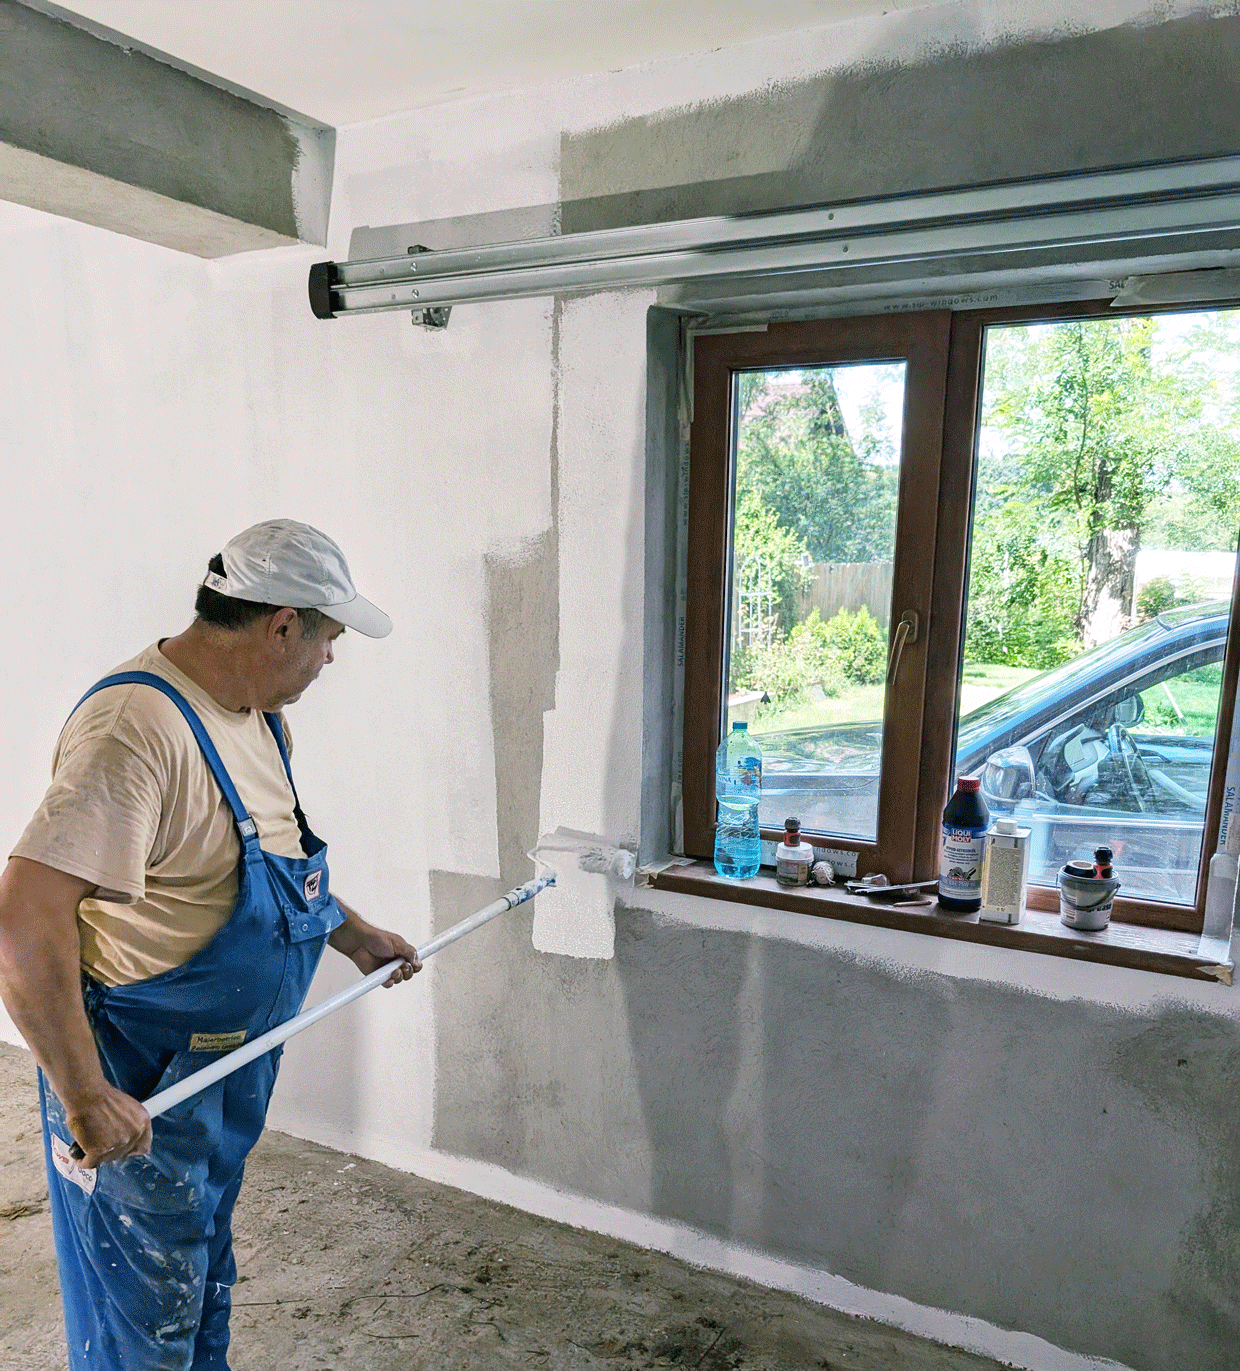
For painting, I started by cutting in the corners and edges with a brush. This gives you control in tight areas and keeps the lines clean where the roller can’t reach. After that, I switched to the roller for the larger surfaces, working in steady, even passes. The process is simple, but when done right, it completely transforms the garage into a bright, clean space that actually feels finished.
Screening the floor
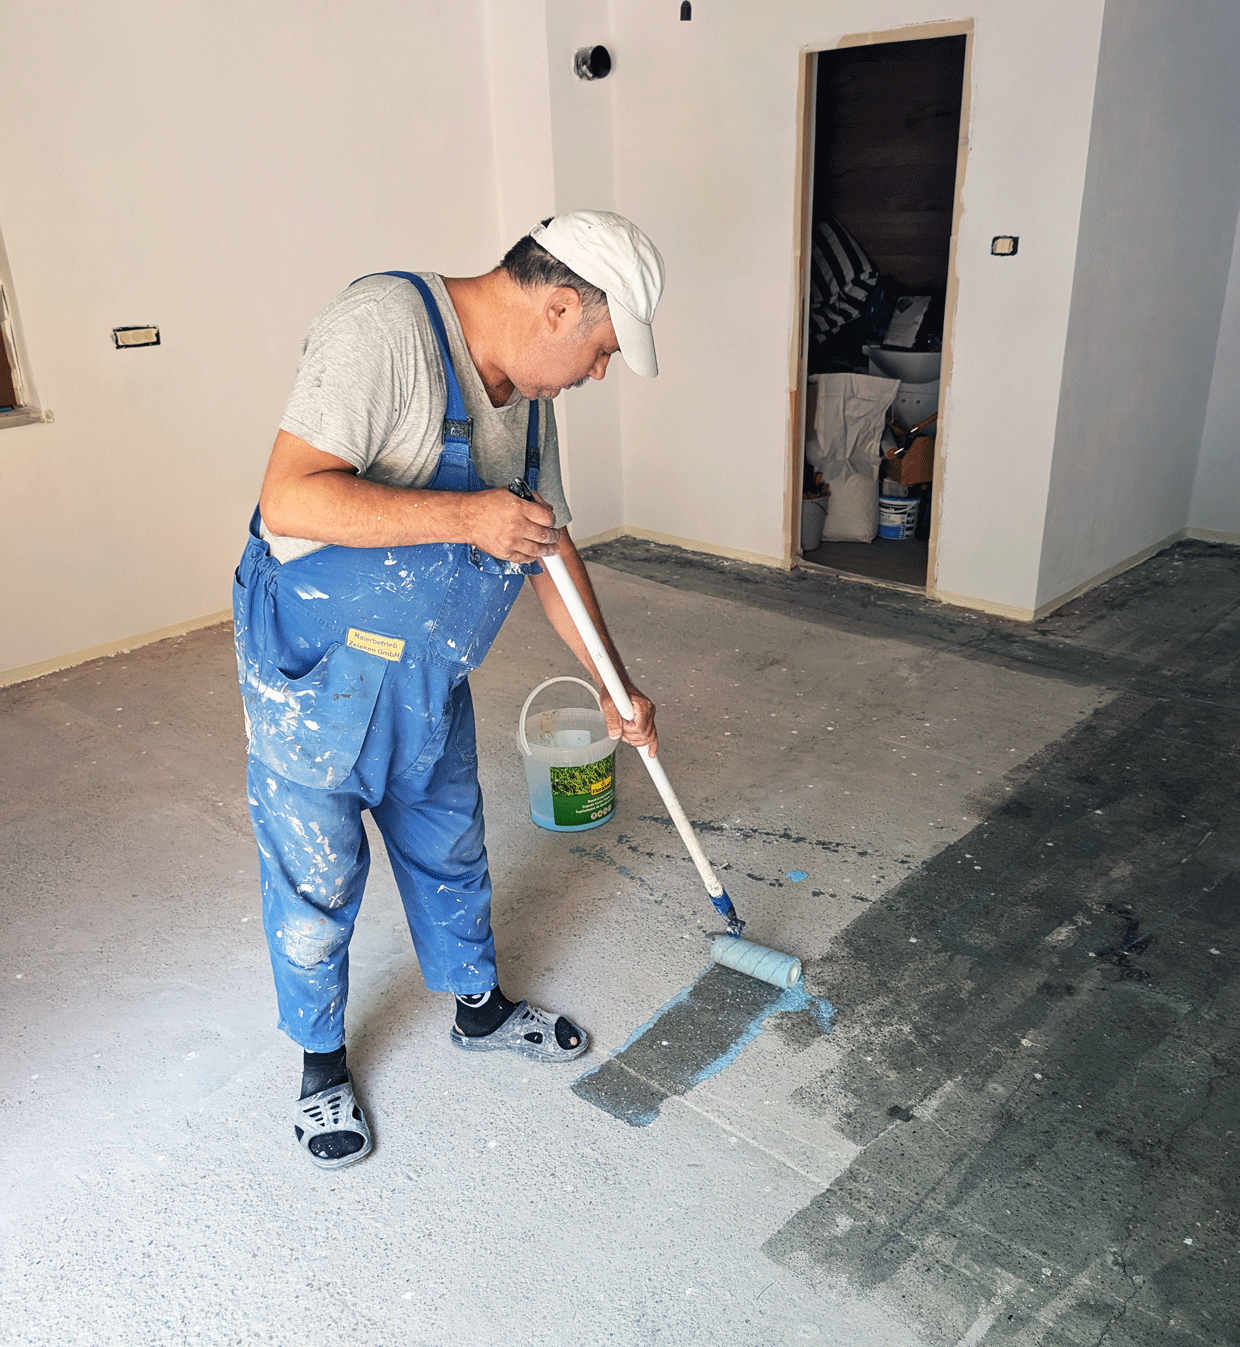
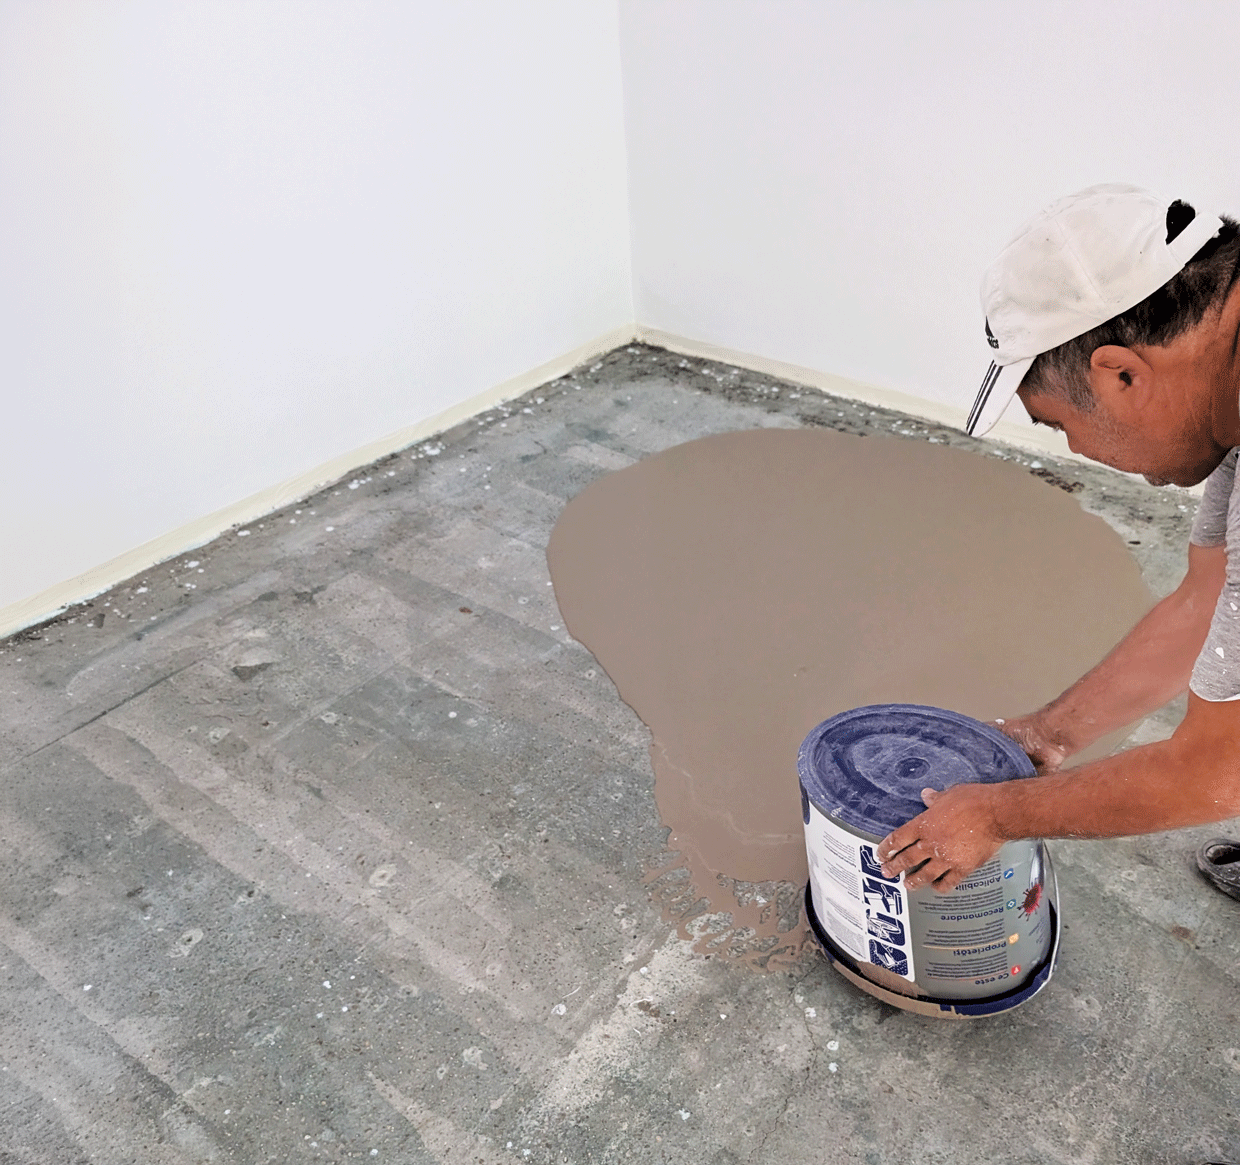
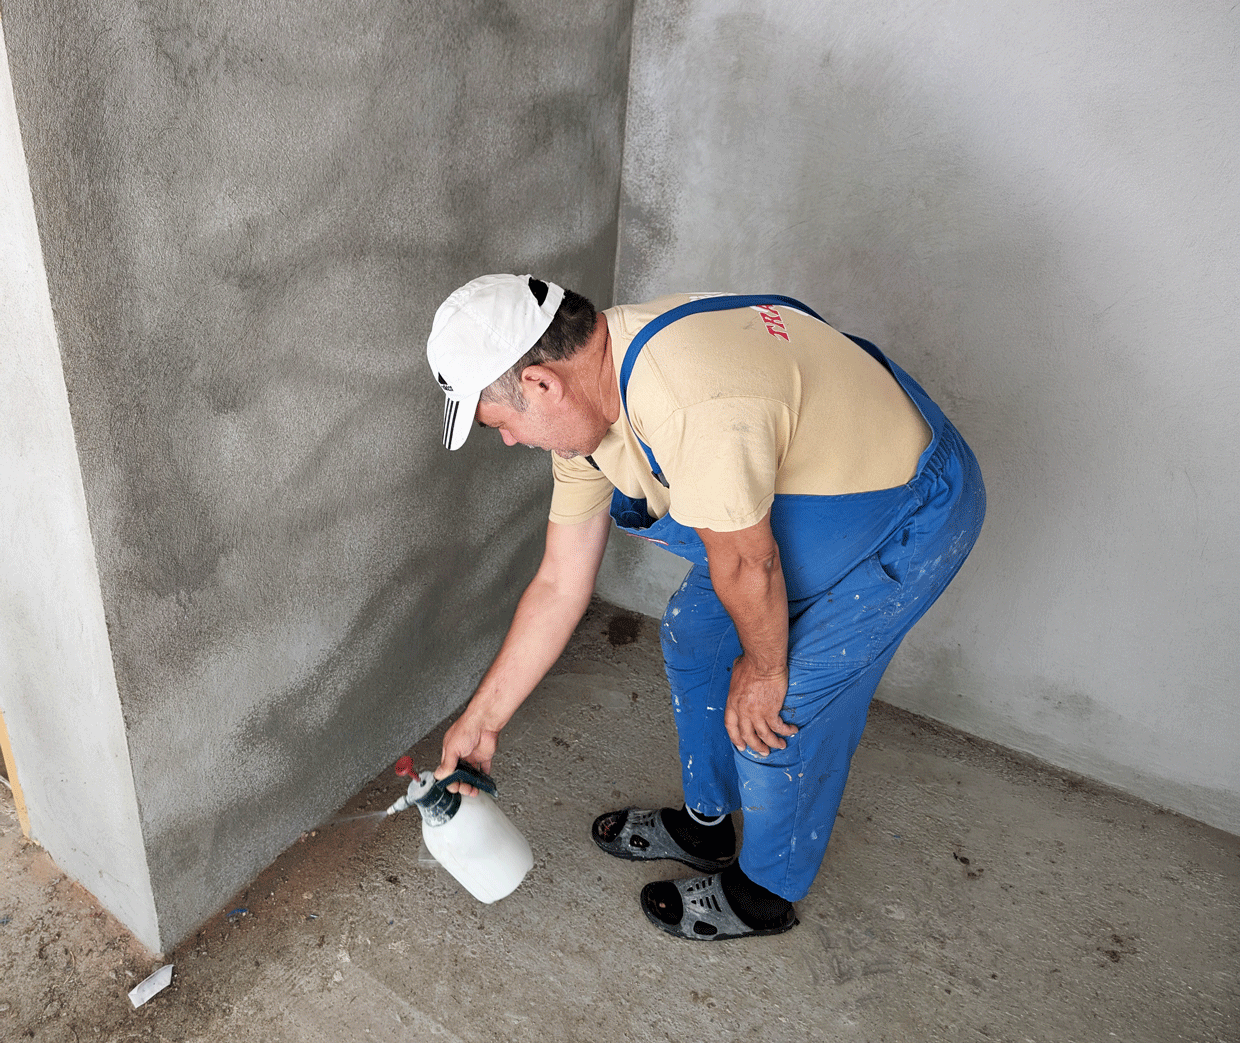
The floor was next, and before pouring anything, I made sure to prep it properly. I started by applying a primer over the concrete floor to improve adhesion and seal the surface. This step helps the self-leveling screed bond better and prevents the concrete from absorbing moisture too quickly. I let the primer dry for a few hours until it was ready for the next step.
Once the surface was prepped, I mixed the self-leveling screed, aiming for a smooth, fluid consistency that could flow easily across the floor. Since my concrete was already in pretty decent shape, I didn’t need a thick layer. I poured and spread the screed in a thin, even layer, just enough to level out minor imperfections and create a clean, uniform surface.
As soon as the screed was on the floor, I worked quickly to guide it into place. This material starts to set fairly fast, so having everything ready beforehand really helps. I used a trowel to help distribute it where needed, but most of the leveling happens naturally as the compound flows and settles.
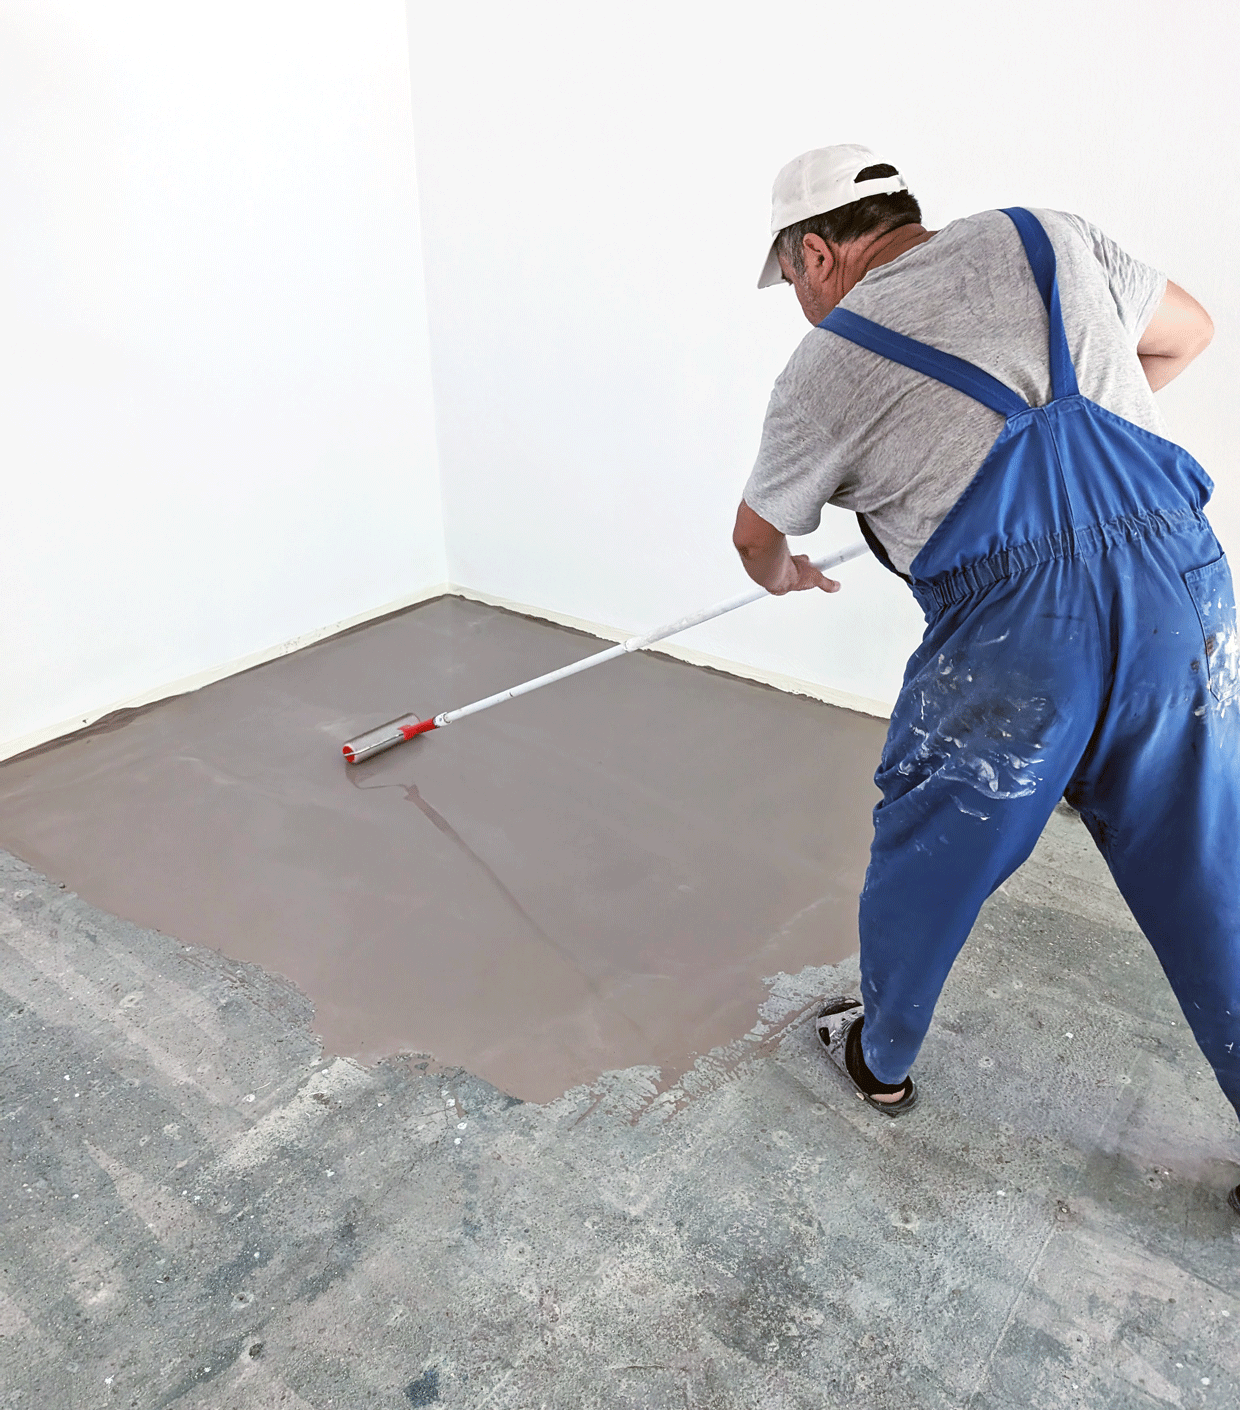
To finish this step, I went over the entire surface with a spike roller. This is important because it removes trapped air bubbles and helps the screed settle evenly. It’s a simple tool, but it makes a big difference in the final result. After that, I left the floor undisturbed to cure properly, and the result was a smooth, solid base ready for the final coating.
After the screed dries out, you can go back and check the surface, and if needed, use a grinder to polish any areas that don’t look quite right. Sometimes you’ll find small ridges or uneven spots, especially near edges or where the material settled differently. A light pass with the grinder helps smooth everything out and brings the floor to a more uniform finish, ready for the final coating.
Painting the garage floor
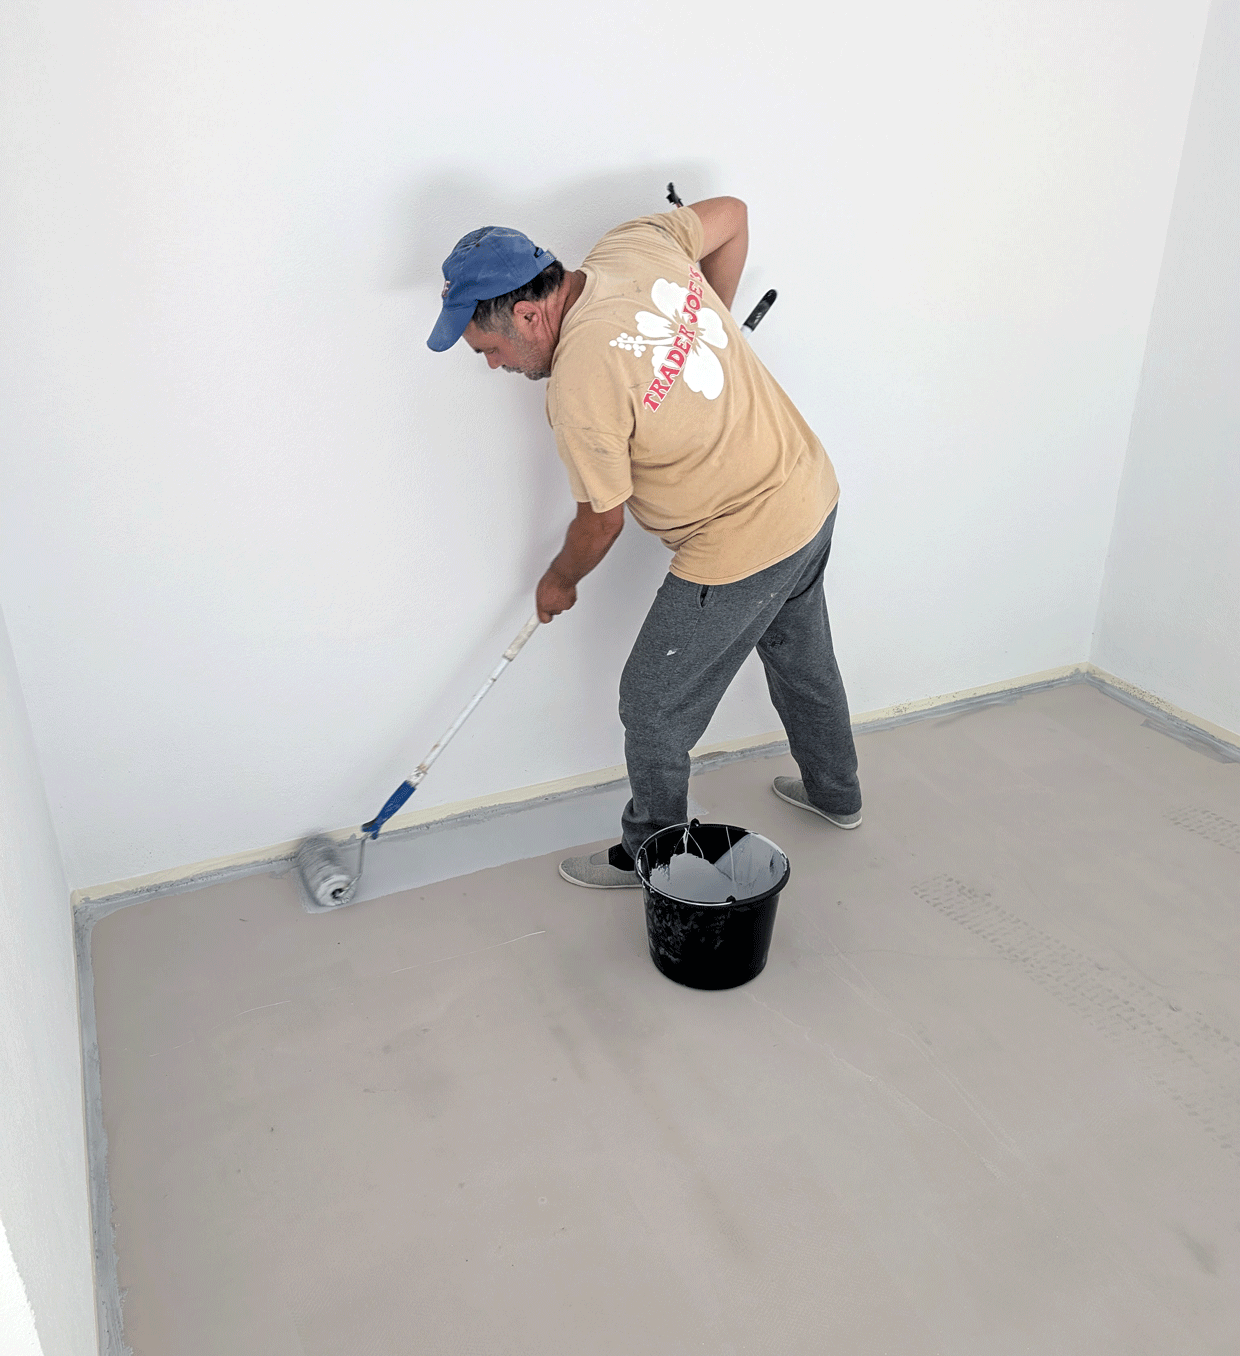

The final step was applying the garage floor paint, and I used a two-component system for durability. Before anything, I carefully mixed the two components according to the instructions, making sure everything was blended thoroughly. This type of paint has a limited working time once mixed, so I only prepared what I could use in one go and worked steadily without rushing.
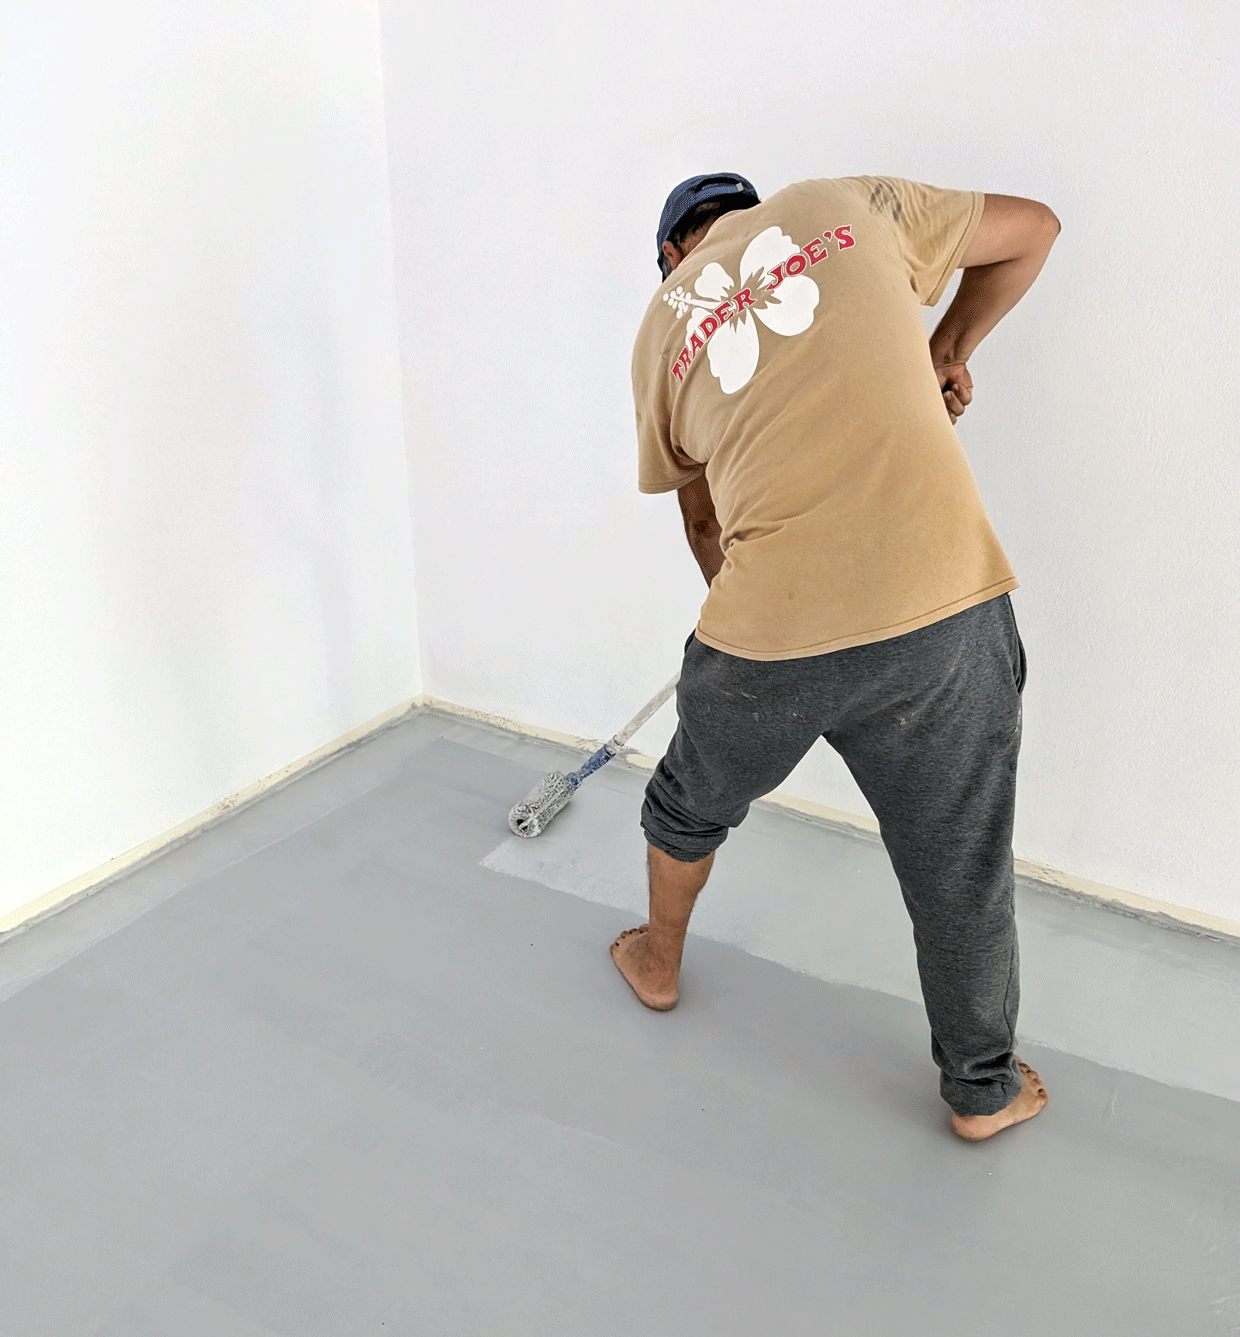
Before applying the paint, I masked the bottom of the walls using painter’s tape to keep the edges clean and avoid splashes. I started by cutting in along the edges with a brush, making sure I covered all the corners and tight areas properly. This gave me a clean border and made it easier to move quickly with the roller afterward.
Once the edges were done, I used a roller to spread the paint across the floor in even passes. The coating goes on smoothly and starts to transform the space right away. After the first coat dried completely, I came back with a second coat to build durability and get that solid, uniform finish. The result is a tough, easy-to-clean surface that makes the whole garage feel like a proper workshop.
Best tips for a beginner
If you’re doing this for the first time, the biggest tip is to focus on preparation. Clean everything thoroughly before you start—dust, grease, and debris will ruin your finish if you skip this step. Take your time with primer and drying times, even if it feels slow. Most problems later come from rushing early steps, not from the actual application.
When working with self-leveling screed and two-component paint, plan everything ahead. These materials don’t wait for you—they have a working time, and once you mix them, you need to move. Prepare your tools, clear the space, and think through the steps before you start. Work in sections, keep things organized, and don’t try to fix everything at once.
For painting, keep it simple and controlled. Cut the edges with a brush first, then use the roller for the main areas, applying thin, even coats. Don’t overload the roller and don’t rush the second coat—let the first one dry properly. Small details like clean edges, consistent coverage, and patience between coats are what make the final result look clean and professional.
![]()