This article is about how to patch a hole in drywall. Patching holes in drywall is not difficult if you use the right tools and techniques. If the hole is smaller than 4” then you can easily patch it, without using a backing support or without installing drywall screws. This method has worked every-time we have used it, therefore we will show you in this step by step guide how to patch a hole in drywall quickly and efficiently.
Taking into account that you don’t have to install wooden strips and drive in screws to support the patch, this techniques is easy even for a beginner. Always prepare the surface thoroughly, if you want to get a professional result. After applying the compound, you need to make it smooth with medium-grit sandpaper. If the surface is not even, you should apply a new coat of wood putty.
It is essential to use a drywall saw to cut a square or a rectangle around the damaged area, otherwise it will be difficult to install the patch into position. Therefore, you have to use a carpentry square and a pencil to draw a square or a rectangle around the hole in the drywall. Afterwards, use an utility knife or a drywall saw to cut the area along the trace lines.
Made from this plan
In order to patch a hole, you need the following:
Materials
- Drywall patch
- Fiberglass mesh
- Drywall compound
Tools
Tips
- Use an utility knife with a sharp blade
- Cut the patch to fit perfectly in the hole
- Turn off the electricity before cutting the hole in the wall
- Don’t apply the compound in thick layers, otherwise it will crack after it dries out
Time
- 30 minutes
Preparation for patching a hole in drywall
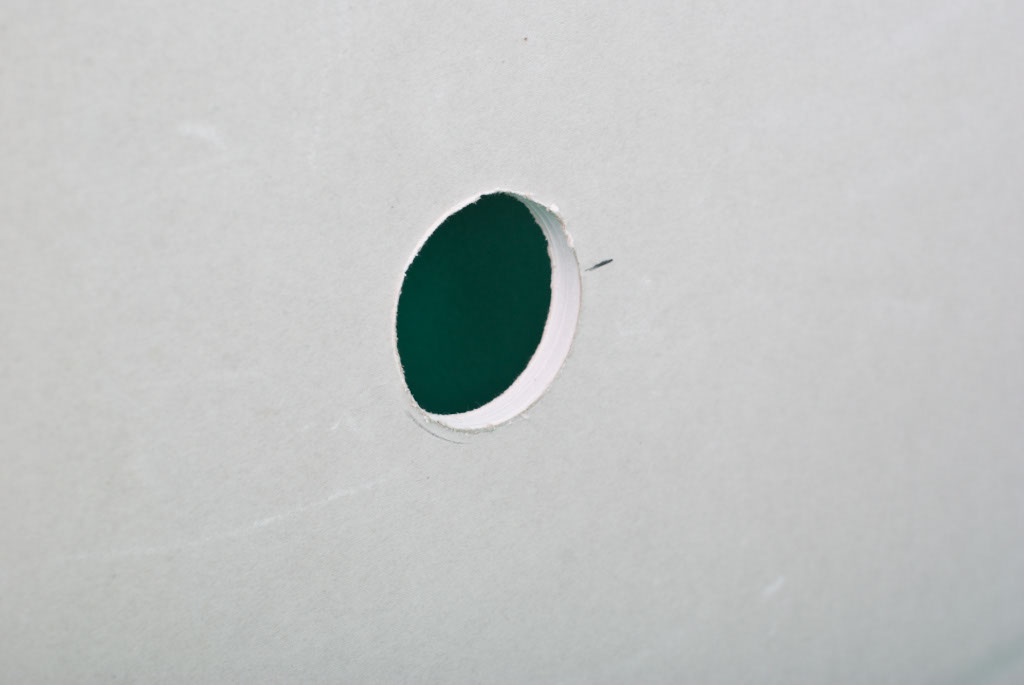
Drywall hole
Step 1: First of all you have to cut a square or a rectangle around the damaged area, by using an utility knife or a drywall saw. This aspect is essential for your job, otherwise you wouldn’t be able to insert the patch in the hole.
In the image you can see that we have cut out a round hole in the drywall, around the damaged area. Nevertheless, we don’t recommend you to cut a circular hole, but a square or a rectangle, otherwise it will be very difficult to make an appropriate patch.

Eyeballing sheetrock patch
Step 2: Measure the hole in the drywall and cut a bigger piece of drywall. Next, use an utility knife to score the backside of the drywall. Make sure the patch is positioned at the center of the sheetrock and make it slightly smaller than the hole. Next, snap the piece and remove the gypsum coat leaving just the face paper layer.
In our case, taking into account the circular shape, we had to remove the back by using a screwdriver. Nevertheless, you should make the patch square, to get the job done quicker.
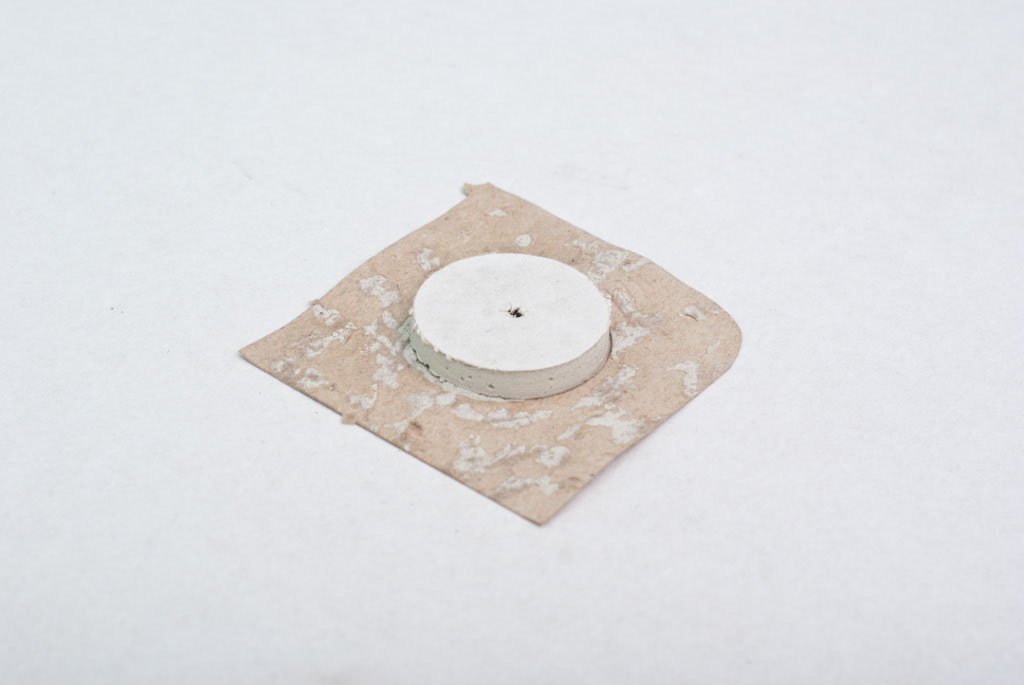
Drywall patch
After we had peeled off the patch, we got the following result. Remember that is important to remove the gypsum coat, otherwise the patched surface won’t be level. Check if the patch fits inside the hole: if it is to large, you should enlarge the hole, just don’t force it to fit into position.
How to patch a hole in drywall
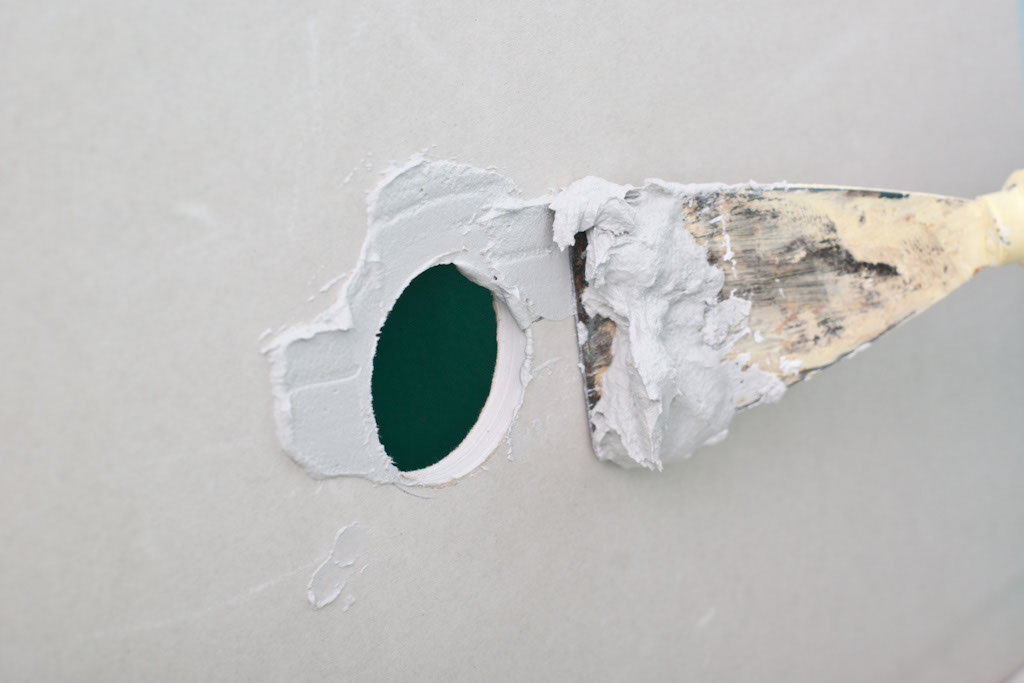
Spreading compound around the hole
Step 3: Mix a small quantity of drywall compound and spread it around the hole. In order to get the job done in a professional manner, we recommend you to use a large trowel and apply a thin layer of drywall compound.
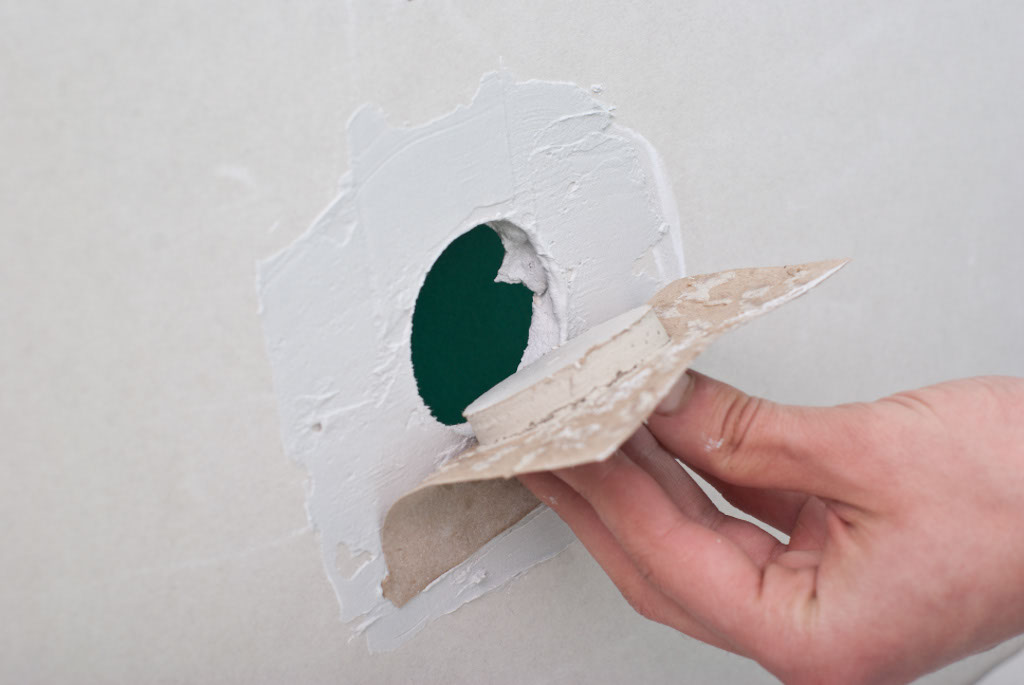
Patching a drywall hole
Step 4: Place the patch into the hole, making sure you don’t fold the paper layer. Work with great care and use a large trowel to set the patch in the compound. If you don’t press it properly, then you won’t remove the air bubbles an the surface won’t be smooth.
Applying the patch on the hole

Pressing the patch into the compound
Step 5: After you have patched the hole in the drywall, you should let it dry overnight. Work with great care and don’t forget to check if the surface is perfectly level. It is essential to remove the folds and the air bubbles, otherwise the compound won’t cover the irregularities.

Covering the patch with mud
Step 6: Cover the whole surface with compound, making sure you spread an even coat on a larger area than the patch. If you apply the first layer in a professional manner, you won’t notice the patch any more. Nevertheless, if you are a rookie, in most cases you will need to apply several coats to get a proper result.

Covering the patch with mud
Applying the compound over the patch would be much easier if you use a 10” drywall trowel. The fist coat doesn’t have to be too thick, just enough to cover the patch and the adjacent areas.

Applying mash net on the patch
Step 7: Cover the patch with mash net, if you want to strengthen the surface. In most of the cases, this step is not needed, but we show to the technique, jut to get accustomed with this method. Nevertheless, you should choose whether you want to place the mash over the patch or not, according to your needs. If the hole is very small, then you don’t have to use it, but if the hole is larger or placed in an area prone to hits, we strongly recommend you to apply it.

Applying mash net on the patch
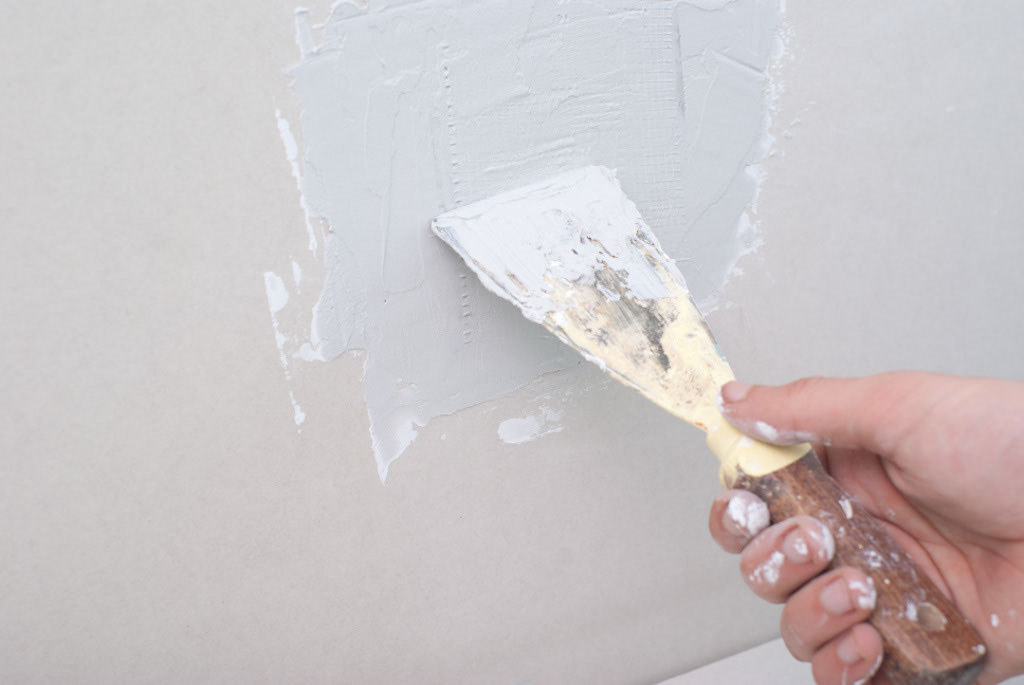
Pressing the mesh into compound
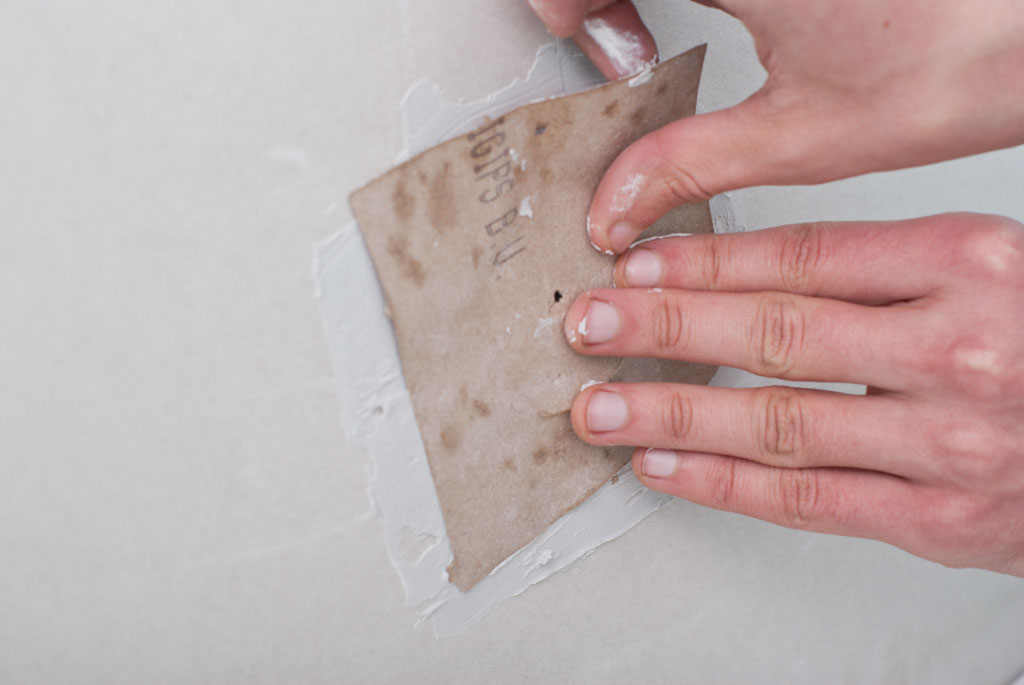
A single coat of compound is not enough to get a perfectly level surface, therefore you have to let it dry overnight and sand it the next day with an average-grit sandpaper (150). Sanding the surface will create a lot of dust, therefore we recommend you to wear a respiratory mask.

How to fix small hole in wall
Step 8: Use a sand block to even out the surface. If you have followed our tips, this step should take about 5 minutes. Next, mix a small quantity of drywall compound and apply it over the patch with a 10” trowel. Let it dry for at least 8 hours.
Thank you for reading our article about how to patch a hole in drywall and we recommend you to check out the rest of our projects. Don’t forget to share our projects with your friends, by using the social media widgets.
