This article is about how to replace laminate flooring boards. Although laminate flooring is very resistant to scratches and easy to maintain, there are cases in which you have to replace several boards due to visible issues: chipping, scratches or water damage. If you move furniture on the laminate flooring without using felt pads or drop heavy objects on the floor, you might not be able to solve the issues with a repair kit (fillers, crayons) but by replacing the laminate flooring planks. This repair project is not difficult if you use the right tools and techniques, so we strive to show you the best way to replace laminate flooring, in a step by step guide.
Replacing a damaged laminate flooring can be done in several ways. First of all, you might find easier to dissemble the laminate flooring back to the affected area. Therefore, you have to start from the closest wall to the damaged board and remove the baseboard molding, making sure you can re-use it after you finish the project. After you have removed the trim, you have to disconnect the laminate flooring boards one by one, by lifting them at about 45º until you disengage their tongue and grooves. After you have replaced the damaged planks, you have to lay the rest of laminate flooring and attach the baseboard trim.
Nevertheless, if you cannot remove the baseboards or the damaged laminate boards are located in the middle of the room, you can try to replace the planks with problems, by using a circular saw. In this manner, you should be able to replace the damaged laminate flooring boards without dissembling the rest of the planks. This techniques is more complex, but if you are used to diy project you should pull it through without complications.
Made from this plan
In order to replace laminate flooring, you need the following:
Materials
- Wood glue
- Laminate flooring planks
Tools
- Rubber hammer, measuring tape
- Circular saw, drill machinery
- Vacuum cleaner, cutter
- Safety glasses
Tips
- Vacuum the area before laying the new laminate boards
- Replace the lamate boards with new ones of the same brand, don’t lay boards of another brand
- Wear safety glasses when cutting the laminate flooring
Related
- Episode 1: Preparing the Surface
- Episode 2: Installing the underlay
- Episode 3: Installing laminate flooring
- Episode 4: Installing the baseboard
- Episode 5: Fixing Laminate Flooring Gaps
- Episode 6: Fixing Laminate Flooring Scratches
- Episode 7: Replacing Laminate Flooring
How to Replace Laminate Flooring

Removing baseboard trim
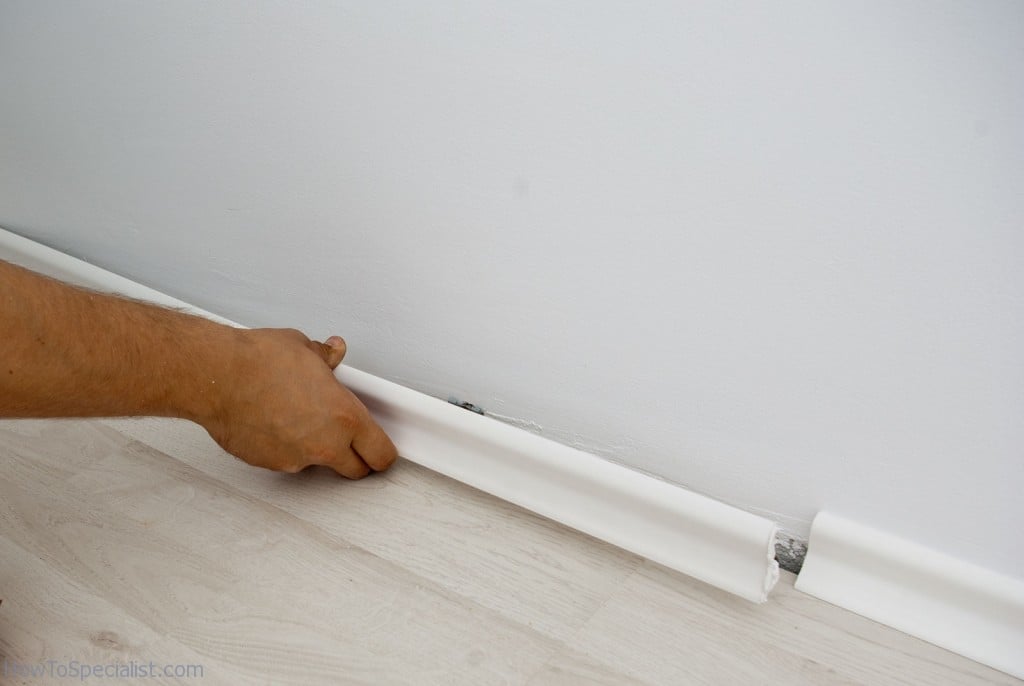
Remove the baseboards trim on the closest wall to the damaged laminate flooring boards. Work with great care, as to avoid damaging the baseboard molding, otherwise you won’t be able to install it back in its place.

Removing laminate flooring
After you have removed the baseboard molding, you have to dissemble the laminate flooring, board with board till you reach the damaged area. In order to disconnect the laminate flooring planks, you have to lift them at 45º and make sure they have unlocked.
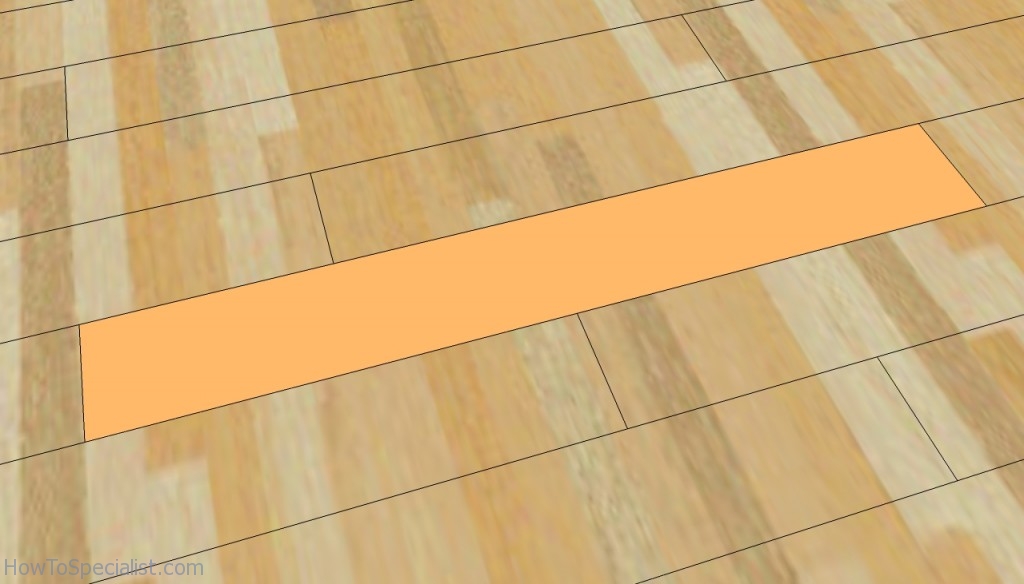
After you have reached the area with issues, you have to replace the damaged planks with new ones. Work with great care as to lay the new laminate flooring boards and tap them gently, as to avoid the gaps between the planks.
How to replace laminate flooring with a circular saw

How to replace laminate flooring
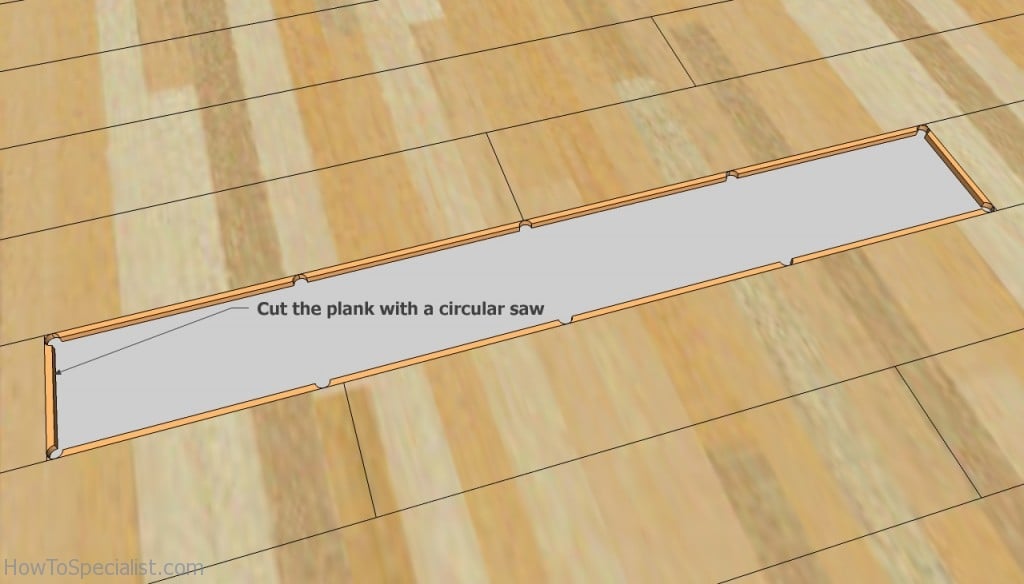
Step 1: Identify the damaged planks and drill holes on each corner, leaving 1/2” from its edges as to avoid altering the rest of the boards. Next, make more holes on both sides of the laminate board, every 10”, as in the image.
Step 2: Use a pencil and draw the guidance line by joining the holes. Next, adjust the circular saw cutting depth to the thickness of the laminate flooring, otherwise you will get through the sub-floor.

Cutting laminate flooring
Step 3: Cut the laminate flooring plank along the guidance line, starting with the middle of the line. Continue the process until you have cut the both sides of the plank. Use a utility knife to cut the short sides of the laminate board and lift the cut out center and.
Step 4: Remove the rest of the damaged laminate board and vacuum thoroughly the area. Make sure the adjacent boards are in good condition, otherwise you have to remove them too.

Replacing laminate flooring
Step 5: Cut the tongue of the new laminate flooring planks, both on the long and short sides, by using a sharp cutter. Clean them thoroughly, as to avoid future laminate flooring issues.
Step 6: Apply wood glue to the grooves of the laminate flooring and lay it into place. Use a clean cloth to wipe the excess glue and place a heavy object on the area to lock it into position.
Best tips to replace laminate flooring boards
Replacing laminate flooring boards may seem tricky, but with the right approach, you can tackle it like a pro. First, start by identifying the damaged board, then work from the nearest wall or entry point to carefully remove the surrounding boards until you reach the one that needs replacing. Make sure to take your time during removal to avoid damaging any surrounding pieces.
Next, cut the replacement board to the correct size, ensuring it matches the pattern and grain of the rest of the floor. When fitting the new board, it helps to slightly angle it to click it into place without forcing it. Lastly, reinstall the other boards you removed, locking them back in place, and your floor will look as good as new! Just remember, it’s always a good idea to have a few extra boards on hand from the original installation for perfect color matching.
Replacing laminate flooring boards is definitely a manageable task for most DIYers, even if you don’t have a ton of experience. It doesn’t require any special skills—just a bit of patience and attention to detail. You’ll need basic tools like a pry bar, mallet, and a saw to cut the new board to size, but the actual process of clicking the boards into place is pretty straightforward. As for time, depending on how many boards you’re replacing, the project can usually be completed in just a few hours. It’s a great weekend project that gives you solid results without too much hassle!
Thank you for reading our article on how to replace laminate flooring and we recommend you to check out the rest of our projects. Don’t forget to SHARE our articles with your friends, by using the social media widgets. LIKE us to be the first that gets our latest updates.
