This article is about how to remove wall tile adhesive. Generally speaking, a diy-er should know how to remove wall tile adhesive, as there are cases in which one might want to remodel the kitchen or the bathroom. Consequently, try to read our article and pay attention to our tips. Nevertheless, there are several types of tile adhesives, therefore the removal process is different according to the glue. If the tile adhesive is cement-based, the process will be fairly complex, as this type of adhesive is very strong and you have to put a lot of effort to get it off the wall. Look trough the instructions, if you want to learn many tips on how to get the job done quickly and in a professional manner.
There are also adhesives based on mastic, designed to stick to the wall. Removing the wall adhesive won’t be easy, so you have to arm yourself with patience and attention. Use the right tools and evaluate the situation before starting the actual project. If the adhesive is not cement-based, you could try sprinkling water to the wall, to ease the scrapping process. Wait several minutes and use a large scrapper to remove the mastic.
Irrespective of the adhesive formula, you have to cover the floor with old cloths, as to protect it from the residues which will fall off the wall. In the most cases, you will remove not only the adhesive from the wall, but also small fragments of its surface. It might not sound appealing, but remodeling your bathroom or kitchen comes at its price, so you have to be prepared for these complications. Don’t forget to check out the rest of our step by step tile projects HERE.
Made from this plan
In order to remove wall tile adhesive, you need the following:
Materials
- Water
Tools
- Safety gloves, Eye protection
- Chisel, Hammer
- Heavy duty 4” scraper
Tips
- Remove the tile adhesive according to the mix formula
Time
- 15-20 minutes for 3 square feet / 1 square meter
Related
How to remove wall tile adhesive
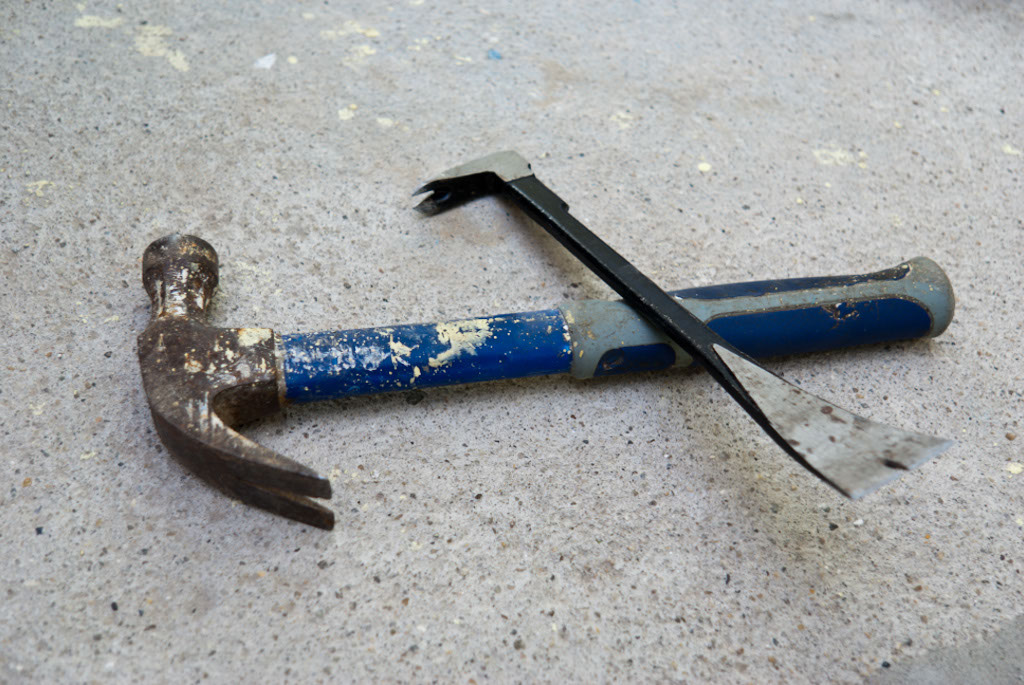
Chisel Chisel and hammer to remove tiles
In this image you can see several tools that are handy in the process of removing the wall tile adhesive. Therefore, you need a hammer to tap the top of a chisel and a 4” wide heavy duty scraper. You need a good chisel with two ends: one very wide as to scrape off the adhesive from the old wall and the other end narrow as to remove areas with strong adhesive.
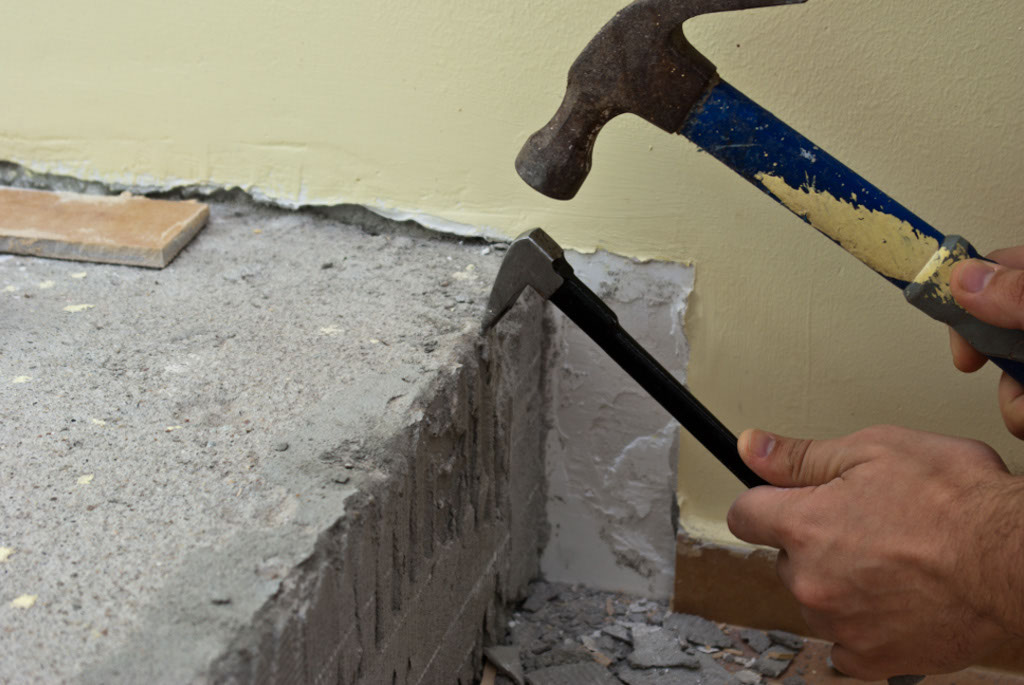
Removing old tile adhesive
When removing old tile adhesive, you have to start with the top of the wall and move downward. This aspect is essential, otherwise the project will require a greater amount of time to get it done.
At first, you should tap gently the chisel (or the wide 4” heavy duty scraper) with the hammer as to get accustomed with the technique, otherwise you risk damaging the wall surface, as you will remove more materials than necessary. Don’t expect to get an even surface from the first time, as the process takes time and patience.
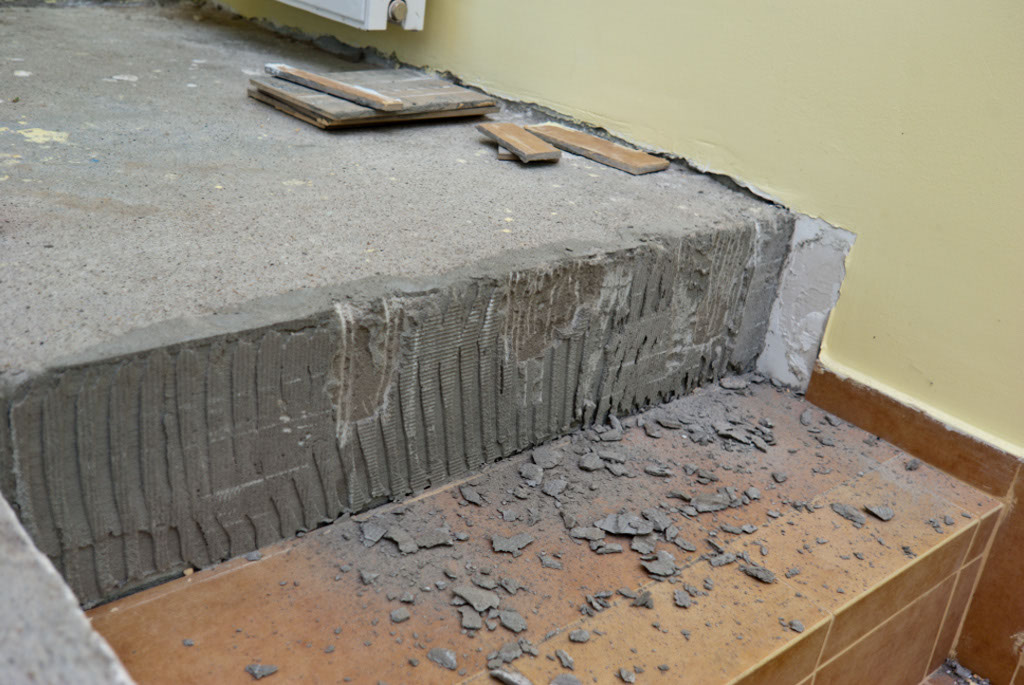
Removing tile adhesive from wall
After you get accustomed with the techniques, you can increase the pace. You should remember that the process must be incrementally, or in other word you should carry on the job step by step. There is no need to hurry, otherwise you risk damaging the wall surface.
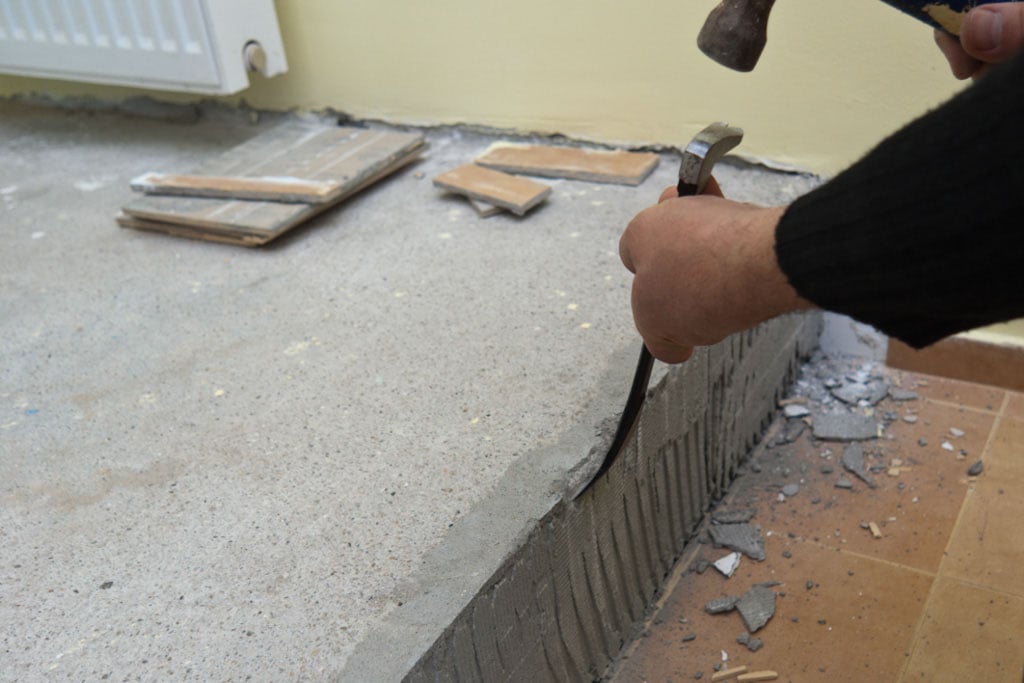
Removing wall tile adhesive
Even if in our case we speak of a small surface, these techniques and tips work as well when dealing with larger areas. The critical aspect is to scrape the adhesive off the wall surface as much as possible, by using a wide chisel and a hammer. By working with patience and with great care, you will remove the largest amount of the wall tile adhesive.
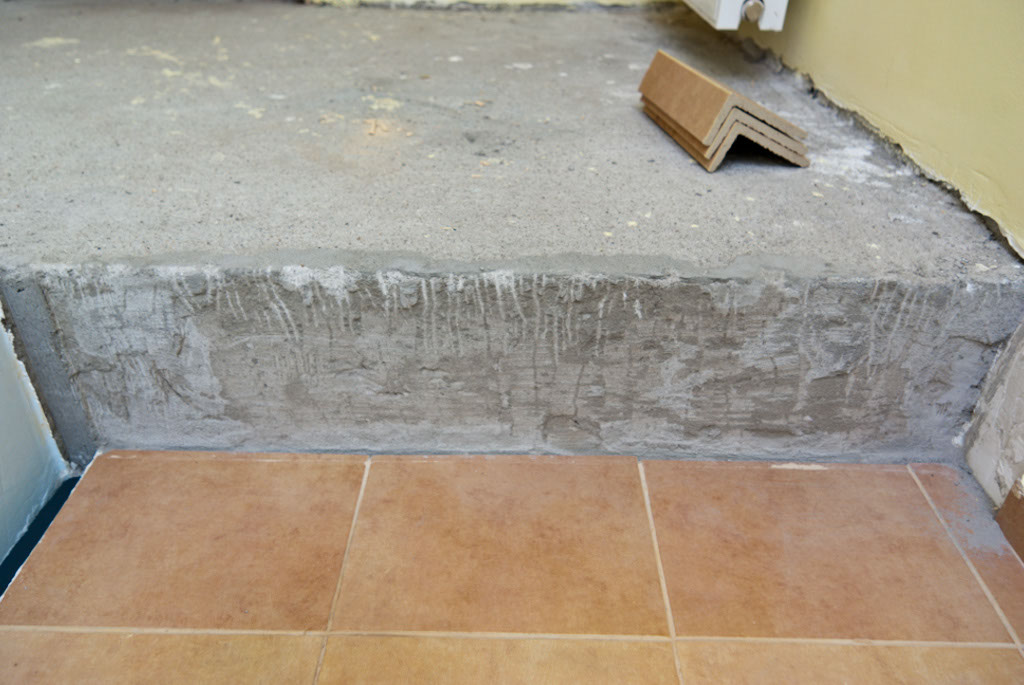
Wall after adhesive removal
After we have removed the wall tile adhesive, we have cleaned the floor from residues and dust, by using a broom and a vacuum cleaner. Nevertheless, if the wall is damaged, you have to repair the surface by filling the holes with thinset, as to make the wall perfectly even.
My best tips on how to remove tile adhesive:
Removing tile adhesive can be a tough and time-consuming task, but with the right approach, you can get the job done more efficiently. Here are my best tips for removing tile adhesive:
1. Soften the Adhesive: If the adhesive is particularly stubborn, soften it first by applying warm water with a sponge or spray bottle. Let it soak for 10-15 minutes to loosen the adhesive. For more difficult adhesives, a heat gun or hairdryer can help soften it further, making it easier to scrape off.
2. Use the Right Tools: Use a putty knife, chisel, or scraper to remove the adhesive. A wide scraper works best for large, flat surfaces, while a narrow tool can get into tighter spaces. For heavy-duty adhesives, an oscillating multi-tool with a scraper attachment can speed up the process.
3. Work in Sections: Don’t try to tackle the entire surface at once. Focus on small sections at a time, especially if you’re working with hardened adhesive. This allows you to concentrate your efforts and avoid tiring out too quickly.
4. Apply Gentle Pressure: When scraping the adhesive, apply gentle but firm pressure to avoid damaging the underlying surface. If you’re removing adhesive from drywall or delicate materials, be extra careful to prevent gouging the wall or floor beneath.
5. Use a Solvent for Stubborn Adhesives: If water or heat doesn’t do the trick, try using an adhesive remover or solvent, such as acetone or a citrus-based cleaner. Apply it to the adhesive, let it sit for a few minutes, and then scrape it off. Be sure to test the solvent on a small, hidden area first to ensure it doesn’t damage the surface.
6. Sand the Remaining Adhesive: For any adhesive residue that remains after scraping, use coarse-grit sandpaper or an electric sander to smooth it out. This step is especially important if you plan to retile or repaint the surface afterward.
7. Vacuum or Wipe Clean: Once you’ve removed all the adhesive, clean the area thoroughly with a damp cloth or vacuum to remove dust and debris. This ensures the surface is clean and smooth for any future tiling, flooring, or painting projects.
8. Wear Protective Gear: Removing tile adhesive can create dust and small particles. Always wear safety goggles, gloves, and a dust mask to protect yourself from debris and any fumes from solvents.
9. Be Patient: Removing tile adhesive can be a slow process, especially for older, hardened adhesives. Take your time and don’t rush—working steadily and methodically will give you the best results without damaging the surface.
By following these tips, you’ll be able to effectively remove tile adhesive and prepare the surface for its next finish, whether it’s a fresh tile installation, paint, or another treatment.
Thank you for reading our step by step article on how to remove wall tile adhesive and we recommend you to check out the rest of our projects. Please SHARE our projects with your friends, by using the social media widgets. LIKE us to be the first that gets our latest projects and to help us create more free guides.
