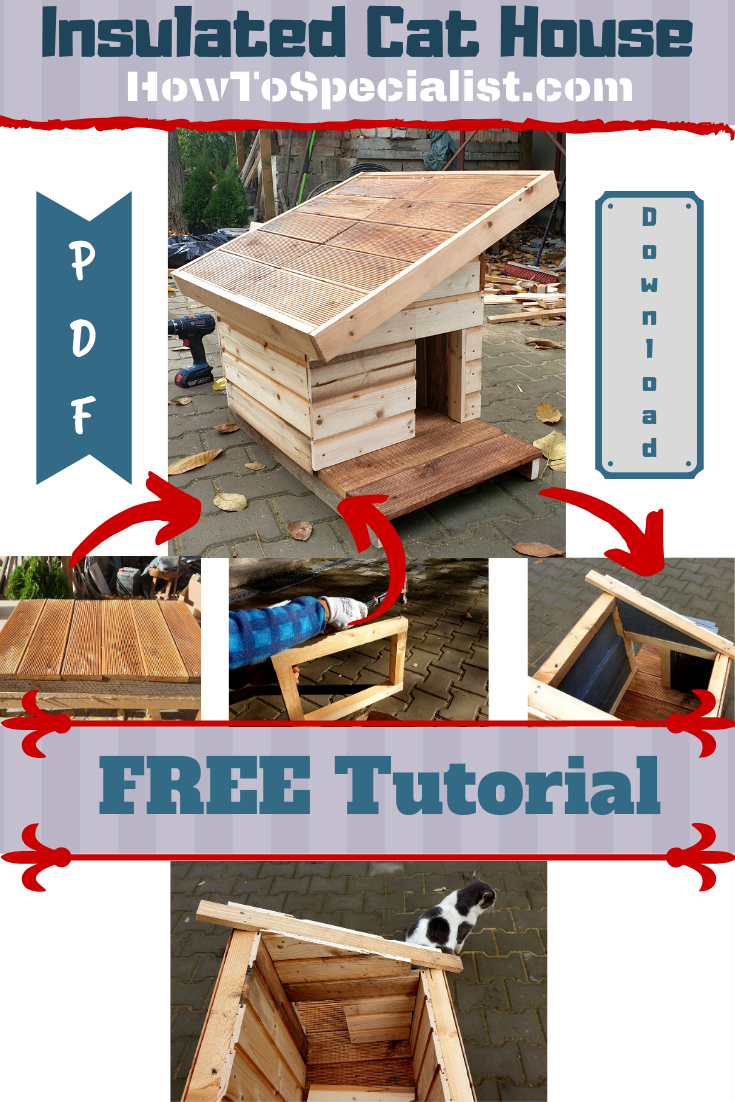
This article is about how to build an insulated cat house. I really love my cat Mickey, although he’s not technically mine, but I though that while he enjoys my yard it would be nice to build him an insulated house that will protect him from the cold winter nights. You need to know that I used just the materials that I had in the shop from other projects so this wasn’t an expensive build.
Remember that I show my techniques and experience, on this blog, so you can use other methods, as well. This cat house is easy to build because it has a lean to roof and a basic 2×2 structure. I added polystyrene sheets between the walls to keep the inside warm. Then I added tongue and groove slats to the interior to keep sheets locked into place. See all my Premium Plans HERE.
Made from this plan
Pin for Later!
Materials
- 1 1/5″ screws
- 2 1/2″ screws
- tongue and groove slats
- 2×2 lumber
- 5/8″x5 1/2″ deck boards
- 1×2 lumber
- 3/4″ insulation boards
Tools
- Safety gloves, safety glasses
- Measuring tape
- circular saw
- drill
- carpentry square
How to Build an Insulated Cat House
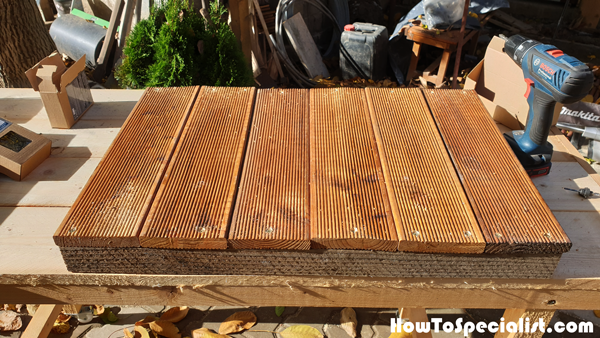
First of all, we assembled the floor for the cat house. Remember that we only used leftovers and materials we had lying around in the shop. The floor is made with 5/8″x5 1/2″ decking boards and the skids are made from 1x2s.
We used a drill to make pilot holes and then we locked the slats into place with 1 5/8″ screws. It is import to leave no gaps between the slats and to align the edges flush.
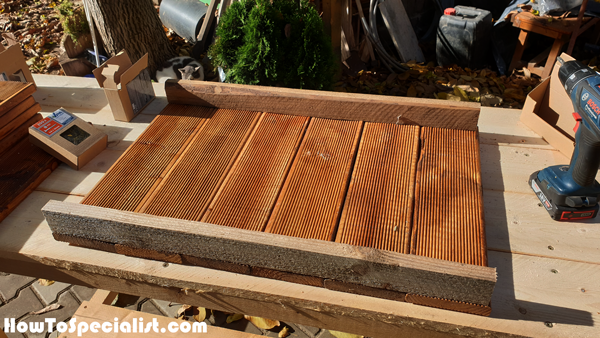
You can fit a piece of insulation sheet between the skids, under the floor, to keep the interior of the cat shelter warm.
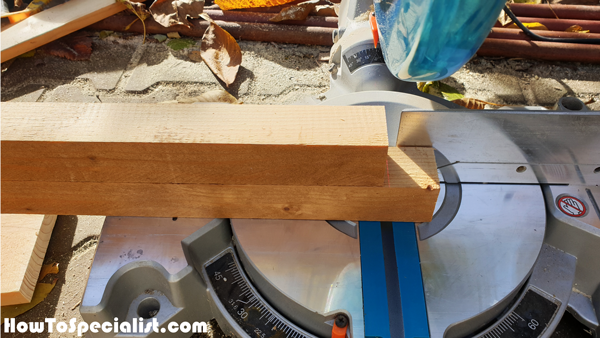
I made all the cuts with the miter saw. This speeds up the project, but you can use a hand saw, as well. Just make sure you set the saw at 90 degrees and start the laser guide line, so all the components are cut at the right dimensions.
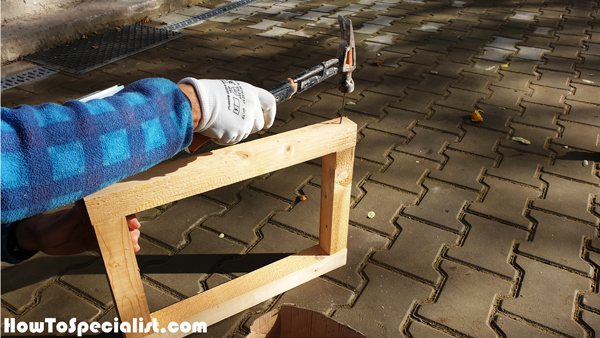
We assembled the side wall frames for the cat house with nails. You can use screws, as well. Make sure you align the edges flush and check if the corners are square.
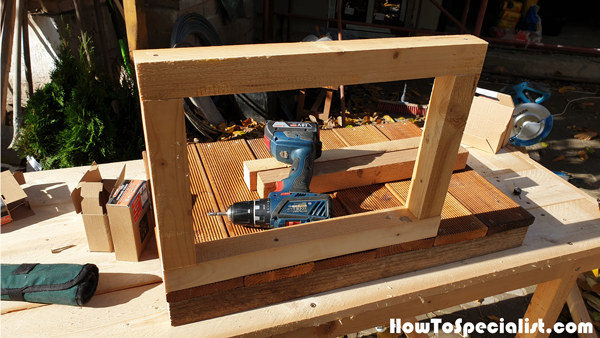
Fit the wall frames to the floor of the cat house, drill pilot holes through the bottom plates and insert 2 1/2″ screws to lock them into place tightly.
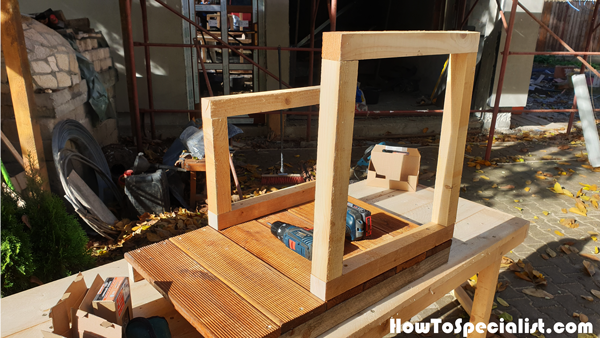
We added the other side wall frame to the floor of the cat house. Plumb the wall frame with a spirit level before drilling the pilot holes and inserting the screws.
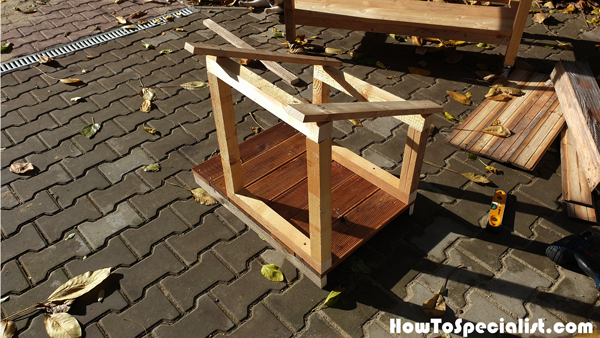
We added the 1×3 rafters to the top of the cat house frame. Make sure you leave overhangs on both sides of the roof.
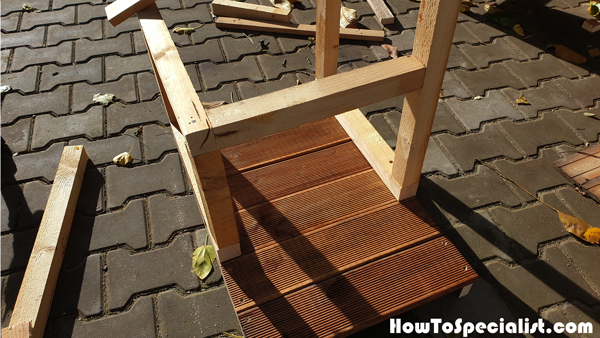
I had to take the front rafter off, so I could add the framing for the door opening. I drilled pilot holes and inserted screws to lock everything together tightly.
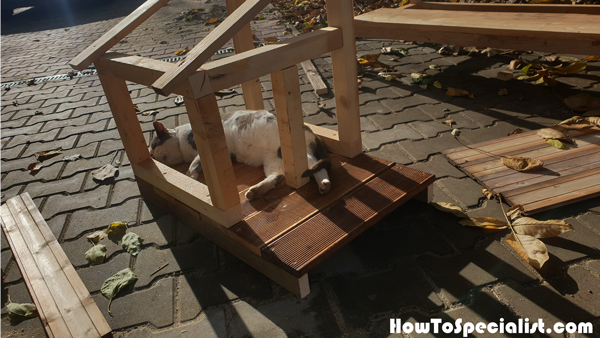
The cat house is not even 50% finished and Mickey is already “test driving” it. That’s what I call a tight fit.
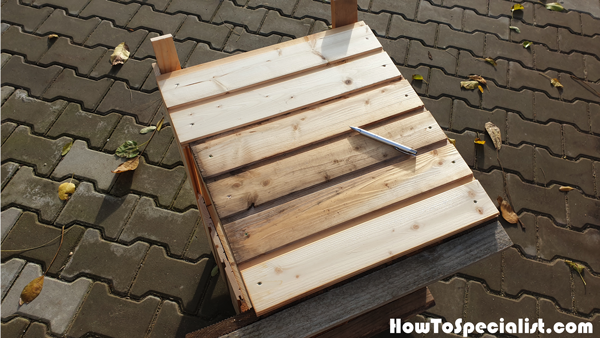
I added the tongue and groove to the sides of the cat house. I really like the look of the tongue and groove slats so I use them in many of my projects. Use finish nails to secure the slats to the frame of the cat house.
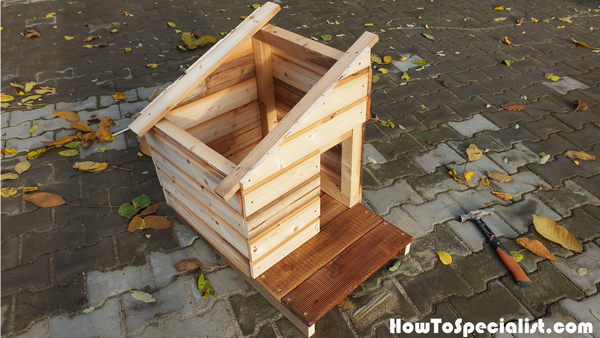
Add the tongue and groove slats to the front and back of the cat shelter. Make sure you fit the slats around the door opening and make diagonal cuts to fit the slats to the lean to end panels.
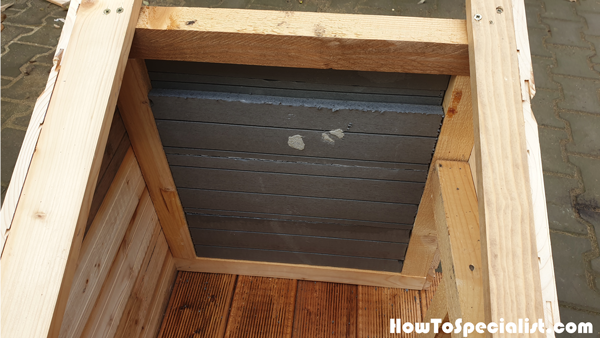
Now that the outside of the cat house is completed, we need to fit the insulation boards to the walls. Use a saw to cut the sheets so you can fit them tightly between the studs. As I have already told you, I only used materials I had in the shop from previous projects. Therefore, what you see in the image is 3/4-in. extruded polystyrene foam insulation sheets.
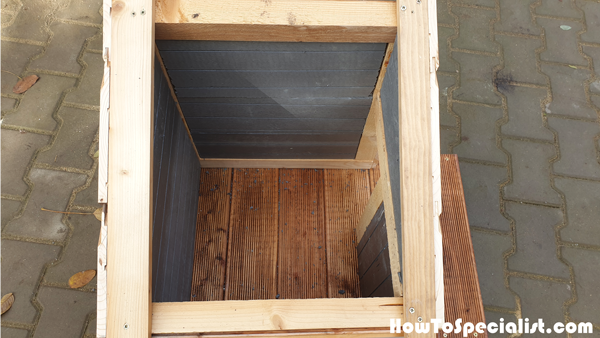
We added the insulation sheets to all the walls. You don’t need to glue it to the walls, if you cut the sheets properly and fit them tightly.
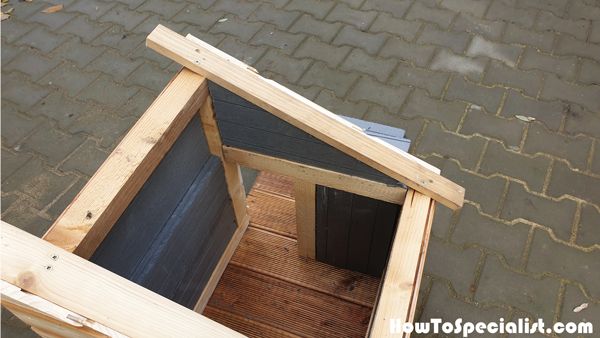
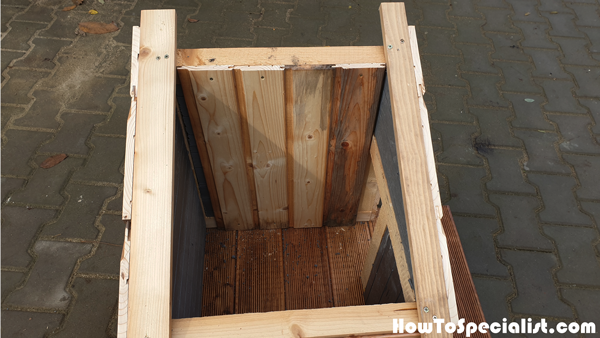
Next, I added tongue and groove slats to the interior of the cat house, as well. You can replace them with plywood, if you want to get the job done quickly.
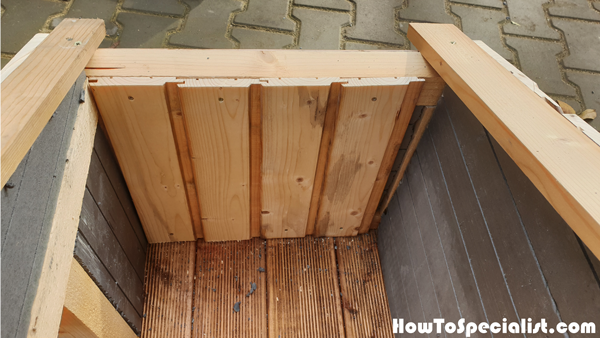
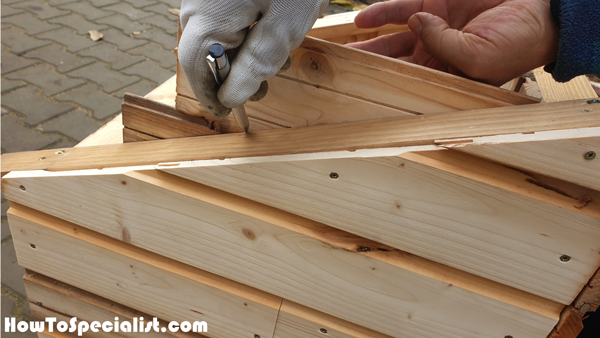
Mark the cut lines for the lean to gable end slats. I used the miter saw to make the angle cuts so you can fit them into place tightly.
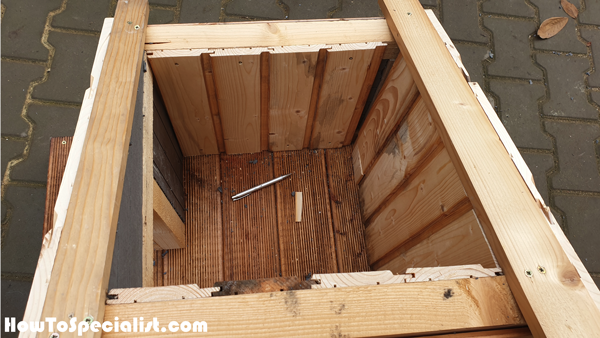
Starting to look like a home…
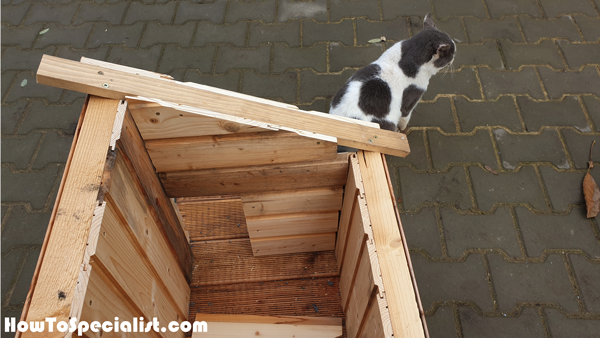
Mickey is waiting eagerly for his new home to get a roof. And his wish is my command…
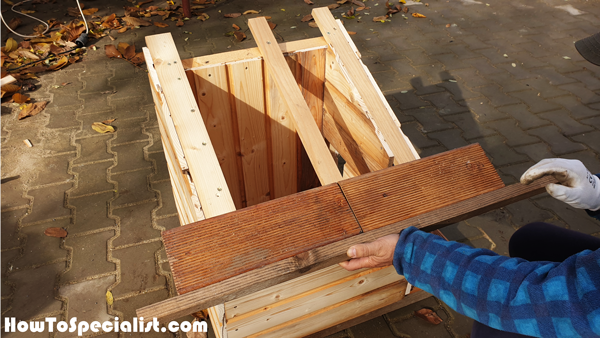
We added an extra rafter to the top of the cat house, so we can join the scrap boards together and build the roof. We used a drill to make pilot holes and then inserted 1 5/8″ screws to lock the slats into place tightly.
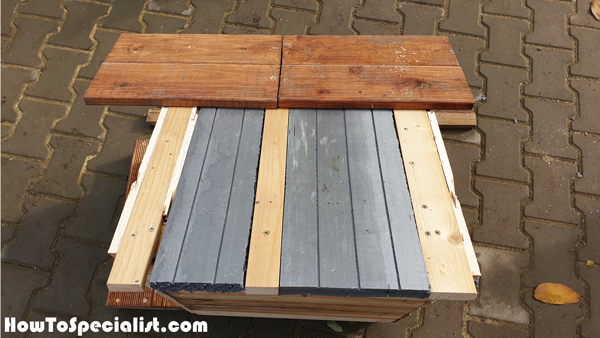
Fit the insulation sheets to the roof of the cat house.
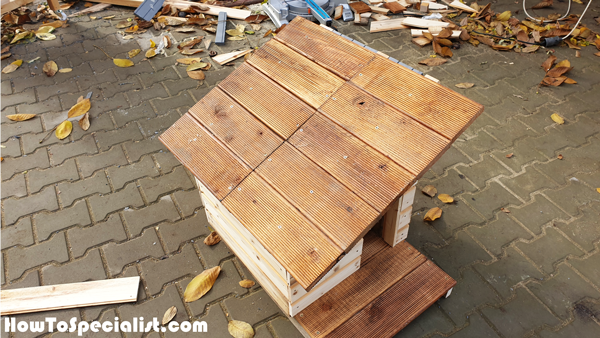
We added the rest of the boards to the roof of the cat house.
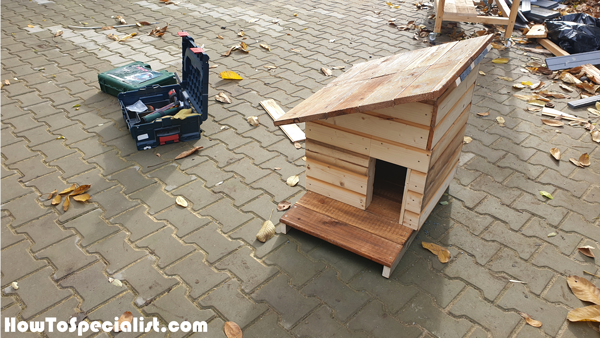
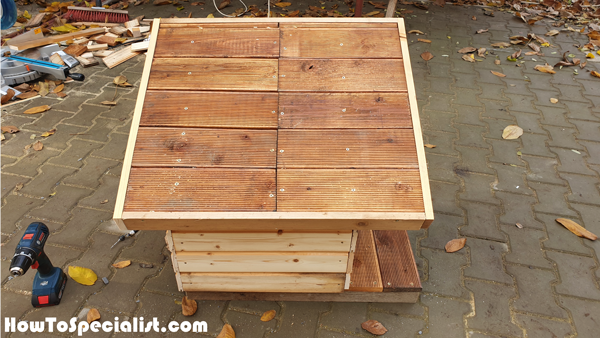
Fit the 1×2 trims to the roof of the cat house. Align the edges and use finish nails to secure them to the roof slats.
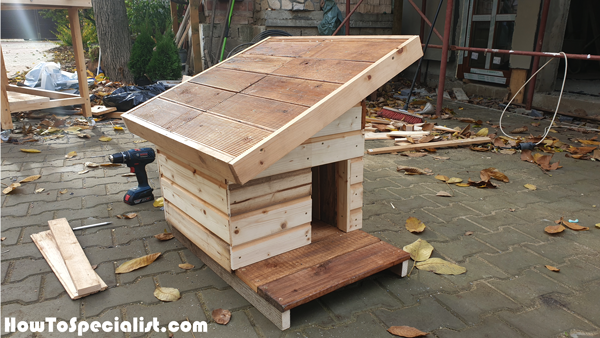
You can add asphalt shingles to the cat house if you are planning to place it in an unprotected area, so it stays waterproof. I will move it to my covered porch, so there is no need for that. I will update this tutorial with new pics, when I add some paint to the cat house and make it pretty.
Finishing Touches – Outdoor Cat House
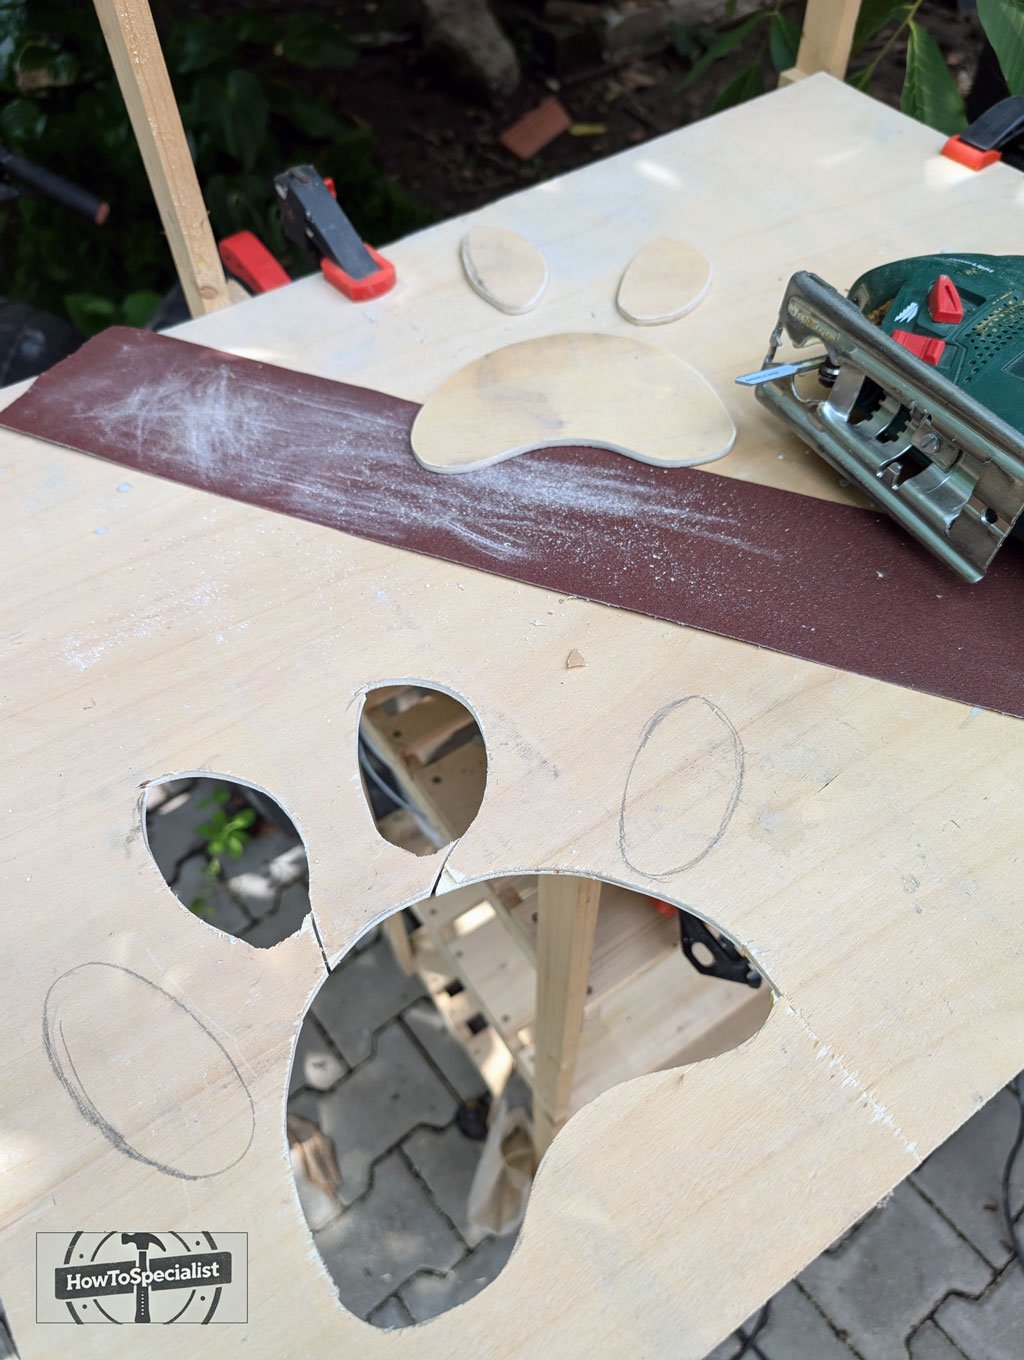
Plywood-Cat-Paw
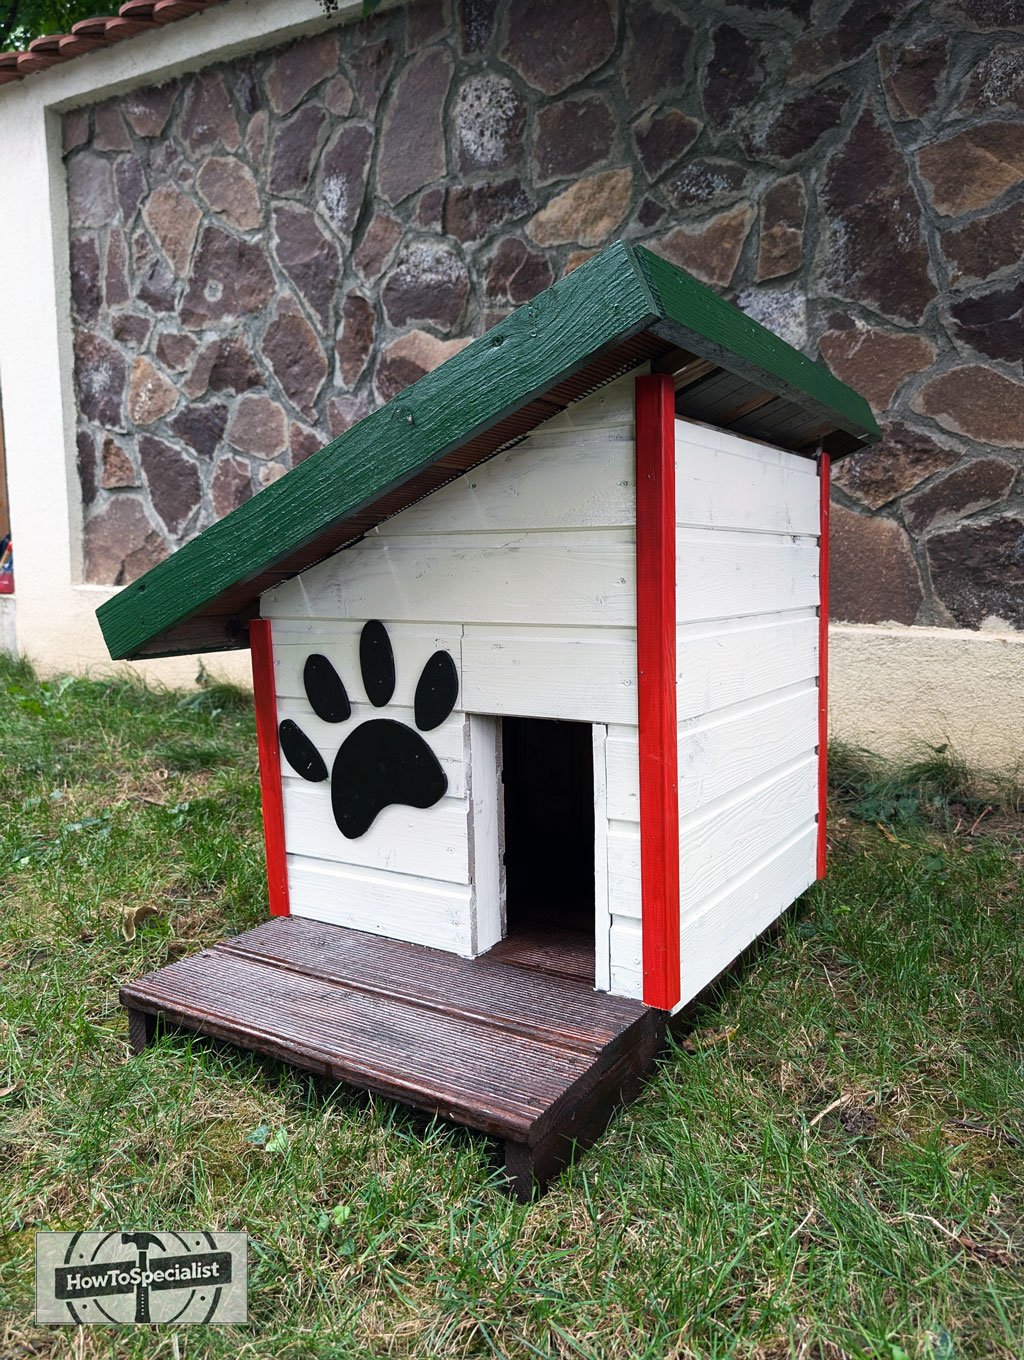
Let’s add a fun touch—a plywood cat paw for the front wall! I started by sketching a simple paw design on a scrap piece of plywood, then cut it out with a jigsaw. After sanding the edges, I painted it a contrasting color to make it pop.
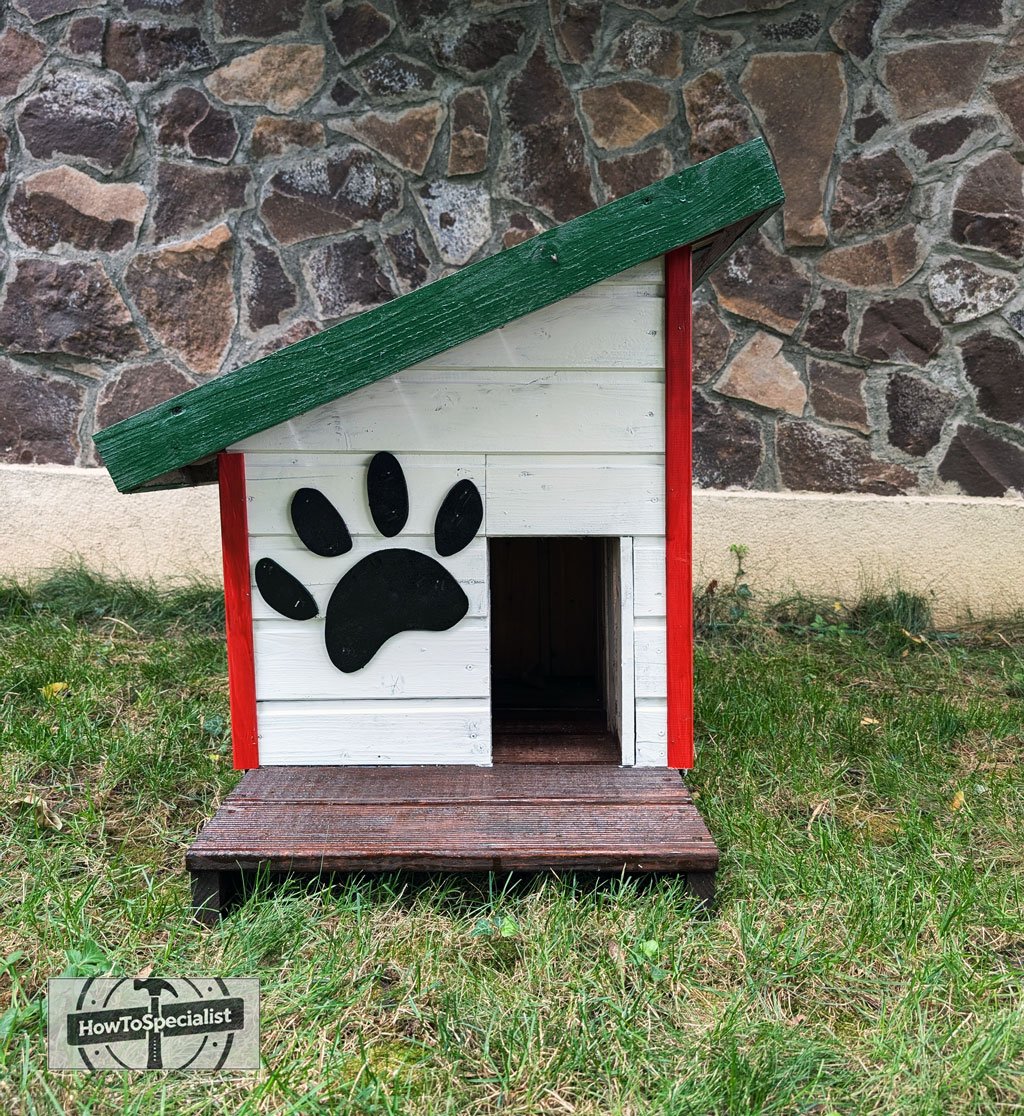
Once dry, I secured it to the front wall with finishing nails. This small detail adds character and a playful vibe to the cat house, making it truly unique.
Building-an-insulated-cat-house
Let’s put the final touches on this cat house with some paint and corner trims! For the paint, I’m using an exterior-grade option. This will protect the wood and look great outdoors. Make sure to sand everything smooth, then apply a couple of coats for durability.
Now, onto the corner trims. I’m using corner trims, pre-painted to match, and cutting it to fit the corners. This not only covers up rough edges but gives the house a clean, finished look. Attach them with finishing nails, and you’re all set.
With the paint and trim in place, this cat house is looking sharp and ready for action!
How-to-build-a-cat-house
It’s been a fun project, and I hope you’ve enjoyed following along as much as I’ve enjoyed building it. If you’re thinking about tackling a project like this, I’d love to hear about it! Drop a comment below, share your own tips, or ask any questions you might have. And if you decide to build your own cat house, be sure to share – I can’t wait to see what you create!
Thank you for reading our article about how to build an insulated cat house and we recommend you to check out the rest of my projects HERE.
EXPLORE MORE IDEAS:



1 comment
This is awesome! I can’t wait to try it out!