
This article is about how to install balcony railings and balusters. This is a diy step by step guide for all do-it-yourselfers, who want to learn how to install railings and balusters. In this article we will show you what materials and tool you need, and will help you with a lot of useful tips, as to build simple and cheap wood railings, for your deck, balcony or terrace.
When building your railings, just take into consideration that it might block your view if they are too high or too close from glass doors or windows. The planning is an important park of building your dream deck, so study thoroughly the issue before starting the project. There are several basic elements you have to evaluate when building railings and balusters: the shape, height, color and texture.
First the shape of the balusters and railings should match the design of your house. If you have a complex-shaped house, maybe it would be a wise decision to build simple railings, in order to create an equilibrium. Examine attentively your house in order to see unique forms such as: triangles, lines, rectangles – you can use them as a starting point for developing the design of your railings.
The size of railings and balusters should harmonize with your house: your deck would look more massive with dense railings with a lot of balusters, or it could look smaller if your railings are light and low. The color of your railings is an important aspect of the project. On one hand you could expose the wood by using a transparent varnish, or you could just add colors, which match your house. Irrespective of your choice, remember that you have to treat the railings and balusters regularly, against moisture.
Generally speaking, wood has a rough texture, all sorts of cracks and knots. If you like the natural look of wood you could buy regular wood for decks, but if you aim to get a perfect look, just buy more expensive wood, or composite materials.
Materials
- 3×4/6×8 cm lumber for the hand rail
- 2×2/ 4×4 cm for balusters
- 2” wood screws for balusters
- 6” wood screw for the handrail
- Metal brackets
Tools
- Level, rubber hammer
- Hammer, measuring tape
- Jig saw, circular saw
- Ddrill bits, clamps
- Drill machine, electric screw driver with torque control
- Framing square, carpenter pencil
Tips
- Read safety and disclaimer pages
- Select with great care the wood posts, otherwise the railing would look bad
- Use a good drill machine with torque control
Installing balcony railing

Installing balcony bottom rail
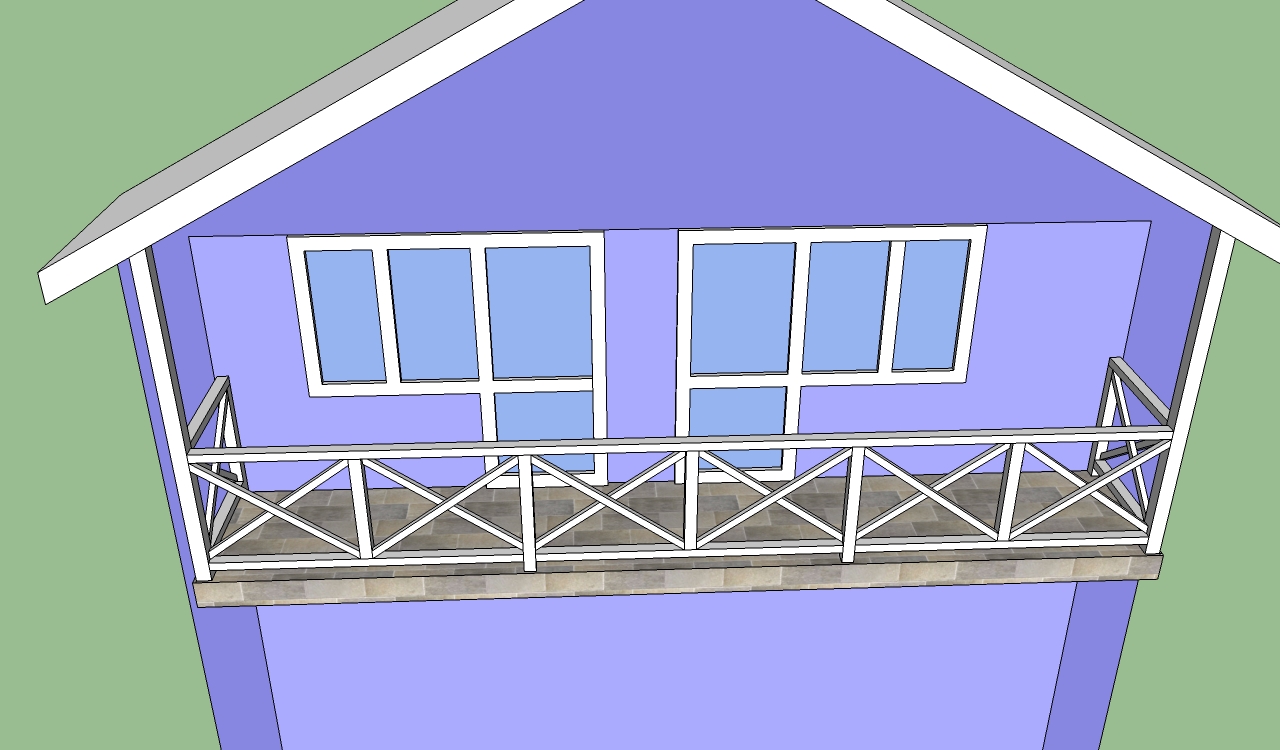
After you have installed the wooden posts on the balcony, you have to secure the bottom rail. As you can notice in the image, on the middle of each bottom rail segment we have attached a floating post. In order to secure the middle post, you should make a dowel joint, add wood glue and for extra-care drive in a 6” wood screw.
When installing the bottom rail, you have to use a spirit level as to make sure you secure them properly.

Installing the bottom rail
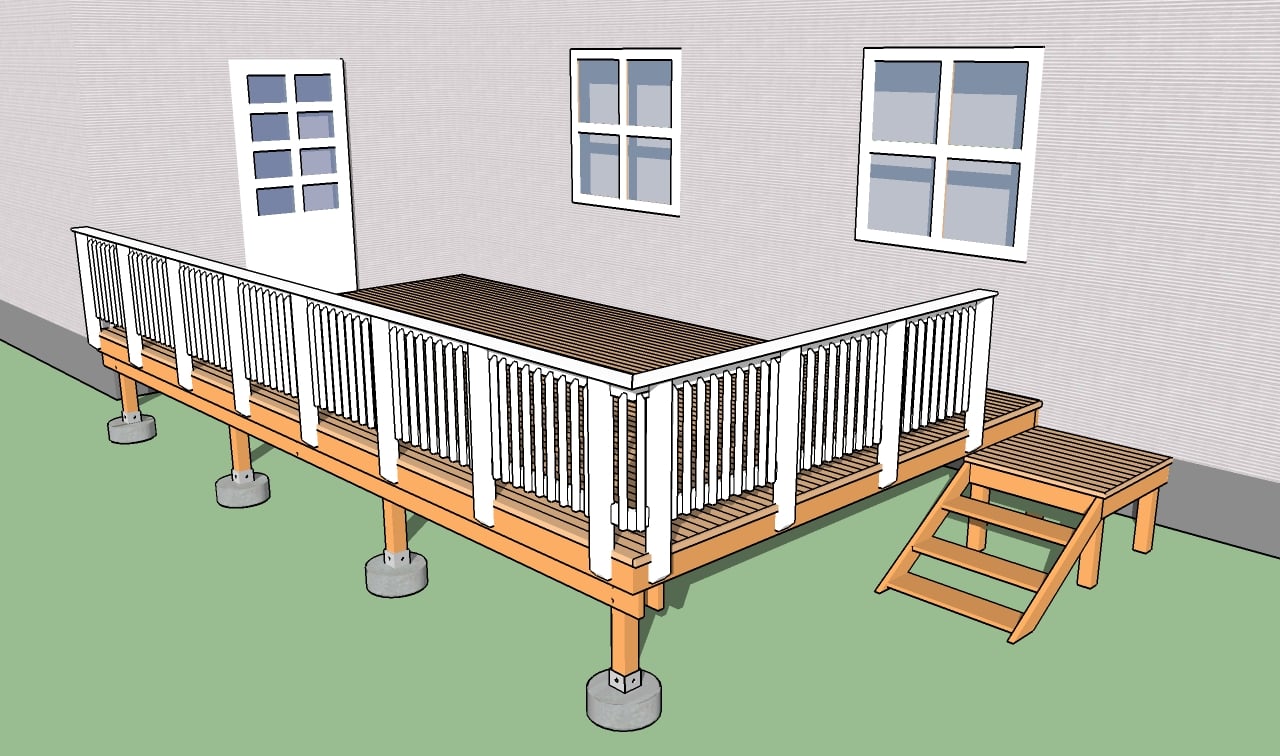
Now that you have finished installing the deck posts, you should continue the project by building and fixing the bottom rail. You can see in the image, that we attach on the bottom rail a floating post.
The first step is to measure the distance between the posts with a measuring tape, and to cut a 3×4 bottom railing, using a circular or a jig saw to that specific dimension. On the bottom rail, we will fix the floating post.

Fastening the floating post in the bottom rail with wooden plugs
We will fasten the floating post on the bottom rail, using wooden plugs, and a 6” wood screw. In order to install the wooden plugs, just project on the middle of the bottom rail, the footprint of the floating post.
Afterwards, draw the two diagonals inside the rectangle. You should drill 1” holes for the wooden plugs on one diagonal, at an equal distance from the center. The wooden plugs should be inserted in the holes using a good wood glue and a mallet. Drill another hole using a wood bit, through the center of the rectangle, for the screw.

Fastening the floating post on the bottom rail
The screw should be installed exactly on the center of the post, using a electrical screwdriver with torque control. Remember that you should also make a pilot hole in the floating post, otherwise it is hard to fasten the two components.

Fastening the bottom
Next, fix the bottom rail between posts using l-shaped brackets. In order to fix the bottom rail, start with one end by fastening it with nails or screws, and then lock the other end, making sure it is aligned, using a spirit level. For these operations, it is better to ask a friend to help you, as they require a lot of precision and physical effort.
Installing balcony balusters

Installing the balusters the balusters
The next step is to install the balusters. For this project we’ve decided to try something new – x-shaped balusters. We bought 2×2 timber, but you can choose other dimensions as well. Use clamps to lock the balusters on position, and then mark their ends, in order to cut them at the angle.
Remember that when making the marks, the balusters should be perfectly aligned at one end, with the joint of the bottom rail with the posts, and at the other end with the top edge of the post.

Cutting balusters with a jig saw
Use a jig saw or a circular saw and cut the balusters at the required dimension. You can see in the image that you should lock the timber into position either with a clamp or with a hand, before cutting it with the saw. Don’t use saws with dull blades, as it is dangerous, ask a qualified professional to replace the blade for you.

Locking the balusters into position
Position the baluster into position and check if it fits perfectly. It there is an issue with the baluster, it is possible that you made an error during cutting. Consequently, you should assess the situation to see if you can reuse the baluster, or you should do again the cut, this time correctly.
The angle-end balusters are tricky for unexperienced diy-ers, so pay attention to these steps.

Drilling pilot holes the balusters
The next step is to make a pilot holes at both ends, as to fasten the balusters to posts. Subsequently, use a drill machinery with torque control and bits for wood, and make the drills.
In this image you can see the correct way that you should hold the drill machine. With one hand you should hold the drill’s handle, as with the other one you control the process and press the ‘trigger’. The drilling must be progressive: at first use low speeds to create a shallow hole. Afterwards, the speed should be increased, but at every few seconds pull the drill slightly out and press it back in again.

Fastening the balusters with screws
Next, yo should fasten the balusters with 2” wood screws, by using an electric screwdriver with torque control. It is important to fix firmly the baluster before screwing it in the posts, as to make sure its edges are well aligned.

Installing the handrail
You should repeat the processes shown at the previous steps, until you have finished installing all balusters. In this image you can see how it looked the railings, before mounting the handrail. Pay attention to all aspects, and make sure the balusters are perfectly aligned at the top of the posts, otherwise you won’t be able to install the handrail.

Handrail joint
As we’ve already said, the handrail must be fastened in the posts with 6” screws. In addition, for a better installation, you could also use wood plugs, inserted in posts and in the handrail.

Fastening the handrail
Use an electric screwdriver with torque control to insert the wood screws, in the pilot holes. The pilot holes must be drilled both through the handrails and in the posts, as to prevent the wood from splitting and to make the joints stronger. Hold firmly the electrical screwdriver , with your both hands, as to avoid injuries, or mistakes.
You can also use a regular butt joint, but for a professional look, we recommend you to use the mitered joint. For precise cuts, use a good handsaw with a sharp blade. Before using the tools, always verify them attentively as to identify possible flaws. If you are checking the blades, use safety gloves to avoid injuries.

Mitered joint handrail
When building deck railings you will probably face corners. The best way to fix the handrail is by making a miter joint. Consequently, cut the handrails at 45º, as in the image. Next, drill several pilot holes with the machine drill. Fix the handrail, by aligning carefully the its edges along the top of the posts.
Last but not least, apply adhesive to the mitered ends and secure the joint with screws.

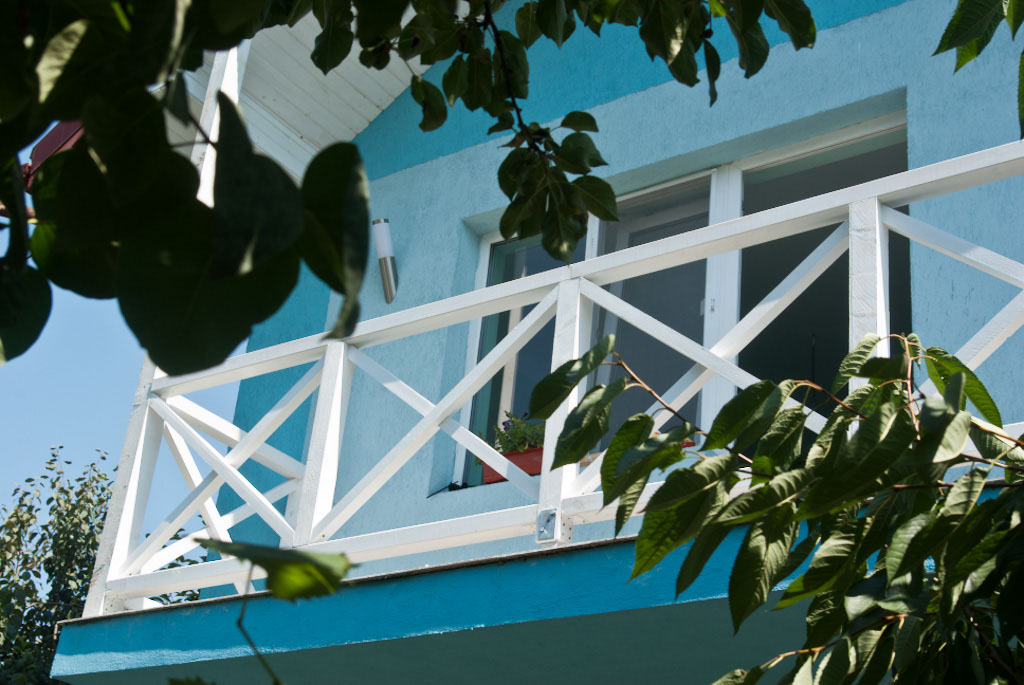
Wooden railings and balusters
After you have finished the last step, your railings and balusters should be ready to add value to your house. We hope that this article really helped you to learn how to install railings and balusters, and we played a role in your decision of improving your home. Remember to make a clear and detailed plan before starting the project, and to hire a qualified team if you don’t want to assume the inherent risk of a diy project.
Thank you reading our article on how to install balcony railings and balusters, and we recommend you to check out the rest of the deck projects. Please LIKE and SHARE our articles with your friends, by using the social media widgets.
<< Previous | Next >>

Mr. Sander-While your article is well written, quite helpful and informative, it might be wise to include (or at least mention) information regarding building codes that could apply to a project of this nature. DIY-ers are not usually thinking in this direction and making improvements to a home that are not in accordance with current codes can often lead to serious, usually preventable, ramifications.