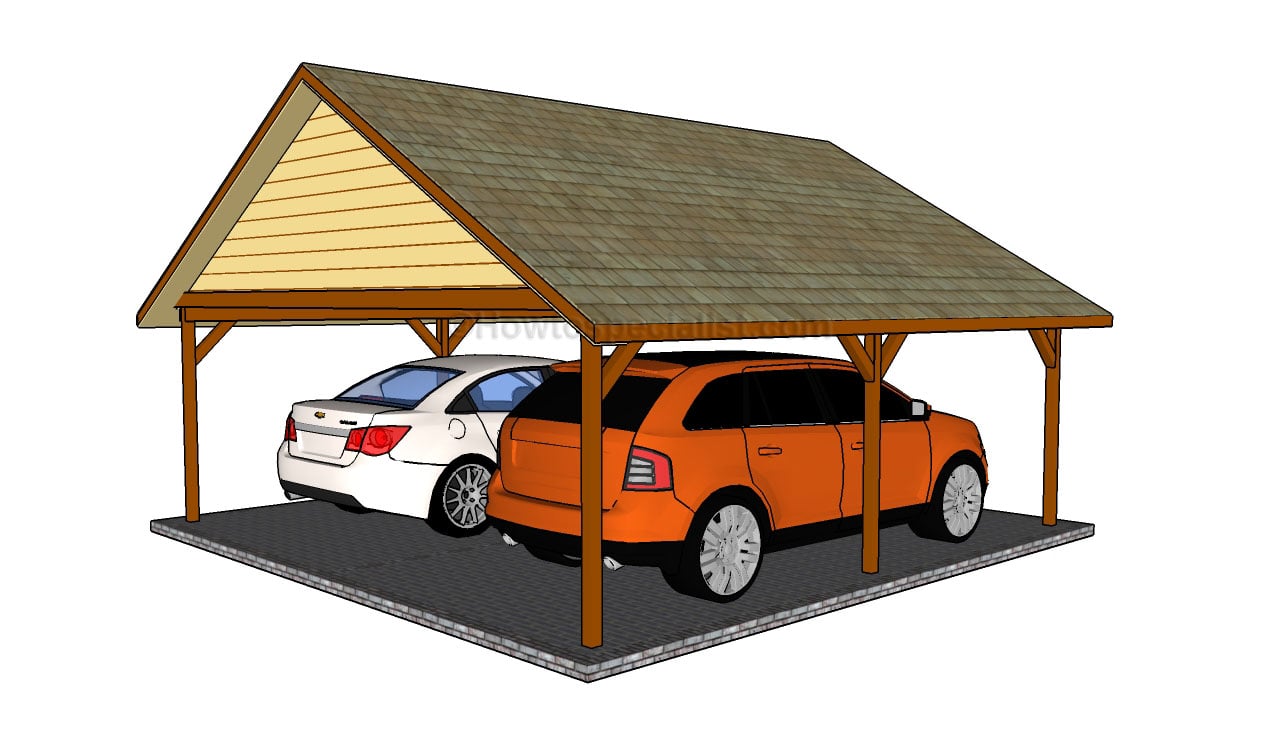
This step by step diy woodworking project is about how to build a double carport. Building a large free standing carport is a great addition, as it will keep your cars dry and it will protect them from bad weather. Work with attention and with good judgement, as you need to plan every aspect of the construction from the very beginning. Pay attention to anything that might go wrong, as to prevent costly mistakes. See more step by step carport projects HERE.
Taking into account you will most likely need to obtain a building permit, we recommend you to study the local codes before starting the actual construction project. Work with attention and with great care, as these preliminary steps are essential for the project. There are many useful aspects that you could learn from the building codes, such as the depth of the footings or the materials you need to use. Consult an engineer, as you need to build a large roof that has to support a significant weight.
Moreover, we strongly recommend you to hire an engineer when designing the carport. A construction for two cars needs a rigid structure, otherwise it might collapse on the long run. These plans are for informational purposes, so you need to hire a specialized professional before starting the construction. Fit the posts into place properly, either by using metal anchors or by setting them into concrete. See all my Premium Plans in the Shop.
Made from this plan
Building a carport

Building a double carport
Materials
- A – 6 pieces of 4×4 lumber – 84″ long POSTS
- B – 4 piece of 2×6 – 240″ long SUPPORT BEAMS
- C – 8 pieces of 4×4 – 32 1/2” BRACES
- D – 11 pieces of 2×6 – 243”, 22 pieces of 2×4 lumber – 157″, 10 pieces of 2×4 lumber – 22 1/2″ TRUSSES
- E – 300 sq ft of 3/4″ grooved plywood GABLE ENDS
- F – 8 pieces of 2×4 lumber – 157″, 30 pieces of 2×4 lumber – 7 ” long OVERHANGS
- G – 18 pieces of 3/4″ plywood – 4’x8′ DECKING
- H – 600 sq ft of underlayment tar paper UNDERLAYMENT
- I – 600 sq ft of asphalt shingles ROOFING
- 6 pieces of 4×4 lumber – 8 ft
- 3 pieces of 4×4 lumber – 10 ft
- 4 pieces of 2×6 lumber – 20 ft
- 11 pieces of 2×6 lumber – 22 ft
- 30 pieces of 2×4 lumber – 14 ft
- 5 pieces of 2×4 lumber – 8 ft
- 300 sq ft of 3/4″ T1-11 siding
- 18 pieces of 3/4″ plywood – 4×8′
- 600 sq ft of tar paper & asphalt shingles
- post anchor, tube form, concrete
- 2 1/2″ screws, 5 1/2″ carriage bolt, rafter ties
- roofing felt, asphalt shingles
Tools
- Safety gloves, glasses
- Miter saw, jigsaw
- Chalk line, tape measure, spirit level, carpentry pencil
- Drill machinery and drill bits
Tips
- Hire an engineer before pouring the footings
- Secure the walls temporarily with braces
Time
- One Week
Related
How to build a double carport
The first step of the project is to lay out the carport in a professional manner. As you can see in the image, you need to use batter boards and string, otherwise you might not get a professional result. Apply the 3-4-5 rule to each corner, in order to make sure they are right-angled. In addition, adjust the strings until the diagonals are perfectly equal.
There are many ways in which you can set the posts into place. First of all, you need to dig 2-3′ deep holes (at least 6″ under the frost line) and pour a 2″ layer of gravel. Install tube forms and fit the posts into place, making sure they are perfectly plumb. Secure the posts with braces before filling the forms with concrete.
Let the concrete to dry out for several days before continuing the project. Moreover, as you can notice in the image, you need to plumb the posts with a spirit level. Place a straight edge on top of the posts to check if they are horizontal.
Continue the woodworking project by attaching the support beams to the top of the posts. As you can see in the image, you need to drill pilot holes both through the 2×6 beams and trough the posts. Clamp the beams into place and insert the 7″ carriage bolts. Use washers and make sure you don’t overtighten the bolts, to prevent the wood from splitting.
Taking into account the size of the carport, you need to reinforce the frame with braces. As you can notice in the image, build the braces using 4×4 lumber and cut their ends at 45º. Attach the braces into place, drill pilot holes and lock them into place with 3 1/2″ galvanized screws.
Building the roof of the double carport is a complex process, as the frame is very wide. As you can notice in the plans, you need you need to assemble several roof trusses on a level surface. Cut the components at the right size and lock them together tightly with wood screws. Build the bottom rafters from 2×6 lumber and the common rafters from 2×4 lumber.
Taking into account the size and the weight of the trusses, you need to ask a friend to give you a hand when fitting them to the frame of the carport. Attach the trusses on top of the frame and lock them to the support beams with long galvanized screws. Drill pilot holes at angle before inserting the screws, in order to prevent the wood from splitting.
Continue the woodworking project by attaching the gable ends to the end trusses. Use 3/4″ grooved siding and lock them to the trusses with finishing nails, every 8″ along the framing. Align the sheets with great care, if you want to get a professional result.
If you want to add style to your two car carport, you need to attach overhangs to the front and back of the structure. Use common rafters and 7″ long blockings to get a rigid structure, before attaching them to the roof structure with 3 1/2″ galvanized screws. Drill pilot holes through the rafters and insert 2 1/2″ screws into the blockings.
Attach 3/4″ tongue and groove plywood sheets to the roof, as in the image. It is essential to follow a certain pattern, otherwise the roof won’t be rigid enough. Align the sheets at both ends and lock them to the rafters with 1 1/2″ nails, every 6-8″. It is essential to close the gaps between the sheets, if you want to get the job done as a professional.
Attach 1/4″ plywood to the rafters as in the image, if you want to enhance the look of the project. In addition, fit 1×6 trims to the ends of the rafters, as well as to overhangs. Secure the trims and to plywood into place, using 1 1/2″ finishing nails. Work with attention and with great care, as to prevent potential issues and to get a professional result.
Cover the roof of the shed with roofing felt, making sure the strips overlap at least 2″. Secure the tar paper to the plywood sheets with roofing staples. In addition, cut a 12″ piece for the top ridge. Fit the side drip edges over the roofing felt, while the bottom drip edges should be fit under. Place a starting course at the bottom of the roof, before installing the asphalt shingles. Always read the manufacturing instructions before starting the installation, as there are several aspects that differ.
The first course should star with a 3 tab shingle, the second course with a 2 1/2 tab , the third course with a 2 tab, the forth course with a 1 1/2 tab, the fifth course with a 1 tab, the sixth course with a 1/2 tab. Repeat the process from the beginning, starting with the seventh course. Don’t forget that the shingles should overhang from the drip edge about a 1/4″. In addition, secure the asphalt shingles to the roof decking with tacks.

Two car carport plans
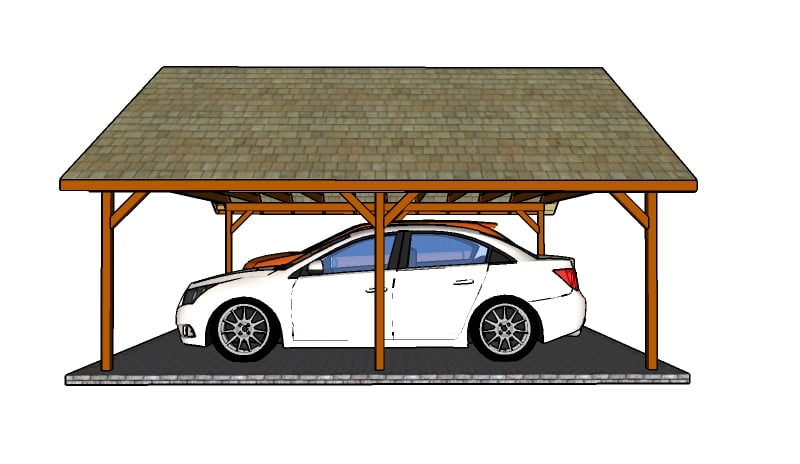
The double carport seen from one side.

DIY double carport
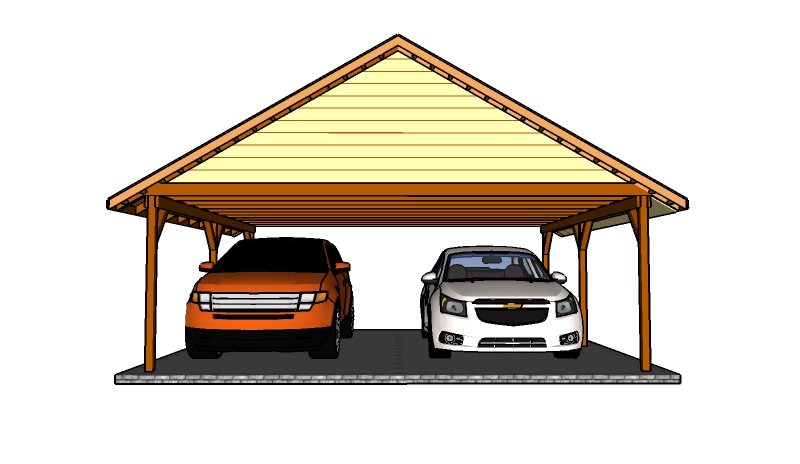
The two car carport seen from the front. The construction features a simple design, so it can match the style of any property.
Last but not least, we recommend you to take care of the finishing touches. In order to get a professional result, fill the holes and the gaps with wood filler and let it dry out for a few hours. Check if there are protruding screws and fix the issue if necessary. Check out plans for a 2 car carport with trusses.
Thank you for reading our project about how to build a double carport and we recommend you to check out the rest of the projects. Don’t forget to share our projects with your friends, by using the social media widgets. LIKE us to be the first that gets our latest projects and to help us create more free plans.


24 comments
About how much would this project cost?
A few grands.
Thank u.. not bad…I figured that…A couple grand, that include the concrete slab?
No it does not. It is hard to give you an accurate estimate as materials and labor costs vary. The easiest would be to track and add up all the costs, as you check the local prices for the materials.
Thank you so much for publishing this comprehensive plan. Now I have my summer project :-).
Good luck with that! Let me know how it goes!
Where do you find lumber longer then 16′ without splicing?? I didn’t get the measurements you came up with. You mentioned in material list 4 2×6- 240″ which is 20′ and you can’t buy 20′ unless it’s a engineerd beam. Correct? Trying to understand. Thanks.
I am a designer, I’m not a lumber reseller. From my knowledge you can find 20′ long beams, you just need to look further than the corner store.
You are correct James, it’s about impossible to find a 20′ – 2by anything.
Thanks for design info going to use in Australia. Was timber hardwood or pine
It’s pine, construction lumber.
Could the posts be anchored to, and the structure built on, an existing concrete driveway slab?
No, I would not do that. The posts need 3′ footings.
What happens if posts are fastened to existing concrete slab remaining from a previous structure? What attributes are needed for the slab to be suitable?
The structure needs a foundation / footings. A slab is not enough by itself.
This is exactly the plans I have been looking for. My plan is to extend the roof and framing to include a 12×20 workshop on one end.
That sounds like a nice project. Good luck… looking forward to seeing your project.
If I wanted to build this along with pouring a concrete pad, am I correct that setting the posts should be the first step?
Yes, set the posts first. You can pour footings and use anchors for the posts.
Great plans and illustrations.
Do you have a plan for a 30 x 30 carport that you park the cars from the side instead of coming in from the ends? The way my driveway is I need to park in from the side and wanting to build next to my trailer running the roof line parallel with my trailer.
I only have this carport with entrance by the side, but it is 20×36: https://howtospecialist.com/carport/triple-carport-plans/
We need the roof turned 90 degrees which would allow us to eventually add solar panels, this would require that we enter between the three posts. Based on the illustrations there’s approx 9′ between them for entry. Standard garage doors are either 8′ or 9′, it seems to me that there would be ample room to do this. Also on the (B) parts why not just use 4×4’s
or if support is the issue use 6×6’s on top of the posts, you could either leave the post 8′ or cut them down to keep the overall height the same?
Hi Jack:
Do you have any plans for a double carport in a 20′ wide X 24 foot long X 8′ or 9″ high my concrete existing pad is 20′ wide x 24′ long and my truck height is just over 7′ high
No plans for that