This article is about how to demolish a small building and level the ground. This article is PART 2 of the workshop build, where I show you how to set and pour the foundation and the concrete slab. In this post, you will learn everything you need to know about the best methods to dig the foundation and then set the formwork. In addition, I show you how I built the rebar beams that will make the concrete foundation last and support the weight of the construction.
This article comes with the matching video that shows you in detail how we poured the foundation, as well as all the other preliminary steps. Building a foundation for a large garage / workshop is not as intimidating as it might seem, but it’s not easy either. I hope this article will help you get a proper view of what it means to make a foundation for a small building. In addition, I will share a few tips regarding the electrical grounding and sewage pipes. See all my Premium Plans HERE.
Made from this plan
Materials
- cement, gravel, sand
- insulation sheets
- rebars
- rebar mesh
- grounding kit
- line
Tools
- concrete mixer
- concrete placer
- shovel
- wheelbarrow
- buckets
- hammer
- welder
Time
- 4 days
Pouring a Garage Foundation – DIY Tutorial
How to Dig, Setup, Pour a Foundation and Slab for a Garage
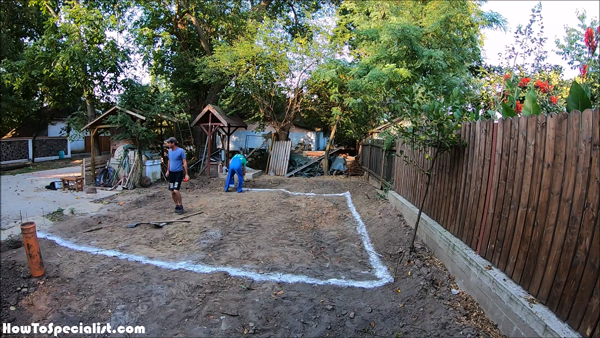
The first step of the layout the foundation for the garage. First of all, you need to measure the diagonals and apply the 3-4-5 rule to the corners, to make sure they are right angled. Use batter boards to make adjustments to the lines easily. We used lime powder to mark the location for the future trenches.
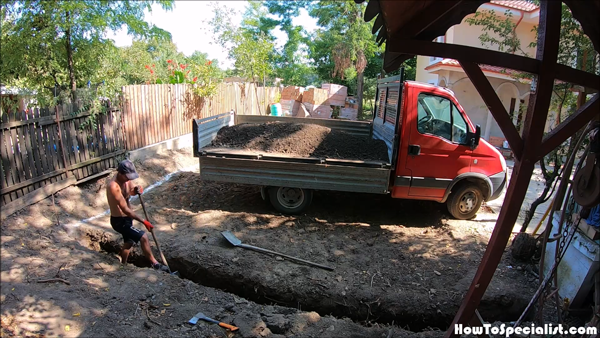
We dug the foundation for the garage manually. The foundation is 1′ wide and 2′ ‘deep. We also used the truck so we can get rid of the soil rapidly. We used a pointy shovel to dig in the ground and then a flat shovel to take the soil out of the trenches and fill in the dump truck.
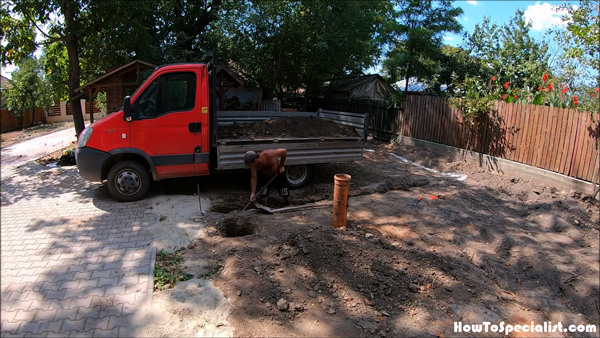
Next, we dug the other side of the foundation in the same manner described above. We made about one run with the dump truck for each side of the garage foundation. Digging everything by hand is time consuming but if it’s a small project, and in a countryside area, like this, you can save a few bucks. In addition, the quality of the trenches is far superior to the ones done with an excavator.
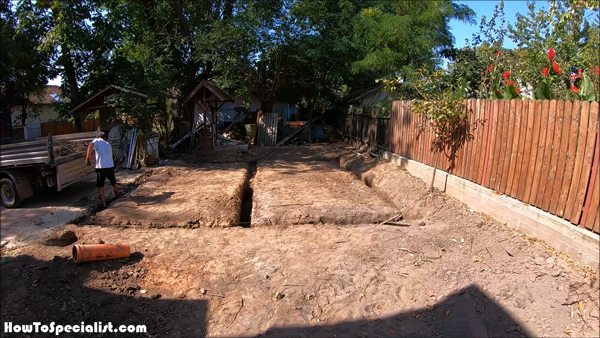
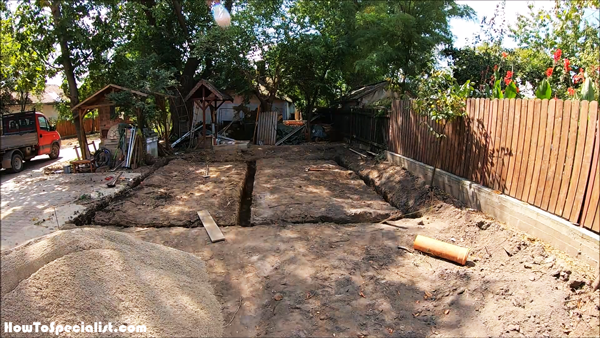
Digging the foundation took us 2 days, but it was done by just one man. I didn’t took a picture of the process, but you should remember that you need to check the level of the trenches using a water level and a ruler. Measure the depth of the trenches regularly and make sure the bottom if flat.
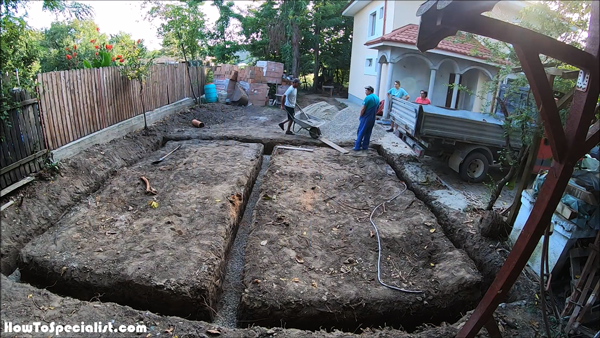
Next, we poured about 1-2″ of gravel to the bottom of the trenches. You can pour concrete, as well. This thin layer has the purpose of protecting the rebars from direct contact with the ground. This took 2 days, so once the trenches were ready we had all the beams ready.
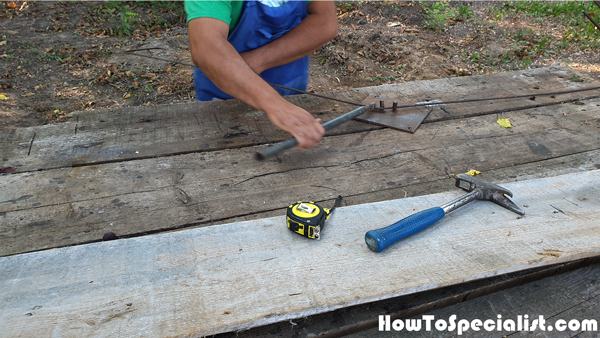
We made the stirrups for the foundation beams.

While one person was digging the foundation, another one was assembling the rebars. We used #12 for the rebars and #6 for the stirrups (every 6″). We assembled 5 beams in total, 2 for the sides, 2 for front and back and one for the middle of the foundation.
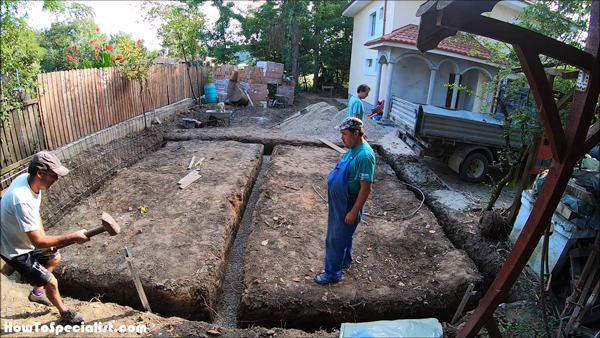
But, first we set the grounding rods. A large hammer does the job. We used 2 rods, 12′ apart, at the indication of our electrician.
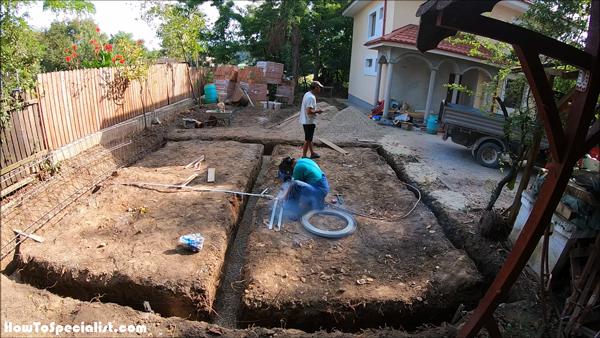
Here, we were welding zinc plated flat bar for the electrical grounding system.
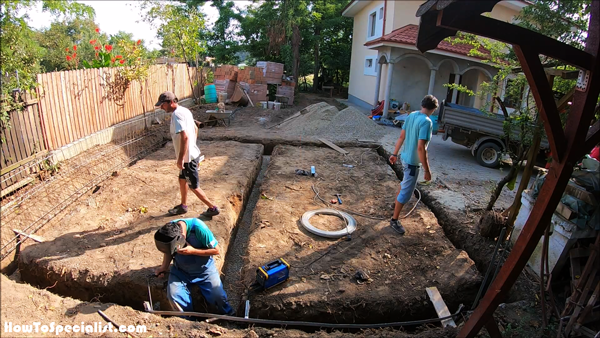
We welded the bar to the 2 rods. Notice the two vertical bars welded to the horizontal one. We will be welding one to the rebar beams and thus enhance the grounding capacity of the system. The other one will be left beside the foundation and connected to the electrical system.
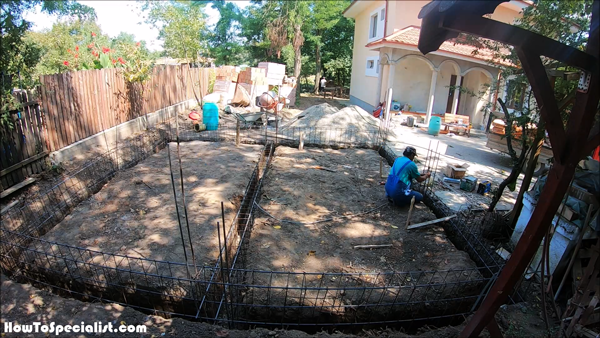
We also attached the rebars for the columns, as this will be a garage / workshop built with blocks.
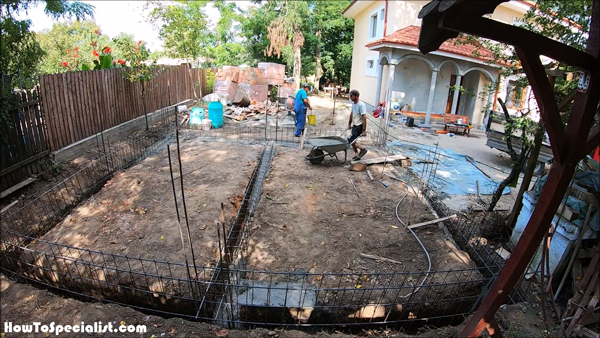
Next, we mixed concrete with a mixer and filled the trenches to the ground level. If you don’t know how to use a concrete mixer, make sure you check out my tutorial and learn its the advantages.
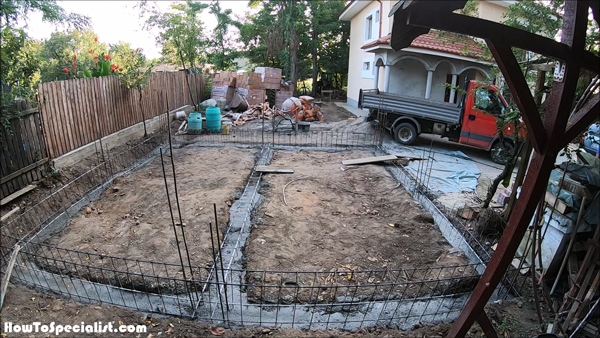
Let the concrete to dry out for one day.
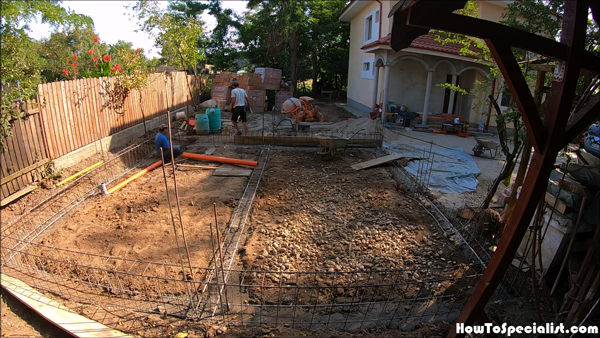
The next day, we leveled the ground inside the foundation of the garage. The ground was pretty level so we didn’t have much to work on that aspect. Next, we dug a small trench for the sewage pipe (the garage will have a small bathroom included with a toilet and a sink). We set the pipes for the sewage, as well as the water pipe.
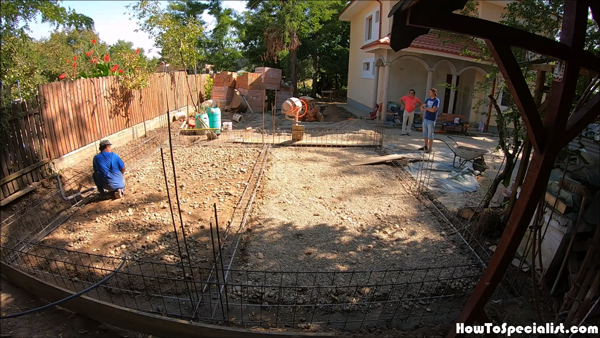
Next, we poured a 2″ layer of gravel over the group. The gravel has the purpose of stopping the capillary effect.

Since this will be a heated garage, we set 2″ extruded polystyrene sheets under the floor slab. These insulation sheets will keep the warmth inside the garage. Leave no gaps between the insulation sheets.
Notice that we also installed the form slats outside the foundation. Make sure you align everything properly and check if the corners are square. Set the slats with stakes every 24″, because the concrete will tend to push the formwork outside.

Next, we covered the insulation sheets with polyethylene foil, so the concrete doesn’t get between the sheets and thus compromise the thermal efficiency. On top of that we set rebar mesh to make the concrete slab really rigid and prevent it from sagging.
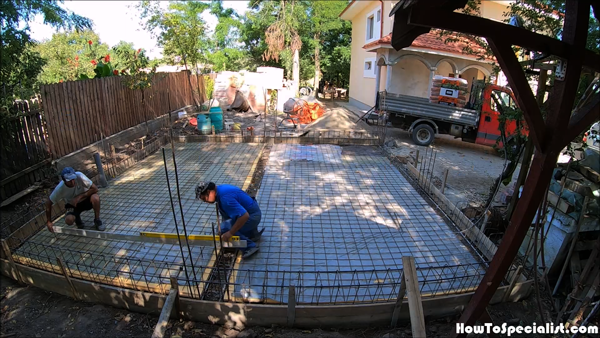
The last step before pouring the garage floor is to check if it’s level. Use a large spirit level and a straight edge for best results.
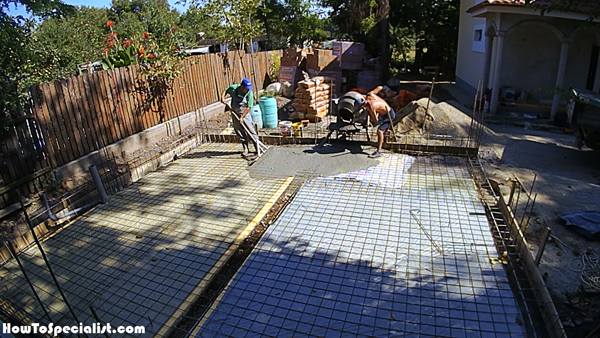
We used the concrete mixer to prepare the concrete. As you can see in the image, the mixer sits along one side of the foundation so we can pour the concrete directly inside the formwork.
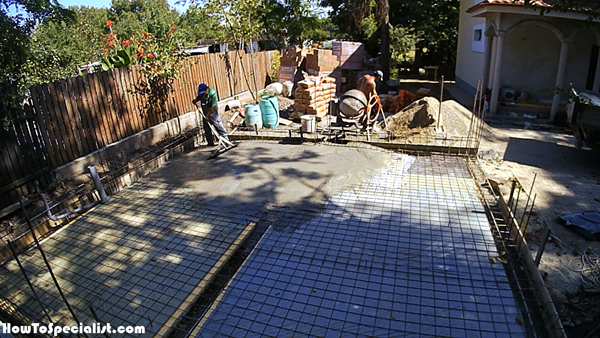
Use a concrete placer to spread the concrete evenly. Use some boots to keep your feet clean while stepping in the concrete. Use a rebar to check the thickness of the concrete slab and add more if necessarily.
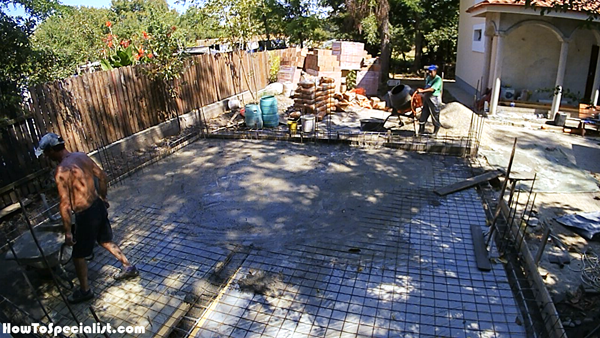
We used a wheelbarrow to pour the concrete to the other side of the garage floor.

We brought more gravel and sand next to the garage, using the dump truck.

We used a DIY float to finish the concrete and make it as flat as possible. We din’t pay much attention to this step, because we will be screeding the floor eventually, so no need to be perfect right now.

The garage floor is done so we have to let it a few days to set before continuing the project with the side elevations.
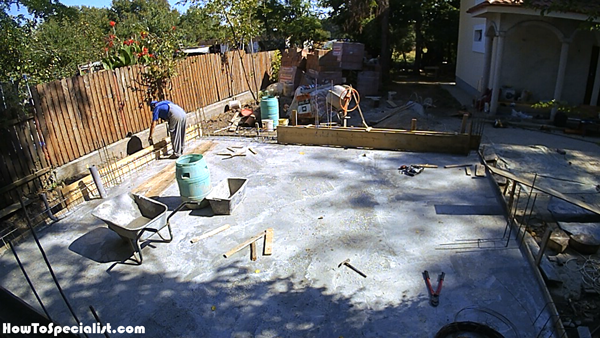
Next, fit the boards to make the formwork for the elevations. Use stakes to set the boards into place. In addition, lock the exterior boards to the interior boards with construction wire. Use a spirit level to make sure the boards are perfectly vertical and leave no gaps between them.
You should notice there is no elevation to the front of the garage, where the roll up door and the man door will be.
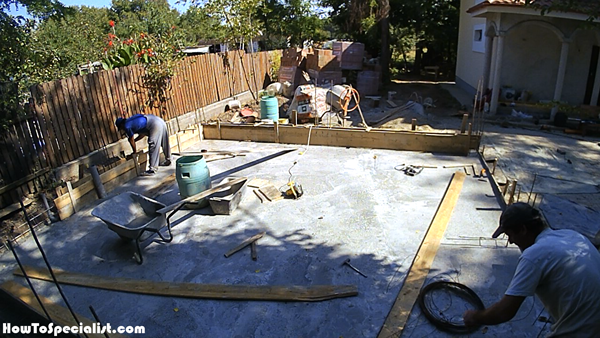
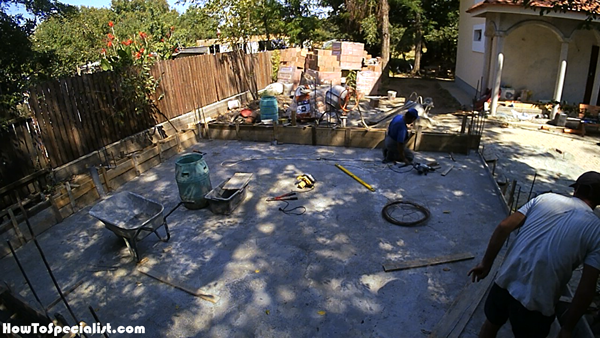
Once you built the formwork, you need set the level inside it. Use a water level and chalk line to mark the desired level for the elevation.
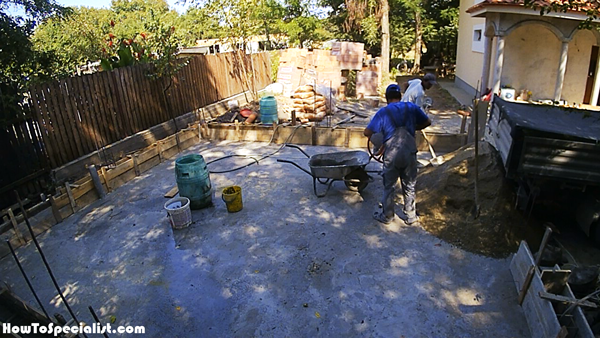
We used the concrete mixer to speed up the process. We poured the concrete in a wheelbarrow and then we filled in the form work.
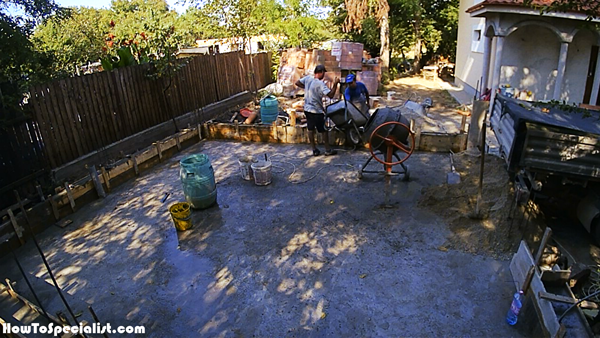
We poured the concrete in a wheelbarrow and then we filled in the form work. Make sure you hit the formwork with a hammer on both side so the concrete sets properly and there are no air pockets inside the elevation.
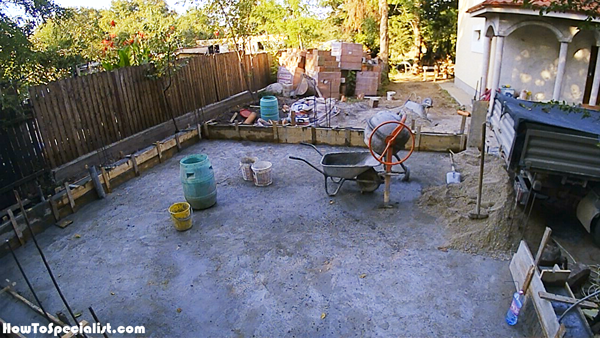
Fill the rest of the elevation formwork with concrete and use a concrete trowel to finish the foundation.
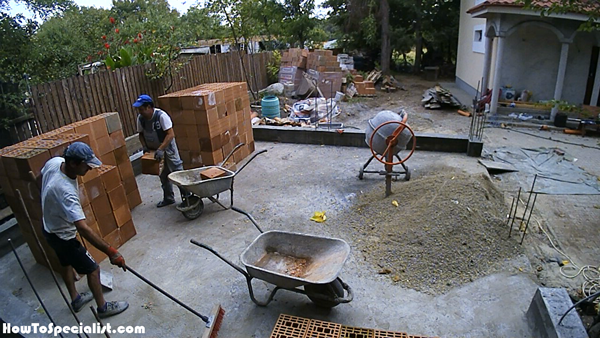
The next day we stacked the blocks on the garage slab. We had all the brick blocks from another project, so we used what we got. Please take a look over the rest of the project, to see how we prepared the area for the garage and how we built the rest of the construction. I am sure you won’t be disappointed will the other articles and you will learn new tricks and tips.
Thank you for reading our article on how to dig, setup and pour a garage foundation and we recommend you to check out the rest of our projects. Please share our articles with your friends by using the social media widgets.
