This step by step woodworking project is about wishing well planter plans. It took me a few months to finally finish this project, but once it was done I was so happy with the result that I had to share the project with you! This mini wishing well can be used as a planter or as a backyard decoration. If you give this project a chance, I guarantee that it will shortly become a conversation piece. See my other DIY projects HERE.
I recommend you to invest in the best materials you could afford. Therefore, you should buy weather-resistant lumber, such as pine or cedar. Always take accurate measurements before adjusting the size of the components at the proper size. Drill pilot holes trough the components before inserting the wood screws, to prevent the wood from splitting. See all my Premium Plans in the Shop.
Made from this plan
How to Build a Wishing Well Planter

The first step of the project is to build the base for the wishing well. I changed a little bit the plans I used for this project, as I already had some slats in the shop. MyOutdoorPlans has awesome plans for a mini wishing well, so I recommend you to check them out for a cut list and diagrams. I cut the 1×4 slats at the dimensions and joined them together with 1 1/2″ brad nails and wood glue.
Make sure the corners are square and align the edges flush before inserting the nails. Alternatively, you can drill pocket holes and insert 1 1/4″ screws to lock the slats together tightly. Make 3-4 frames according to the height you aim for.
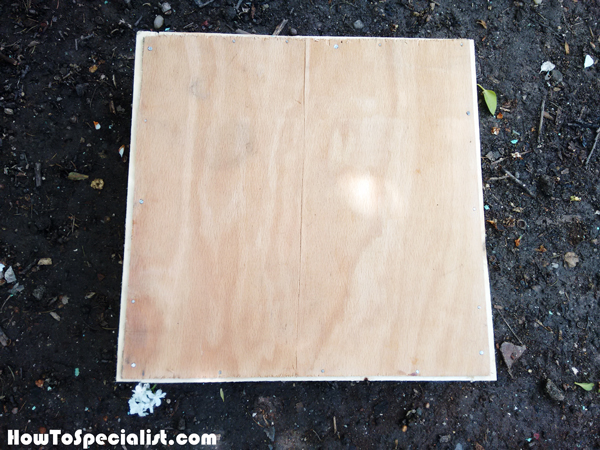
I attached a piece of 3/4″ treated plywood to the bottom of one frame. I recycled this panel, so it might not have the wow factor. However, I like recycling materials in some of my DIY projects, as it’s my way of helping the environment.
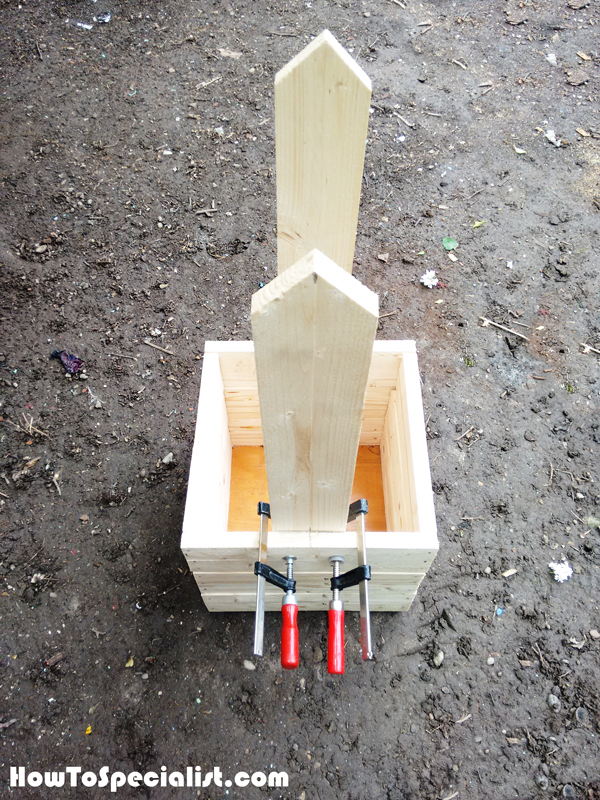
Next, I built the stakes for the wising well planter and clamped it to the base. I drilled pilot holes through the staked and inserted 1 1/4″ screws into the base slats. I added waterproof glue to the joints for a more durable bond. Make sure you use a spirit level to check if the stakes are plumb.

The wishing well is starting to take shape quite nicely, even if most of the materials are recycled. It is yet another proof that you don’t need expensive materials and tools to build things.
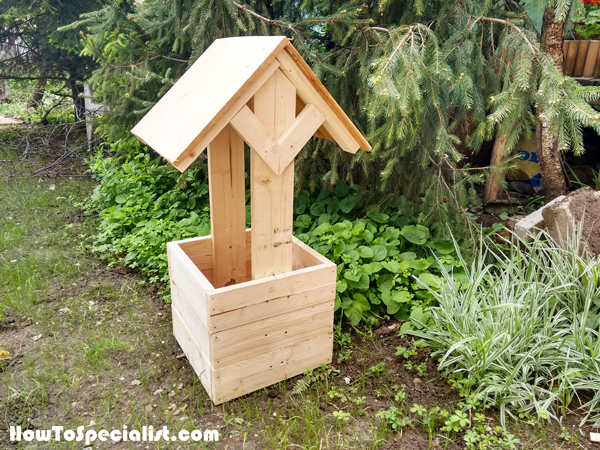
I followed the plans and attached the rafters to the top of the wishing well, as well as the corresponding supports. Afterwards, I attached some panels I had salvaged from an old table to the top of the rafters. I drilled pilot holes and used galvanized screws to lock everything tightly.
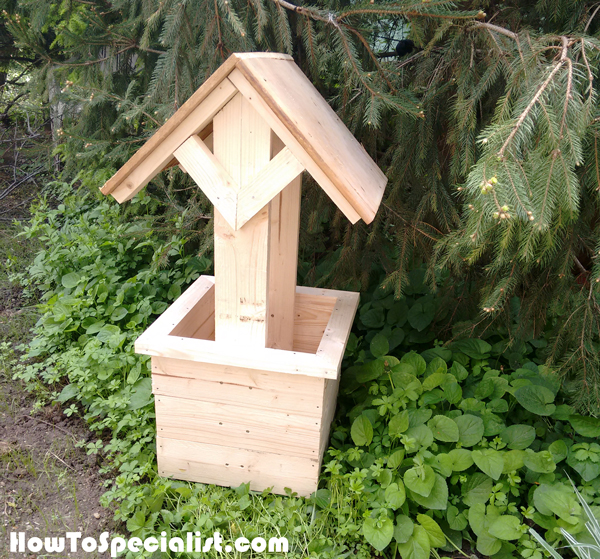
I attached the 1×2 trims to the top of the base, to enhance the look of my wishing well project. I used 120-220 grit sandpaper to smooth the edges and to even out the surface. It is essential to sand the lumber before applying the stain or paint, if you want a neat result.
In addition, now it is the perfect time to fill the holes and the dents with wood putty. Smooth the surface with sandpaper after it hardens. I recommend you to smooth the edges so you won’t cut yourself when touching them. Moreover, place a few scrap pieces of wood under the base of the wishing well, so you create a clearance space and protect the project from moisture.

I stained the wishing well planter with a few coats. The color is teak, as I wanted to match the other projects in my backyard. After a few hours I sealed everything with a few coats of spar varnish, to protect the wood from bad weather.
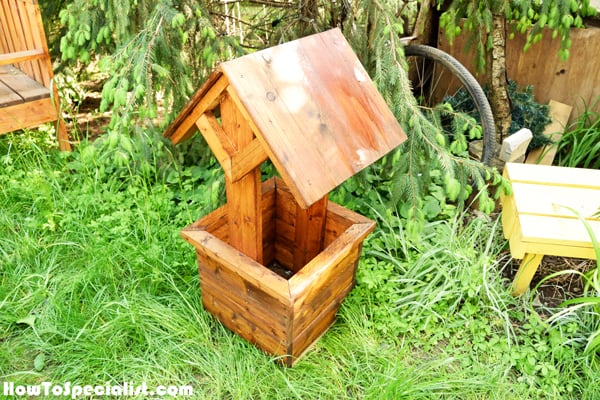


However, this mini wishing well doesn’t look completed so I had to change that. I cut the components for the spindle following the plans. I sanded the components and then stained them with the same color. If you want to create a nice contrast, you can use another color.

I assembled the handle for the wishing well. I drilled a pilot hole through the base of the handle and inserted a small screws into the handle. I added glue to lock the components together.

Next, I inserted the spindle through the pilot holes and installed the washer to one end, using a screw and glue. You can shape the washer differently using a hole saw, if you like that design more.

At the opposite end I attached the handle to the spindle. I used a screws and waterproof glue to lock the components together tightly.
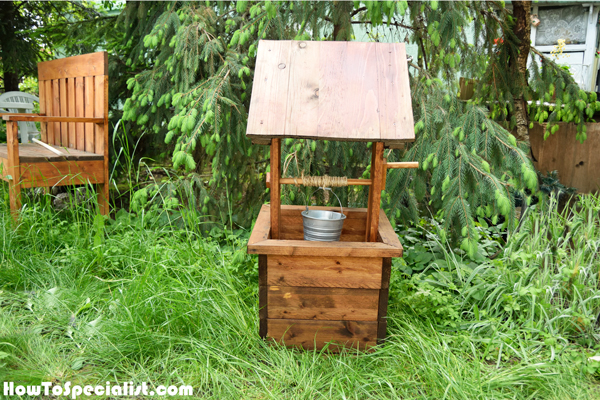
Last but not least, I used some rope to attach the iron bucket to the spindle. I am thrilled with the end result, considering I had spend under 10 $ with the project.
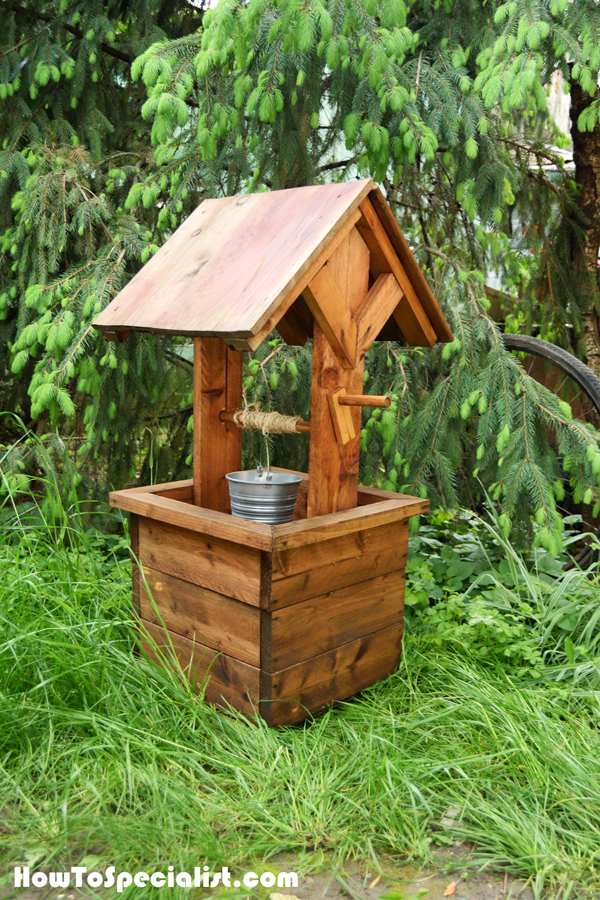
See from another angle, my diy wishing well planter looks equally charming. This is a wonderful project for a beginner as you have the opportunity to learn a few woodworking skills while building something beautiful. This mini wishing well has an unique appeal that will make it a real conversation topic.
Don’t forget to apply a few generous coats of spar varnish over the roof to water proof it, especially of the wishing well will be exposed to the elements.

It was a great and fun project and I couldn’t be more happy of my 10 $ investment. My friends love it and already asked me to make a few for them, as well. If you like my wood wishing well planter, don’t forget to SHARE it on Facebook and Pinterest.

Thank you for reading our project about how to build a wishing well planter and I recommend you to check out the rest of the projects. Don’t forget to LIKE and SHARE our projects with your friends, by using the social media widgets. SUBSCRIBE to be the first that gets our latest projects.
