This step by step diy project is about how to build a pergola on a patio. Building a free standing pergola in your backyard is a fun project for a weekend, but it requires complex skills and quality materials. Set the posts into concrete and adjust the dimensions of the backyard pergola to your needs. Sand the components with sandpaper and apply several coats of waterproof paint, in order to protect the components from decay.
A wooden pergola is a wonderful addition to any backyard, as it creates a large shaded area that is perfect for taking dinner or for reading a good book. Before starting the construction of the pergola, we strongly encourage you to adjust the size and the design of the construction to your needs and to take a look over the rest of the pergola projects, especially if this design doesn’t appeal to you.
Invest in the best quality materials you can afford. While you can get the job using pressure-treated lumber, it will most certainly not look as good as if it was built using cedar, pine or redwood. Moreover, choose the components that are perfectly straight and in a good visual condition. Gather all the tools on the construction site before starting the final assembly, as to save time. See all my Premium Plans in the Shop.
Made from this plan
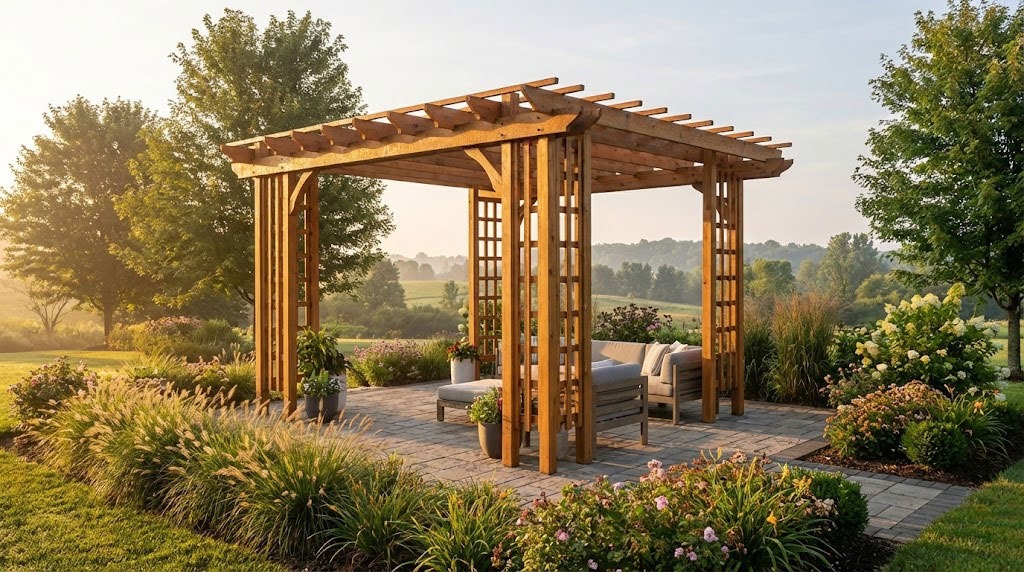
Building a patio pergola

Building a patio pergola
Materials
- A – 8 pieces of 4×4 lumber – 134” long POSTS
- B – 4 pieces of 2×8 lumber – 144” long BEAMS
- C – 4 pieces of 4×4 lumber – 26″ long BRACES
- D – 9 pieces of 2×6 lumber – 144″ long SHADE ELEMENTS
- E – 8 pieces of 1×1 lumber – 76” long, 32 pieces – 16 1/2″ long LATTICE
- 8 pieces of 4×4 lumber – 12 ft
- 1 piece of 4×4 lumber – 10 ft
- 4 pieces of 2×8 lumber – 12 ft
- 9 pieces of 2×6 lumber – 12 ft
- 13 pieces of 1×1 lumber – 8 ft
- 1 5/8″ screws, tube form
- 1 1/4″ screws
- rafter ties
- wood filler , wood glue, stain/paint
- post to beam connectors
Tools
- Safety gloves, glasses
- Miter saw, jigsaw
- Chalk line, tape measure, spirit level, carpentry pencil
- Drill machinery and drill bits
Tips
- Apply several coats of wood stain to the wooden components
- Fill the holes with wood filler and smooth the surface
Time
- One Day
Related
- Free Pergola Plans
- Attached Pergola Plans
- How to Build a Garden Arbor
- Pergola Design
- 6 ft picnic table with backrest plans
How to build a pergola on a pergola

Setting the posts into place
The first step of the woodworking project is to layout the pergola and to set the posts into concrete. In order to get the job done in a professional manner, we recommend you to use batter boards and string. Measure the diagonals and adjust the string until they are perfectly equal. In addition, apply the 3-4-5 rule to every corner of the contour, if you want to get a professional result.

Installing the lattice
The next step of the project is to install lattice to the sides of the patio pergola, between the wooden posts. As you can see in the image, you need to use 1×1 lumber and galvanized screws. Drill pilot holes at both ends of the components before locking them to the posts with screws. Take accurate measurements, if you want to get a professional result and even gaps between the components.

Installing the support beams
Once you have set the posts into place, you should continue the backyard project by installing the support beams. Cut the ends of the 2×8 beams in a decorative manner, if you want to enhance the appearance of the pergola. Use a jigsaw to make the round cuts and smooth the edges with sandpaper. Clamp the beams to the posts after checking if they are perfectly horizontal.

Securing the beams to the posts
Next, drill pilot holes through the beams and through the posts, before inserting the 7″ carriage bolts. Ask a skilled friend to assist you while securing the beams to the posts.

Building the braces
If you live in an area with strong winds or you just want to spice things a little, you could reinforce the frame with 4×4 braces. Cut both ends of the braces at 45 degrees and lock them to the support beams with galvanized screws.

Fitting the cross-beams
One of the last steps that you should take care of is to build the shade elements from 2×6 lumber and to fit them into place, as in the plans. It is essential to place the rafters equally spaced, so take accurate measurements if you want to get a professional look. Drill pilot holes through the rafters and lock them to the support beams with galvanized screws.

Cross-beams plans
Building the shade elements is not a difficult job, if you use the right plans and techniques. As you can notice in the image, we recommend you to cut out several notches in the beams, as to fit properly to the supports. Make the 1 1/2″ deep notches with a circular saw and clean the recess with a chisel and sandpaper.

How to build a patio on a pergola
Last but not least, we recommend you to take care of the finishing touches. Fill the holes with wood filler and let it to dry out for several hours. Afterwards, smooth the wooden surface with fine-grit sandpaper and vacuum the residues.
Thank you for reading our project about how to build a pergola on a patio and we recommend you to check out the rest of the projects. Don’t forget to LIKE and SHARE our projects with your friends, by using the social media widgets. SUBSCRIBE to be the first that gets our latest projects.