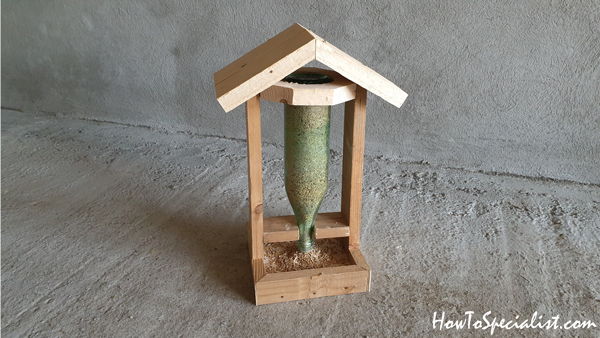
This article is about how to build a bird feeder with a wine bottle. I build this project for my garden and this is part of a series of projects that will come and completely transform my front yard. This bird feeder’s working principle is super basic: you have a wine bottle that is filled with seeds and turned upside down, just 1/2″ up from a tray. The seeds fall into the tray and as the birds eat them, more seeds fall down the bottle until it is completely empty. Then, you take the bottle out and re-fill it with seeds and fit it back in.
Remember that I show my techniques and experience, on this blog, so you can use other methods, as well. I have lots of workbench plans on this blog so you can choose the one that suits your needs best. See all my bird plans and projects HERE, so you can choose the design that suit your needs. See all my Premium Plans HERE.
Made from this plan
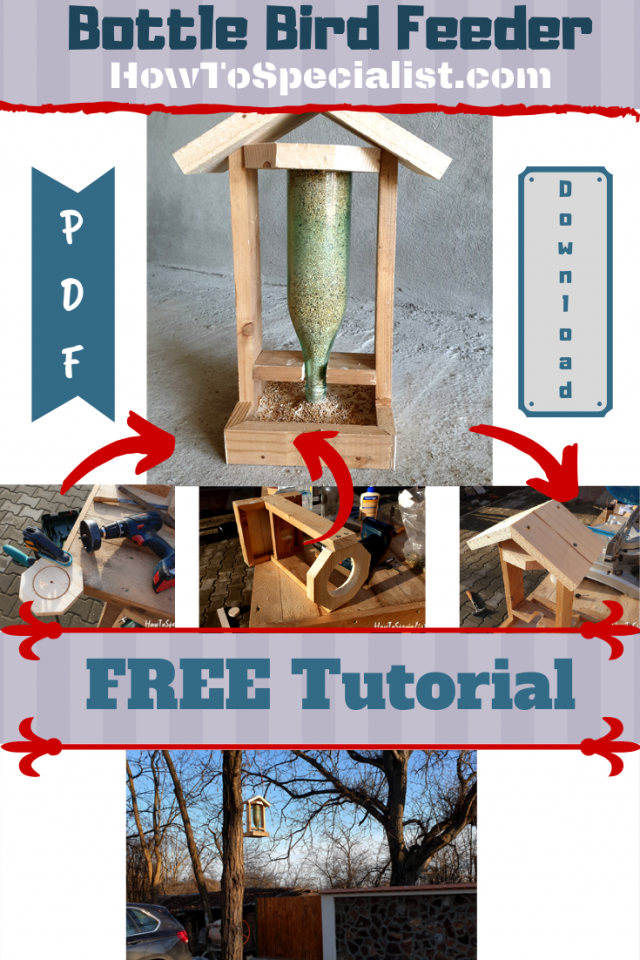
Materials
- 1 5/8″ screws
- brad nails
- 1×6 lumber
- 1×2 lumber
- 1×3 lumber
- glue
- eye screws
Tools
- Safety gloves, safety glasses
- Measuring tape
- miter saw
- drill
- carpentry square
- hammer
- clamp
- hole saw set
- file set
How to Make a Bird Feeder with a Glass Bottle
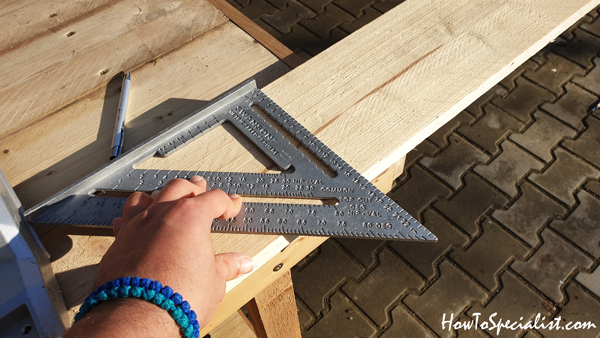
First, I cut the base for the bird feeder from a 1×6 scrap board. Use the carpentry square to mark the line, if you are going to cut it by hand. I tried to make the bottom square. I used the miter saw to make the cut. It went perfectly smooth!
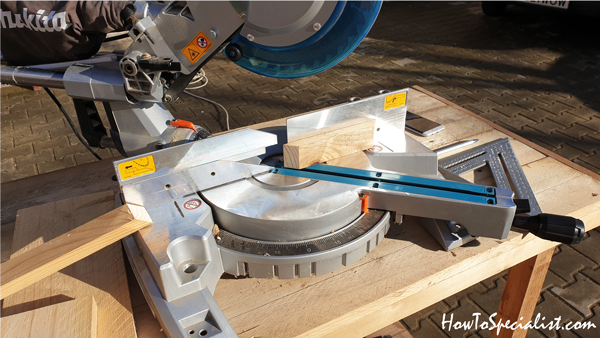
Next, I cut the trims that will go on the side of the bottom slat, to create the tray for the bird seeds. I set the miter saw at 45 degrees and made the cuts. It works really easy, especially if your saw has a laser guide.
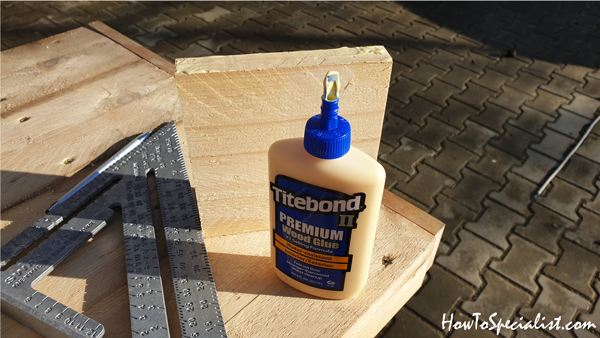
Next, I added some glue to the side edges of the bottom slat. I really like this glue, because it dries out fast and it bonds really good.
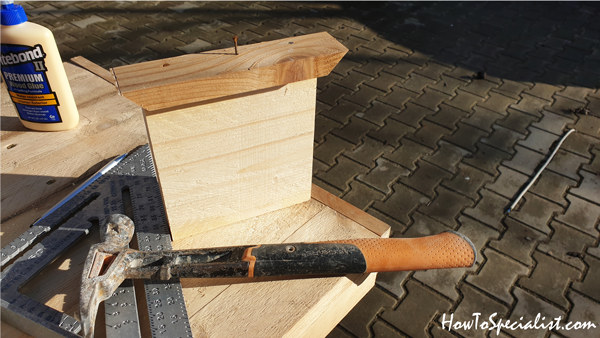
Attach the 1×2 trims to the sides of the bird house. I used a hammer and some finish nails. You can easily do that with a nail gun.
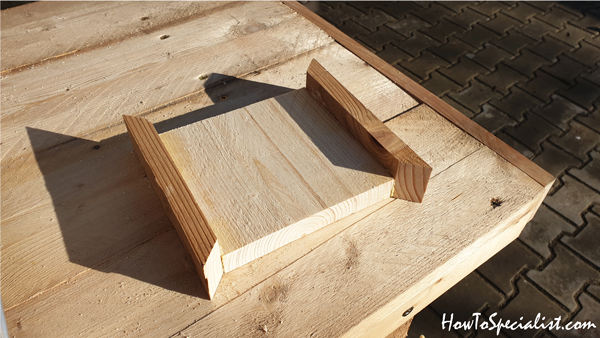
Add the trim to the other side of the bird feeder.
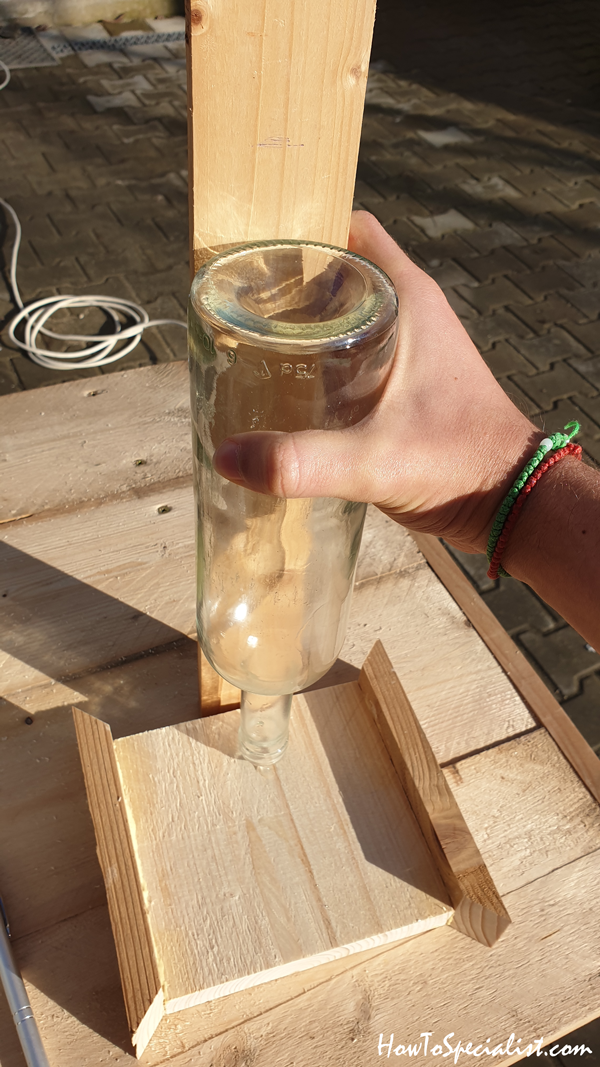
Now, it is time to cut the supports for the roof. As you can see, you need to use the glass bottle to determine the height of the 1×3 supports. As you can see the support needs to make about 1 1/2″ taller than the bottle. When you cut the supports, make a 30 degree bevel to the top of the supports.
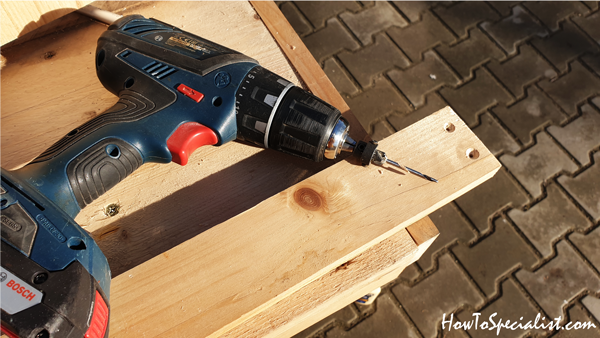
Drill pilot holes through the supports, so you can attach them to the bird feeder.
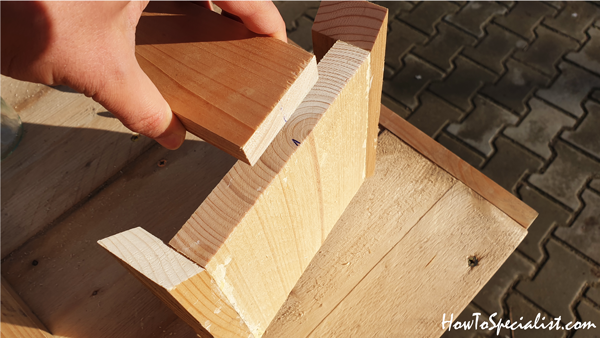
Mark the center to the slat, as well as to the supports, so you can align them perfectly.
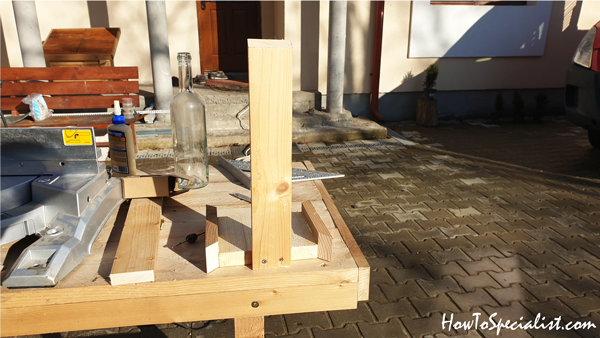
Use 1 5/8″ screws to secure the supports into place. It would help to check if the supports are perfectly vertical.
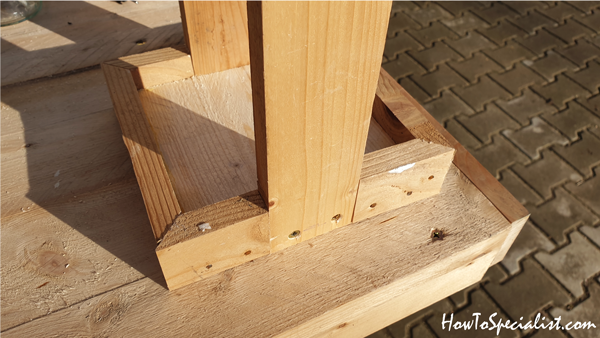
Cut and fit the trims to complete the tray.
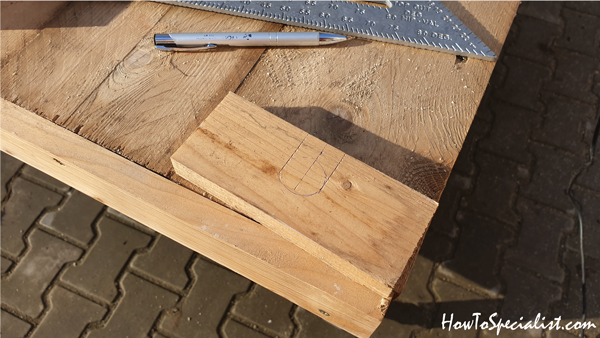
Next, we will be making the bottleneck support for the bird feeder. Mark the slot to the 1×3 slat, as shown in the image. Make sure the slot is no larger than the bottleneck.
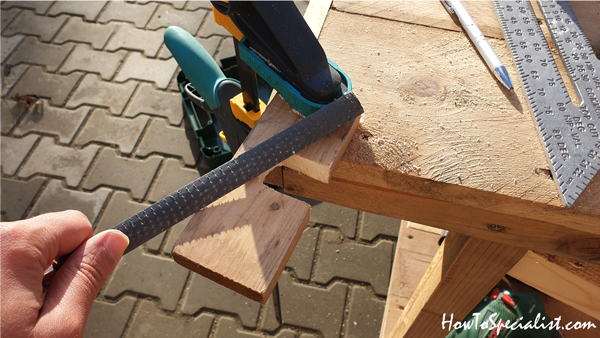
I used a jigsaw to make the cutout and then I smoothed the edges with a hand file.
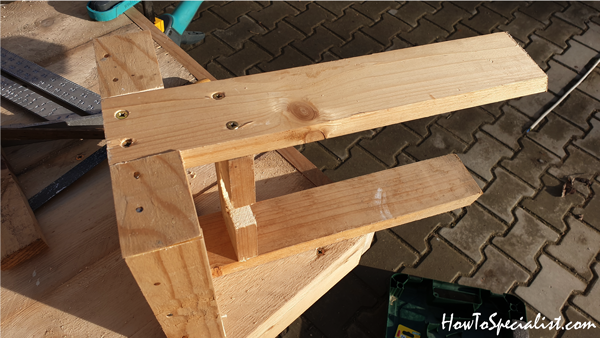
Next, attach the support to the feeder, with screws. Just make sure that you do a fit test so that when in place the bottle doesn’t sit directly to the bottom of the feeder. You need a 1/2″ clearance between the bottle and the tray, so the seeds can get out of the bottle and refill the tray continuously (you will see that more clear when the feeder is completed).
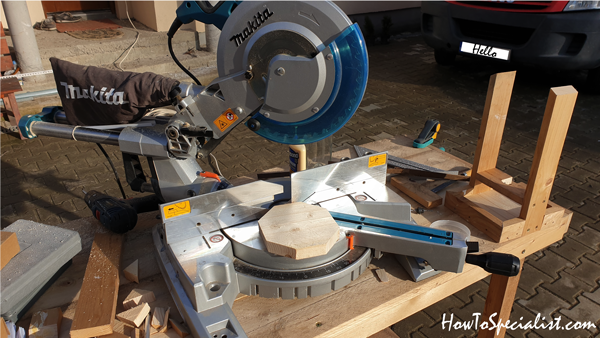
Next, I made the top support for the bottle. I used a piece of 1×6 lumber and then cut the corners at 45 degrees to make it look nice.
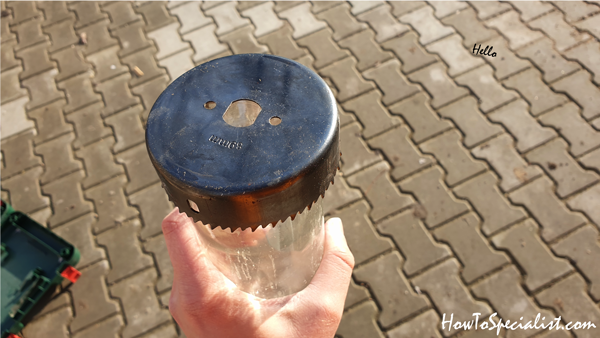
We need to make a large hole in the support, so you can slide the bottle, so I am going to use a drill hole saw. This looks like the proper size for my bottle.
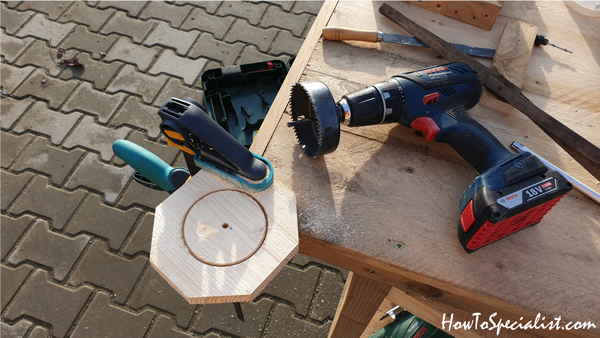
Make sure you clamp the support to the workbench. Then determine the center of the support and start making the hole, making sure the drill bit goes directly into the center. Apply steady pressure as you go. 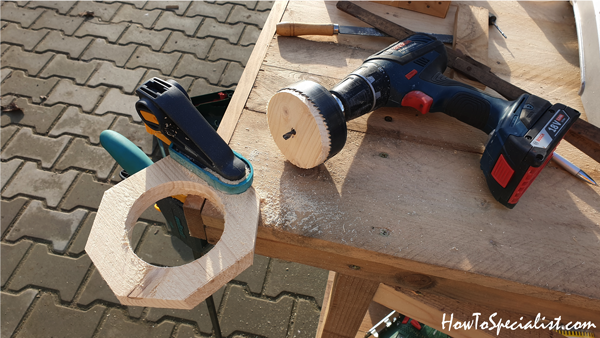
Once the bit has gone all the way through the slat, you can turn it upside down and finish the hole from the other side. This will speed up the process.
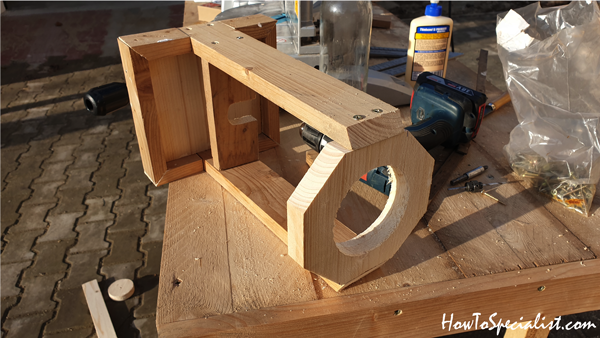
Fit the support to the bird feeder and lock it with screws, after drilling pilot holes. Before setting the support into place, with screws move the support up or down to hold the bottle locked into place.
Building the roof
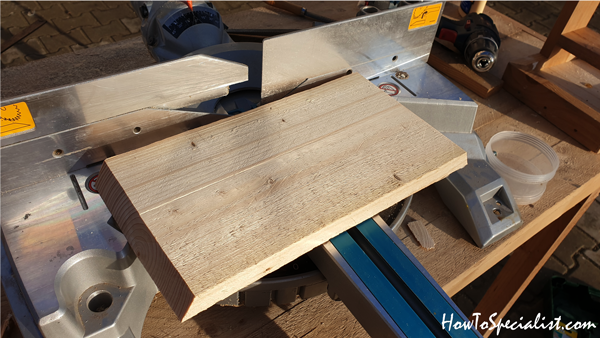
Now, we will build the roof for the bird feeder. Therefore, use the miter saw to make 60 degree cuts to both ends of the slat, and then cut it in half. This is also from a 1×6 board.

Add glue to the joint, drill pilot holes and insert screws to assemble the roof together.
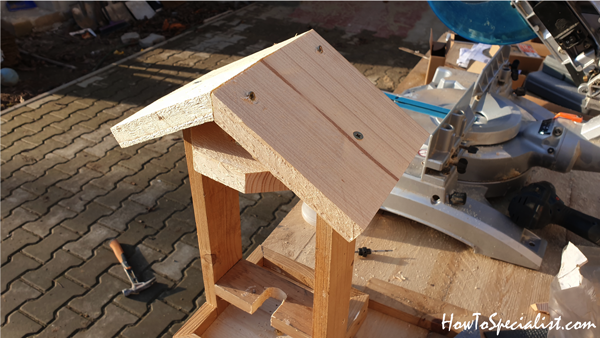
Fit the roof to the top of the bird feeder and center it into place. Look from several directions, drill pilot holes and insert 1 5/8″ screws to lock it to the side supports.

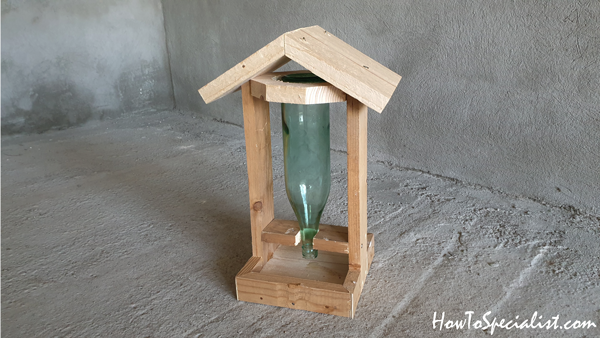
The glass bottle is in and it looks really good to me. Now it is a time of finishing touches. Sand the project with 120-220 grit sandpaper
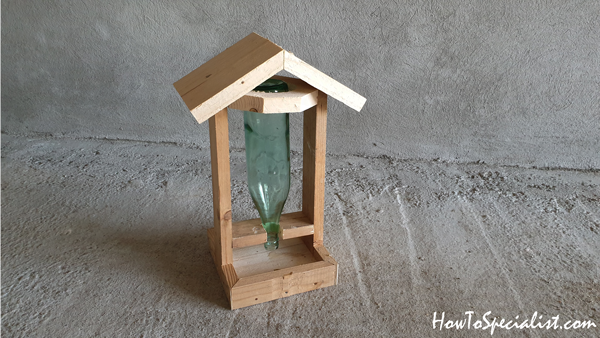
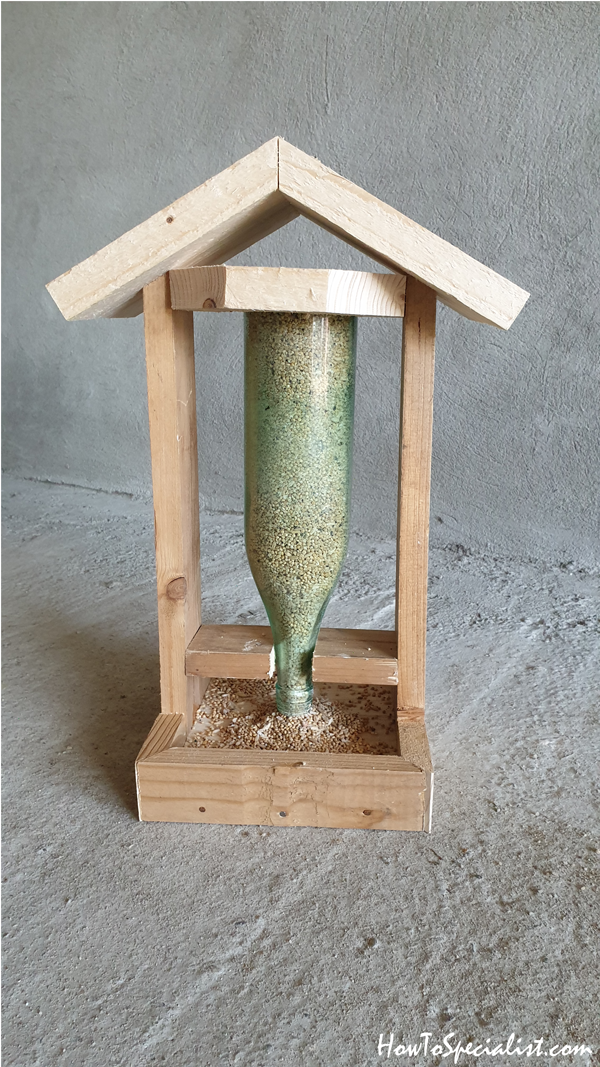
Once you fill the bottle with seeds and fit it to the feeder, you will see how this works. The birds will eat the seeds and the tray and more will fall down through the bottleneck until the glass bottle is empty. The bottom and top supports hold the bottle vertical.
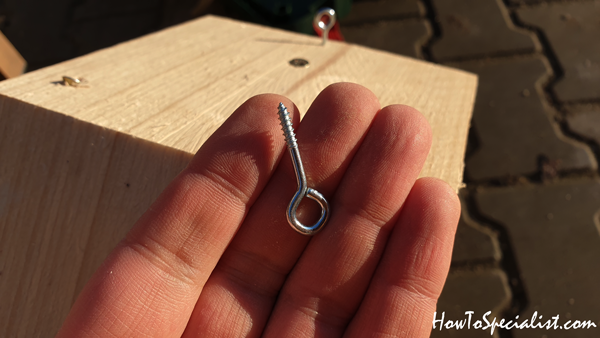
I set these eye screws to roof of the bird feeder. Make sure you center them to both sides of the roof.
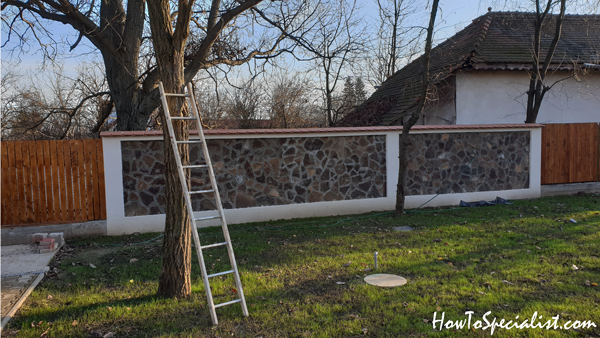
Ladder is necessary when hanging the feeder to the tall branch.
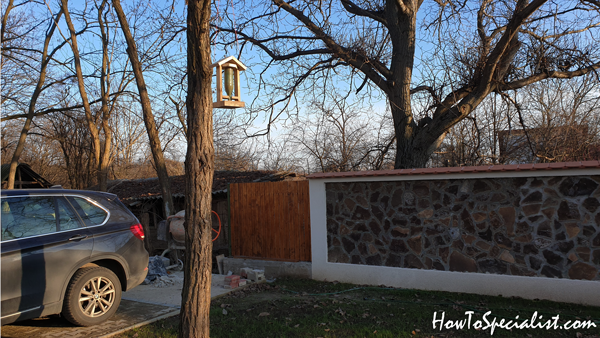
Some string and the feeder is all set of waiting for the singing birdies.
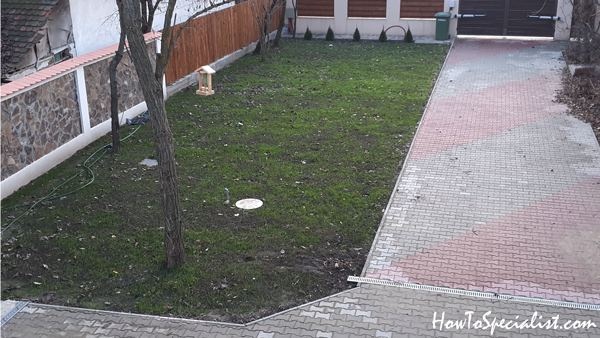
This is a super basic project but I had to share it with you, as it’s part of a series with projects for my garden. If you like birds stay tuned, because I will also build a bird bath in the neat feature and maybe some bird houses, as well. We’ll see… Till then, make sure you also check out my other bird feeder project HERE (this is a feeder that you can attach it to a tree, a fence or a wall).
Thank you for reading our article about how to build a simple workbench and we recommend you to check out the rest of my projects HERE. Please share this project with your friend, if you like it and if you want to support my work. Thank you!

1 comment
This looks like a cool bird feeder. How do you keep the squirrels out? I would think if you don’t have a plan to keep the squirrels out this feeder will transform from a bird feeder to a squirrel feeder.