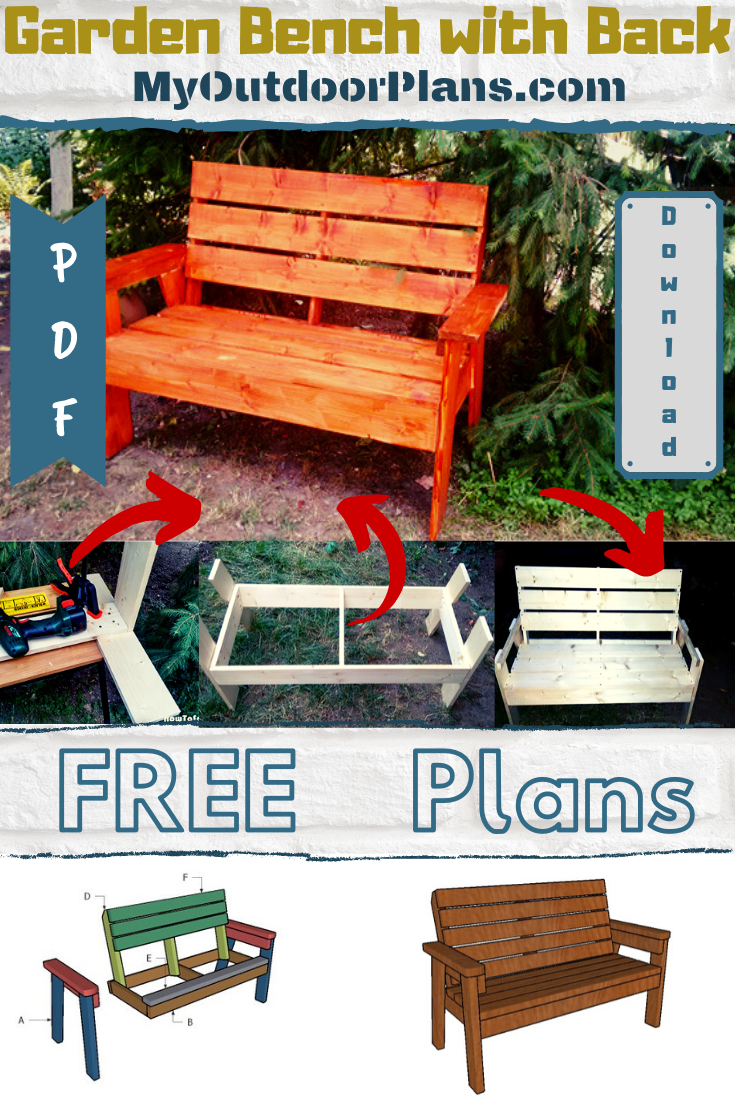
This step by step woodworking project is about how to build a garden bench. I designed this 48″ wide garden bench so you can build it using just 2x4s. In addition, you can make the matching chairs. so you can create a nice retreat corner in your backyard. The garden bench is easy to build and really sturdy, so you don’t have to worry about its durability.
Furthermore, this bench project comes with 3d diagrams, full cut and shopping lists and tons of pictures taken during the build. If you want to build a simple garden bench, but also make it comfy, this is the design you should choose.
We recommend you to invest in the best materials you could afford. Therefore, you should buy weather-resistant lumber, such as pine or cedar. Always take accurate measurements before adjusting the size of the components at the proper size. Drill pilot holes trough the components before inserting the wood screws, to prevent the wood from splitting. See all my Premium Plans in the Shop.
Made from this plan
Building a garden bench
Building a garden bench
Materials
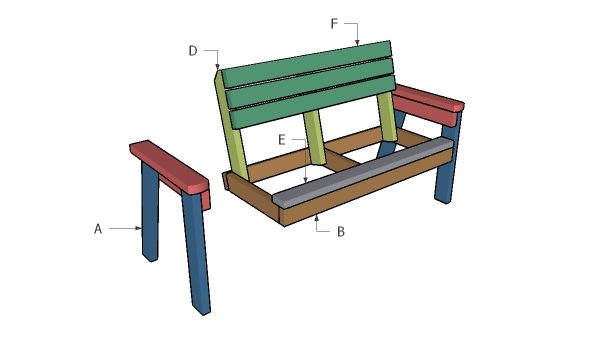
- A – 2 pieces of 2×4 lumber – 23″ long, 2 pieces – 24 3/4″ long LEGS
- B – 2 pieces of 2×4 lumber – 48″ long, 3 pieces – 18″ long SEAT FRAME
- C – 2 pieces of 2×4 lumber – 21 3/4″ long, 2 pieces – 22 1/4″ long ARMRESTS
- D – 3 pieces of 2×4 lumber – 24″ long BACKREST SUPPORTS
- E – 4 pieces of 2×4 lumber – 48″ long SEAT
- F – 5 pieces of 2×4 lumber – 45″ long BACKREST
- 10 pieces of 1×2 lumber – 8′
- 100 pieces of 2 1/2″ screws, 100 pieces of 2 1/2″ pocket screws
- stain, glue
Tools
- Safety gloves, glasses
- Miter saw, jigsaw
- Chalk line, tape measure, spirit level, carpentry pencil
- Drill machinery and drill bits
Tips
- Adjust the size of the project to suit your needs
Time
- One Day
Step 1: 2×4 Garden Bench Plans – Side frames
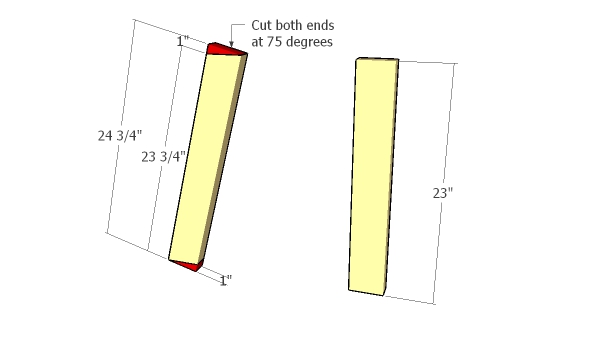
Building the legs
The first step of the project is to build the legs for the garden bench. Mark the cut lines and get the job done with a circular saw. Smooth the cut edges with sandpaper for a professional result.
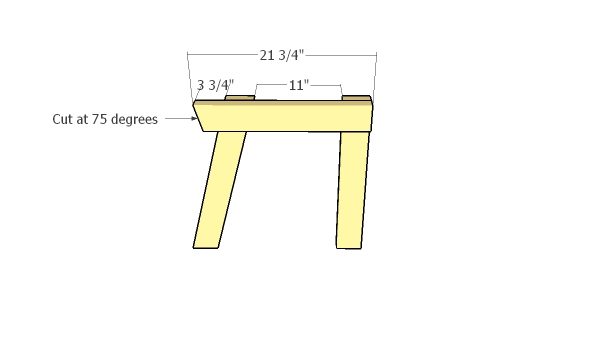
Assembling the sides
Continue the project by attaching the top support to the legs. Align the legs with attention, drill pilot holes and secure them together with 2 1/2″ screws. Also, add glue to the joints and remove the excess with a damp cloth.
Step 2: Assembling the seat frame
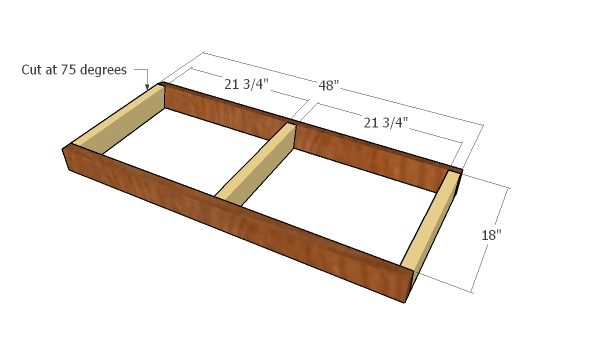
Assembling the seat frame
Next, cut the components for the seat frame. Align the edges with attention, drill pilot holes through the front and back supports and insert 2 1/2″ screws. Add waterproof glue to the joints to enhance the bond of the components.
Step 3: Assembling the bench frame
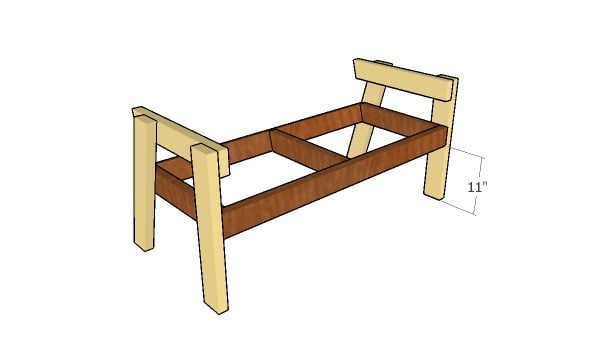
Assembling the garden bench frame
After building the sides for the bench and the seat frame, you need to assemble them together tightly. Drill pilot holes through the frame and insert 2 1/2″ screws into the frame. Use a spirit level to plumb the legs and to check if the seat frame is horizontal. You also need to use a carpentry square to check if the corners are square.
Step 4: Attaching the backrest
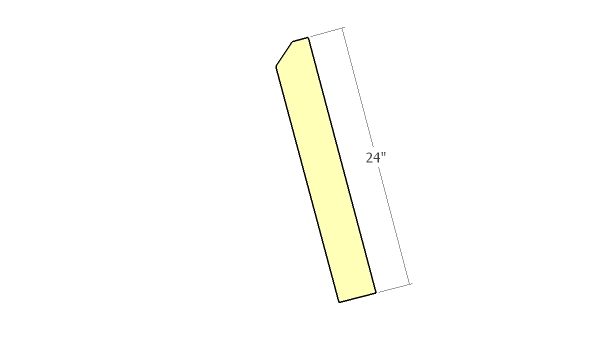
Backrest supports
Next, build the backrest supports from 2×4 lumber. Cut the exposed corner of the back supports in a decorative manner using a saw. Smooth the edges with sandpaper for a professional result.
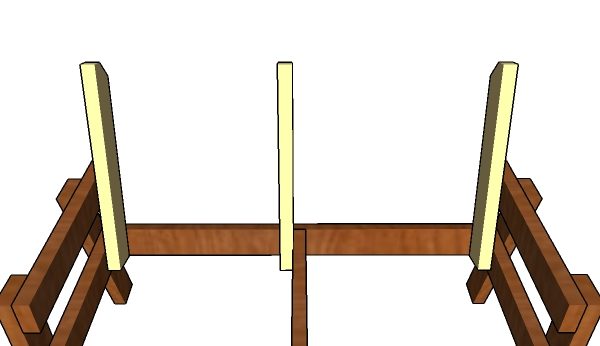
Fitting the backrests supports
Furthermore, fit the backrest supports to the bench frame, as shown in the image. Drill pilot holes through the bottom of the supports and insert 2 1/2″ screws. Don’t forget to add glue to the joints.
Step 5: Attach the seat slats
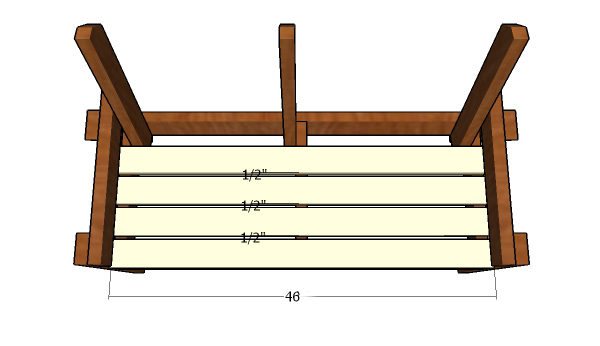
Attaching-the-seat-slats
Fit the 2×4 slats to the seat frame, making sure you place them equally spaced. Drill pilot holes before secure them to the frame with 2 1/2″ screws.
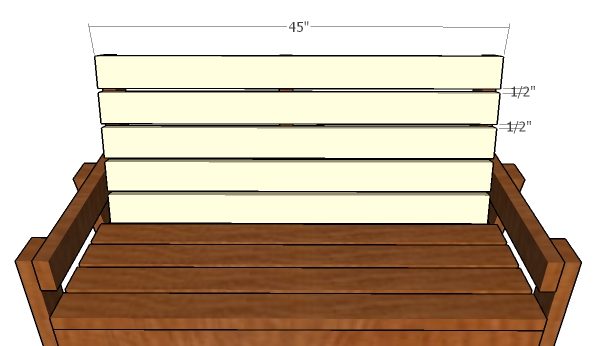
Fitting the backrests
Next, attach the 2×4 slats to the backrest. Drill pilot holes and secure them to the backrest supports using 2 1/2″ screws. Place a piece of 1/2″ plywood between the slats to create even gaps.
Step 6: Fitting the armrests
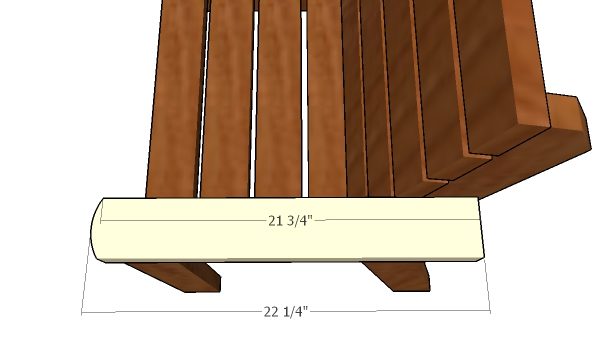
Attaching the armrests
Next, build the armrests supports from 2×4 lumber. Round one end with a jigsaw and smooth the edges with sandpaper. Fit the armrests to the sides of the bench, drill pilot holes and secure them into place with 2 1/2″ screws.
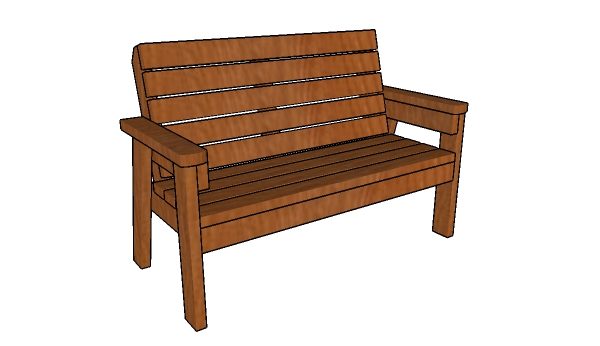
2×4 garden bench
Fill the holes with wood putty and let it dry out for several hours. Smooth the edges with sandpaper and then apply a few coats of paint or stain to enhance the look of the woodworking project.
How to Build a 2×4 Outdoor Bench
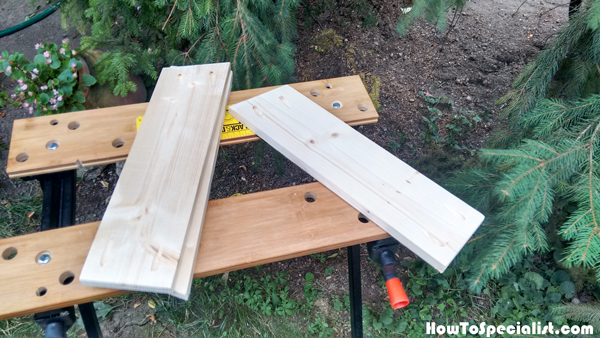
First of all, I cut the components for the seat frame and drilled the pocket holes at both ends of the short components. I have not used 2x4s for this project, as I already had the slats laying around in my shop. These boards are wider and a little less thick than a 2×4, but the techniques used for building the bench are the same.
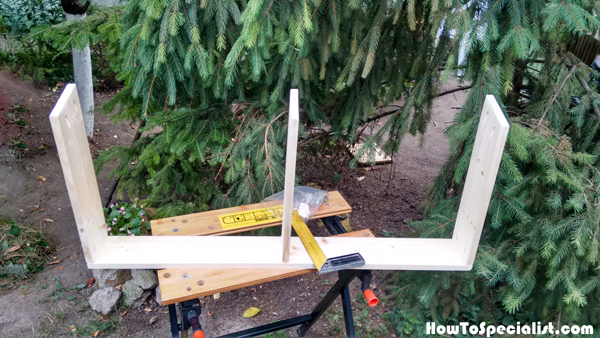
After cutting the components, you need to assemble the seat frame. Align the edges flush and insert 2 1/2″ screws to lock the short supports to the long supports. Use a carpentry square to make sure the corners are right-angled.
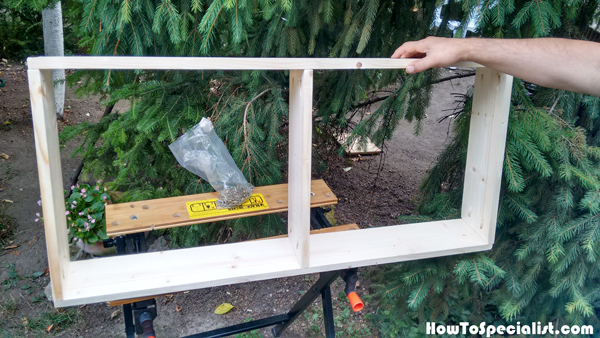
Once you assemble the seat frame, it should look similar to mine.
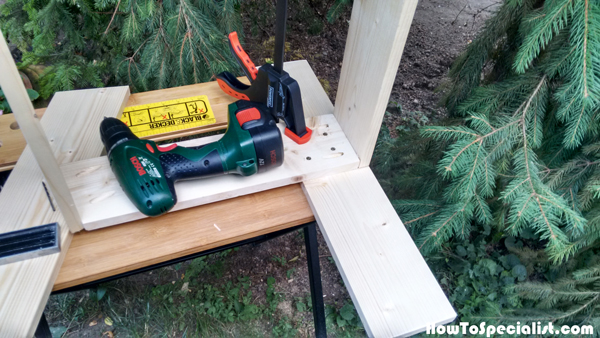
The next step of the project was to attach the legs to the seat frame. Align everything with attention, using my diagrams. Drill pilot holes through the frame and insert 2 1/2″ screws into the legs. Add glue to the joints.
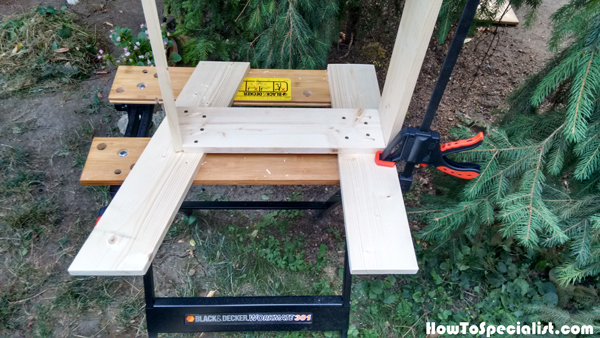
Also, fit the back legs to the frame, as well. Dill four pilot holes before locking everything with screws. Reinforce the rigidity of the joints with waterproof glue.
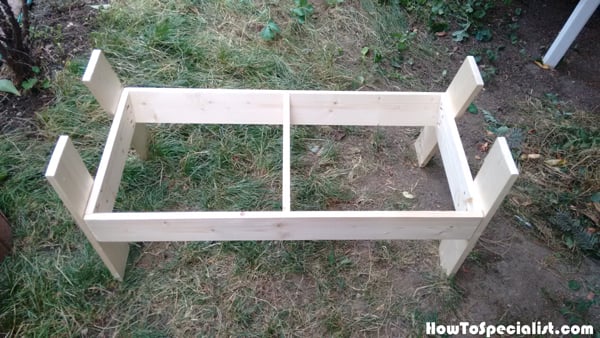
After attaching the four legs to the seat, the bench is starting to take its shape. You can use a spirit level to double check if the legs are plumb and if the seat is horizontal.
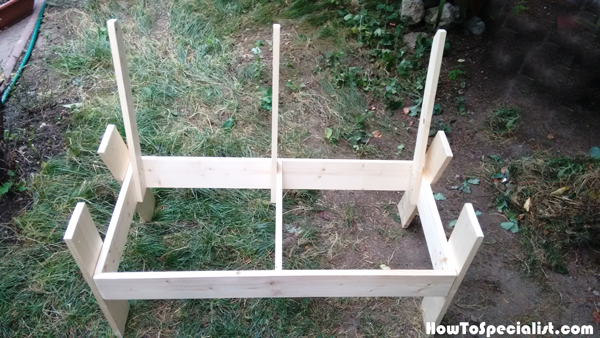
Next, attach the backrest supports to the seat frame. Drill pilot holes through the bottom of the supports and insert 2 1/2″ screws into the seat frame.
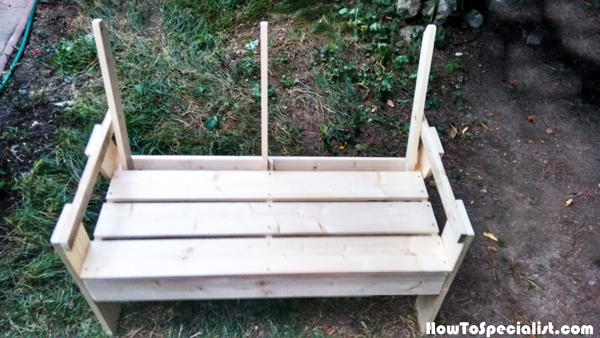
I continued the project by fitting the seat slats to the frame and I placed a spacer between the slats to create even gaps. However, I drilled pilot holes and then inserted screws to lock the tightly into place.
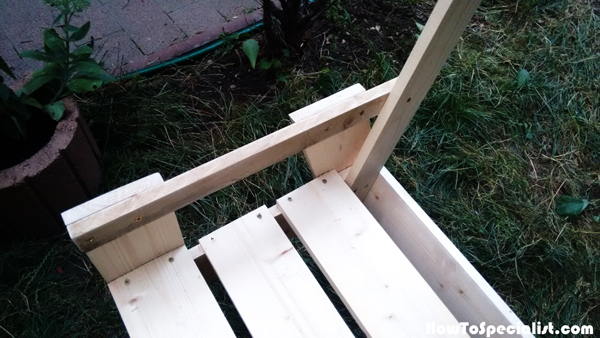
Continue the project by fitting the armrest supports to the top of the legs. Clamp the supports into place, drill pilot holes and insert 2 1/2″ screws to lock everything together. Add glue to the joints and align the edges flush.
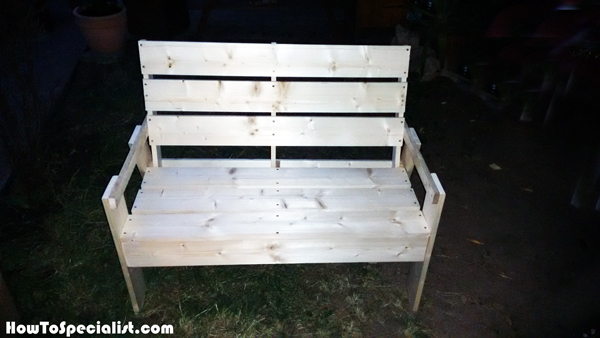
I attached the slats to the backrest with 2 1/2″ screws. Nevertheless, I aligned both ends of the slats and clamped them into place when drilling the pilot holes. Also, I inserted the screws and made sure the head of the screws are under the surface.
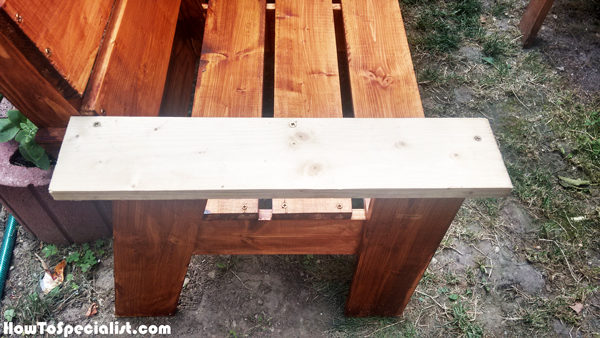
Next, I attached the armrests to the sides of the garden bench. To do that, I aligned the slats at both ends, drilled pilot holes and inserted 2 1/2″ screws to lock them into place tightly.
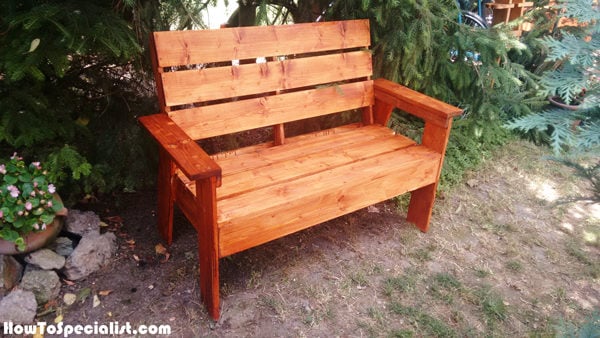
Next, I used 120-220 grit sandpaper to smooth the edges before applying a few coats of teak stain. After the stain dried out I seal everything with spar varnish.
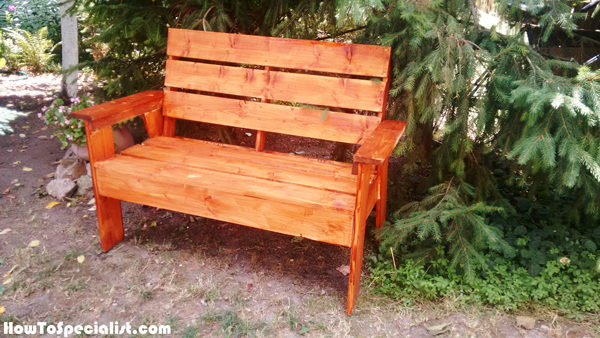
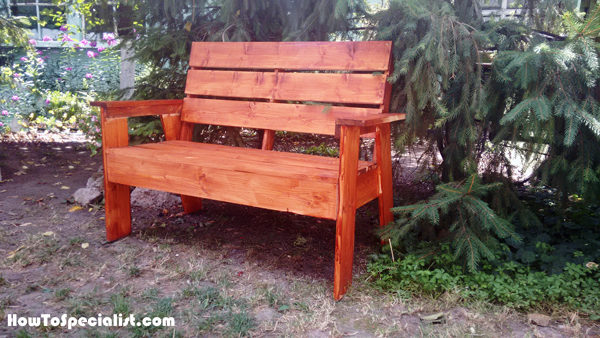
This project came out really nice and it is now used by all my friends. I like the nice and unique shape of the garden bench along with the straight-forwardness of the steps. In addition, the best thing about this project is that you can get the job done using just 2x4s. If you like my project, don’t forget to SHARE it on Facebook and Pinterest.
Thank you for reading our project about how to build a 2×4 garden bench and I recommend you to check out the rest of the projects. Don’t forget to LIKE and SHARE our projects with your friends, by using the social media widgets. SUBSCRIBE to be the first that gets our latest projects.


3 comments
Hi Jack,
Just wanted to say thanks so much for the bench plans. I have built 2 of them- one as per the above dimensions and one which I lengthened to 5 feet and added a 5th seat board for added depth. If I’m able to, I’ll send you some photographs of the finished benches.
Thanks,
Byron
where is the download or print button for the 2×4 garden bench? i clicked on the chair with foot stool plans and it does have a pdf download button, but all it does is displays a pic of the chair & foot stool, no download and no print button either.
I added the download button.