This article is about how to remove temporarily a radiator, as to replace it or to decorate or paint the wall behind it. Removing a radiator is not as difficult as it might seem at first glance if you follow a series of straightforward procedures. Don’t forget to take a look over the rest of my home improvement projects HERE.
First of all you should understand the consequences of a failed attempt to remove the radiator: if you are not prepared the radiator will leak and the water might damage the flooring. Nevertheless, if you pay attention to our tips, you won’t face any issue during the process of removing the radiator.
Materials
- Paper tape
- Plastic bags
Tools
- Bucket
- A bowl, just small enough to fit under the radiator valves
- Two adjustable wrenches
- Bleed key
Tips
- Be prepared to wipe out water leaks with some old cloths or towels
- Protect the radiator from scratching with an old blanket, when depositing it
How to remove a radiator

Radiator valves
First of all, we have to show you the main elements of a radiator: the lockshield valve, the manual control valve and the bleeding valve. Consequently, the bleeding valve is a component with the role of taking the air out from the radiator.
Next, there are two valves situated oppositely on each side of the radiator: the flow and the return. The manual control valve manages the flow of hot water in the radiator, as the lockshield valve controls the exit of the water out of the radiator.

Turning off the lockshield valve
The first step is to take off the cover of the lockshield valve, and to turn it off counterclockwise, by using a hexagonal key. Afterwards, you should turn off the manual control valve, as to prevent water entering in the radiator.

Loosening the cap nut that holds the lockshield valve
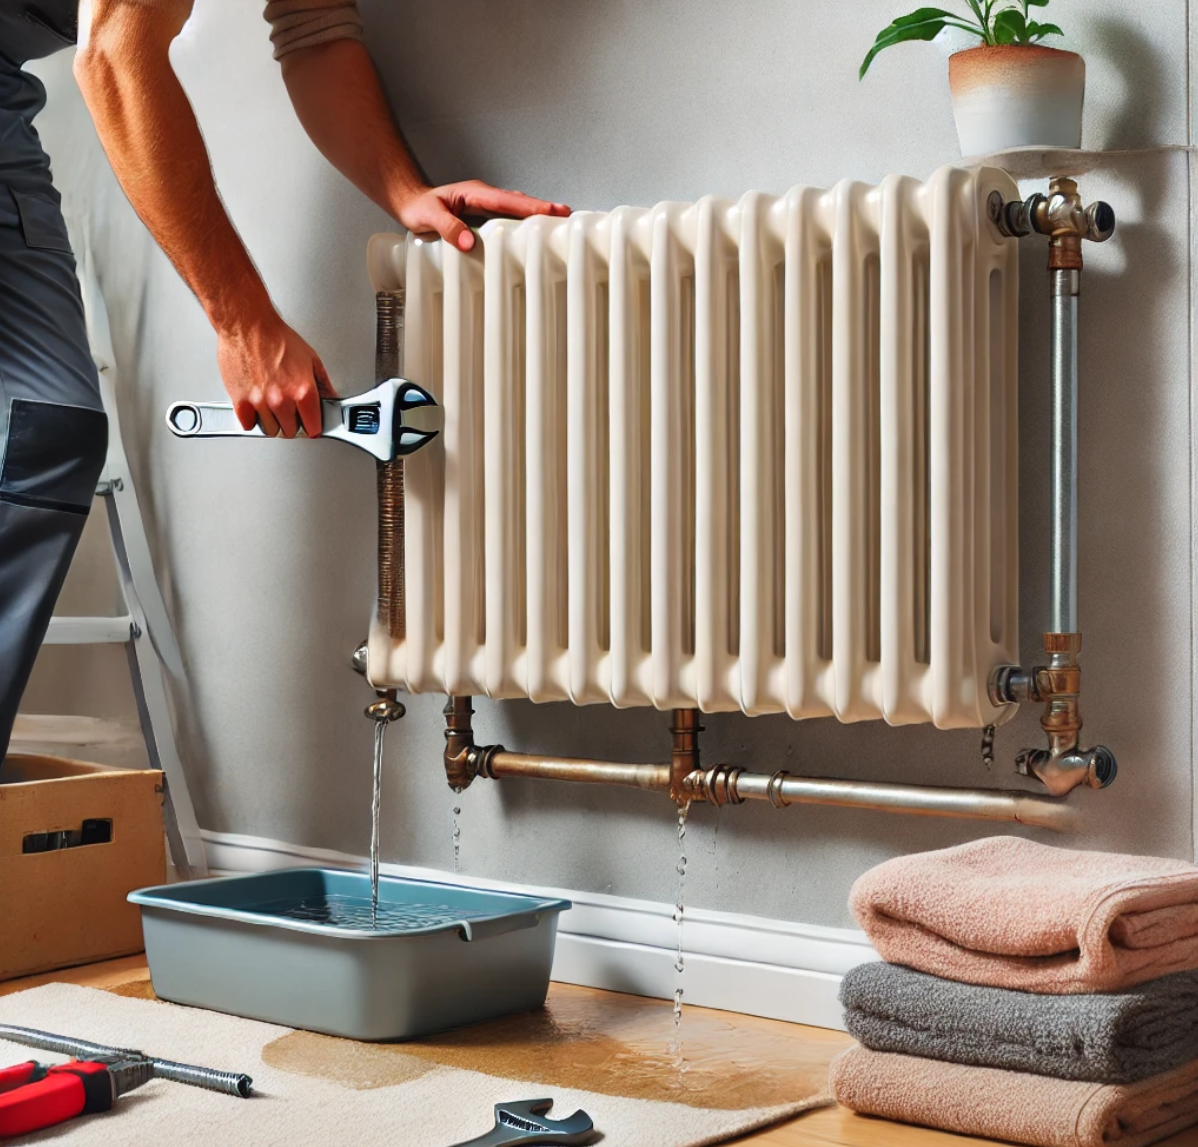
You should loosen the cap nut situated just beside the lockshield valve, by using an adjustable wrench. Remember that just as you unscrew the cap-nut, the water will start dripping out of the radiator, so place a bowl below the joint. In addition, be prepared to wipe out the water with some old cloths. Use the bleed key to open the bleed valve, as to let air replace the water from radiator.

Loosening the cap nut that holds the manual control valve
After you notice no water coming out of the radiator, you should proceed to unfastening the other cap-nut placed on the opposite side, near the manual control valve.
Consequently, use two adjustable spanners, as while with one you hold into position the manual valve, with the other one loosen the cap-nut. Use another bowl to retain the water from the radiator. When the bowl has filled up, tighten the cap-nut and pour the water in a bucket. Next, loosen again the cap nut, and repeat the process until there is no more water in the radiator.

Removing the radiator
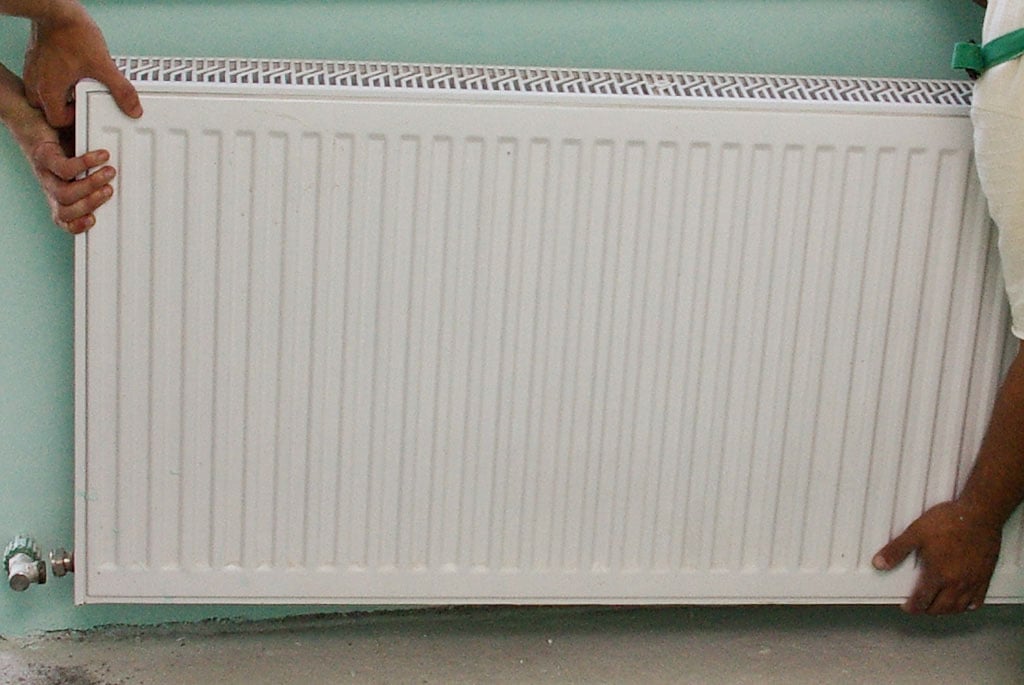
The last step is to lift the radiator from its brackets and drip the rest of the water left in it. The best advice we can give you is to make everything possible to get the help of another person, when removing the radiator from its brackets, as it is heavy. In addition, usually the radiator has some water left in, so for a better control, the operation requires two persons.

Taking air out of the radiator
During the painting process, deposit the radiator on an old blanket, as to protect it from scratches. After the paint has dried out, or you have bought another radiator, you have to put it back on the metal brackets, making sure it is aligned with the valves.
Next, tighten the lockshield valve and the manual control valve to the radiator, with cap-nuts. Afterwards, open the lockshield valve, anti-clockwise, using the exact number of rotations as when you have lock it.
Next, turn the manual control valve counter-clockwise, as to let the water in. As the water gets into the radiator, use the bleed key to let the air out of the radiator. When you notice drips coming out of the bleed valve, turn off the bleed valve.
My best tips on removing a radiator:
Whether you’re redecorating, renovating, or replacing an old radiator, knowing how to safely remove one is key. Removing a radiator can seem intimidating, but with the right approach, you can tackle it without causing any damage to your plumbing system or your home. Here are my best tips for safely and efficiently removing a radiator.
1. Turn Off the Heating System
Before you do anything, make sure your heating system is turned off. If you have a central heating system, turn off the boiler and allow the radiator and pipes to cool down completely before proceeding. Working with hot water can be dangerous and lead to burns, so ensure everything is cool before you start.
2. Isolate the Radiator
Most radiators have two valves: the thermostatic radiator valve (TRV) on one side and the lockshield valve on the other. Close both of these valves by turning them clockwise. This step isolates the radiator from the rest of the system, preventing water from flowing in while you remove it.
3. Drain the Radiator
To prevent water from spilling out when you remove the radiator, you’ll need to drain it. Place a large container or bucket under the valve you’ll be working on. Use a wrench or adjustable spanner to loosen the nut connecting the valve to the radiator, slowly allowing the water to drain out. Once the water stops flowing, move to the other valve and repeat the process.
4. Have Towels and a Drainage Pan Ready
Radiators hold more water than you might expect, so it’s a good idea to have old towels, a drainage pan, and extra containers ready in case of any spills. This helps protect your floor from potential water damage.
5. Loosen the Radiator Nuts
Once the radiator is drained, use your wrench or spanner to fully loosen the nuts on both valves. Be careful to do this slowly, as there may still be residual water left in the pipes. It’s a good idea to gently tilt the radiator towards the drainage pan to catch any remaining water.

6. Cap the Pipes (Optional)
If you’re planning on leaving the plumbing exposed after removing the radiator, you may want to cap the pipes to prevent accidental water flow in the future. You can purchase pipe caps from a hardware store and simply screw them onto the open ends of the pipe after disconnecting the radiator.
7. Remove the Radiator from the Wall
With the valves disconnected, you can now lift the radiator off the brackets that hold it to the wall. Radiators can be heavy, so if you’re working with a large or old cast iron unit, ask someone to help you lift it. Be careful not to damage the wall or any pipes while removing the radiator.
8. Prepare for Disposal or Storage
If you’re disposing of the radiator, check with your local waste facility about how to properly recycle it, especially if it’s made of metal. If you’re storing it temporarily, make sure to lay it flat in a safe area to prevent damage to the radiator or the surrounding area.
Bonus Tip: Bleed Your Radiators After Reinstallation If you’re planning to reinstall the radiator later or after redecorating, don’t forget to bleed your radiators once everything is back in place. This helps remove any trapped air in the system, ensuring your heating works efficiently.
By following these steps, you can safely remove a radiator without causing any plumbing mishaps. Whether you’re preparing for a remodel or replacing an outdated unit, a little planning and care will make the job easy and efficient.
Thank you for reading our article on how to remove temporarily a radiator, and check out the rest of our diy projects. Don’t forget to Like our projects and share them with your friends, by using the social media widgets.
