This article is about how to install a septic tank with drain line. This project covers all steps that are needed for the installation of a septic tank with 3 compartments. This septic tank is large enough for 4-6 persons so it is therefore ideal for most families. The installation is straight forward but you need to rent a mini-excavator or ideally a backhoe digger.
You need to be careful with the use of detergents, disinfectants or other acid cleaners, because they will affect the action of the bacteria decomposing the wastes. If you are not attentive with that, the undecomposed grease will clog the drain pipes and the only way to solve the issue is to remove it from the soil and install a new one. The functioning system is straight forward: most of the waste transform into sewage water. The solids that cannot be broken down by the bacteria will settle to the bottom of the septic tank. You will be needing to remove the solids every two years. The sewage water will get out of the septic tank into the header pipe and then into the perforated drain pipes. Them the water will get into the soil through the gravel layer. See all my Premium Plans HERE.
Made from this plan
Materials
- septic tank
- drain line
- sewer pipe
- polystyrene sheets
Tools
- shovel
- backhoe digger
Time
- 1 weekend
How to Install a Septic Tank with Drain Line
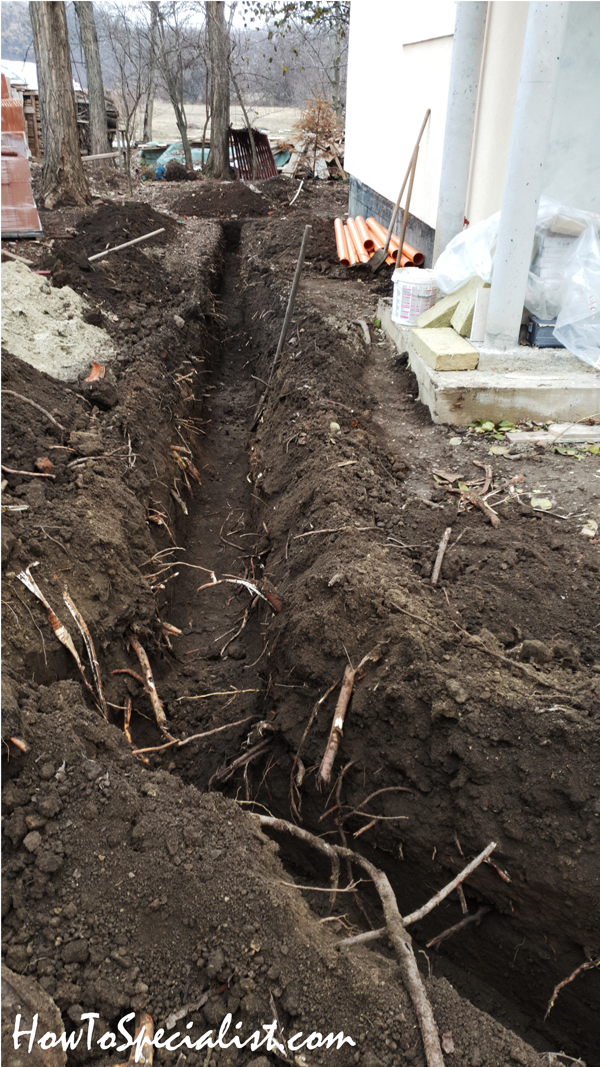

The project starts with the installation of the sewer pipes from the house to the location of the septic tank. Dig the trenches making sure the pipes have a 1/8″ per foot drop. The pipes need to sit on a bed of sand and cover them with sand. The sand will protect the pipes and it is also a great marker for future projects, when having to dig other trenches,
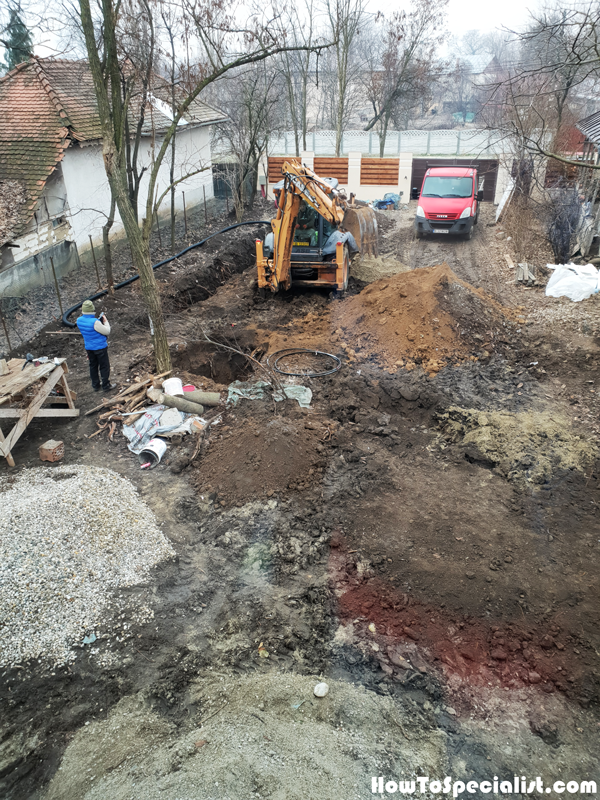
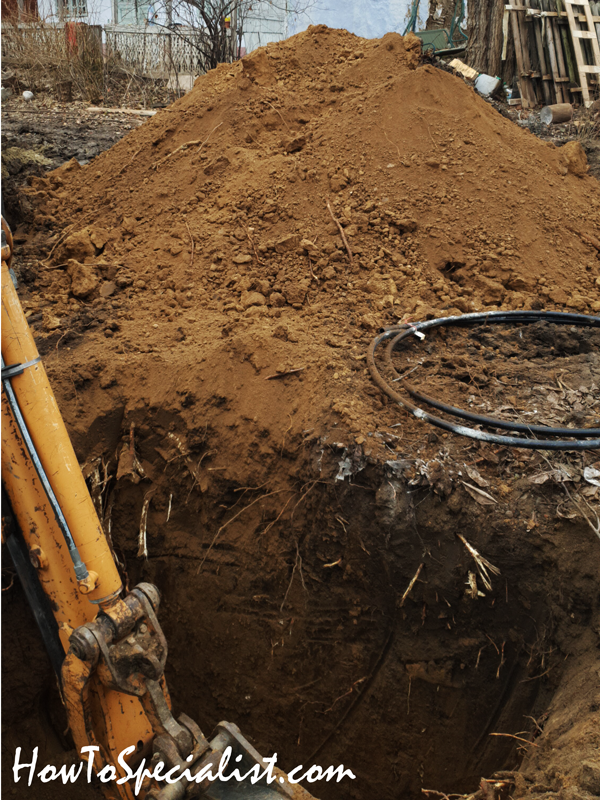
Determine the location for the septic tank and mark the area. Remember that the hole will only be slightly bigger than the septic tank (ideally 10″ on all sides). In addition, the depth of the hole will be determined by the septic tank itself and the location of the sewer pipe. We used a backhoe digger to make the hole, which took about 3 hours. We also used a dumper truck to take out the soil.

The sewer pipe will determine the depth of the hole for the septic tank. Make sure you install the sewer pipe with a slope of 1.5%. You need to lay a 8″ layer of sand to the bottom of the hole.
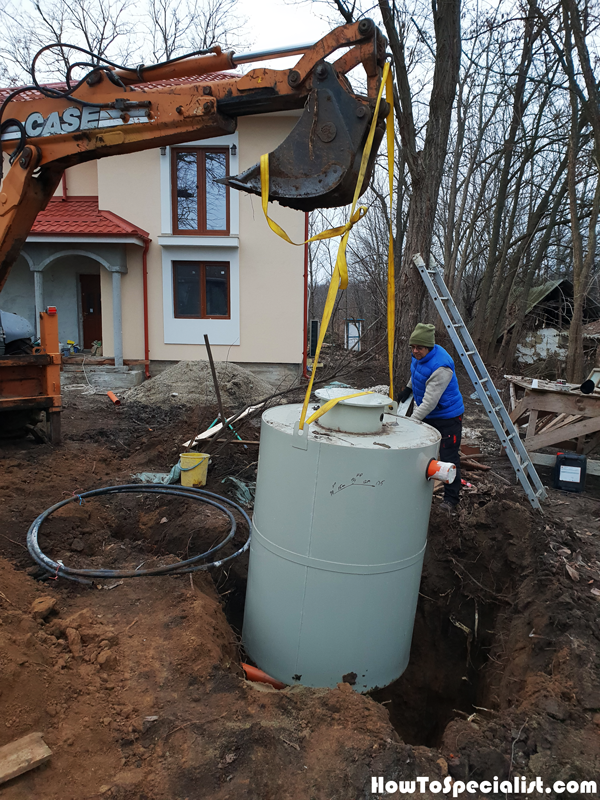
We anchored the septic tank with a heavy duty strap and then we moved it with the backhoe digger.
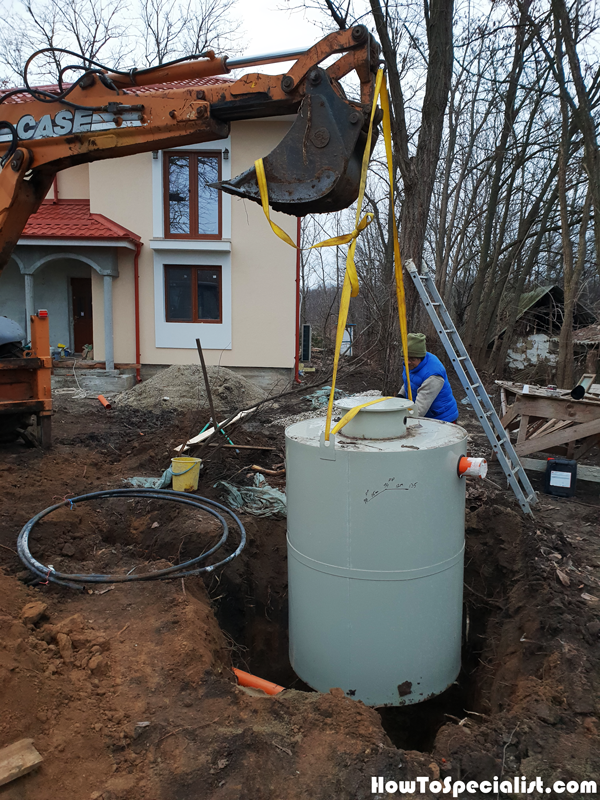
We positioned the septic tank inside the hole and then we brought it down to the sand bed. Check if the septic tank inlet fits with the sewer pipe. If not, remove or add more sand to the bottom of the hole.
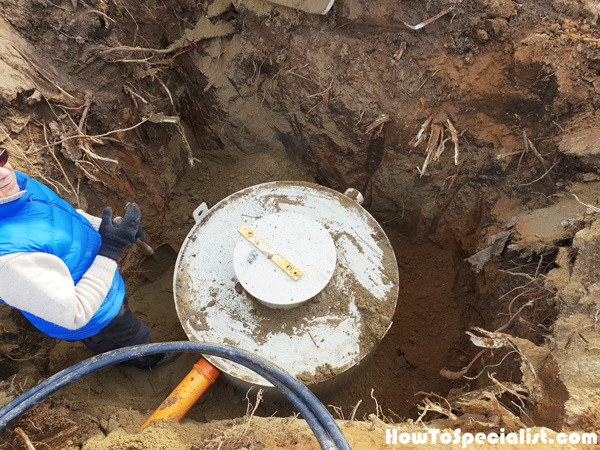
We used a spirit level to make sure the tank is vertical. Also check if the top of the tank is perfectly level. Pour sand around the tank.
It is IMPORTANT to note that now it is time to fill the tank with water. If you don’t fill the tank with water, it will collapse under the weight of the soil.
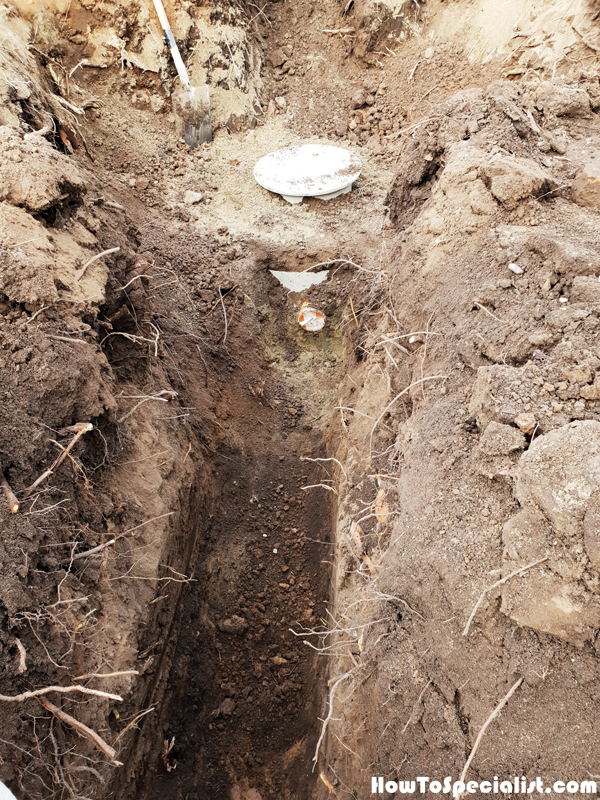
Next, we dug the trench for the header pipe. For this project we won’t make a drain field, but rather a 80 ft long trench. This depends on the configuration of your property. You can make two 40 ft long trenches or dig out a large surface and set three 25 ft long drain pipes. We decided to go for the long drain pipe because it suited better with the configuration of the property.
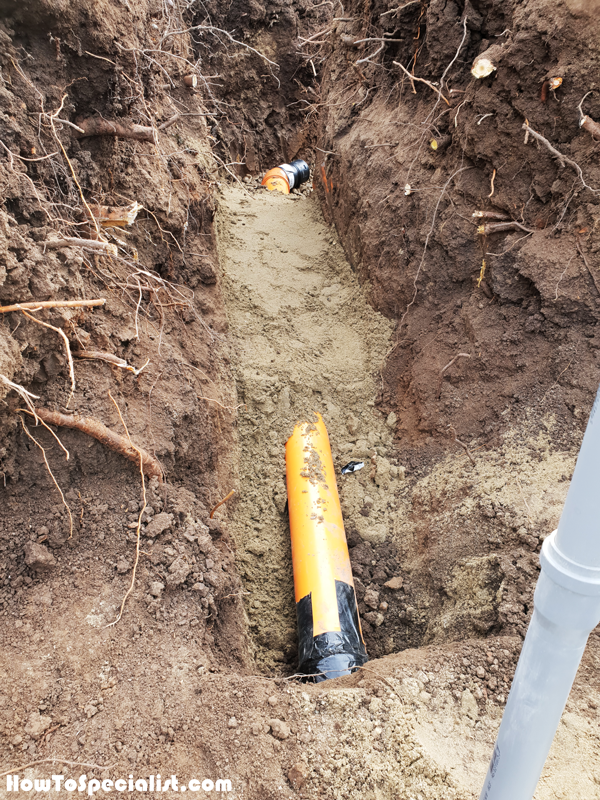
We fitted the header pipe to the septic tank, making sure it has a 2% slope.
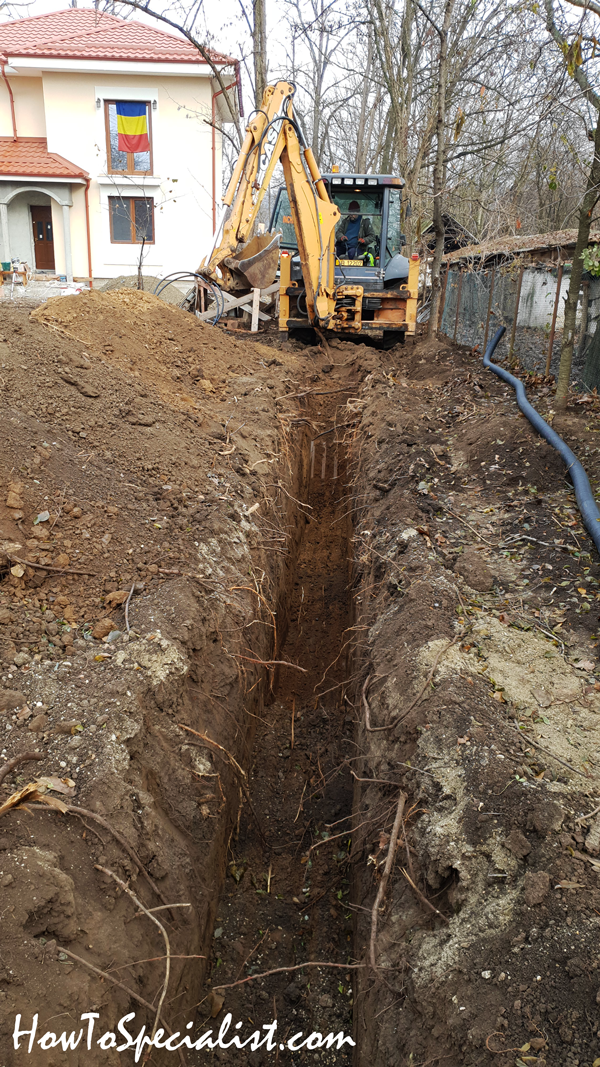
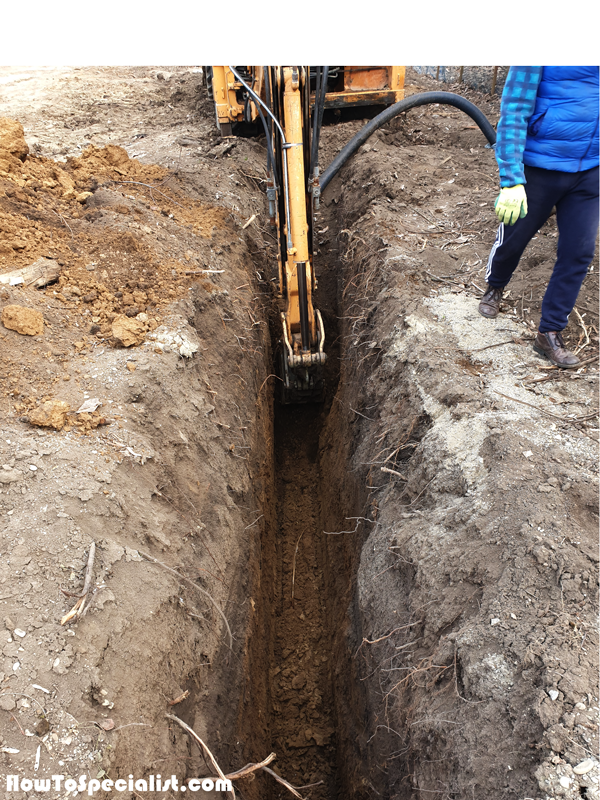
Next, we dug the 24″ wide and 7′ deep trench for the drain pipe. Use the backhoe digger is ideal because it will go extremely quickly.
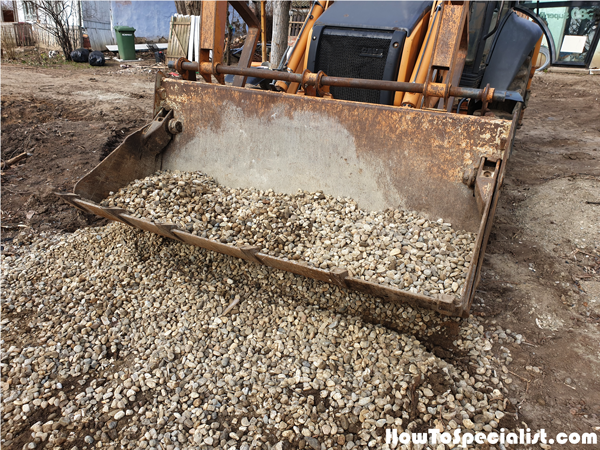
You need to lay gravel to the trench because it will disperse the effluent into the soil evenly.
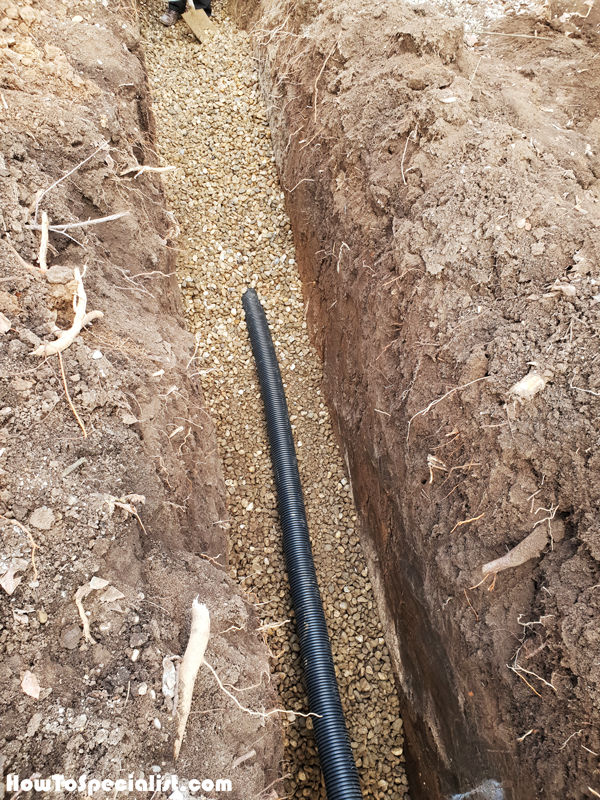
Fill trenches with gravel so that the drain pipe (which is usually 4″ in diameter and perforated) has a 1/8″ per foot. The gravity will send the effluents (clean water) from the septic tank into the drain pipe and then into the gravel.
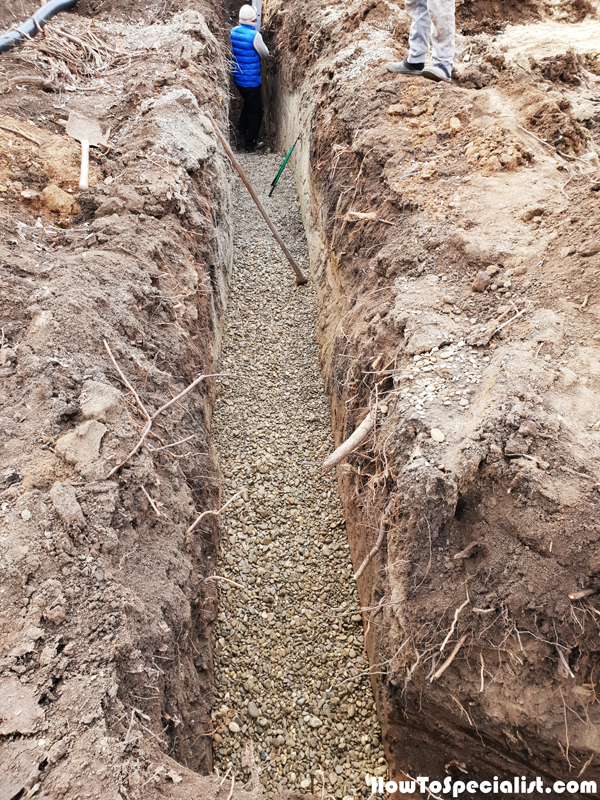
Cover the drain pipe with a 4″ layer of gravel and make sure the surface is even. It is essential to cover the pipe with gravel, otherwise the holes might get clogged and the efficiency of the system will decrease.
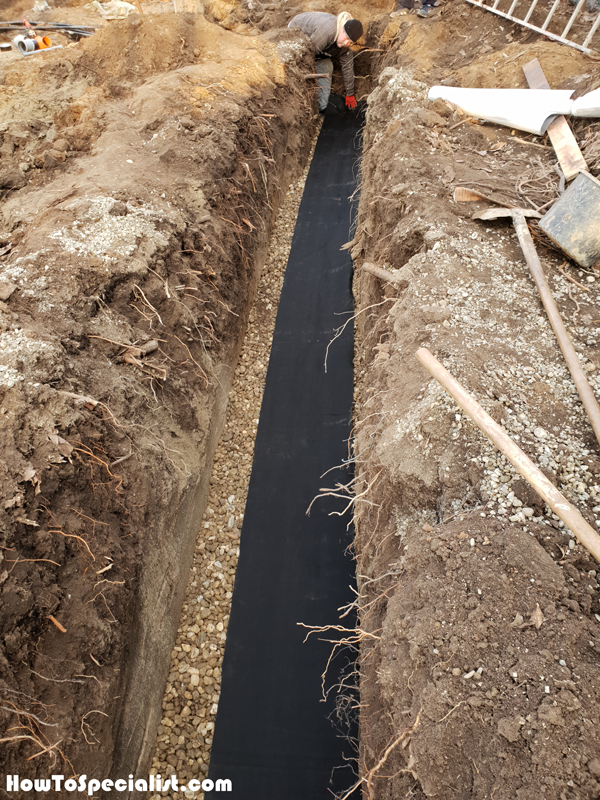
Cover the trench with geothextile fabric. Don’t skip this step. because the fabric prevent the gravel to get mixed with the soil and clog the drain pipe.
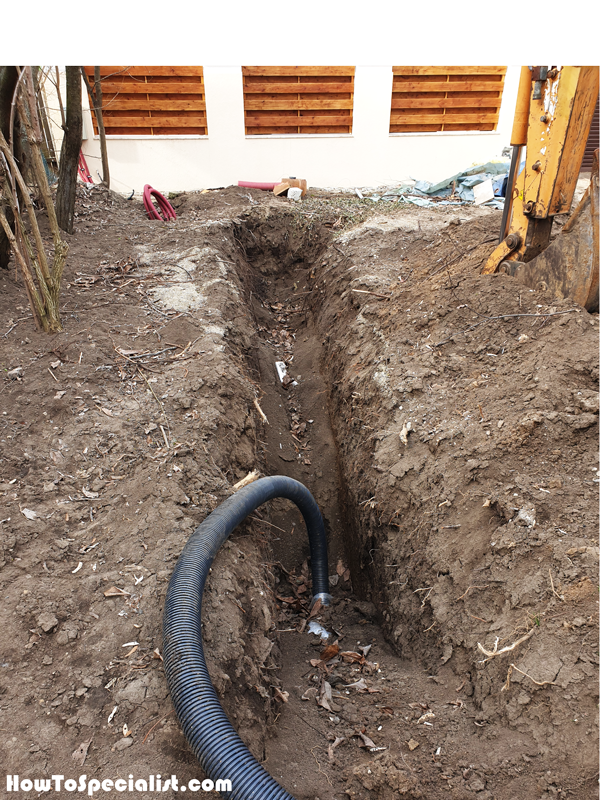
Repeat the process for the rest of the trench.

You need to install a vent pipe at the end of the drain pipe. This is essential for the system. This also serves as an easy access to the drain pipe, in case you need to clean it.
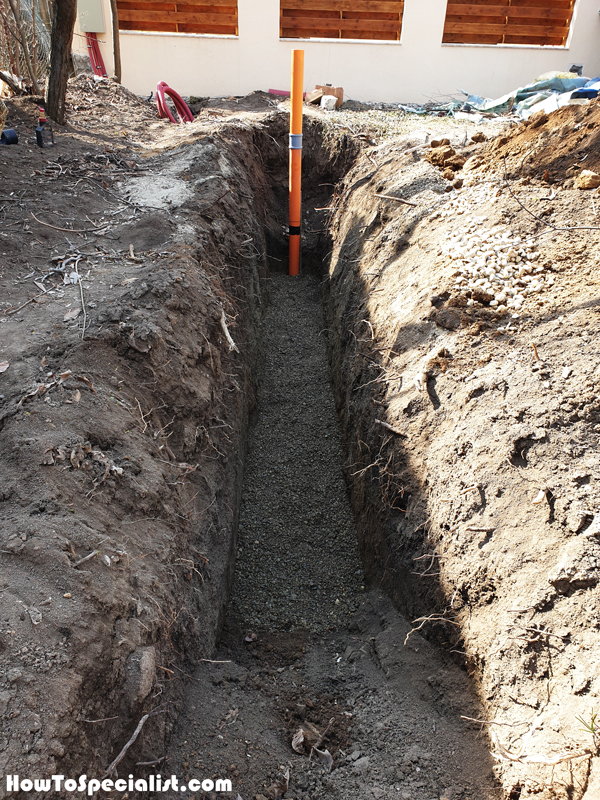
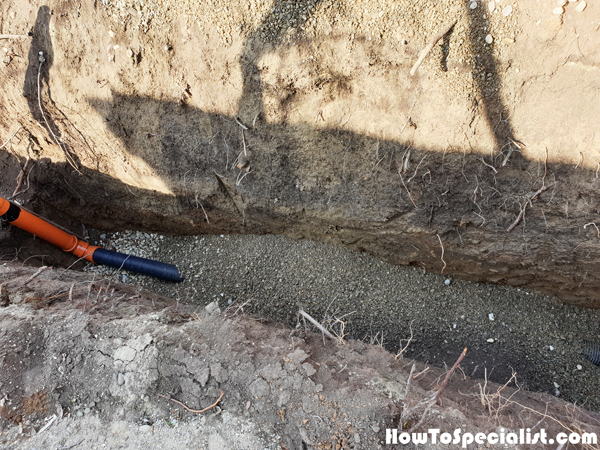
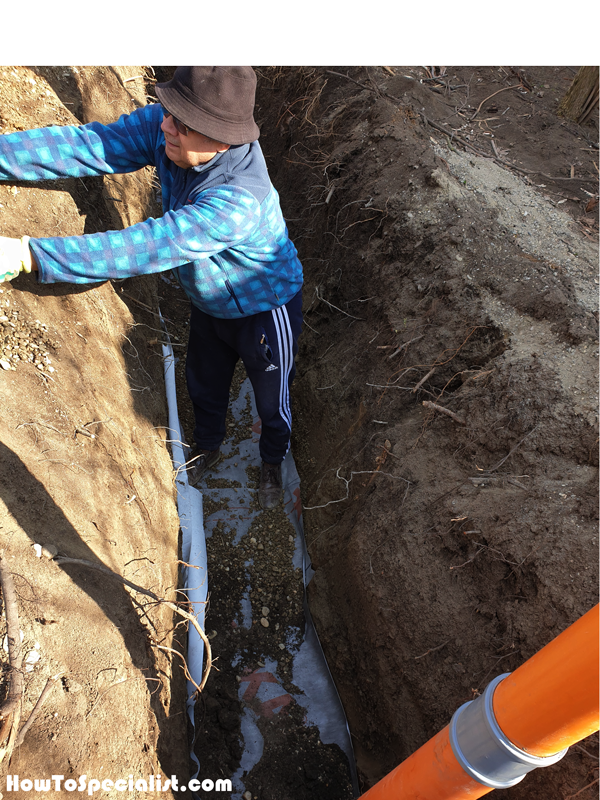
Cover the trench with the geotextile fabric and then lay the gravel.
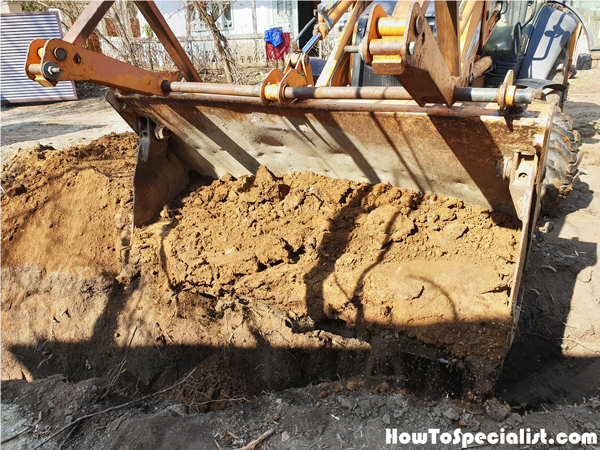
We used the front loader bucket of the backhoe to move the soil that we excavated back into the trenches.
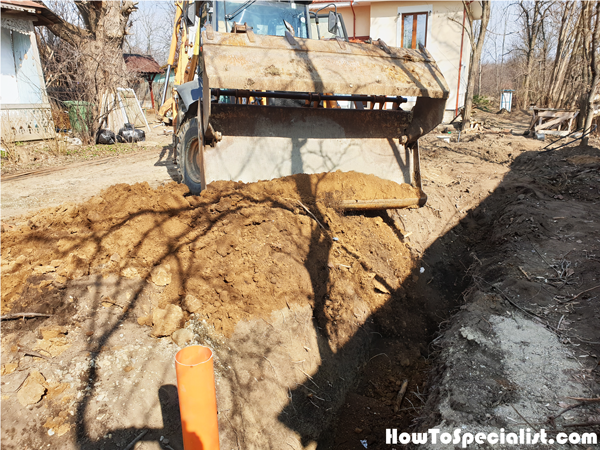
After you will the trenches with soil and level everything back to the original state, you need to take care of the septic tank riser.
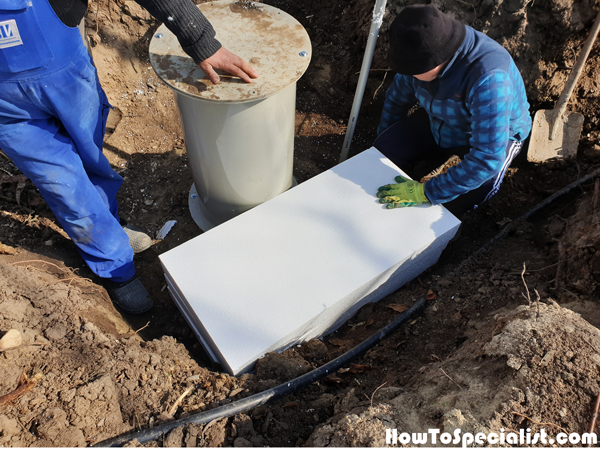
First, you need to install the riser to the septic tank. The height of the riser will vary according to the depth of the tank. The top of the riser should be just above the ground level so you have an easy access to the tank for maintenance and inspection. Use polystyrene sheets to cover the septic tank. These sheets are light and fairly rigid. You cannot cover the tank with soil, because its weight would break the tank Therefore, you need to cover the tank with these sheets and then a 4″ top layer of soil.
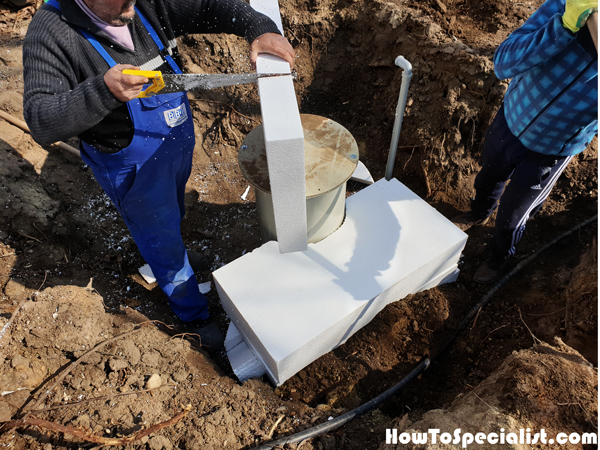
Use a saw to make the cuts needed so you can fit the sheets around the riser.

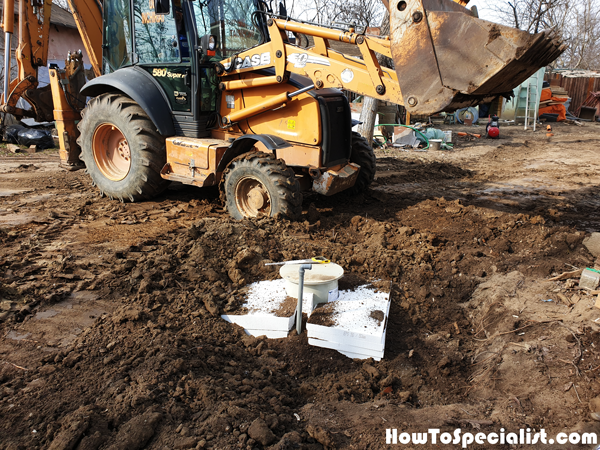
Once you lay the polystyrene sheets you need to cover them with soil. We used the backhoe digger to level the soil. Work with attention so you damage the tank. See all my home improvement projects HERE. See a full tutorial on how to build a concrete pump house on the blog, as well.
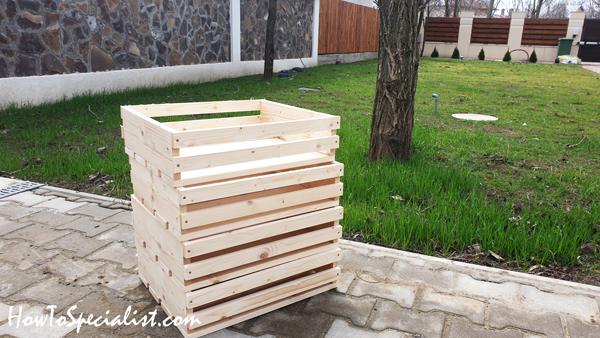
The next year I seeded grass and you can see that you can barely notice the septic tank. More to come, so make sure you check the other articles on The Brick House Construction Series.
Thank you for reading our article on how to install a septic tank with drain line and we recommend you to check out the rest of our projects. Please share our articles with your friends by using the social media widgets.
