This article is about how to build wall shelves. Wall shelves are the best choice when needing a useful storage space. The wall shelves can be easily installed in a closet or in any other room and you can deposit on them books, boxes, shoes, clothes, toys or even tools. In this article we show you how to build wall shelves in a small closet under the stairs, but they can be installed in virtually any room.
You can build heavy duty shelves by using stronger brackets, or you could use regular brackets for regular shelves. It’s up to you the distance between the wall shelves, or their dimensions. Nevertheless, we build the first wall shelf at 1′ 1/2′ (45 cm), as to be able to deposit bigger items, suck as boxes, directly on the floor’s surface.
Usually the distance between the shelves is of about 1’/30 cm, but you can adjust it according to your needs. Learn to build your own shelves, by reading our step by step guide and pay attention to our tips.
In order to build wall shelves, you need the following:
Materials
- wood boards
- wood brackets
- screws and dowels
Tools
- laser level, level, rubber hammer
- hammer, measuring tape, jig saw
- vacuum cleaner, clamps, drill machine
- electric screw driver with torque control
- framing square, carpenter pencil
Tips
- read safety and disclaimer pages
- select with great care the wood boards
- use a laser level for best alignment of the shelves
- use a good drill machine with torque control
Building shelf brackets
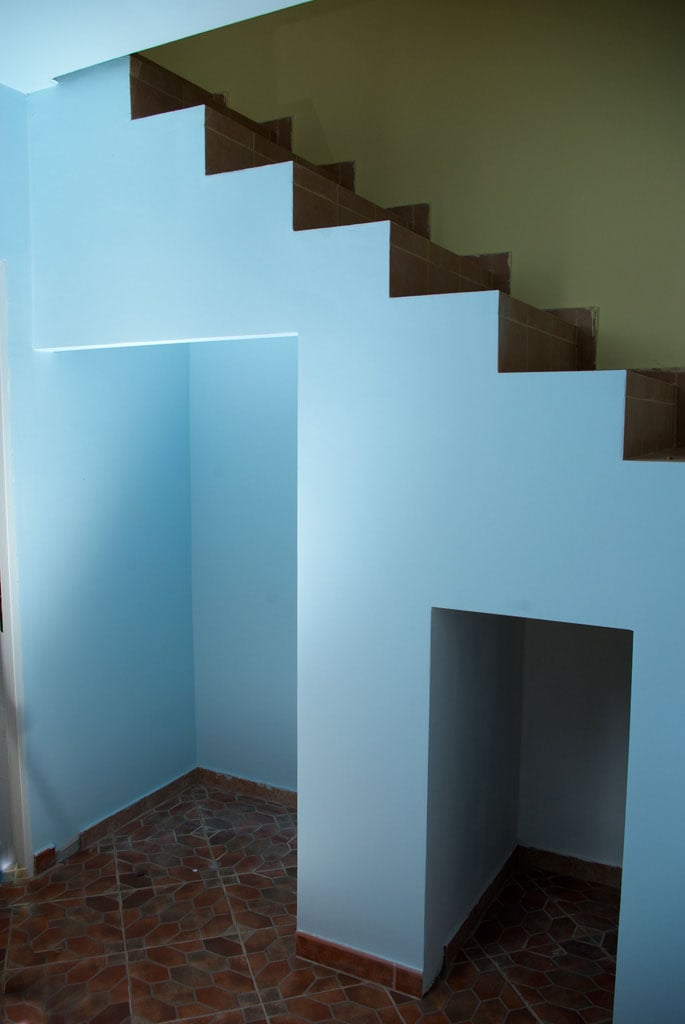
Closet under the stairs
The storage shelves can be built in any room, but in this project we installed them in a small closet under the stairs.
In our case, we dealt with two different types of walls: on one hand there was a wall made out of drywall, as on the other hand the other wall was made of bricks. Consequently, we had a different approach according to the wall’s material.
For the drywall, we used special dowels and screws, as for the wall made of bricks we used concrete drill bits, dowels and screws, as you can find out by reading this article.
It is always better to have a plan in mind when starting a project. Write down the dimensions of shelves, the distance between them, so that you can make a simplified sketch and a preliminary budget for the project.
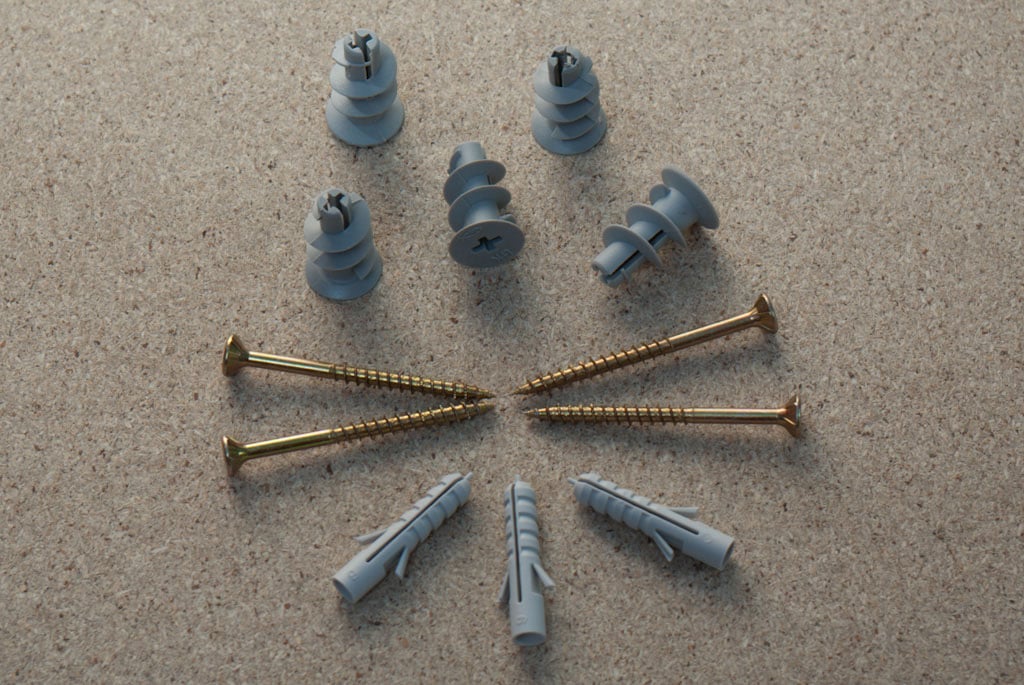
Screws and dowels for shelves
The bigger dowels are those for the drywall, as the other ones are for the concrete wall. In the center of the picture you can notice the screws that we will use to install the brackets. In addition, it is essential to use a good masonry drill bit when making holes in concrete. Use quality materials, as to get a professional result.
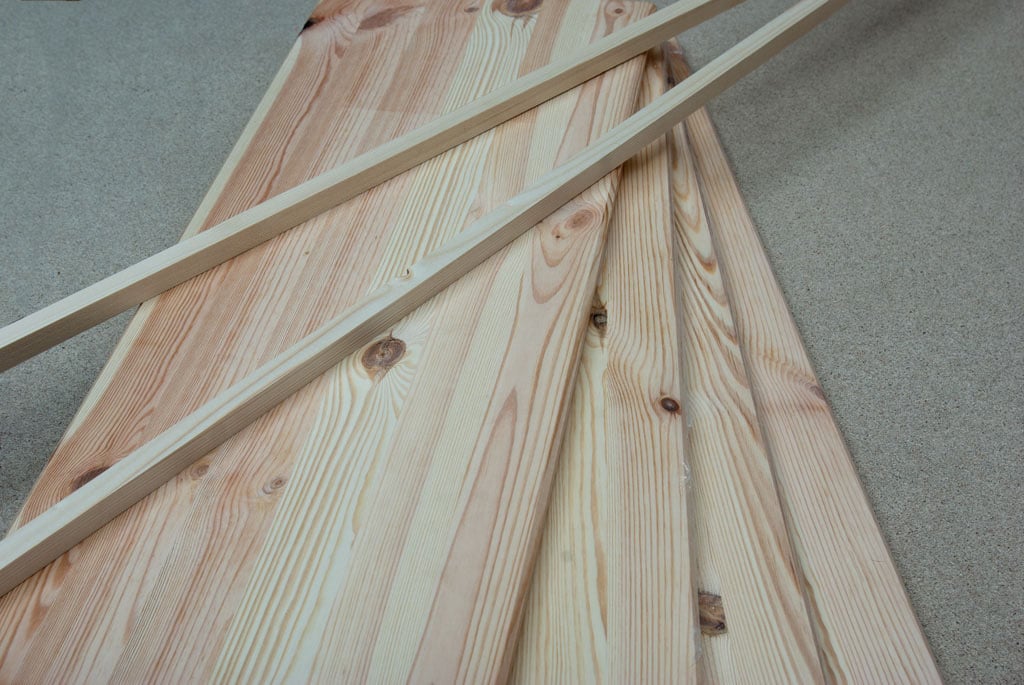
Wood boards for shelves
We choose to build the shelves out of wood boards, as we consider that they are very resistant, and in the same time they look very good.
In addition, we used 2×2 lumber to build the brackets we need, in order to install the shelves. However, if you want to build heavy-duty shelves, you must install metal brackets, which support more weight and are more resistant. You should find all these material at your local diy store at a decent price.
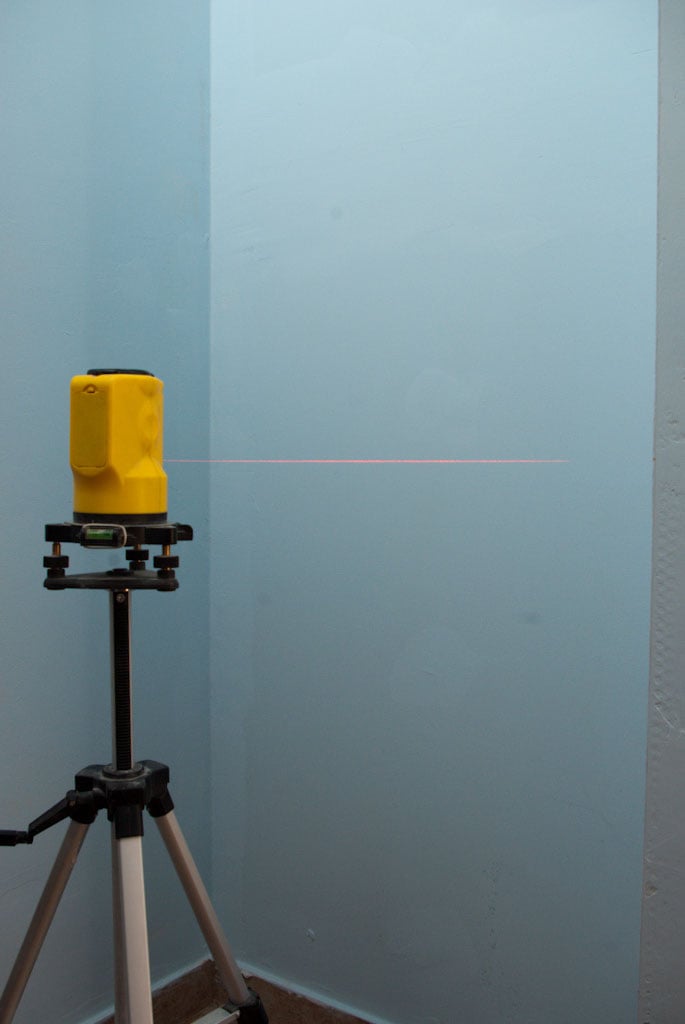
Using the laser level to install shelves
If you want to obtain a perfect result, then we kindly advise you to use a laser level, which is perfect for aligning the brackets.
In this image, you cannot see the real laser line, as we used flashes which diminished the intensity of the laser beam, but we can assure you that the investment in a laser level is well worth it.
Nevertheless, if you don’t have this tool, you can still align the brackets by using a regular level, but it will take more time and the process will be a little more complex, as you have to take more measurements.
Pay attention and do not underestimate the importance of this step, because it represents the core of the project. You probably couldn’t imagine a curved shelf, so keep in mind this aspect, when doing measurements and holes. It is better to repeat the alignment, than building wrong and useless wall shelves.
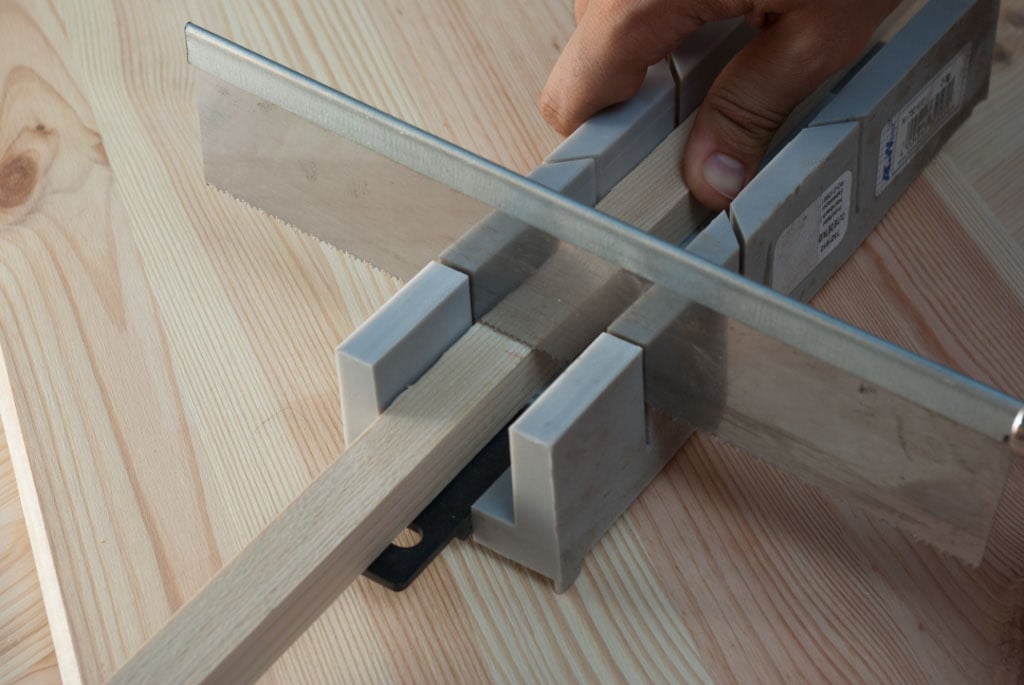
Cutting lumber with miter box
The next step is to cut the brackets, out of the 2×2 lumber. The dimension of the bracket should be smaller than the shelves width, by 1/2” (1 cm).
For precision cutting we advise you to use a back-saw, together with a saw cutting box. These are extremely useful and handy tools, as you get better control and more precise cutting than with other types of saws. Nevertheless, you can still do a good job by using a jigsaw, or a hand saw. Do not forget to use a sand paper to smoothen the edges, after you have cut the 2×2 lumber.
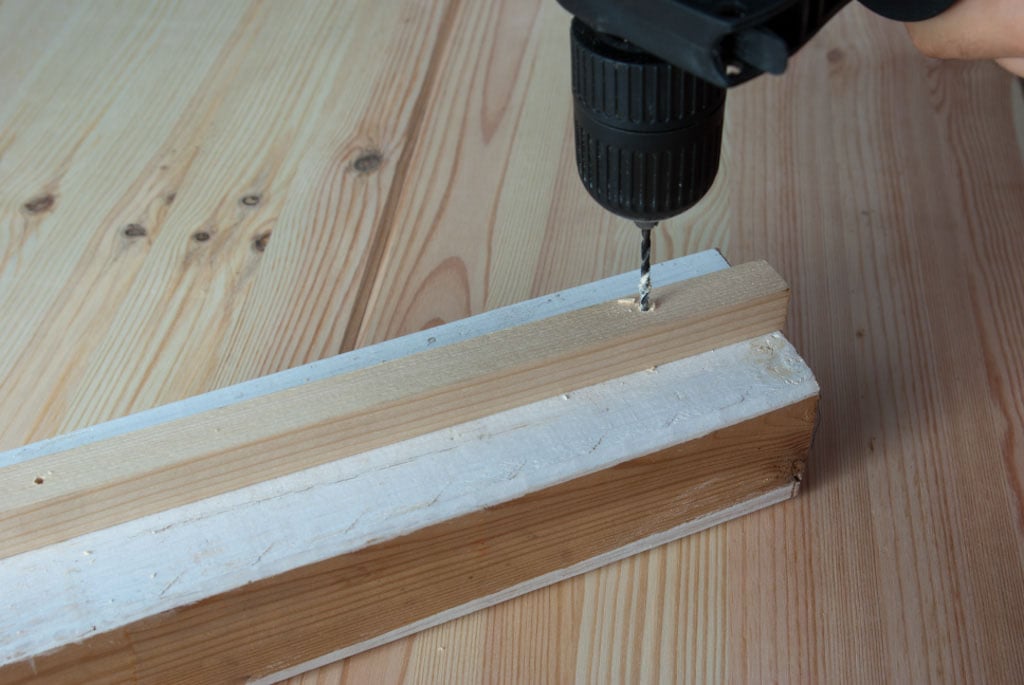
Making a drill in the shelf bracket
After you have cut the bracket, you should drill two holes. For proper holes use a good wood drill bit, and try to drill on the median line of the lumber, as to avoid cracking the wood. The drill machine must be hold with one hand like a gun, with the index finger on the start button. With your other hand hold the drill’s handle firmly, in order to have greater control.
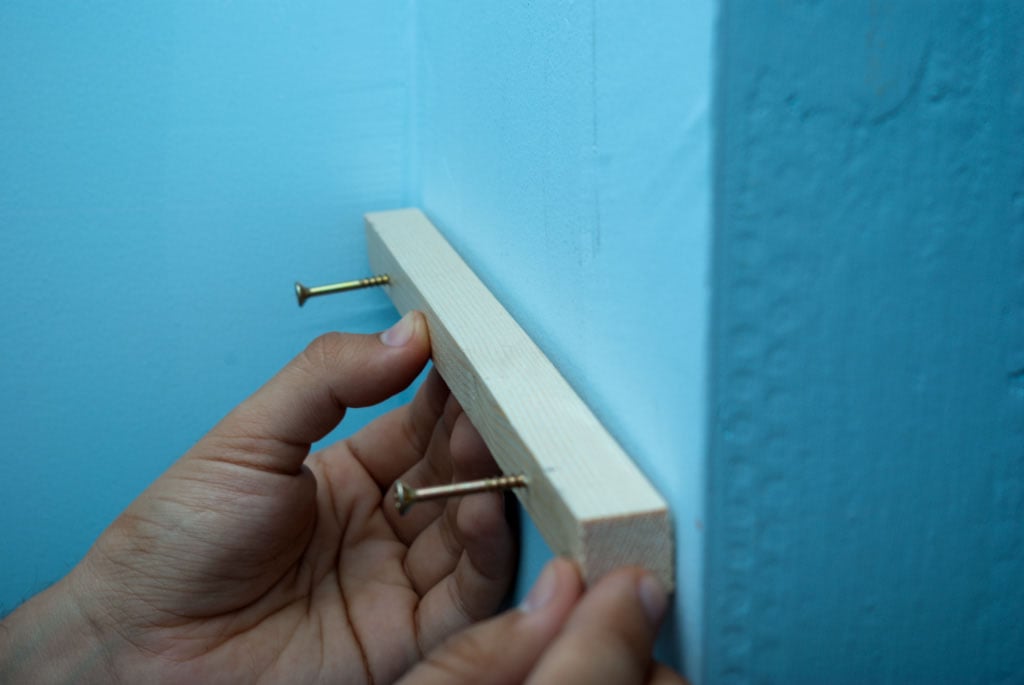
Installing the shelves brackets
Insert with a screwdriver the screws in the holes of the bracket, as to be 1/4 (0.5 cm) over the edge. Then align the bracket in the right position using a laser level, or a regular level. Next, use a hammer and hit gently the bracket, as to leave smooth marks on the wall. In this manner you will be able to make holes in the wall, in the proper location.
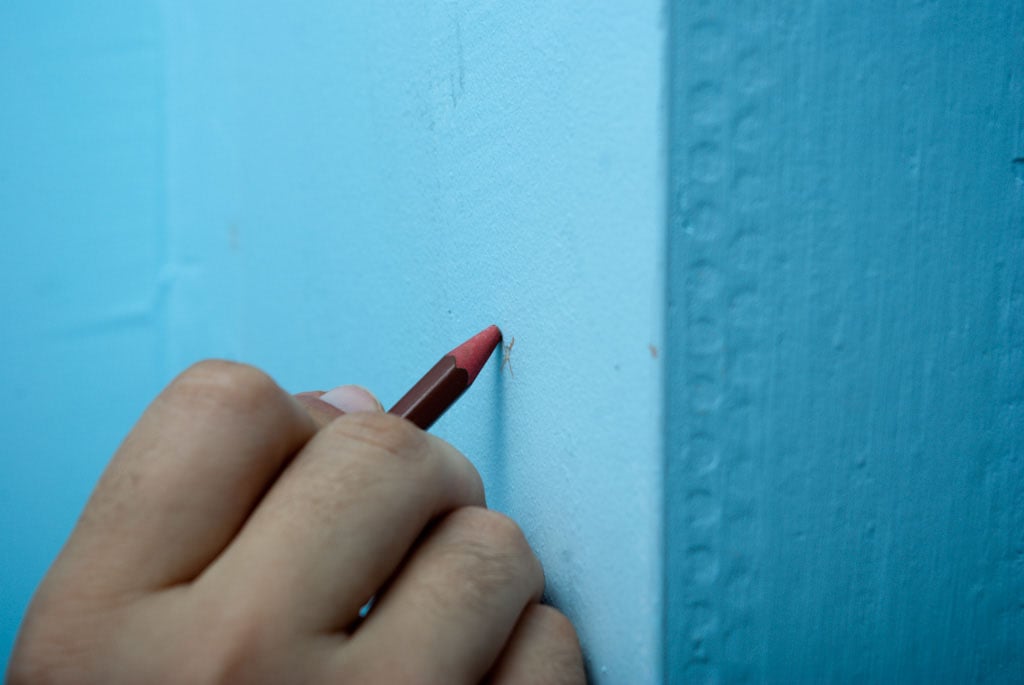
Mark with a pencil where to drill holes
Use a pencil to draw a bigger mark on the spot where you should drill the holes. This action is not necessarily if you made good marks in the previous step. However, it is better to use the pencil, as you can miss the mark, while you get the drill machinery.
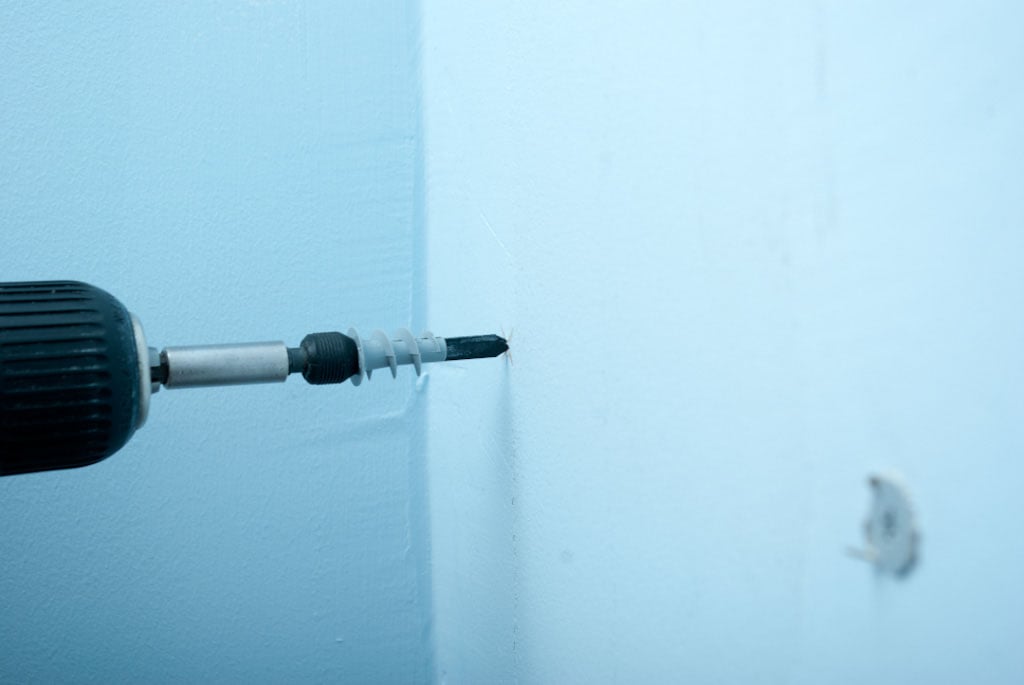
Installing a drywall dowel
As we previously mentioned, the closet has two different walls. In this image you can see the drywall, in which we installed a special dowel, made for this material. In order to install the dowel, you need a drill with torque control and a special drill bit.
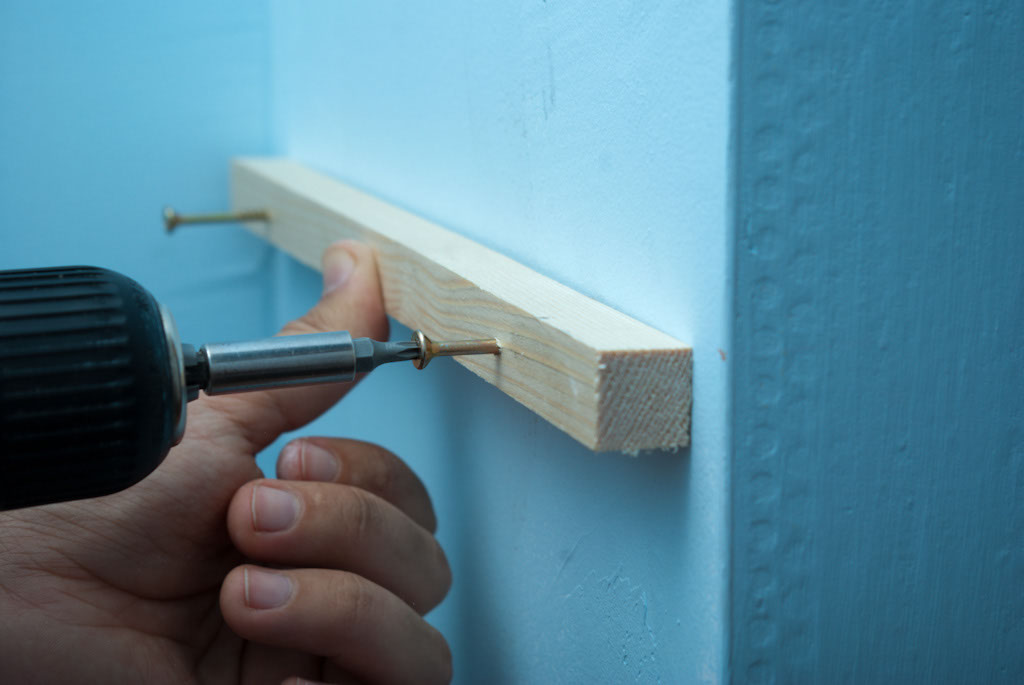
Fixing a shelf bracket
After you have finished installing the dowels in the drywall, you have to secure the bracket shelves with screws. Use a screwdriver with torque control, in order to do this operation. The screwdriver must be used at low to medium speeds, as to avoid cracking the wood. In addition, do not insert the screw too much in the hole, because it might damage the wood board.
Doing a drill in concrete
If you have to install the brackets in concrete, then you have to drill holes, and then insert dowels for concrete. The drill machine must be hold with one hand like a gun, with the index finger on the start button.
With your other hand hold the drill’s handle firmly, in order to have greater control. The drilling must be progressive: at first use low speeds to create a shallow hole. Afterwards, the speed should be increased, but at every few seconds pull the drill slightly out and press it back in again, not to block it in concrete.
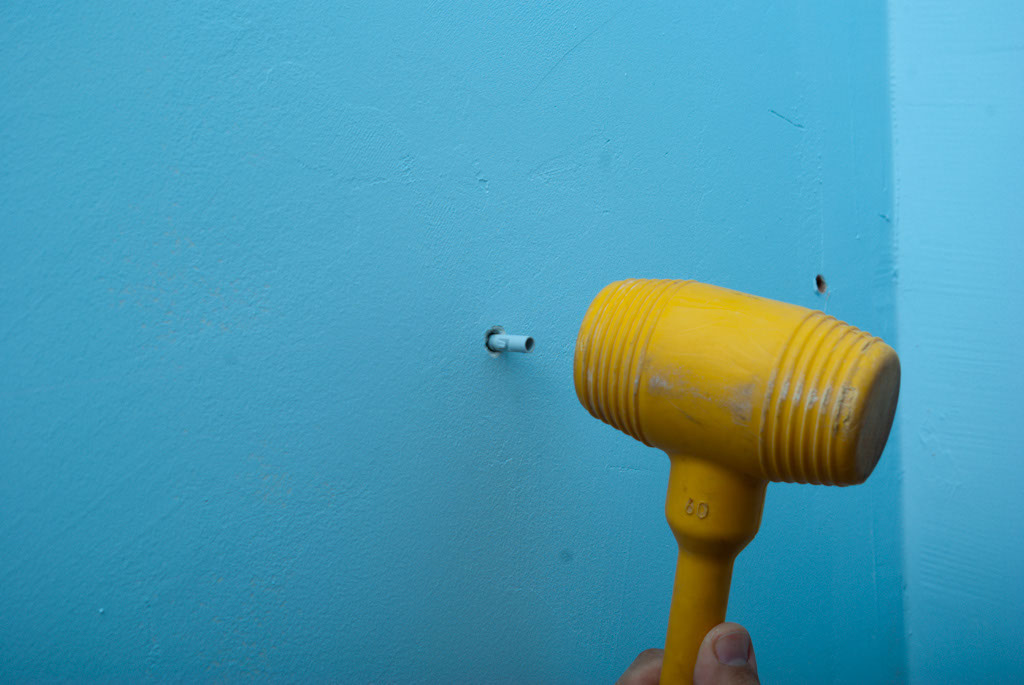
Installing a dowel in a concrete wall
In this picture you can see how we installed the dowel, using a rubber hammer. The rubber hammer is lined up with the dowel, as not to injure yourself or damage the dowel. Building wall shelves is not hard, just use proper brackets and screws. In order to protect the dowel, we hit it on top with several light strokes, until the dowel is totally inserted in the floor’s surface.
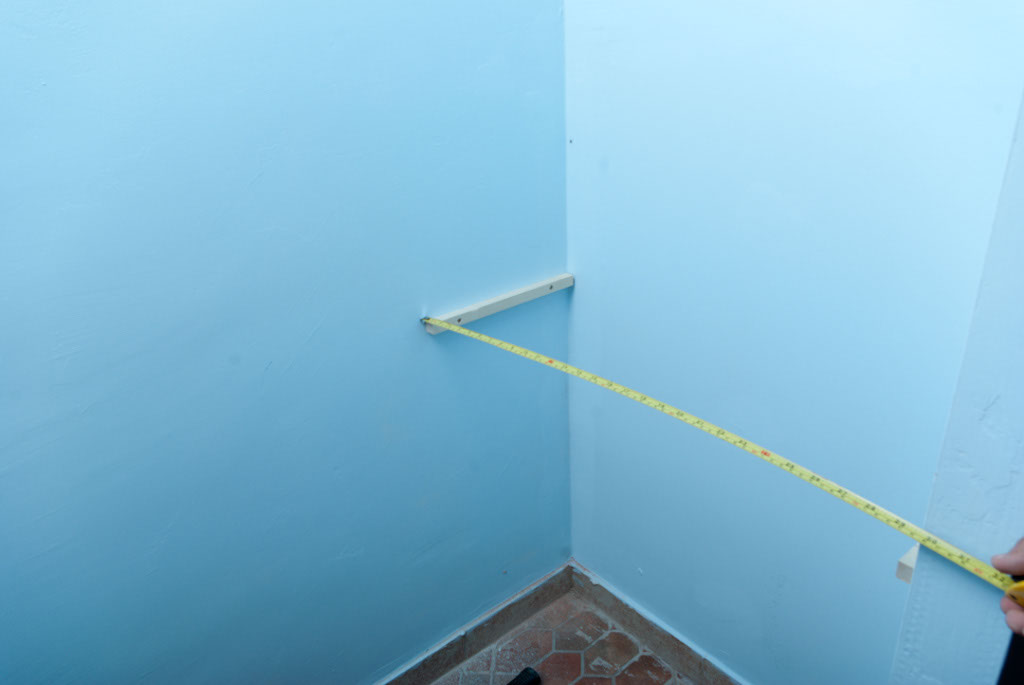
Measuring the shelf space
After you have installed the brackets, it’s time to cut the actual shelves. The first step is to measure the needed dimension of the shelf, by using a tape measurement. Keep in mind that is better to cut the self 1/10” (0.2 cm) shorter, if you are constrained by two walls, as allow it a small clearance space.
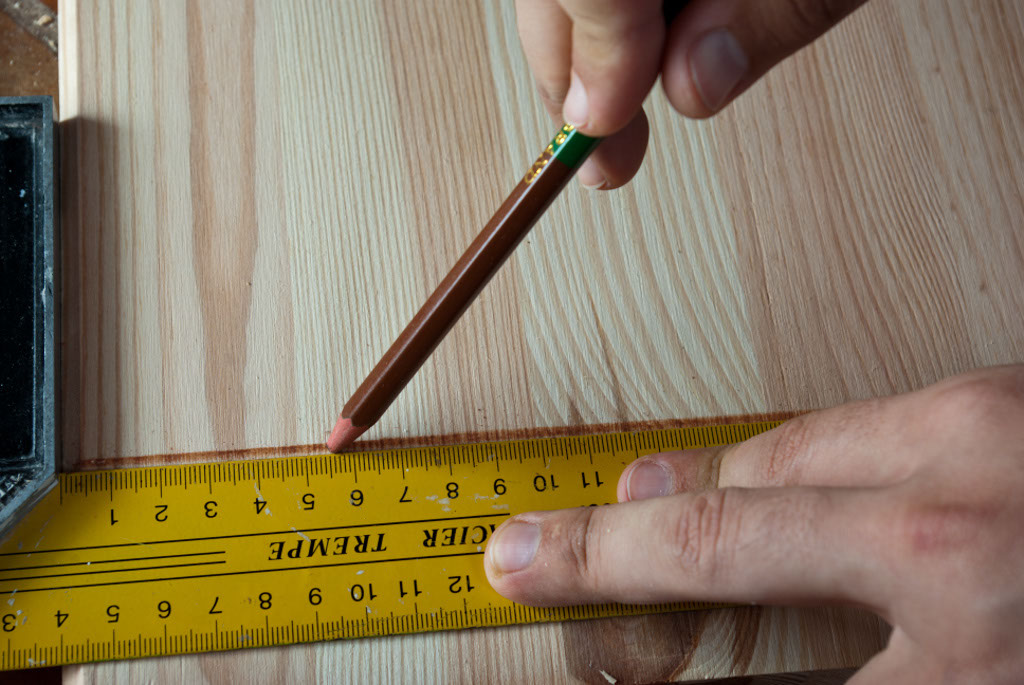
Measuring the shelf space on a wood board
Mark with the cut line with a pencil, in order to obtain a beautiful straight line. Use a framing square and check again if the line is correct. This step is essential to be made properly, otherwise the shelf won’t align in the closet. Getting the 90º is critical, so use the framing square.
How to build wall shelves
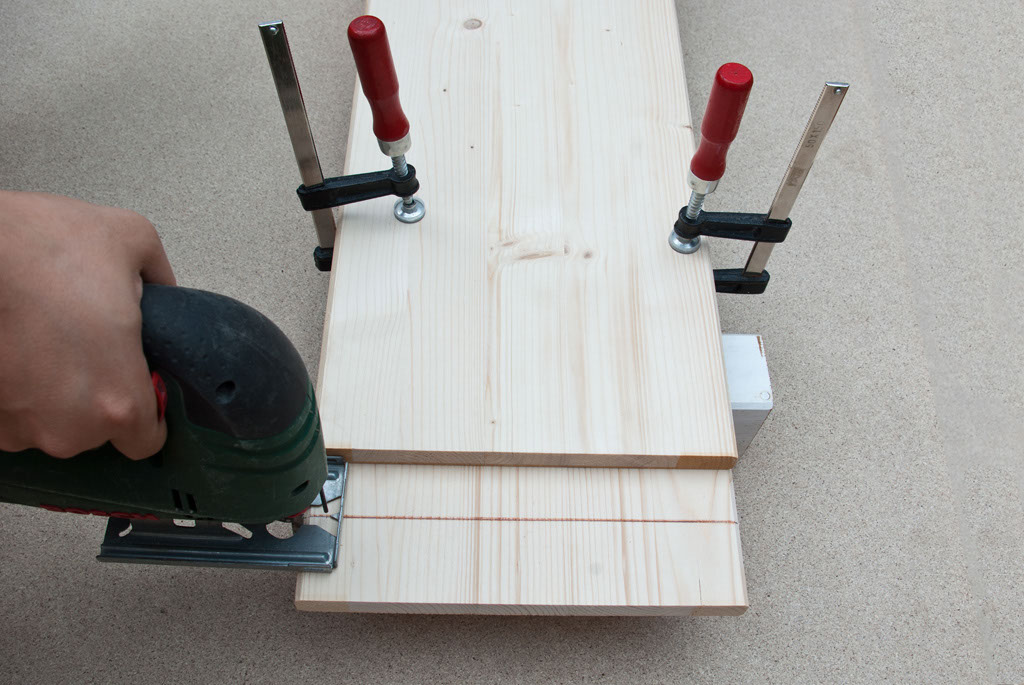
Setup for cutting wood boards
This is the setup we used to get a perfect straight line after the cut. We used a jig saw, with a sharp and fine blade for wood, two c-clamps and another wood board with a straight line edge.
Firstly, place the second wood board, such as the jig saw’s blade to be exactly on the cut line at both ends. Secondly, lock the wood boards using the clamps. Last but not least, fix the whole setup either with the help of someone else, or by using other clamps and two sawhorses.
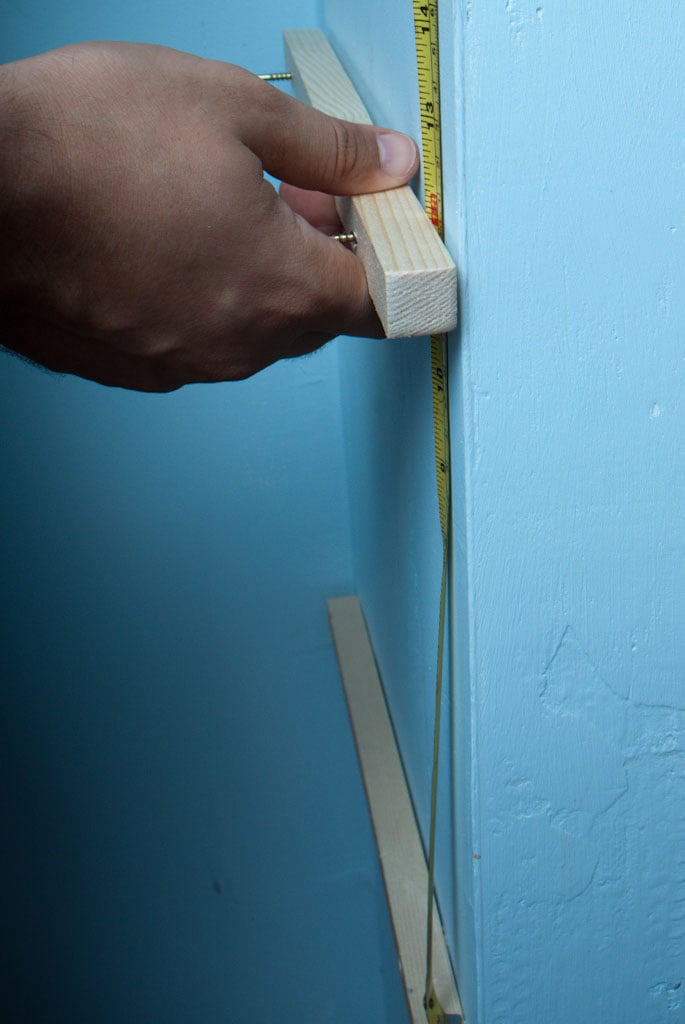
Measuring the distance between two shelf brackets
After you have finished installing the first shelf, you should start building the next one. The regular distance between two shelves is around 1’/30 cm, but you can adjust it to your specific needs. In order to determine the position of the new shelf, use a measurement tape to determine the distance. Afterwards, you should align the bracket using the same method described above: either a laser level or a regular level.
If you need heavy- duty shelves, you can use both stronger brackets, as well as stronger shelves. It is up to you to choose the materials, finishes or dimensions of the wall. If you use wooden shelf brackets, you can apply a water-based primer, and after that a paint at your choice.
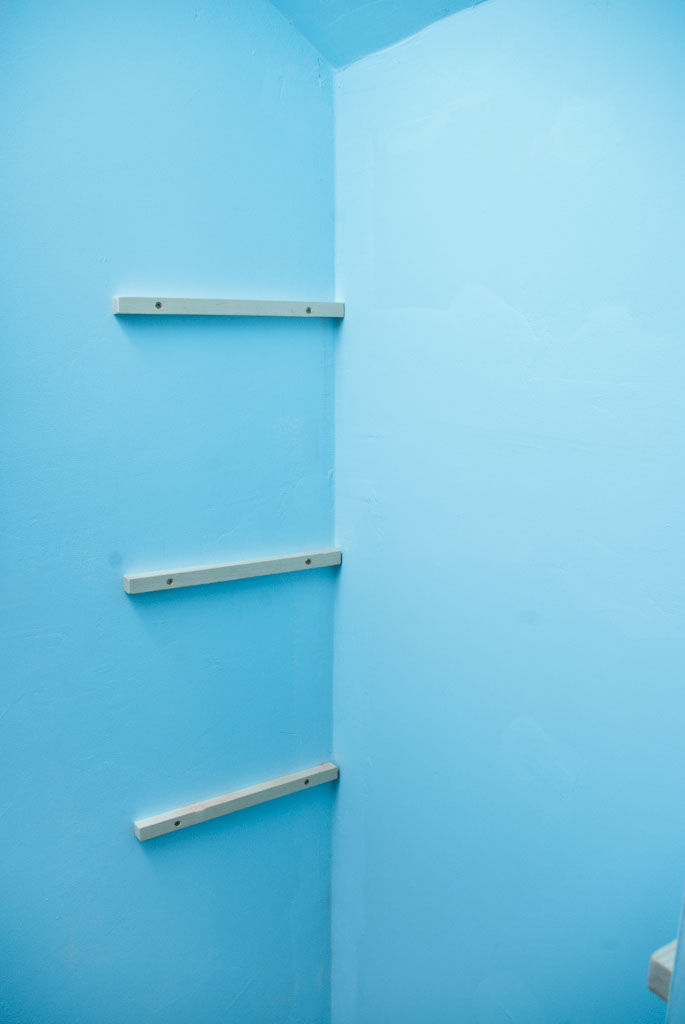
Shelf brackets installed
These selves are also very useful in garage, as you can store different tools, things you don’t use anymore, or any other object that you don’t want to keep inside your house. In short time you should finish installing all the brackets, at chosen distances. However, do not hurry throughout the project, as you can make mistakes, or even injure yourself.
The brackets should be parallel and perfectly aligned, otherwise you won’t be able to store anything on your new shelves. Take your time, and think at consequences before you make an action. Safety should be your first priority, so don’t take any risk. You could hire a certified professional to do the job.
After you have installed the wall shelf brackets, verify again if they are well fixed, and then pursue to install the wood shelves.
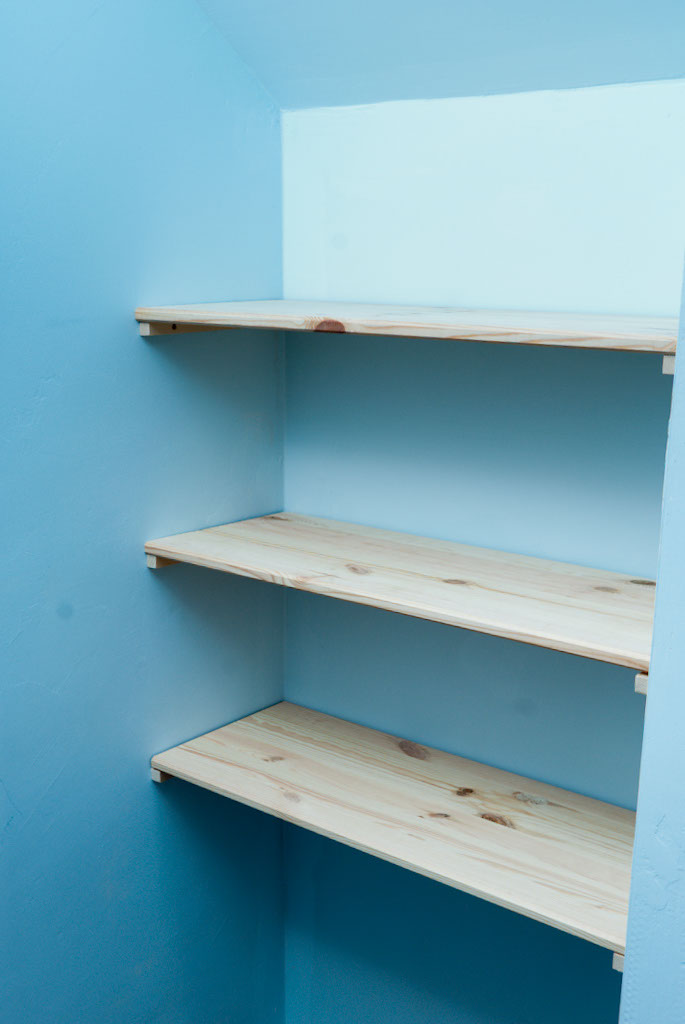
Wall Shelves
These are the wall shelves we have build, waiting to help us storing all kind of items. We hope that we’ve proved to you that building wall shelves isn’t as complicated as it might seem.
We managed to finish this project in a couple of hours, so it shouldn’t be hard to build wall shelves, if you have a plan before start working. Do not assume you will figure it out during the project, because things just don’t work like that. The planning part is maybe the most important one, of the whole process.
If you will paint the wall shelves, we recommended you to buy laminate shelves instead of wooden shelves, from the very beginning, as they come cheaper and in a great variety of colors.
Thank you for reading our article on how to build and install wall shelves and we recommend you to check out the rest of our furniture projects. Don’t forget to share our articles with your friends, by using the social media widgets.
