In this article we will show you how to install laminate flooring, after the floor’s surface has been prepared and we have installed the underlay. The process is not hard nor time consuming, but there are several techniques and tips one should know before trying to do the job by himself. Special attention is given to cutting the laminate flooring, as not to waste material. Consequently, if you want to learn how to install laminate flooring, you have to pay attention to our tips. Work with great care as you could easily make a costly mistake, especially if you don’t have experience in laying laminate flooring.
The direction in which you start laying the laminate flooring is important. Usually, the laminate boards are installed in such a way, as the rows to be parallel with the light beams. Nevertheless is not wrong to install the laminate planks starting with the longest wall of the room. Read the laminate flooring installation instructions attentively, before starting the project.
It is essential to prepare thoroughly the floor surface, before installing laminate flooring. We cannot emphasize enough on the importance of the preparation stage, as in this way you can enjoy the laminate flooring for many years in a row. Otherwise, you will constantly face issues, such as increasing gaps between the laminate boards, bumps or even cracks. In most cases, you cannot avoid these problems without leveling the surface.
In order to install laminate planks quickly and in a professional manner, you should use the right tools. Consequently, you have to learn the basic jigsaw cutting techniques in order to get clean edges, and use spacers around walls or any other obstacles to leave enough room for expansion. See all my Premium Plans in the Shop.
In order to install laminate flooring, you need the following:
Materials
- Laminate flooring packs
- Underlay for laminate flooring
- Adhesive tape, Wood glue
Tools
- Spirit level, Rubber hammer
- Hammer, Chisel, Measuring tape
- Jig saw, Vacuum cleaner
- C -clamps, Spacers
Tips
- Use a smart setup for precision cutting of the laminate boards
- Install the laminate under the door jamb, not around it
Related
- Episode 1: Preparing the Surface
- Episode 2: Installing the underlay
- Episode 3: Installing laminate flooring
- Episode 4: Installing the baseboard
- Episode 5: Fixing Laminate Flooring Gaps
- Episode 6: Fixing Laminate Flooring Scratches
- Episode 7: Replacing Laminate Flooring
How to have the least cutting waste when installing laminate flooring

Connecting laminate flooring to measure the room
Prior to the final installation, we connected the laminate planks along the width of the room. Note that you should leave a 1/3”- 0.8 cm clearance along each wall, door or any other obstacle, as the laminate tends to expand over time. The easiest way to do that is to use small pieces of laminate flooring, which should be used as spacers.
The distance between the last row of laminate flooring and the wall, minus the spacer, should be greater than 2”/5 cm. If the gap is smaller, then you should cut from the first row the difference till 2”/5.

Measuring around corners to cut laminate flooring
Use the spacers against all walls when measuring and installing the laminate flooring. After measuring, you should draw the outline on the laminate plank, with a pencil and using a frame square.
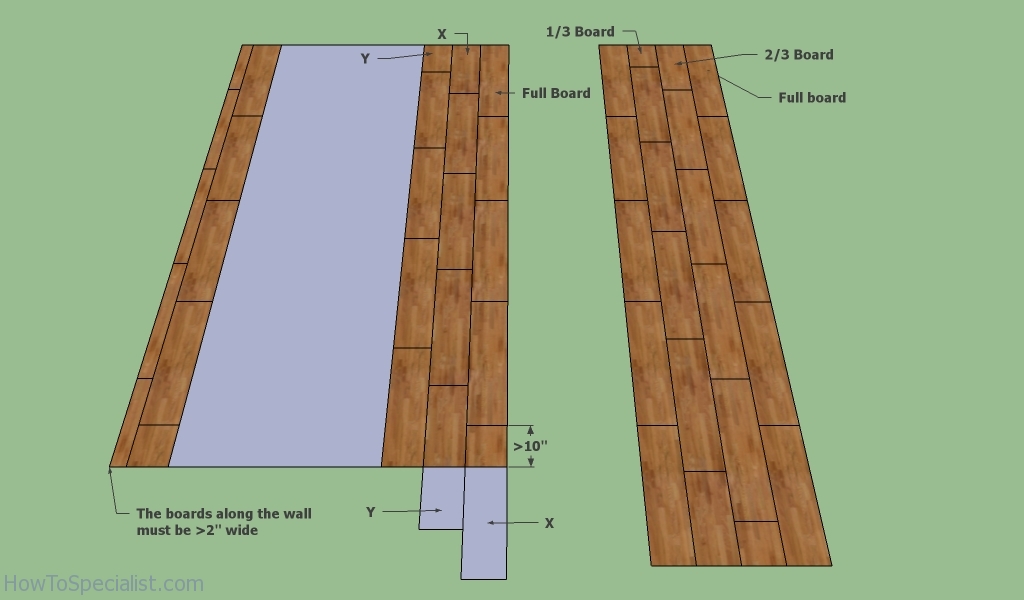
Laminate flooring layout
You could start installing laminate flooring with a full bord, the next row with 2/3 of a laminate board, the next one 1/3 of a laminate board and then again with a full board.
Nevertheless, if the dimensions of the room allow you, you could start the second row with the cut waste from the last board installed in the previous row. Just make sure you have at least 10” between the laminate joints on consecutive rows.
How to cut laminate flooring

Cutting laminate flooring with jigsaw
The setup we use for cutting the laminate planks is made of two C-clamps and another laminate plank, beside the one we want to cut. In this example we use a jigsaw, but the operation can be done also with a good hand saw.
You can see in the image that the blade of the jigsaw is exactly over the cut line and the other laminate plank guided the jigsaw to cut on a straight line. Before starting to cut the board, make sure that the whole setup is locked firmly either by clamps or by someone else. See a full tutorial on how to cut laminate flooring HERE.

Cutting laminate flooring with a jigsaw
In this picture you can see the setup from a different angle and notice the cutting technique. In this example we used a wood blade with downward dents, as not to damage the material.
The quality of the blade is essential for a good cut, so do not use dull blades. The replacement of the blade must be done according to manufacturer’s instructions, using safety gloves and only after the tool is unplugged.
Installing laminate flooring
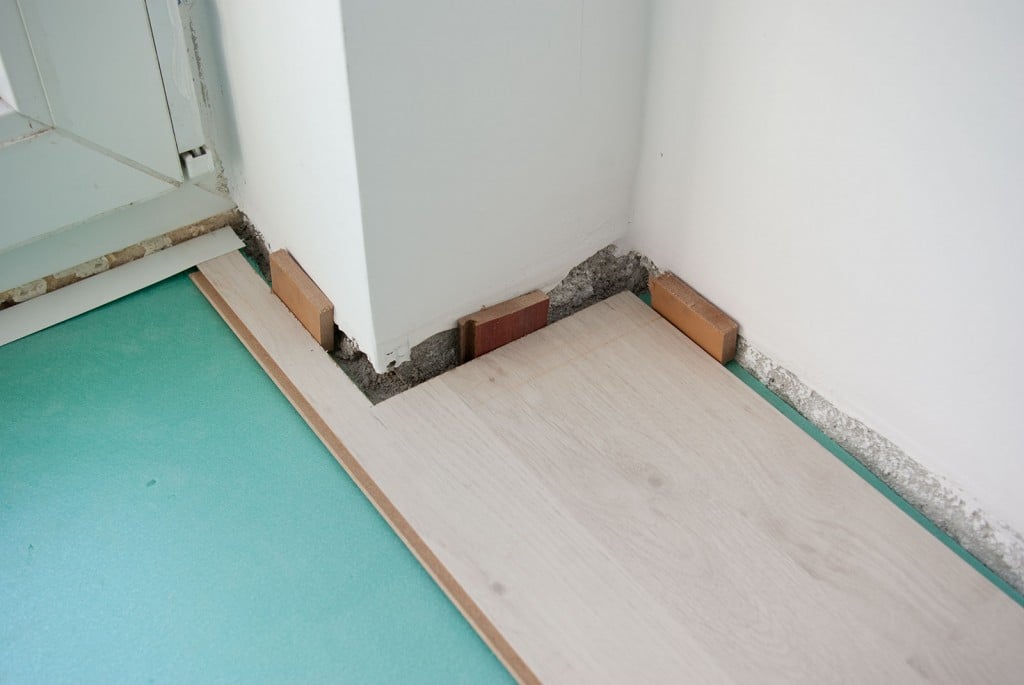
Installing laminate floor using spacers
Continue the process of installing the laminate flooring by laying the plank to its position (don’t forget to place spacers against all walls). Verify if the gap between the plank and the wall is appropriate. If the space is greater, the molding cannot mask the gap, and the laminate floor would look bad.
Note that the first row should be started with a full board. This aspect is important, as in this way the boards will be properly locked together and you will waste fewer materials.

Connecting laminate planks
The most important aspect is to get the first row extremely straight. If this doesn’t happen, then the installation of the laminate flooring would be compromised.
Make sure the first rows are properly aligned, the joints are perfectly sealed and there is no gap between the laminate boards. In addition, remove any residue using a vacuum cleaner, as they might create gaps between boards.

Connecting laminate planks
Make sure that the grooves are clean before installation, otherwise the floor might peak over the years. In this project we have used double click laminate flooring, but on the market you may also find other types to fit your needs.
In this picture you can see how the edges of the boards join together. Do not apply too much force, as you risk damaging the grooves, just try to connect them progressively. Make sure there is no gap between the planks, otherwise tap them gently until closing it.

Connecting laminate flooring
In this picture you should notice the laminate flooring, when it is locked together properly. Remark that there is no space between the boards and that they are perfectly aligned and straight.
Smart Tip: If by any chance the two planks are not joined properly, then you have to unlock them carefully and repeat the procedure until you get the desired result. Do not use laminate boards that are damaged, as in time their flaws will enhance.

Connecting double click laminate flooring
When connecting the rows together, you should do it with great care. Tilt the row at about 45º and connect it to the flooring. Next, the laminate flooring requires a light tap with a mallet and a tapping block, in order to secure the connections.
Make sure there is no space between the rows by examining the flooring attentively. If you notice the slightest gap, there might be two possibilities: on one hand you could have installed them wrongly, or there could be issues with boards’ quality or with the sub-floor.

Last row laminate flooring and wall
When we had to install the last row of laminate flooring, we noticed that our calculations proved to be correct and the space between the laminate flooring rows and the wall was greater than 2”.
Consequently, we verified again if the boards are perfectly sealed and aligned. If you notice any issue, stop until you find the cause of the problem. If you continue, then things will get even worse and you risk to damage the planks of laminate flooring permanently. Use the vacuum cleaner every time you see any residue, otherwise you risk getting poor alignment of the laminate boards.

Measuring laminate flooring before cutting
In order to make a proper cut, you need to take correct measures. The first step is to turn the laminate board with the tongue pointing towards the wall. If you have a saw with downward oriented teeth, place the board with its face up, otherwise lay it with the top-face down.
Pay attention to the fact that when doing that, you should also use the spacers. If you overlook this aspect, you will a get a laminate board, that is too large, and you will find it impossible to lock it into position.

Setup for precision cutting of laminate flooring
The next step is to recreate the cutting setup, as to obtain a good, straight cut. Consequently, we used two clams and another straight laminate board and locked them together, as you can see in the image.
Before cutting the laminate with the jigsaw, we made sure that the whole setup was firmly locked into position. Afterwards, we carefully cut the board in a beautiful straight line. We repeated the process for all boards and then we connected them with the rest of the laminate rows. Check out my tutorial on how to cut laminate flooring lengthwise.
How to install laminate flooring under door jamb

Cutting the groove rainure of a laminate plank
In order to complete the project, all that we had to do was to install the missing piece of laminate, under the door jamb.
The technique is to cut the groove of the laminate board with a cutter. Before that operation, we had cut the laminate plank to the right dimensions, as to fit into position. This is the only way to connect the board under the jambs, as there is no space to use the regular method.
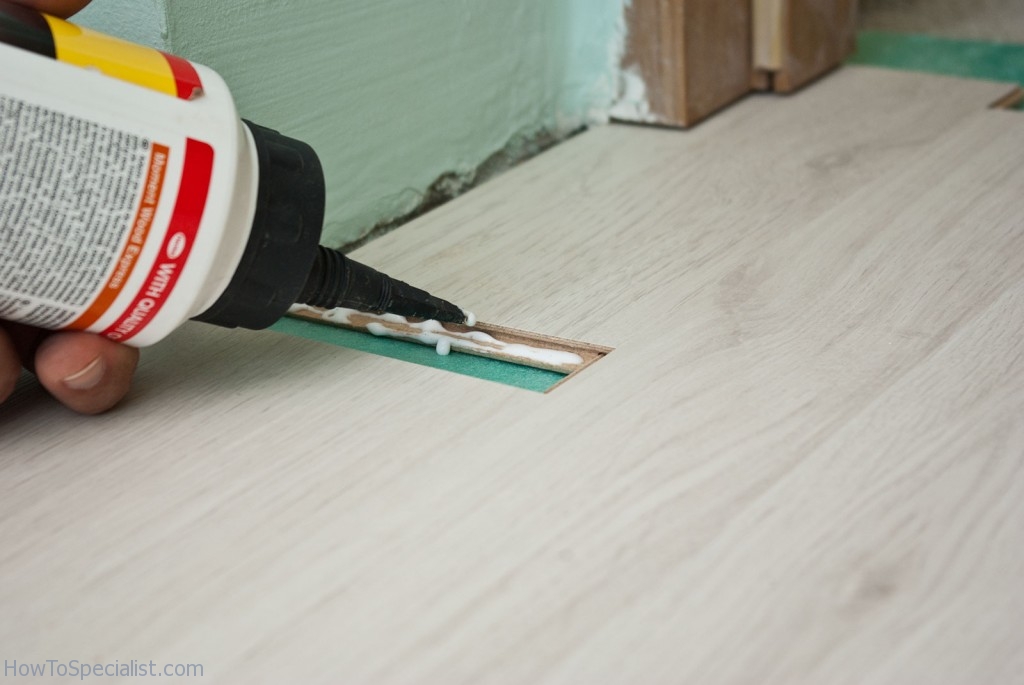
Gluing laminate flooring under door jamb
In order to seal the two boards of laminate flooring, we used quality wood glue. Then, we connected the boards by using a mallet (a rubber hammer).
We progressively hit the laminate board until it locked into position. If you hit the planks hard, you risk scratching the finish, so do not apply too much force.
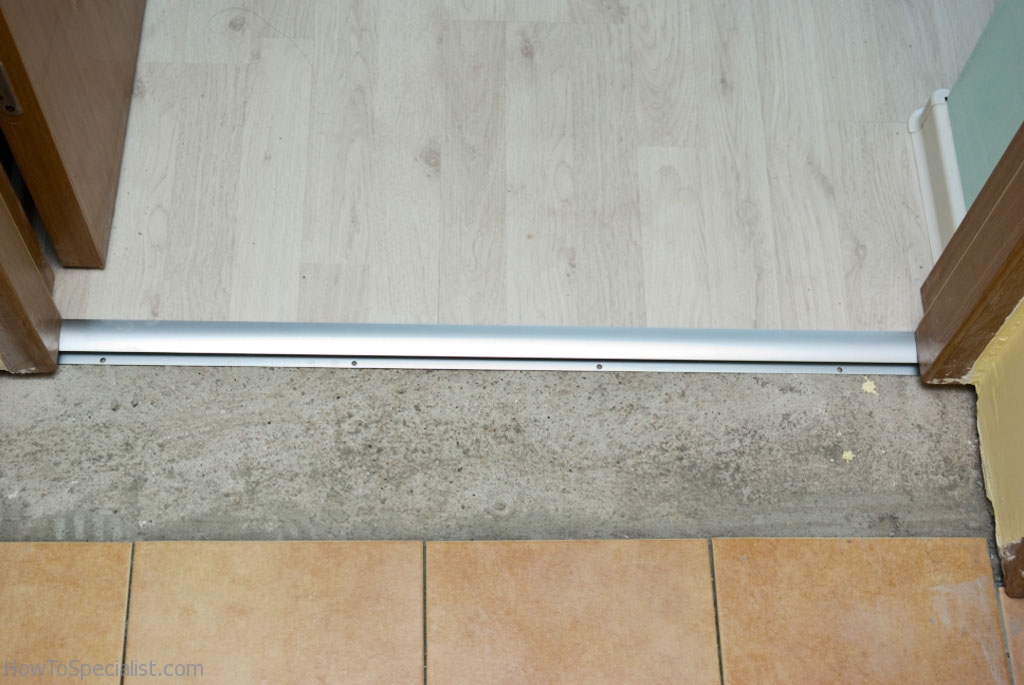
If it’s the case, you need to install a transition from laminate flooring to tile flooring. Fortunately, I have you covered with a step by step tutorial on how to do that with style.
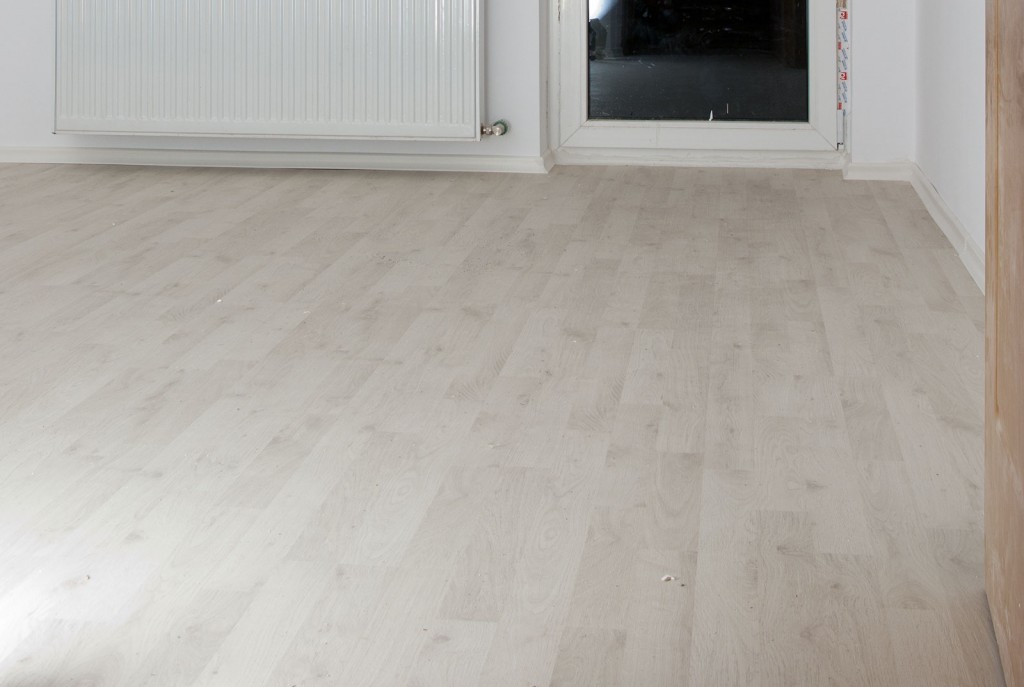
Installing laminate flooring
Last but not least, we have vacuum the laminate flooring and removed the spacers. As we have already said, installing laminate flooring is not very difficult if you choose quality materials and prepare the surface thoroughly. Make sure you follow the whole Laminate Flooring Series.
Thank you for reading our article on how to install laminate flooring and we recommend you to read the rest of our projects. Don’t forget to SHARE our articles with your friends, by using the social media widgets. LIKE us to be the first that gets our latest projects.
