This article is about how to install PVC windows and do electrical wiring. This is Episode 4 of the concrete and brick house series, where I show you a short view through the process of installing the PVC windows. In addition, we also hired an electrician to do the wiring and a plumber to do the first part of the water supply and heating system. I hope you can take something from what we’ve done with the house and use it for your own projects.
This brick house is built to withstand 8.5 earthquakes on Richter scale and thus, it has strong structure made with re-bars and concrete. We used brick blocks for the interior and exterior walls. We used 8 tons of rebars for this house and close to 100 cubic meters of concrete for the whole constructions. In Episode 1, I will show you the story of the land, the plans for the house and how we poured the foundation. See all my Premium Plans HERE.
Made from this plan
Materials
- Lumber
- Nails and screws
- Metal shingles
- Anti-condensation foil
Tools
- Safety gloves, glasses
- Measuring tape, carpentry pencil, l-square, spirit level
- Hammer and circular saw
- Angle grinder
- Chainsaw
Time
- 1 week
Related
- Episode 1: Building the foundation
- Episode 2: Building the walls
- Episode 3: Building the roof
- Episode 4: Doing the installation and Windows
- Episode 5: Screeding the floors
- Episode 6: Installing the rock wool insulation
- Episode 7: Painting the house on the exterior
- Episode 8: Cementer render and wall plaster
- Episode 9: Installing natural stone
- Episode 10: Installing the septic Tank
- Episode 11: Building the walkarounds with pavers
- Episode 12: The kitchen
- Episode 13: The bathrooms
- Episode 14: The living Room
- Episode 15: The bedrooms
Brick House Construction – Video!
How to install PVC windows to brick house

Plan-drawing-for-brick-house
Every house starts with a plan, so our countryside house didn’t make an exception. As you can see we went after a Mediterranean design with a few local influences so it blends in easily. This isn’t a large house because I wanted to go for minimalism and pack everything I needed in a medium sized area. The house features two floors and an attic that will be used for storage purposes. This is a concrete and brick house with 3 bedrooms, 2 bathrooms, a large kitchen, a living room and two small rooms for storage. In addition, the house features a porch to the front with beautiful columns and arches.
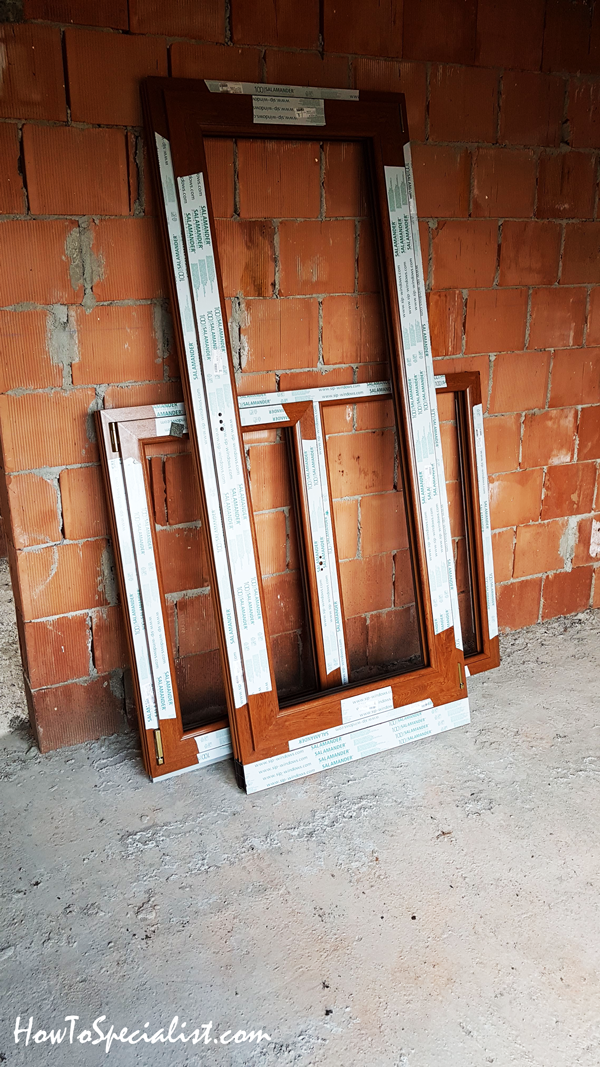
PVC-windows-for-house
First of all, I will cover the installation of the PVC windows. This house was designed from the drawings stage to be very energetically efficient. Therefore, I bought the best PVC windows on the market with 3 layers of glass, low e, 4 seasons and with argon gas. I also chose the golden oak color for the PVC frame, trying to match the windows to the overall classy style of the house. The windows get delivered with protective tape over the frame, so there’re no scratches during the transportation and installing.
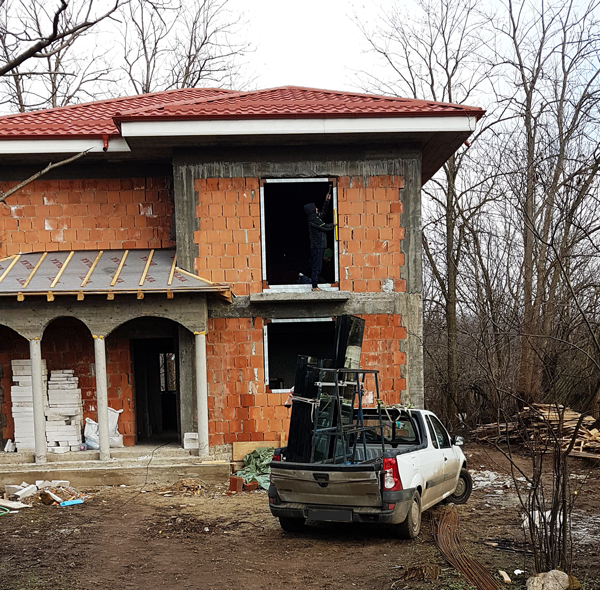
Easy Installing-PVC-windows-to-brick-house
As you can see the window frames come separated from the glass panels, as well. The installation process is done by the supplier. Beforehand, they come and measure all the openings to have the exact dimensions when manufacturing the windows.
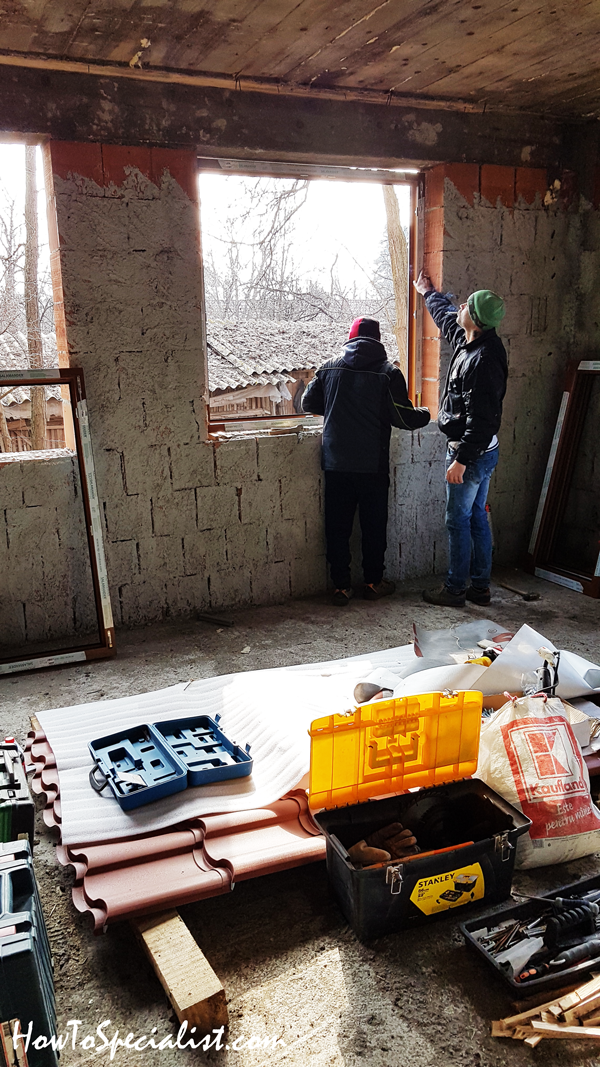
Install-PVC-window-to-brick-house
First, they fitted the window frames to the openings and locked them to the brick walls with heavy duty screws. Prior to that a spirit level was used to plumb the frames on all directions.
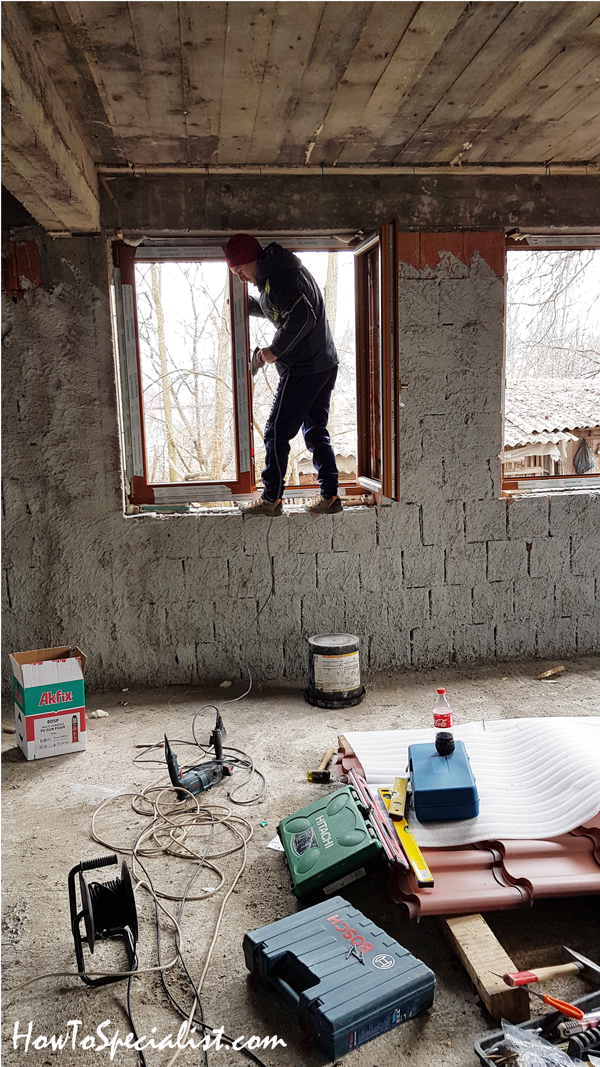
PVC-Window-installation
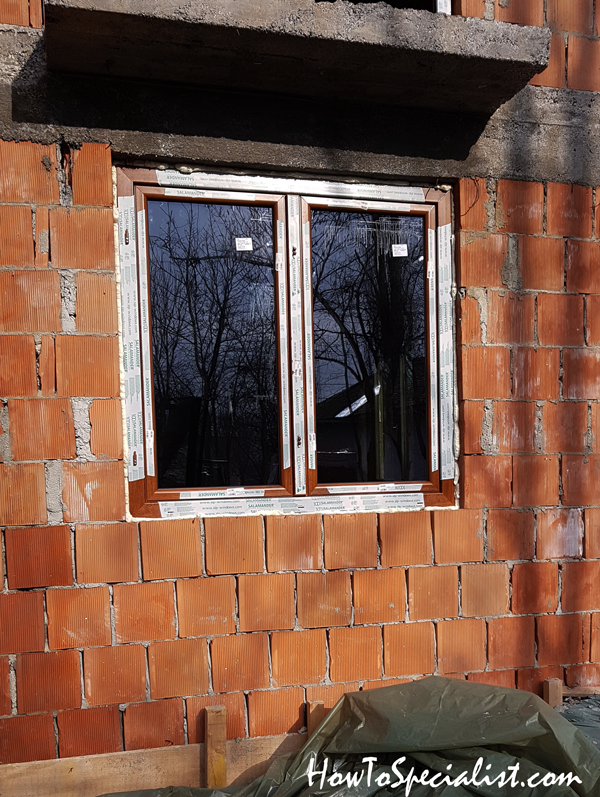
Next, the guys sealed the gaps between the frame and the walls with spray polyurethane foam. The foam has double role: to insulated and to lock the frames into place tightly. The foam is very dense and it expands quickly, creating a string bond between the PVC window and the brick walls.

PVC-Window-installation-to-concrete-and-brick-house
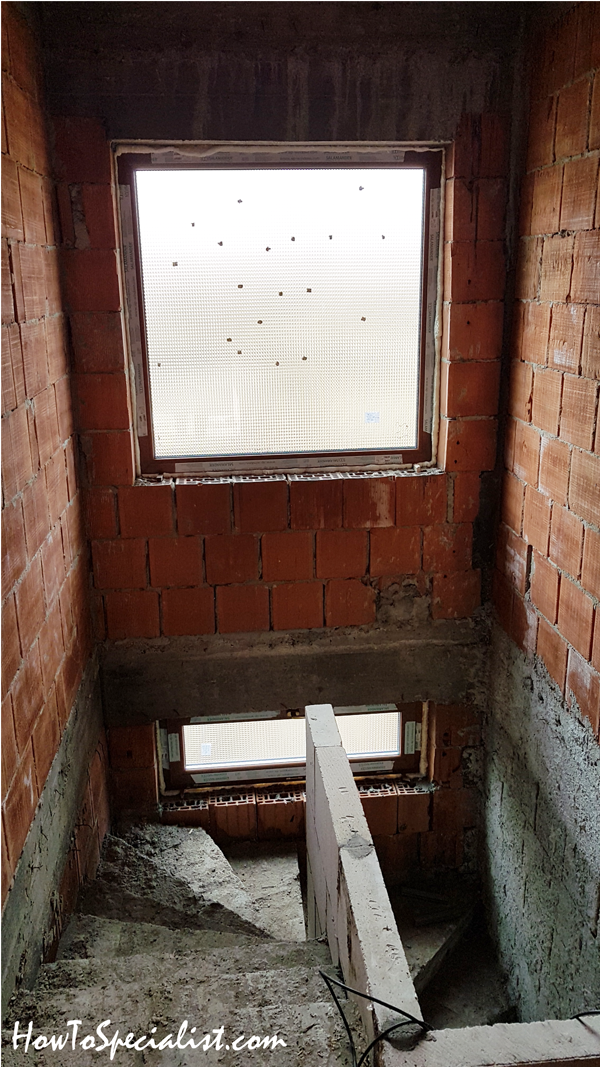
Some windows have a difficult access so they built a quick scaffolding using wood. This is a large fixed window we installed to get light on the stairscase.
PVC-Window-Tripan-Installation
Installing-PVC-windows-to-brick-house
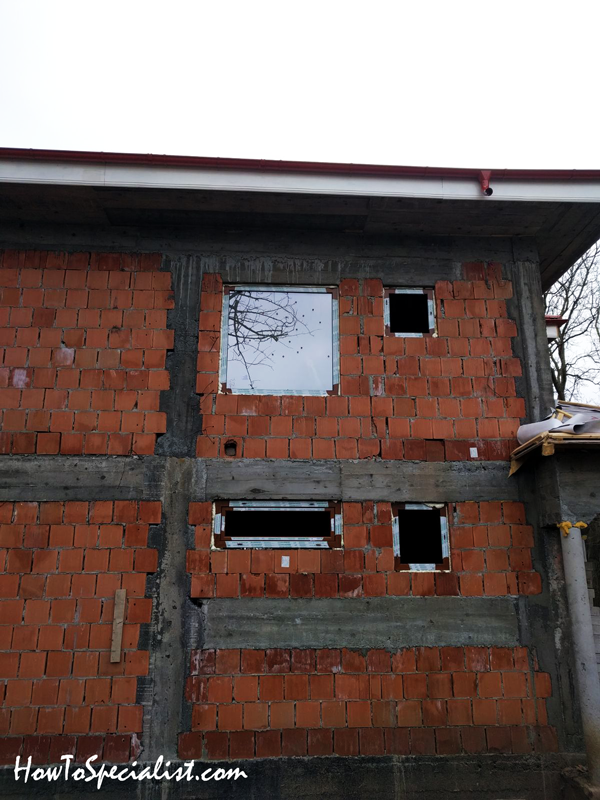
The PVC windows seen from the exterior of the brick house. Prior to installing the windows it was really windy inside, so we were more than glad to have the house sealed. This helped alot when doing the electrical wiring and the plumbing.
PVC-window—New-concrete-and-brick-house
PVC-Window—Install-to-a-brick-house
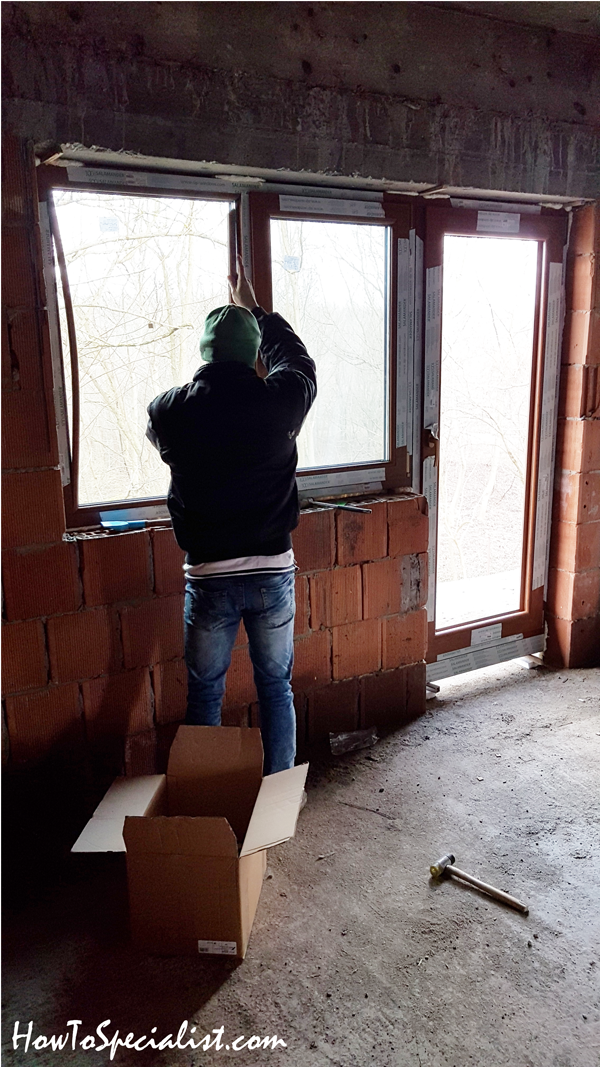
We also had the balcony doors installed. Everything works perfectly and they triple glass windows are doing a great job during the cold months. As i already say, we will be installing rock wool for the exterior insulation and a air-water Heat Pump with underfloor heating, so having the most efficient windows is a must.

Fitting-PVC-windows-and-doors
House is sealed, now time to move on with the electrical wiring.
Electrical wiring to a brick house
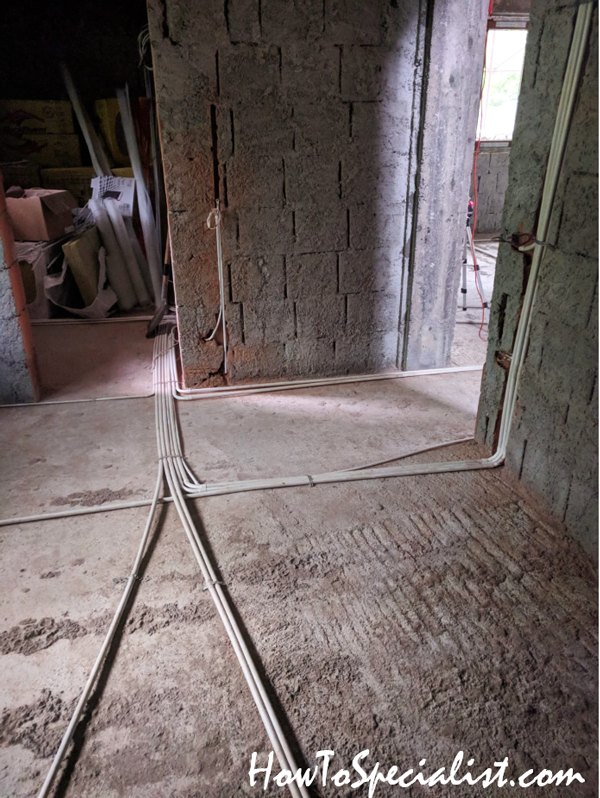
Electrical-wiring-across-the-floor-under-screed
First, I must say that we had plans for the electrical wiring, as well as for the heating and water pipes. I hired an electrician to do all the job, because I don’t recommend anyone to DIY this. Electricity is dangerous when you cut corners and you don’t have experience in the field. I am showing you this step just for the record. I am not giving any advice on the topic. Electricity is not a topic to play or run experiments with.
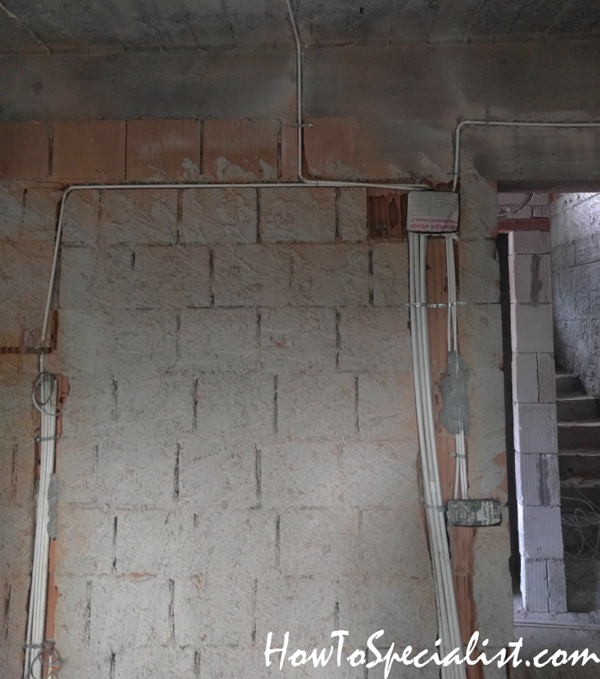
Electrical-wiring—Brick-house
You should notice that in the case of brick walls, you need to make 1″ deep channels so you can accommodate the wire tubes. Using a machine with a VAC is the best way to do it, because you’ll reduce dust to minimum. As a rule of thumb, the tubes need to go on straight lines, as much as possible and try to gather as many tubes together. You want to reduce the area covered with tubes. Take pictures before rendering the brick walls, so you know where the wires go when drilling holes in the concrete to hang a picture or something.
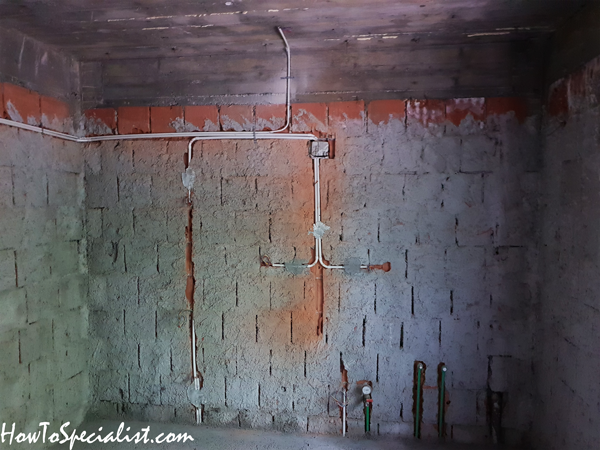
Electrical-wiring-through-brick-wall
This is the kitchen. You should notice the separated circuits for the stove, oven, dish washer and countertop outlets. In addition, notice the pipes for the cold and hot water supply.
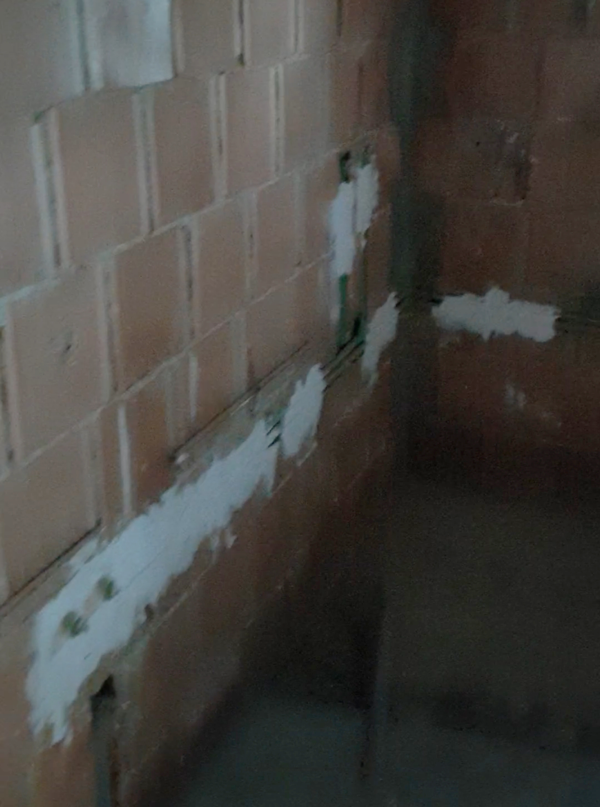
Water-pipes
This is a blurry picture… I apologize for that. But the idea was to show you the water pipes for cold and water supply in the bathroom. The pipes run along the brick walls as that was the choice of the plumber. There are also pipes for the sink and shower drains. He set the pipes into place with plaster. The pipes need to be flush with the walls, therefore he made channels before installing them. We’re going to cement render the walls, so the surface needs to be flat so the layer of cement render is consistent and no less than 1″.
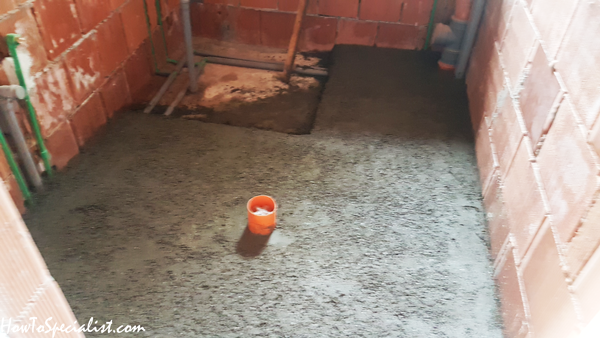
Bathroom-pipes
Make sure you take a look over the rest of the Concrete and Brick House Series to see our building adventure from bare ground to moving in. I promise you will have a lot of fun seeing the house coming together and maybe learn from out mistakes and problem solving.
My best tips on installing PVC windows:
Installing PVC windows in a brick house can greatly improve energy efficiency, reduce noise, and give your home a modern look. While the process requires careful planning and precision, following the right steps can make it a manageable DIY project. Here are my best tips for successfully installing PVC windows on a brick house.
1. Measure the Window Opening Accurately
- Measure Multiple Points: Measure the width and height of the existing window opening at three points: top, middle, and bottom. Use the smallest measurement as your window size to ensure a snug fit.
- Check for Square: Use a carpenter’s square to check that the window opening is perfectly square. If it’s slightly out of square, PVC windows can usually accommodate this with adjustments, but if the gap is too large, you may need to make modifications.
- Account for Expansion: PVC windows expand and contract with temperature changes. Make sure to allow a small gap (around ¼ inch) around the frame for expansion and insulation.
2. Remove the Old Window
- Carefully Remove Trim and Stops: Use a utility knife and pry bar to remove the interior and exterior trim, window stops, and caulking around the old window. Be cautious to avoid damaging the surrounding brick or interior walls.
- Cut the Nails or Screws: If the old window is fastened with nails or screws, cut them with a reciprocating saw. Then, carefully remove the old window frame from the opening.
- Check for Damage: Inspect the window opening for any signs of rot, water damage, or crumbling mortar. Repair any issues before installing the new PVC window to ensure a solid and waterproof installation.
3. Prepare the Brick Opening
- Clean the Opening: Remove any debris, dust, or loose mortar from the window opening. A clean surface ensures better adhesion of caulk and insulation later.
- Install a Sill Pan (Optional): To prevent water from penetrating beneath the window, you can install a sill pan. This protective layer directs any water that may enter the window back outside.
- Check for Evenness: Use a level to ensure the bottom of the window opening is flat and even. If necessary, use shims to level the area before installing the window.
4. Dry-Fit the PVC Window
- Test the Fit: Before applying any sealant or screws, dry-fit the new PVC window into the opening to ensure it fits correctly. Adjust the window using shims if needed to ensure it is level and plumb.
- Check for Gaps: There should be a small gap (about ¼ inch) between the window frame and the brick opening to allow for insulation. Ensure the window fits snugly without being too tight.
5. Install the PVC Window
- Apply Caulk or Flashing Tape: Apply a bead of high-quality exterior silicone caulk around the window frame or use flashing tape around the perimeter of the opening to provide a waterproof seal.
- Insert the Window: Carefully place the window into the opening. Start by positioning the bottom edge of the window into the sill, then tilt the window into place. Use shims at the top and sides to hold the window in position and make adjustments.
- Check for Level and Plumb: Use a spirit level to ensure the window is level, plumb, and centered in the opening. Adjust the shims as needed to maintain proper alignment.
6. Secure the Window
- Fasten with Screws: PVC windows usually come with pre-drilled holes for screws. Secure the window frame to the brick with long masonry screws or anchor bolts, tightening them just enough to hold the window in place without distorting the frame.
- Check Operation: Open and close the window several times to ensure it operates smoothly. Adjust the screws or shims if the window binds or sticks.
- Trim Excess Shims: Once the window is securely fastened, use a utility knife to trim any protruding shims.
7. Insulate Around the Frame
- Use Expanding Foam or Insulation: Apply low-expansion spray foam insulation around the gaps between the window frame and the brick. Avoid overfilling the gaps, as too much foam can warp the window frame.
- Check for Gaps: Make sure all gaps are properly sealed with insulation to prevent drafts and improve energy efficiency. Be careful not to block any drainage holes in the window frame.
- Trim Excess Foam: Once the foam has cured, use a knife to trim any excess foam flush with the window frame.
8. Install Exterior and Interior Trim
- Exterior Trim (Optional): If the original trim was damaged or removed, replace it with new PVC or wood trim around the outside of the window. Caulk the edges to create a weatherproof seal.
- Interior Trim: Reinstall the interior window stops and trim. Use finishing nails to secure the trim in place, and fill any gaps with caulk or wood filler.
- Paint or Stain (If Needed): If you’re using wood trim, paint or stain it to match your interior decor. PVC trim can often be left as-is, but it can also be painted if desired.
9. Seal and Finish
- Apply Caulk: Apply a high-quality exterior silicone caulk around the exterior perimeter of the window to seal any remaining gaps between the window frame and the brick. Pay special attention to the sill to ensure water doesn’t pool and cause leaks.
- Inspect the Installation: Double-check that the window is sealed, level, and functioning properly. Test the window’s operation one last time to ensure everything is smooth and secure.
Installing PVC windows in a brick house is a project that requires careful planning and precision, but the result is a weatherproof, energy-efficient upgrade that can transform the look and feel of your home. By following these tips and steps, you’ll have a secure and long-lasting window installation that enhances your home’s appearance and performance.
Thank you for reading our article on how to install PVC windows and do the electrical wiring and we recommend you to check out the other episodes of the series. Don’t forget to share our articles with your friends, by using the social media widgets.
