This step by step diy project is about how to install a shower surround. Generally speaking, fiberglass shower enclosures are gaining ground due to their flexibility and convenience. As compared to other similar products, shower surrounds are easy to install and to clean. While some products come in the form of a single piece (the tray and the base are locked together), others require a little work and several basic skill.
Therefore, you should install the shower tray first and afterwards fit the fiberglass walls and doors. The multiple piece products are the most common, so in this project we show you how to install a generic shower, from top to bottom. Don’t forget to apply silicone along the edges, as to make them waterproof. See all my Premium Plans in the Shop.
Made from this plan
In order to install a shower surround, you need the following:
Materials
- Shower enclosure
- Silicone
Tools
- Safety gloves, glasses
- Chalk line, tape measure, spirit level, carpentry pencil
- Drill machinery and drill bits
- French key, calking gun
Tips
- Read the manufacturers instructions before starting the product
- Make sure the frame is perfectly plumb
- Calk the joints between the shower enclosure and the tray
Time
- One day
Related
Installing the shower enclosure
Installing a shower surround by yourself is a complex project, but you can get the job done easily, if you ask a friend to assist you. Before starting the actual installation, we strongly recommend you to read the manufacturer’s instructions with attention. The products differ significantly one from another, so you should follow the right techniques.
How to install a shower surround
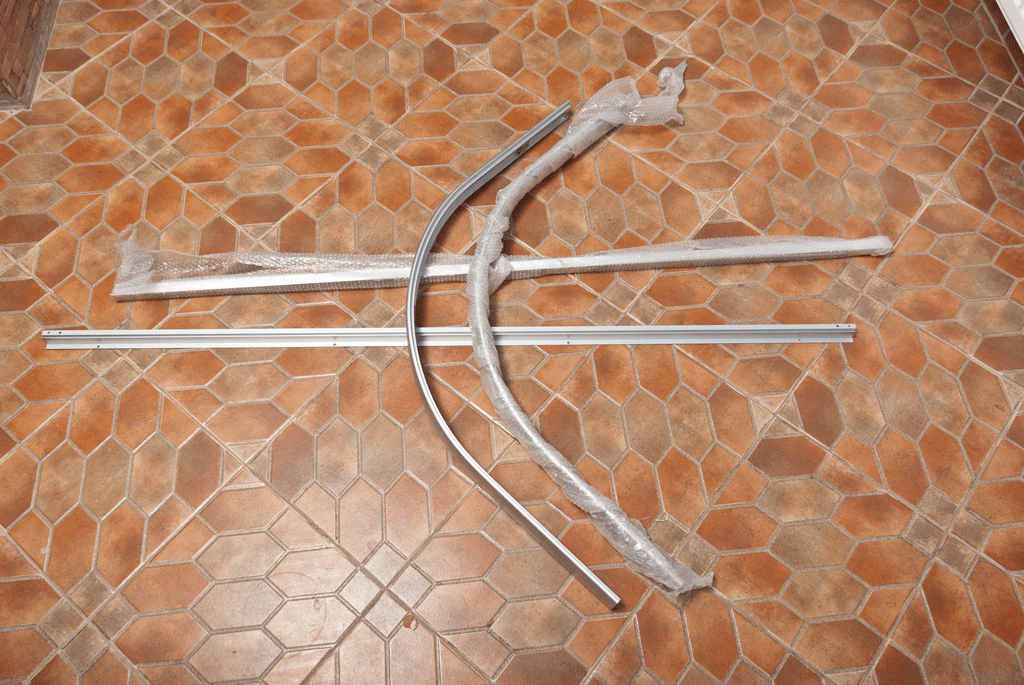
Shower enclosure frame
The first step of the project is to choose the right shower enclosure for your needs. Therefore make sure you measure the size of the pan, otherwise the surround won’t fits into place. Nevertheless, if you have bought both the pan and the shower surround as a package, they should be compatible.
Unpack the shower surround components, making sure you don’t damage the glass panels, as they are quite fragile. Get a tape measure, a good drill machinery, a screwdriver and a caulking gun, before starting the actual project.
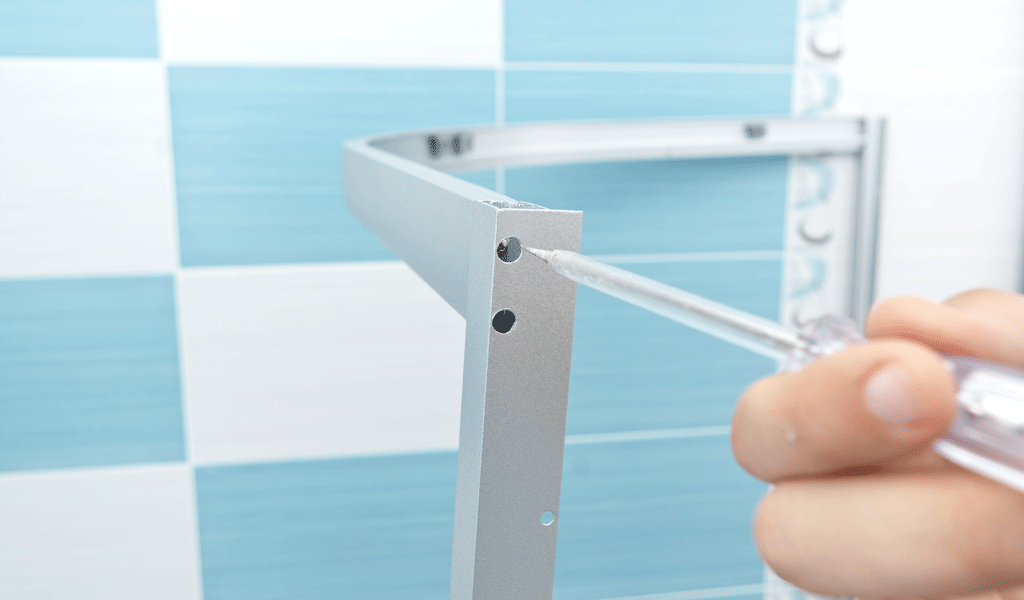
Installing the shower surround frame
As you can see in the image, you should start with installing the metal frame together. Rotate the screws found in the kid clockwise, making sure you don’t tighten them too much.
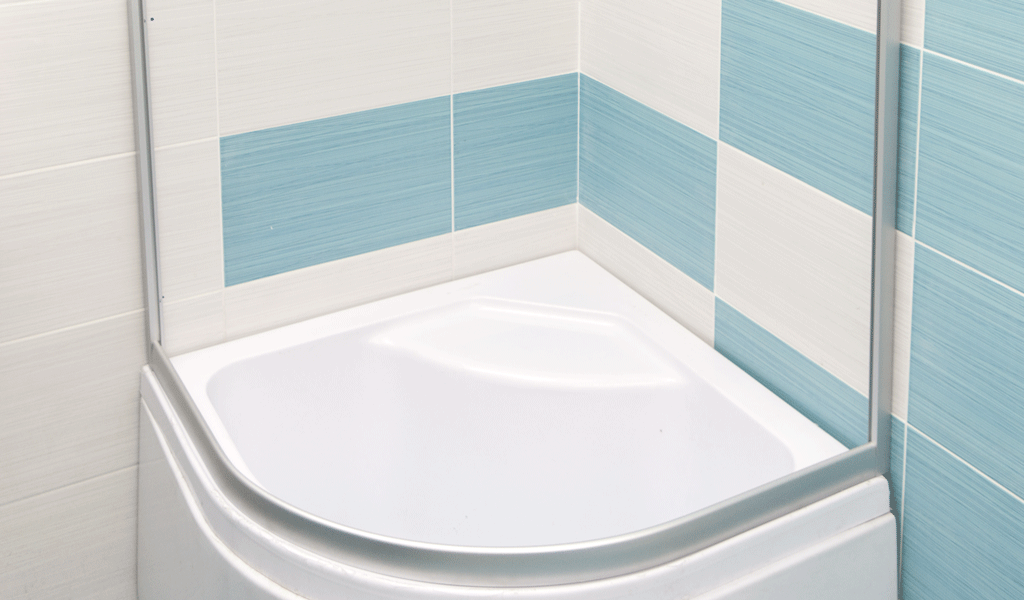
Fitting the frame of the surround
After connecting the metal frame together, we recommend you to place it on top of the tray and see if it fits properly. It is best to ask the help of another person, as the frame is pretty fragile, when it’s not attached to the wall with screws.
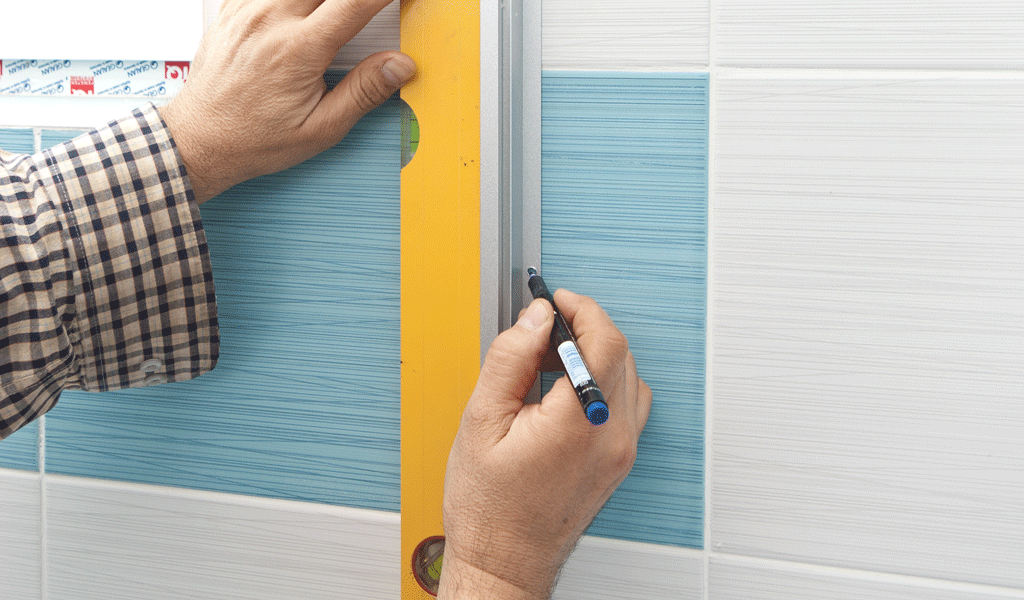
Marking the holes
Afterwards, use a spirit level to plumb the channels. Once you are sure the frame is perfectly vertical, you should mark on the wall where you are going to insert the screws.
Drilling holes in tile
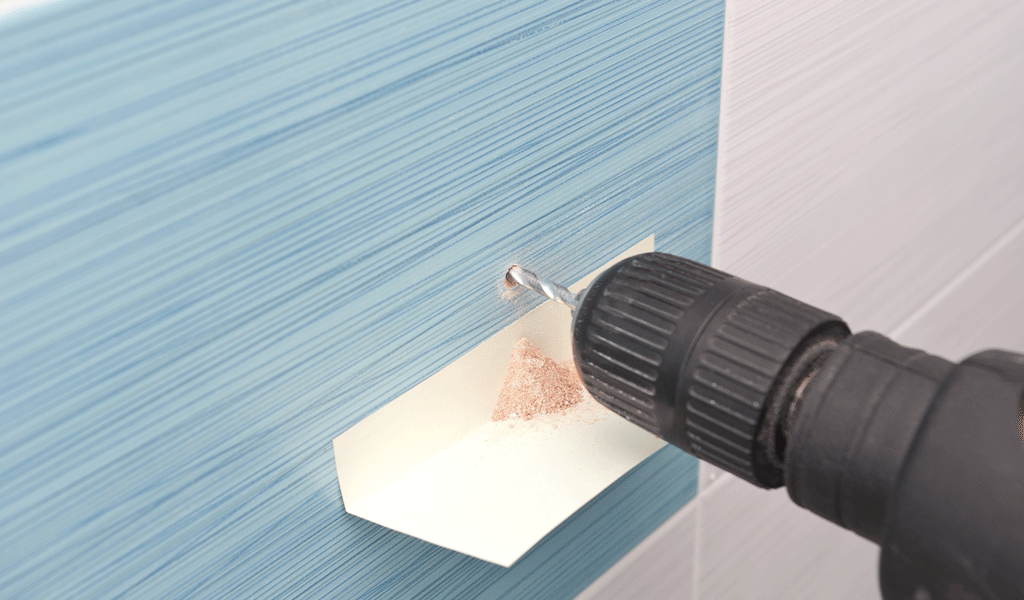
Next, move the frame off the shower tray and drill the holes in the wall. Taking into account you have to drill trough tiles, you have to work with great care, otherwise they might easily crack. Use a good masonry drill bit and set the machinery to a low speed. After making a shallow hole in the tile, you should increase the speed gradually.
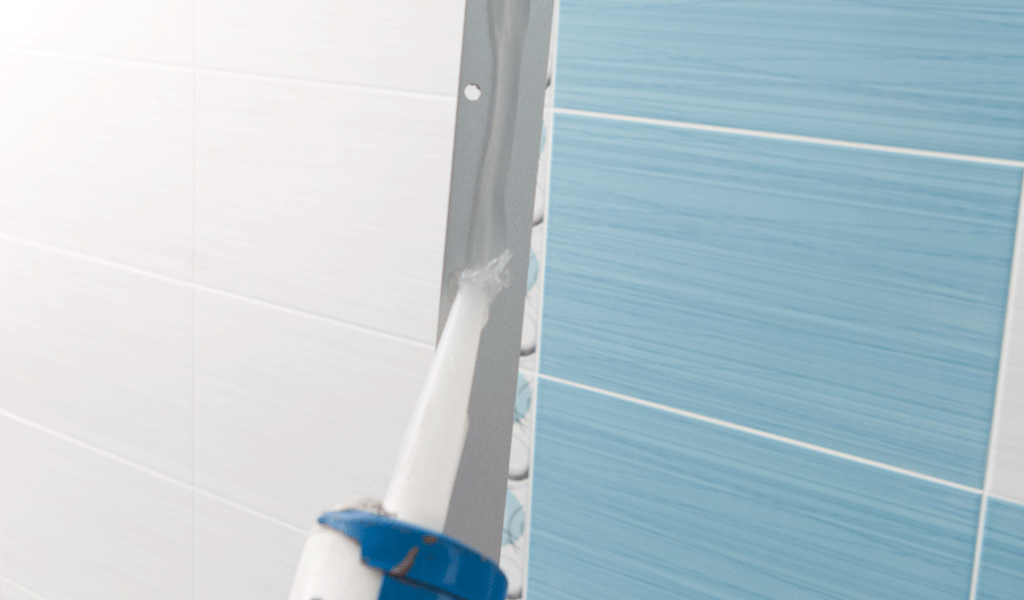
Adding a bead of silicone to the frame
After drilling all the holes, you should fit the appropriate plastic dowels. It is essential to buy dowels that fit the size of the screws, otherwise they will not hold the frame into place properly.
Securing the frame to the wall
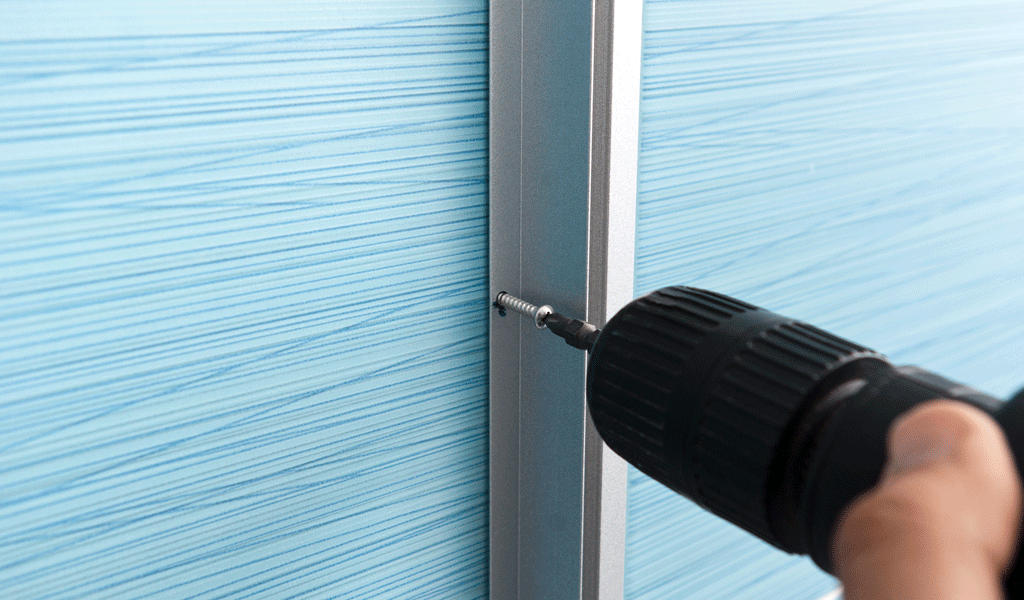
Place the frame into place, plumb the sides with a spirit level and drive in the screws. Make sure you tighten the screws properly, otherwise there will gaps between the walls and the frame.
Installing the glass walls
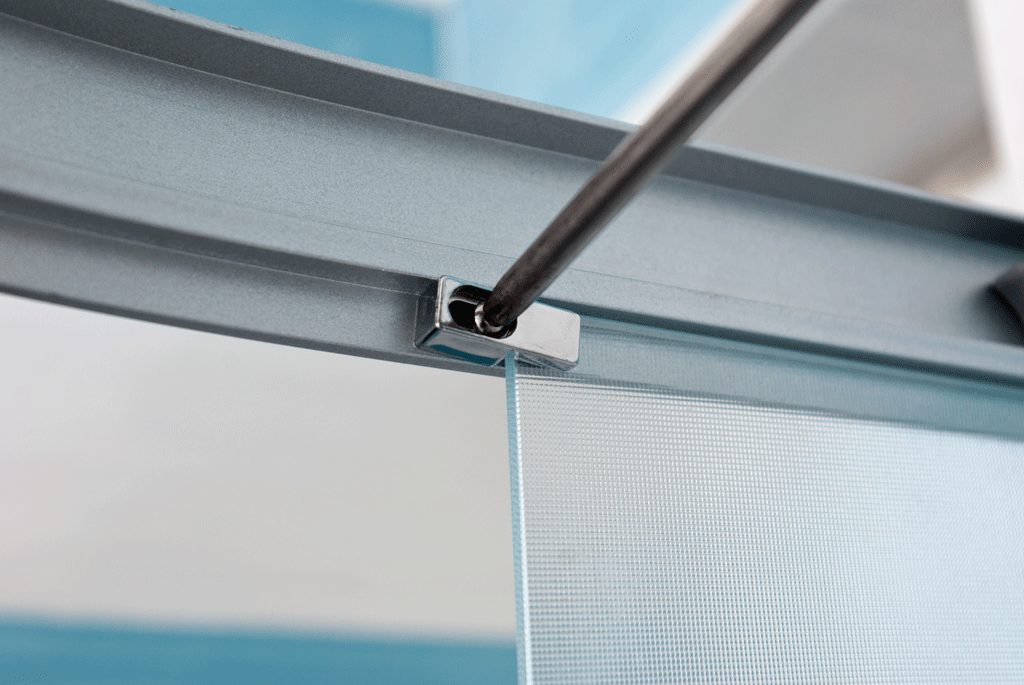
Follow the manufacturer’s instructions and secure the side panels into place. Use a screwdriver to install the fixings supplied.
Check if the panels are installed properly and aligned with the rest of the components.
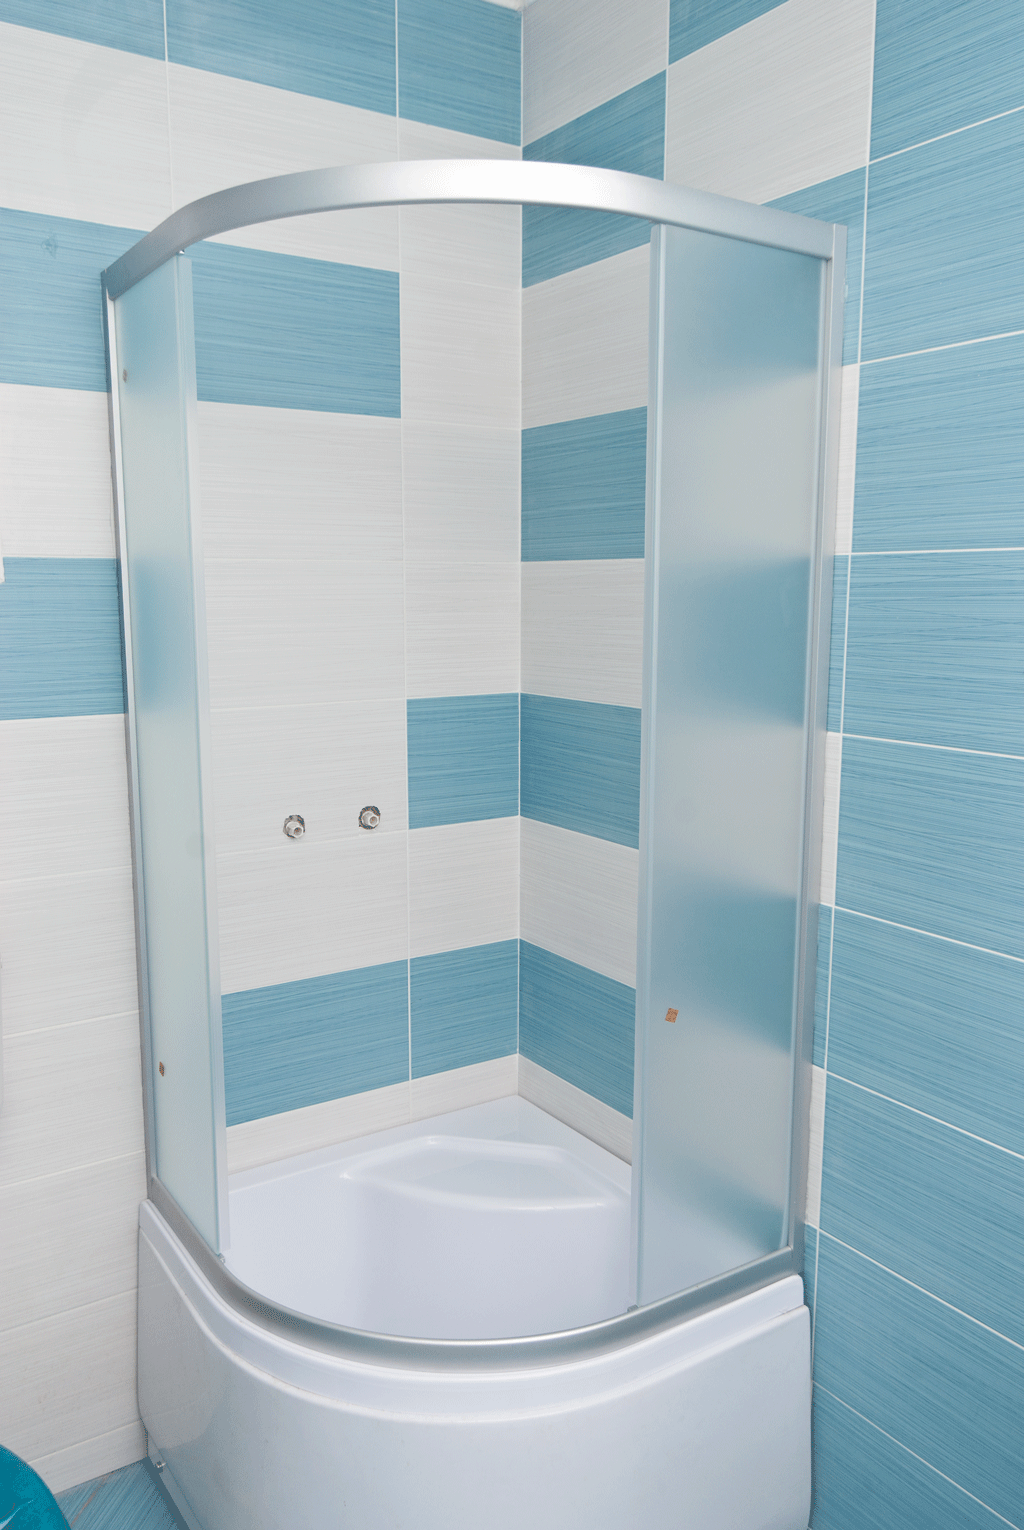
Shower surround installation
After fixing the side panels, the shower enclosure should look similar to this. If you have bought a different model, you should read the instructions that come with the product and use the techniques described there.
Make sure the glass panels are installed properly, otherwise the connection won’t be waterproof. Work with great care and attention, if you want to get a professional result.
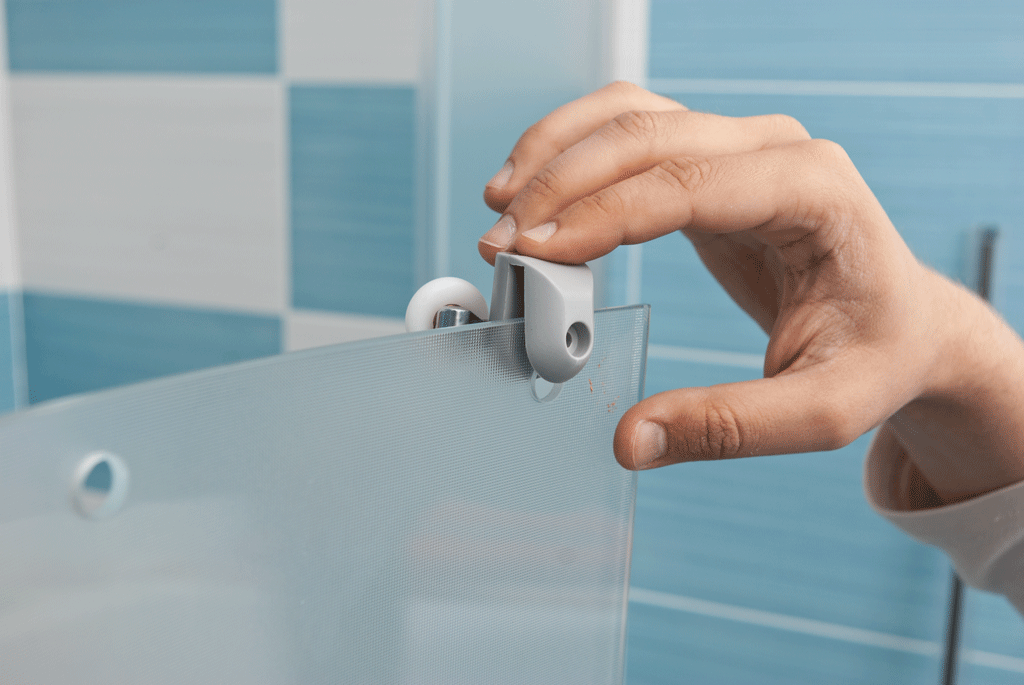
Installing the rollers
Install the shower door rollers into place, according to the manufacturer’s instructions and secure them with screws. In addition, fit the door seal and the other parts that come with the kit.
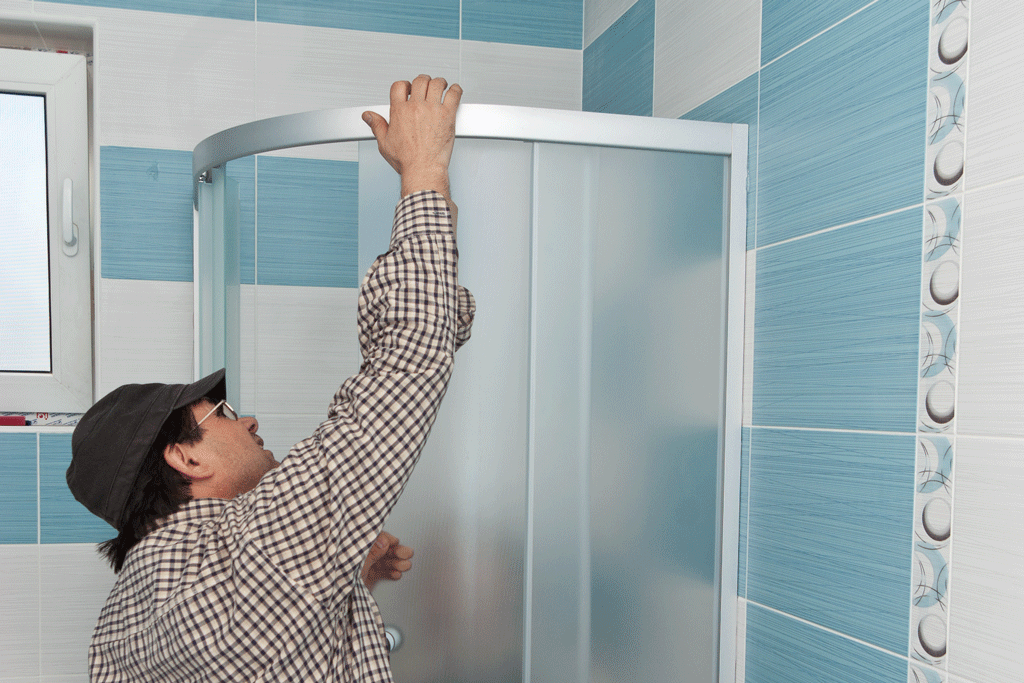
Installing the doors
Install the door into the channels and check if it slides properly. Adjust the rollers if necessary, but make sure you don’t apply too much force.
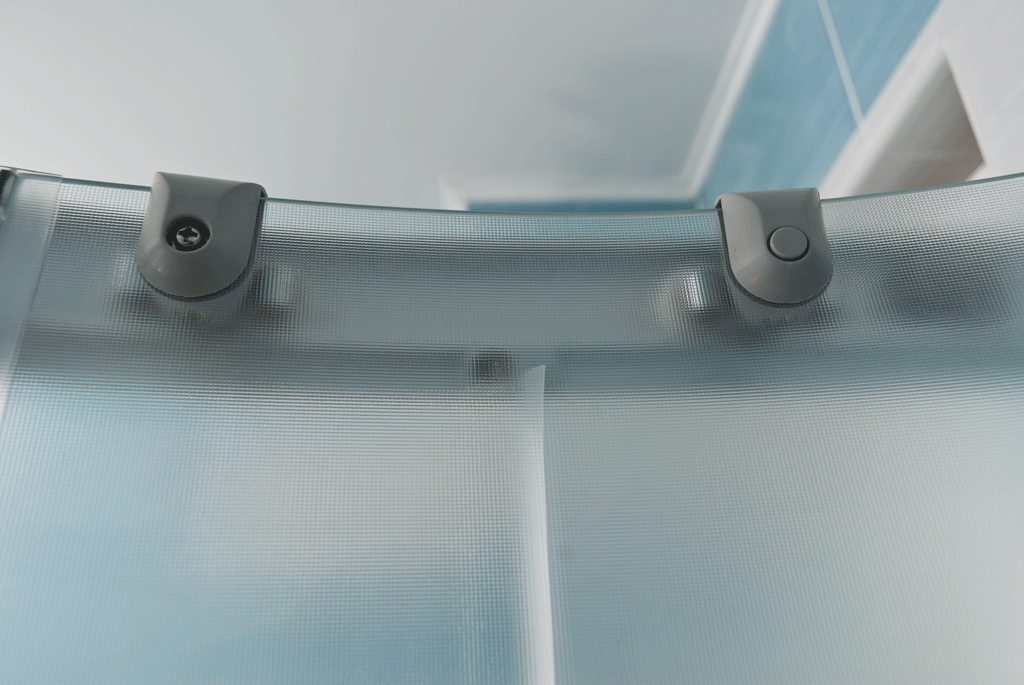
Shower surround doors
In this image you should notice the rollers and the way there are fit inside the channel.
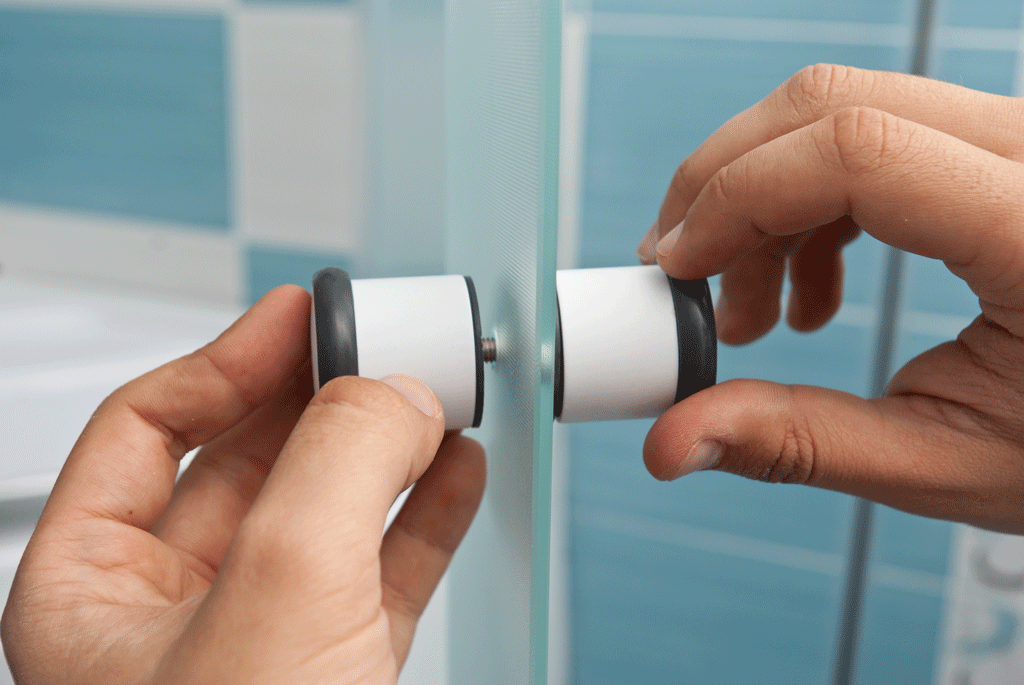
Installing the handle
Last but not least you should install the door handle into place, using the manufacturers instructions. If you have followed our tips and the instructions that come with the shower enclosure should be installed properly.
Thank you for reading our article about how to install a shower surround and we recommend you to check out the rest of the home improvement projects. Don’t forget to share this project with your friends, by using the social media widgets, if you have found it useful.

