This article is about how to build understairs storage for clothes and shoes. I am really short with storage space for my clothes and shoes, therefore I got creative and made some shelves and a rack understairs. It was a quick and beautiful project for a saturday and I am extremely pleased with the end result. You need to know that I used just the materials that I had in the shop from other projects so this wasn’t an expensive build.
Remember that I show my techniques and experience, on this blog, so you can use other methods, as well. I have lots of storage projects on my blog, so since you are here, you might as well check those out. This is part of my Featured Projects series, where I share step by step tutorials on all the projects I tackle for my own home. If you are interested in building inspiration, grab a cup of tea and check them out! See all my Premium Plans HERE.
Made from this plan
Materials
- 1 1/2″ screws
- 2 1/2″ screws
- 3 1/2″ screws
- 1×4 lumber
- 1×2 lumber
Tools
- Safety gloves, safety glasses
- Measuring tape
- Pocket hole jig
- circular saw
- drill
- carpentry square
How To Build Understairs Storage for Clothes and Shoes
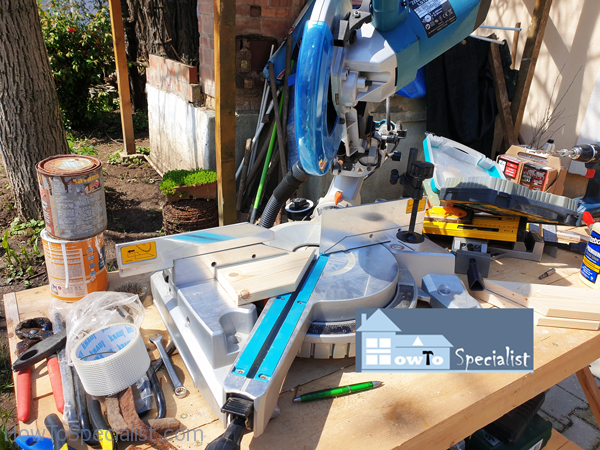
Cutting-the-components-for-storage-shelves
First of all, I cut the boards for the vertical supports. You can see the diagonal braces for the side legs. I used a miter saw because that makes the most accurate angle cuts.
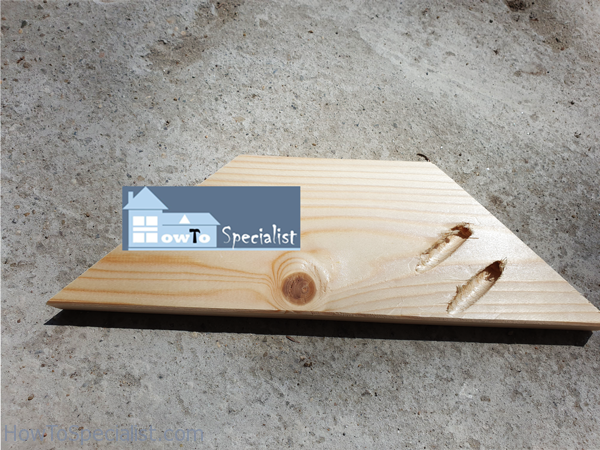
A-supports
I used a jig to make pocket holes at one end of the diagonal braces. We need the pocket holes so we can join the components together and to hide the joint with wood plugs and some putty.
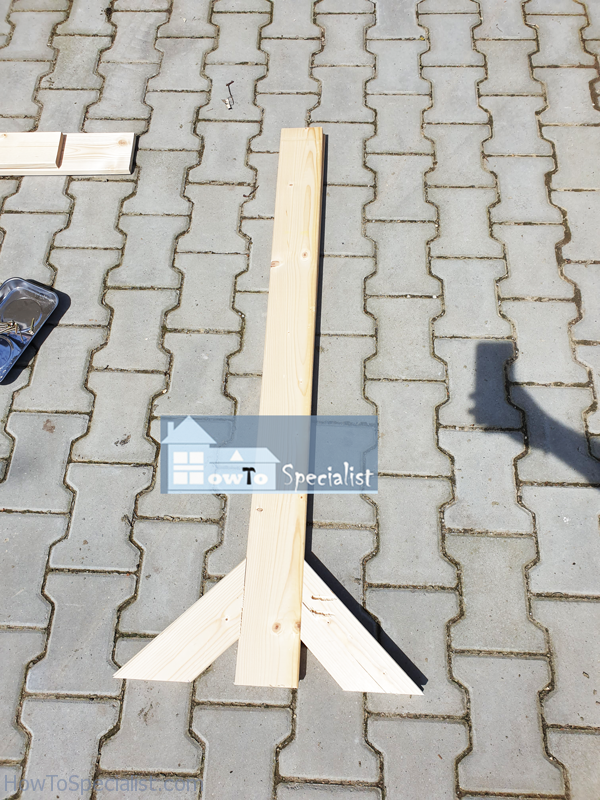
Assembling-the-sides
After drilling the pocket holes I attached them to the vertical components. I inserted 1 1/4″ screws and aligned the edges flush.
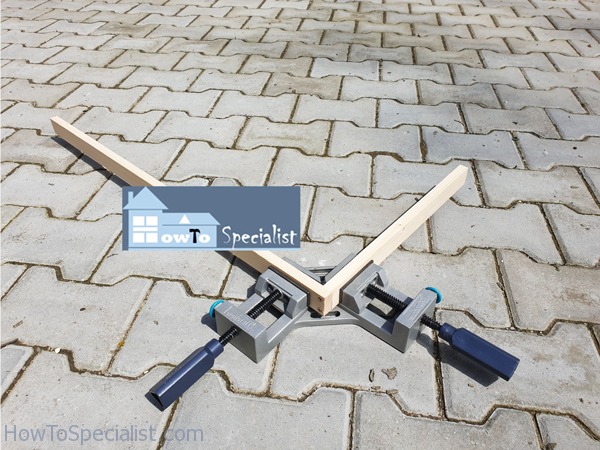
Assembling-the-base-frame
Next I assembled the frame for the base using 1x2s. I used this corner quick clamp to make sure the corners are 90 degrees. Anything less than perfect is not acceptable. Just kidding haha… I drilled pilot holes and inserted 1 1/4″ screws to lock everything tightly.
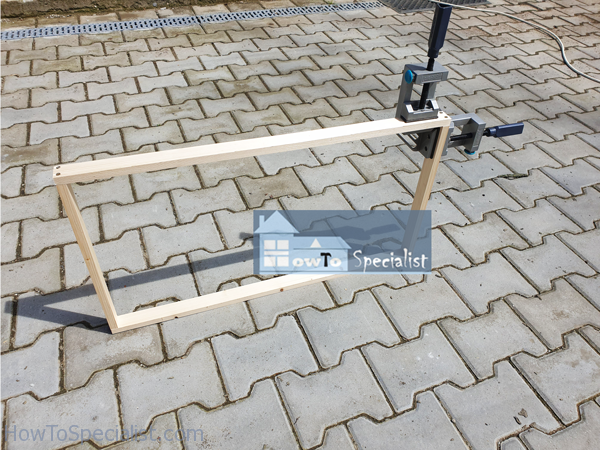
Base-frame
A few more screws and the frame is almost ready to go.
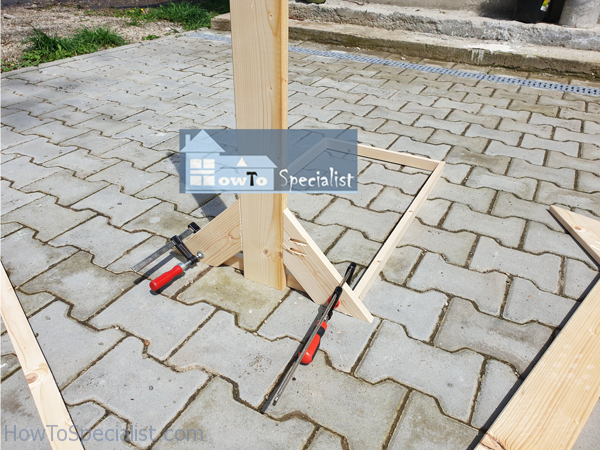
Fitting-the-base-frame-to-sides
I clamped the frame to the side supports. I aligned everything with attention so the frame is perfectly centered to the supports.
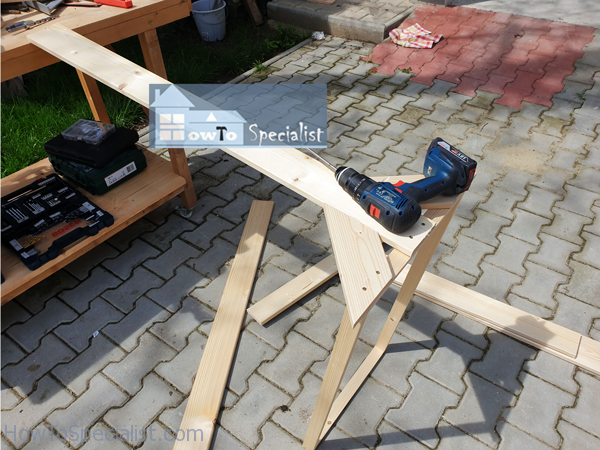
Assembly
I drilled pilot holes through the vertical supports and inserted 1 1/4″ screws into the frame, making sure the corners are square (I used a speed square).
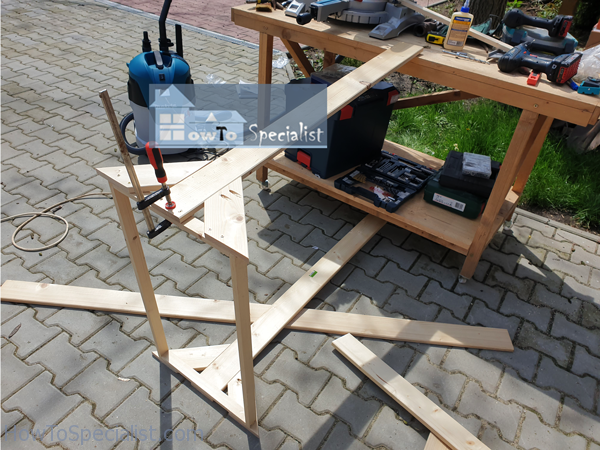
Assembly-for-main-frame
I attached the opposite supports to the base frame.
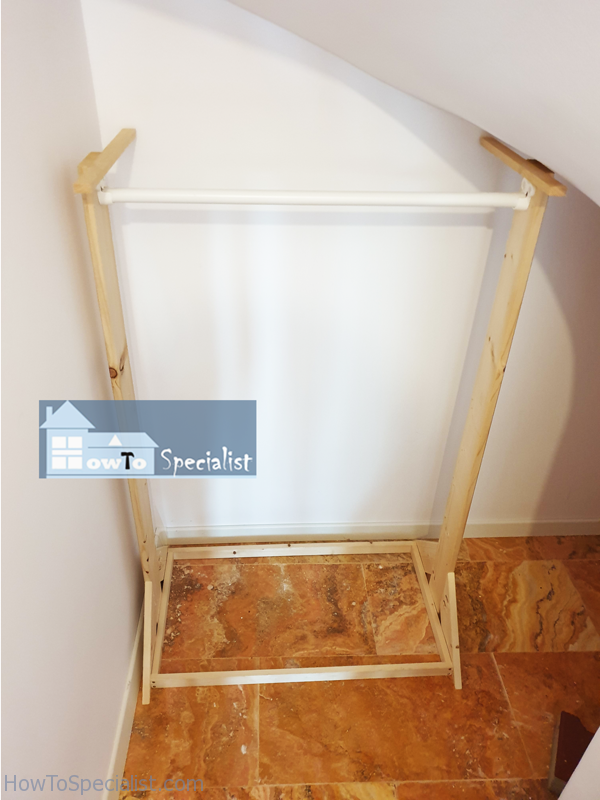
Understairs-closet-rack
Next, I repurposed an ikea coat rail and attached it to the top of the stand. I had to cut it to fit to my project, but nothing complicated. I just made a cut and then drilled a hole.
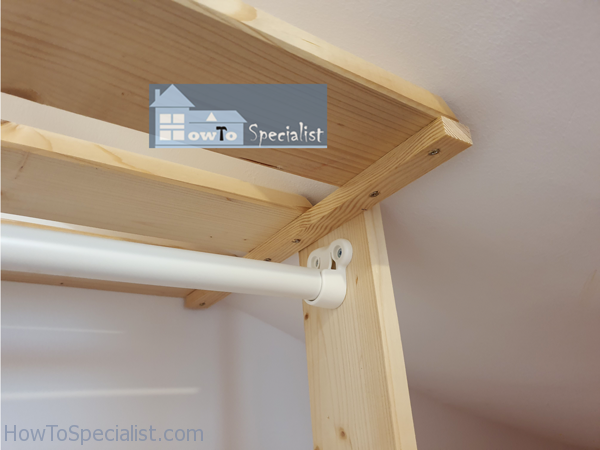
Detail—top-shelf
I also added a nice self to the top of the coat rack, to make the most of my space. I added brackets to the top of the vertical supports and then attached the slats. You can see I had to insert the screws through the brackets, because there was no space at the top.
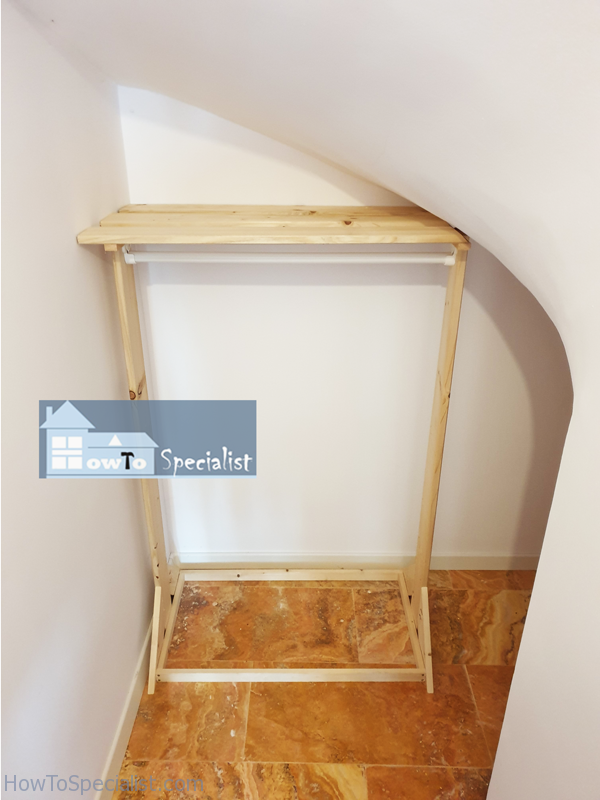
Closet-rack
You can see my coat rack assembled. It is a really basic design but I love it because it makes the most of my space.
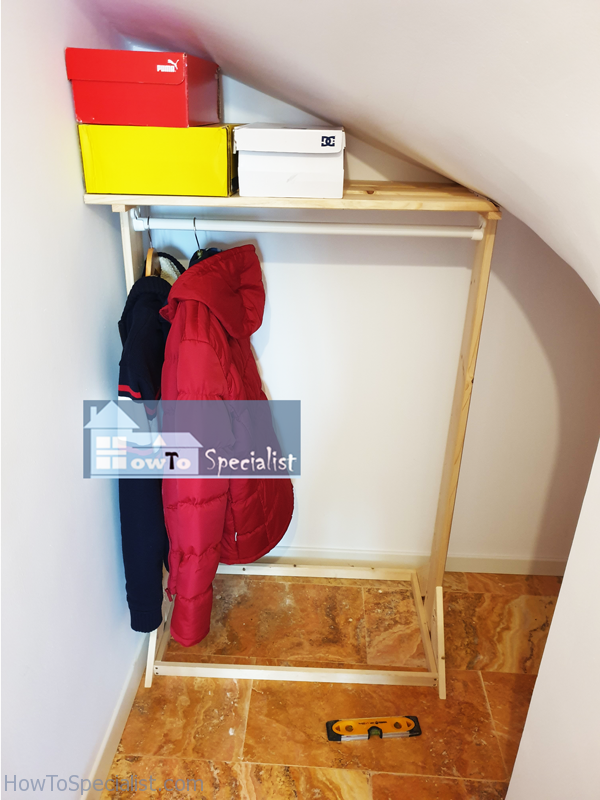
Under-stairs-storage-for-clothes
This rack can take a lot of clothes and boxes. Wait for it, because I will add storage shelves for shoes, as well.
How to build shoe shelves
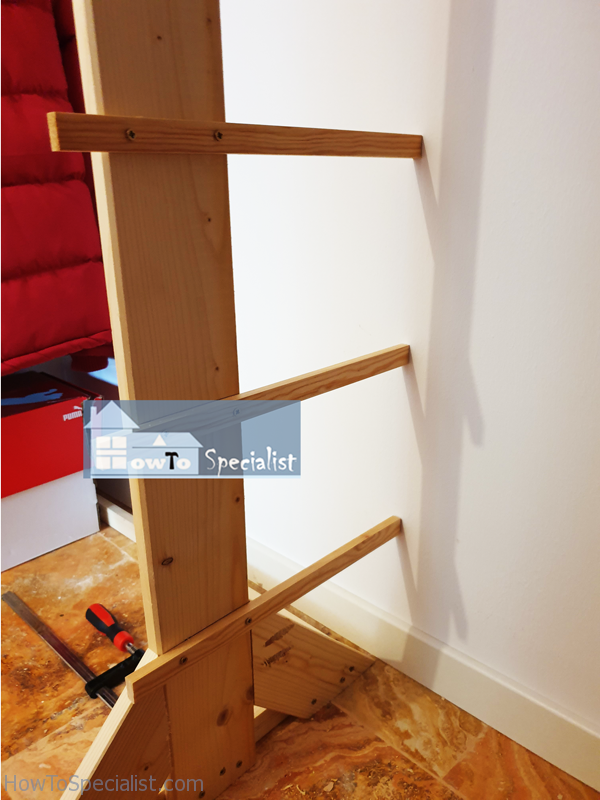
Supports-for-shoe-shelves
I continued the project by adding some braces every 10″ or so to the right vertical support. We need those brackets so we can build shelves for shoes.
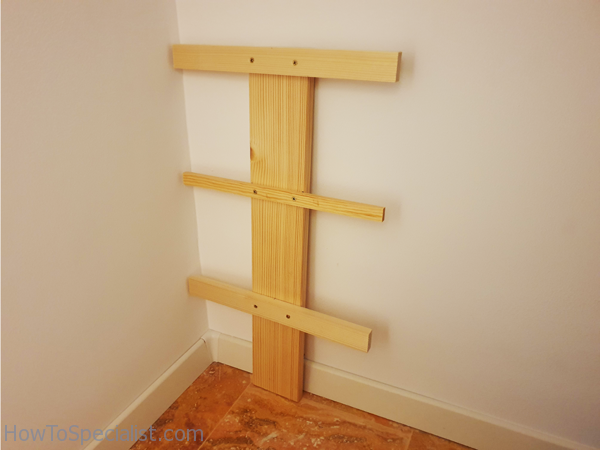
Support-for-shoe-shelves
At the other end I assembled a shorter support with the underlying brackets set the at the same distance. I made the shelves to suit the space under the U shaped stairs. If I had more space, I would have added more shelves.
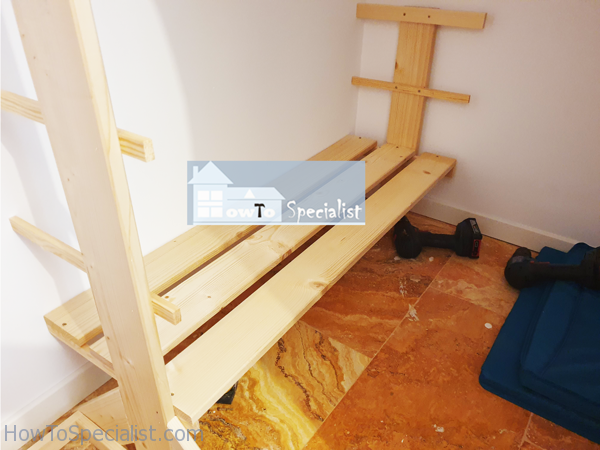
Fitting-lower-shelf-slats
A drill machinery, bits, screws and a few minutes later I had the bottom shelf.
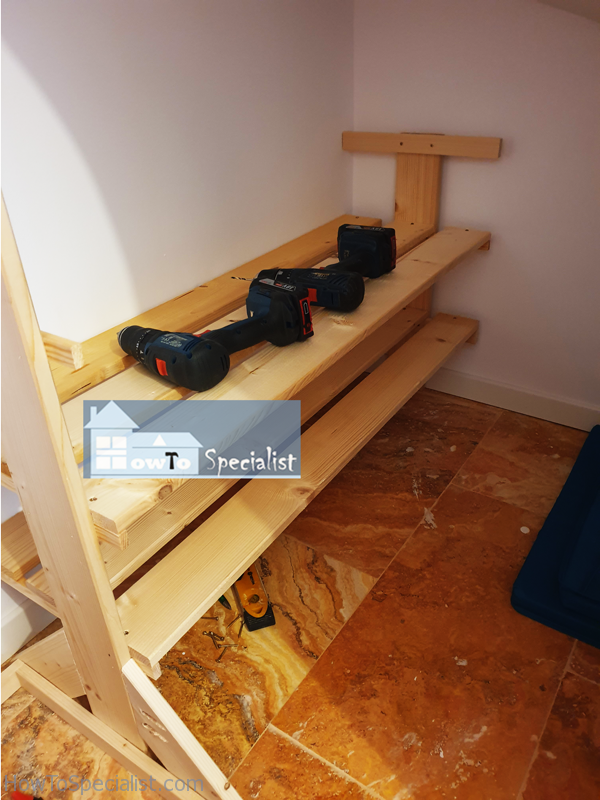
Middle-shelf-slats
Adding the second shelf
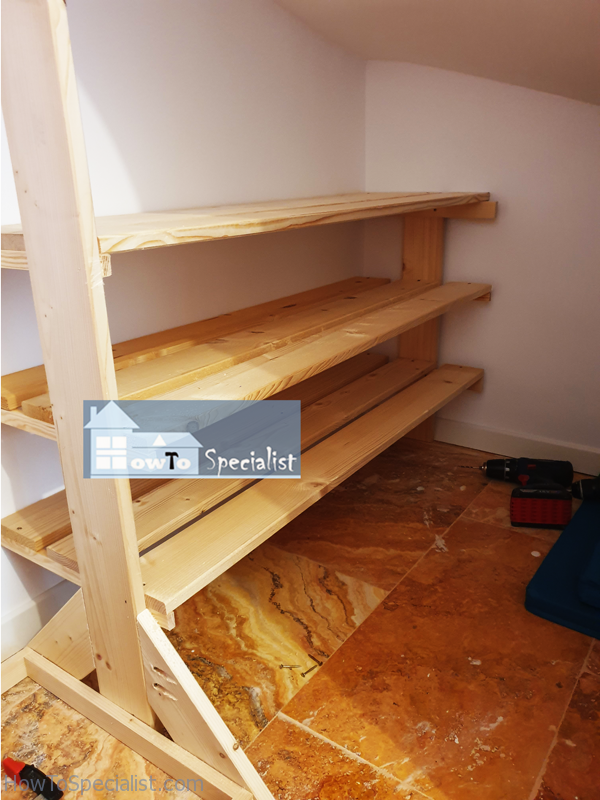
Fitting-the-top-shelf
And the third shelf. As you can see, I have plenty of room to store my shoes.
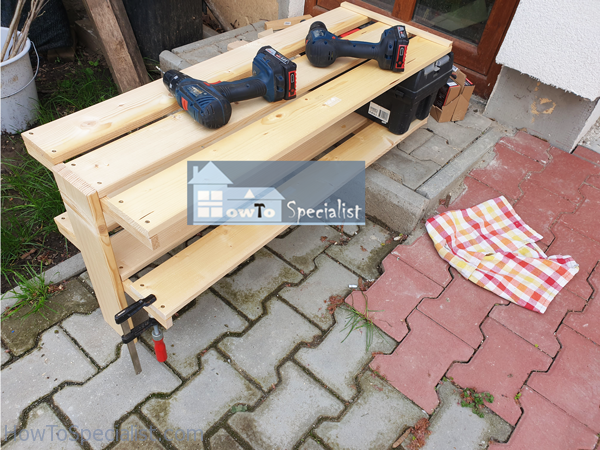
Corner-shelves-unit
But since there was more space,. I thought why not add more shelves to the right? And since that was an awesome, awesome idea… I had to find a way to do that. I decided to use pocket holes because that would create a seamless joint between the current shelves and the ones I am going to add. I assembled the unit outside, because understairs was so few space that you could barely breath… I used a 1×4 for the support and for the slats, and 1x2s for the brackets.
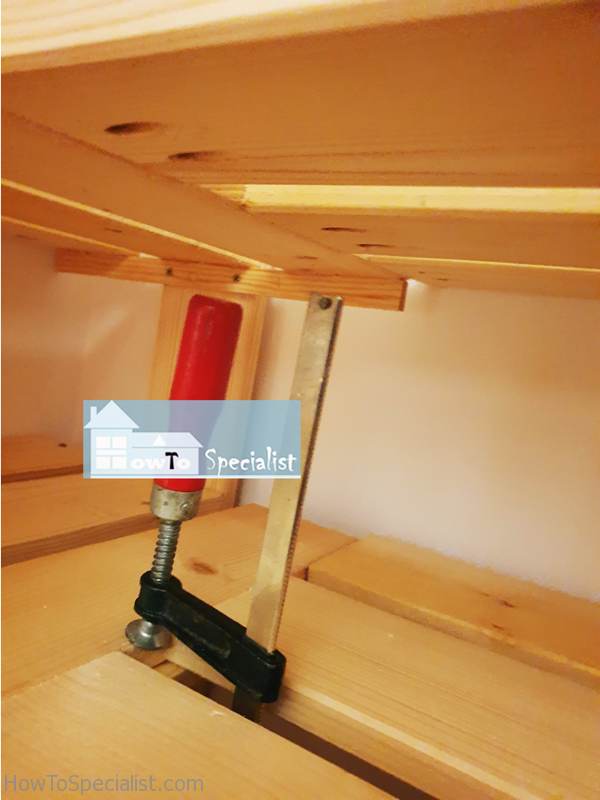
Pocket-holes-for-corner-shelves
You can see in this image the pocket holes I drilled at one end of the boards. I used 1 1/4″ screws to lock them to the perpendicular slats. I used a C-clamp and a piece of lumber to hold the slats into place while I drove in the screws.
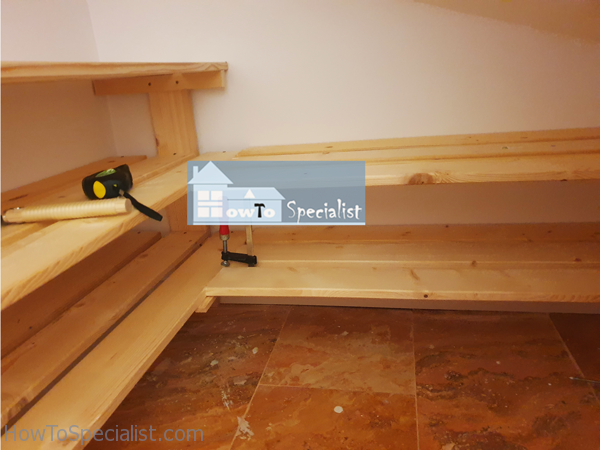
Fitting-the-corner-unit
One more try with the lower shelf, using the same technique.
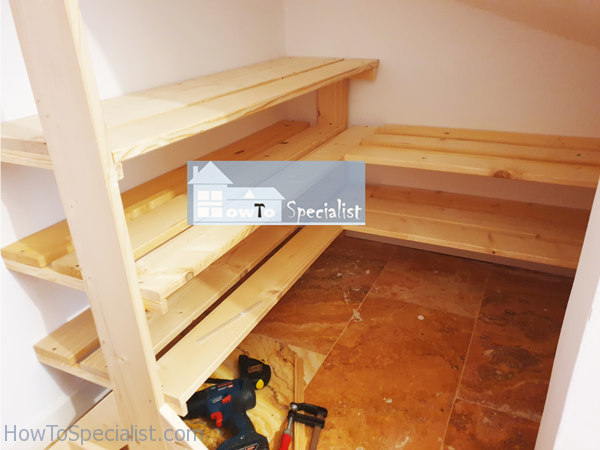
Build-shoe-shelves
And it’s done. Hurray!!! It only took me one day and I made this understairs space a lot more useful. I created tons of additional storage space for my clothes and for my shoes. It is a very good start and I know I will use the shelves and the rack more than any other storage space in my house.
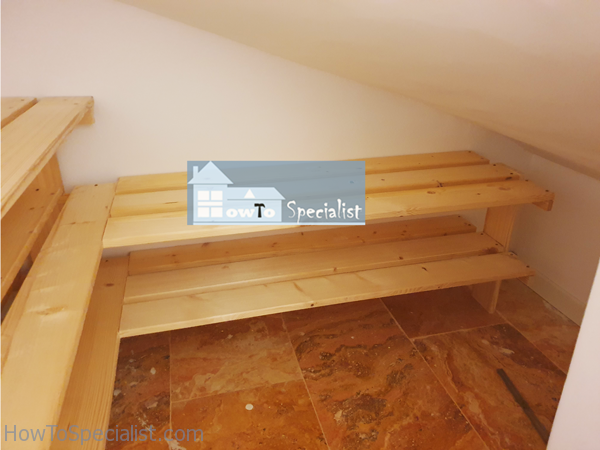
How-to-build-shoe-shelves
This is a super easy to project and I encourage you to follow my example and add those shelves under the stairs. It is a lot of wasted space, so why not make the most of it by adding simple shelves and a coat rack.
Thank you for reading our article about how to build a simple shelves understairs and we recommend you to check out the rest of my projects HERE.
