This article is about how to install a closet rod. Installing a closet rod is a must have in any home as you will save a lot of space, by organizing your clothes in a professional manner. Generally speaking, on the market there are a lot of options when buying a closet rod, from the light products (designed to support a few cloths) up to the more complex wooden rods with heavy duty brackets (designed to support many pieces of cloths).
Irrespective of the cases, there are a few tips one has to know before installing the closet rods properly: the height, the location and the choice of right of materials. Nevertheless, I wasn’t pleased with the brackets i have found at my local diy store, so i have decided to build heavy duty brackets, made of 1×4 timber.
Made from this plan
In order to install a closet rod, you need the following:
Materials
- Wooden closet rod
- 1×4 timber to build the heavy-duty brackets
- 2-3” screws
- Drywall anchors/dowels
- Protective paint
Tools
- Safety gloves, glasses
- Measuring tape, carpentry pencil, l-square
- Stud finder
- Circular saw/jigsaw to cut the closet rod
- Drill machinery, drill bits, hole saw bit
- Screws, drywall anchors, dowels for concrete wall
- Paint brush
Tips
- Use a spirit level, as to make sure you install the closet rod properly
Time
- A few hours, one person
My best tips on fitting a wood closet rod:
Installing a wooden closet rod is a simple project that can greatly improve your closet’s functionality. A sturdy wooden rod can hold heavy loads and adds a classic, natural look to your closet. Here are my best tips for installing a wooden closet rod securely and efficiently.
1. Choose the Right Type of Wood
Selecting the right type of wood for your closet rod is essential for durability and strength:
- Hardwoods such as oak, maple, or birch are ideal for closet rods because they are strong enough to support the weight of hanging clothes without bending or warping.
- Diameter: Opt for a rod with a diameter of 1 1/4 to 1 3/8 inches for maximum strength. This size is ideal for supporting clothes without sagging.
Pre-cut wooden rods are available at most hardware stores, or you can cut your own from a longer dowel.
2. Measure the Space
Before installing the rod, measure the space inside the closet to ensure proper placement:
- Height: For a standard single rod, install it at about 66-72 inches from the floor. If you’re installing double rods, place the upper rod at 80-84 inches and the lower rod at 40-44 inches from the floor.
- Width: Measure the width of the closet to ensure the rod fits snugly across the space, with a little extra room for the rod brackets on both sides.
Take these measurements twice to avoid errors and ensure the rod will fit correctly.
3. Choose the Right Brackets
Closet rod brackets are key to securing the rod to the walls:
- End brackets: These brackets hold the rod at each end. Choose sturdy metal or wood brackets that match the diameter of the rod.
- Center support: For rods longer than 48 inches, install a center support bracket to prevent the rod from sagging under the weight of clothes.
Ensure the brackets are rated to support the weight you expect to hang on the rod.
4. Mark and Level the Bracket Placement
To ensure the rod is level and properly aligned, mark the placement of the brackets on both walls:
- Use a measuring tape and a pencil to mark where the brackets will be installed, following the height you measured earlier.
- Use a level to make sure the markings are even on both sides. A crooked rod won’t hold clothes well and can cause stress on the brackets.
If the rod is longer than 48 inches, mark the spot where the center support will be installed as well.
5. Find Studs for Support
For maximum strength, it’s best to anchor the brackets into wall studs:
- Use a stud finder to locate studs in the wall where you’ll be installing the brackets. Mark the stud locations clearly.
- If you can’t find studs in the exact location you need, use heavy-duty drywall anchors to provide the necessary support.
Attaching the brackets to studs or using strong anchors ensures the rod can support heavy loads without pulling away from the wall.
6. Install the Brackets
Once the bracket placement is marked, you’re ready to install them:
- Drill pilot holes into the wall where you marked the bracket locations. This helps prevent the wall from cracking and makes it easier to insert screws.
- Attach the brackets using screws. If you’re installing into drywall, use drywall anchors before securing the brackets.
Double-check with a level after attaching each bracket to make sure the rod will sit evenly.
7. Cut the Rod to Fit (If Necessary)
If your wooden rod is longer than the closet space, you’ll need to cut it to size:
- Measure the width of the closet between the installed brackets and mark the rod accordingly.
- Use a handsaw or miter saw to cut the rod to the correct length.
- Sand the cut ends to smooth any rough edges.
If the rod fits perfectly out of the box, skip this step!
8. Install the Wooden Rod
Now that the brackets are in place and the rod is the correct length, it’s time to install the rod:
- Slide one end of the rod into the end bracket, then lift the other end and place it into the opposite bracket.
- If you’re using a center support bracket, position the rod so it rests securely in the center bracket as well.
Make sure the rod is sitting securely in the brackets and that it can rotate freely if needed.
9. Test the Stability
Once the rod is installed, test it by gently pushing down or hanging a few items on it:
- If the rod feels secure and doesn’t sag or wobble, it’s ready to hold clothes.
- If there’s any movement, double-check the brackets and make sure the screws are tight and the rod is properly supported.
For longer rods, be sure the center support bracket is providing adequate support to prevent sagging.
Bonus Tip: Add End Caps for a Finished Look For a more polished look, add wooden or metal end caps to the ends of the rod. These not only enhance the appearance but also prevent clothes hangers from sliding off the ends of the rod.
Building the brackets for the closet rod

Hole saw drill bit
In order to build the brackets for closet rod, we will need a good drill machinery with a hole saw bit, design for cutting holes in wood. We recommend you to avoid using hole saw bits made for cutting drywall or other materials, as they are dangerous for making holes in wood.

Building closet brackets
Next, we have to make holes in the 1×4 timber, as to build the wooden brackets for the closet rod. Consequently, you should choose the size of the hole saw bit which matches the dimensions of your wooden rod. Next, you have to position the drill machinery above the timber board and start gently to make a hole. Remember that you have to use an average speed at first, and afterwards you can increase the speed until you get the job done.

Closet rod brackets
In this image you can see the two brackets for the closet rod, after we have performed the holes and cut them, using a jigsaw. They could look much better if you use finished wooden boards, but they will be just fine if you sand them a little.

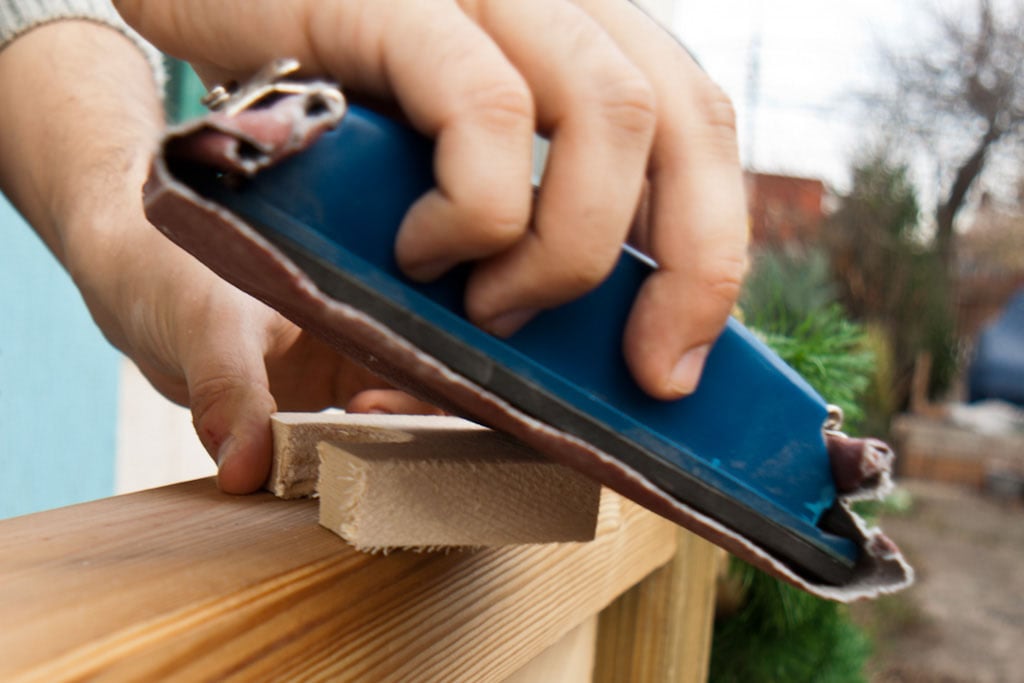
Sanding closet rod brackets
After you have built the brackets for installing the closet rod, you have to smoothen the edges and the surface for a nice appearance. Consequently, you could use first medium-grit sandpaper (80-120) and then fine fine-grit sandpaper (150-180).

Painting closet rod brackets
After you have finished the wooden brackets for the closet rod, you have to protect them by using paint or a coat of varnish, according to your tastes. In our case we used a white paint, designed to protect the wood against moisture and other problems.
Installing the closet rod brackets

Drilling hole in concrete
Next, we have to install the brackets on the walls of the closet, as to be able to secure the wooden rod. Consequently, you have to decide the height at which you are going to install the closet rod and drill a couple of holes. Usually the closet rods are installed at about 4 1/2′ (150 cm) from the floor, but you can choose the height according to your needs.

Installing anchor in masonry wall
Next you have to inset plastic dowels in the holes, as to be able to fasten the brackets with screws. In order to install the plastic anchors, you should use a mallet.

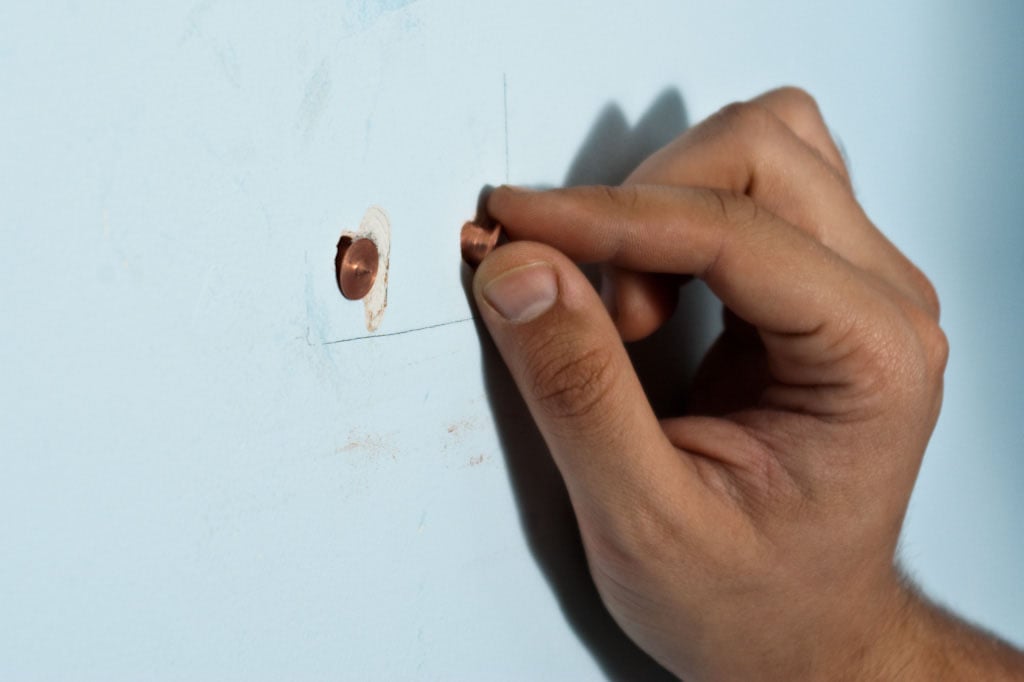
Using metal points
Next, we have inserted in the holes metal points, as to make marks on the back of the wooden brackets. These metal pins are very useful in a lot of projects where precision is essential, so we recommend you to buy several pairs of these accessories.

Marking the brackets
After we have installed the metal points in the holes, we have to use a mallet (rubber hammer) to make marks on the wooden brackets.
This operation should be straight forward, just make sure the bracket is aligned properly. Moreover, you must make sure that there are at least 1/2” from the hole to the edges of the brackets, otherwise you risk damaging the wood.

Drilling in closet brackets
After you have made the marks on the wooden brackets, you have to make the holes using a drill machinery and a wooden drill bit. This procedure is quire simple, so any beginner should be able to get it done without any difficulty.

Installing closet rod brackets
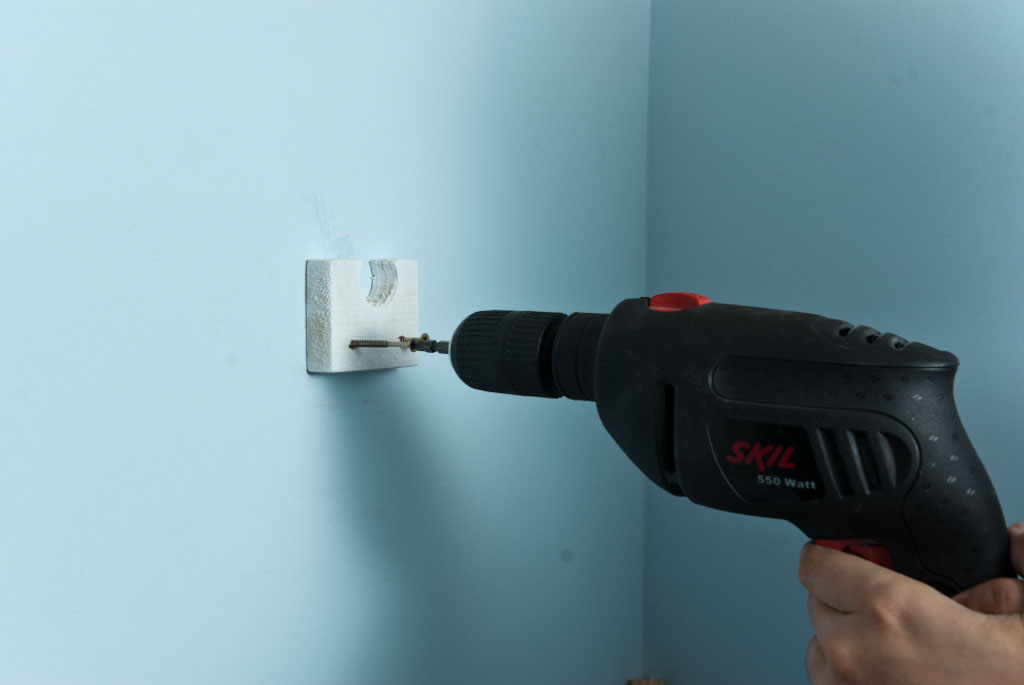
Next we have to install the first bracket by using several 2-3” long screws. In order to fasten the wooden bracket for the wooden rod you have to use an electric screwdriver with torque control.

Closet rod bracket
In this image you can see a close up with one of the brackets for installing the closet rod. You should notice that the bracket is aligned perfectly and the screws are installed symmetrically.
How to install a closet rod

Installing the closet rod
Next, we have to install the other wooden bracket at the opposite end of the closet rod. Therefore, you have to cut the closet rod to the proper dimensions and use a spirit level mo mark the place where to install the other bracket. In addition, we have a project about how to install closet shelves.

Installing the opposite bracket
In this image you can see the actual process of marking the opposite bracket, in order to install the closet rod. Consequently, you have to make sure the closet rod is perfectly level, making sure the wooden bracket is installed and to make a mark around it.

Installing drywall anchor
After you have made the marks on the drywall, you have to insert the plastic anchors as to secure the bracket. Consequently, you have to use a drilling machine with torque control and drive in the anchor in the drywall.

Fastening the closet rod bracket
Next, you have to repeat the previous steps (drilling holes in the brackets) and insert the two screws as to make sure the brackets will be fastened properly.
Make sure there is no space left between the wooden brackets and the drywall, otherwise the closet rod won’t be secured properly. Work with patience as to make sure you do a proper job.

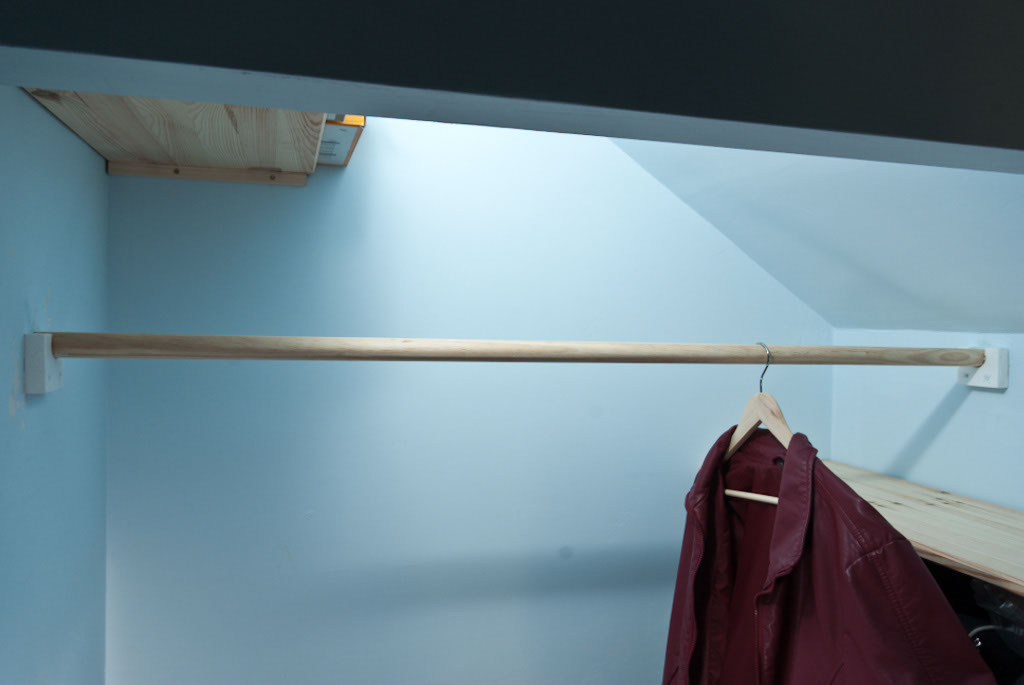
Closet rod
After you have installed the closet rod, your project should look similar to the one in the image. As we have already said, you can buy one of the many hardware for installing a closet rod, but we wanted to make sure it will support the weight of many cloths.
By following these steps, you’ll be able to install a wooden closet rod that’s strong, level, and ready to hold your clothes. With the right materials and careful measurements, you’ll have a functional and stylish addition to your closet space.
Thank you for reading our article on how to install a closet rod, and we recommend you to check out the rest of our projects. If you have enjoyed our article, please share them with your friends by using the social media widgets.

2 comments
Ok dumb question: you haven’t mentioned anything about using high-weight bearing drywall anchors or anything about the amount of weight this setup could bear, given it could be supporting many pounds worth of clothing. Why not?
I haven’t mentioned these details because it all depends on the surface type. If its’s drywall you need to use something strong like toggle bolts. If it’s concrete, drilling holes, installing plastic anchors and inserting appropriate screws will do the trick.